Participant
June 30, 2026
Answered

automatic color changes

  • June 30, 2026
  • 2 replies
  • 32 views

Re. lightroom classic.  Nothing has been changed by me.  Nothing wrong or changed with my computer or my camera.  Happened out of the blue. Have been using with no issues for the last few months. Sudden problem/ change happening.

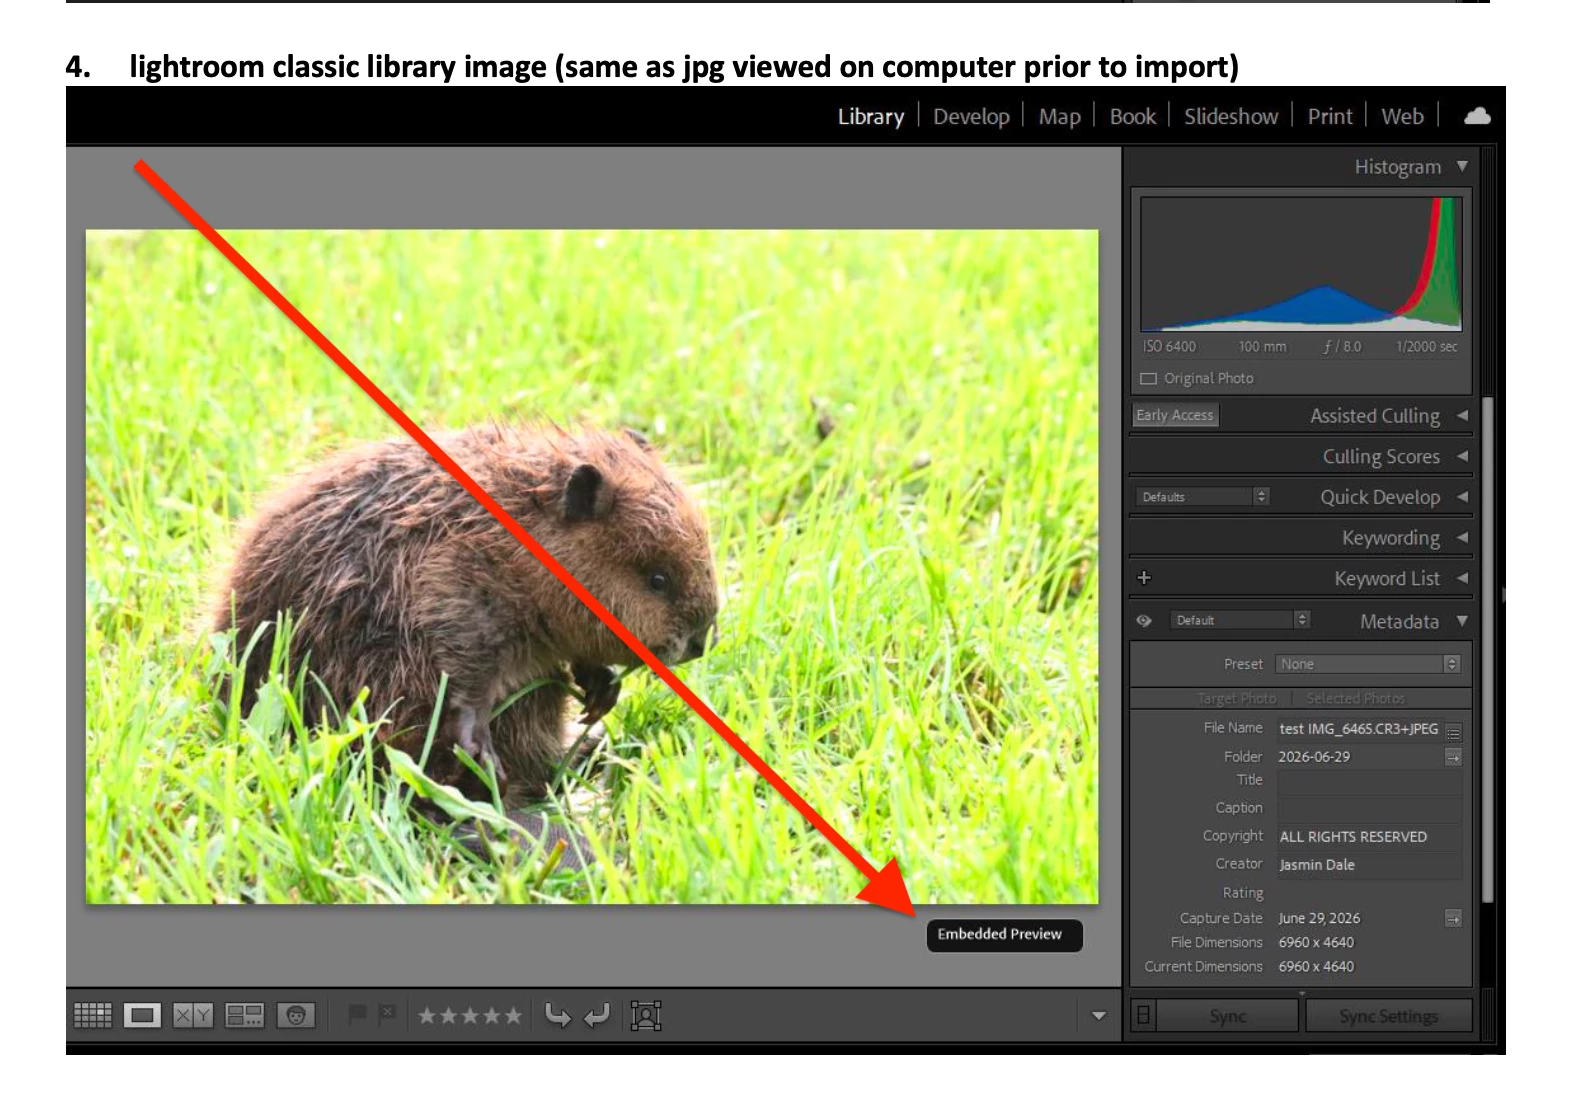
After importing images into lightroom classic, embedded picture preview is fine (same coloring as image viewed on camera and on computer prior to importing into lightroom). After going from library tab to develop tab lightroom is all of a sudden automatically drastically changing image colors/ exposure/ light balance (to be much brighter and yellow).  Histogram/ tone changes aren’t illustrated. When going back to library tab, it no longer shows the original embedded preview (that was the same on camera and on computer) but the change that was made automatically by lightroom. Why is this suddenly happening?

(I know there are differences between jpg and raw, as per my attached; the issue is the changes automatically being made once moving to develop tab - vastly different color changes)


    Correct answer johnrellis

     [View this post in your web browser. It contains formatting and images that don't appear in email.]


    Your screenshots clarify what’s going on. When you first view the photo in Library Loupe, LR is using the JPEG preview that was embedded in the raw photo by the camera:

    When you go to Develop, LR then renders the raw file using its default settings, including the Adobe Color profile, and thereafter Library starts using LR’s rendering, which in this case is quite different from the camera’s rendering.


    To see LR’s rendering immediately after Import, you’ve got two options:


    1. In the Import window, set the option File Handling > Build Previews to Standard (in the right column).


    2. Set the option Preferences > General > Replace Embedded Previews With Standard Previews During Idle Time.


    For the underlying issue that LR’s rendering differs from your camera’s, that’s an inherent property of working with raws -- each raw engine renders differently.

    You could try using the camera-matching profiles rather than Adobe Color, which by design usually results in appearances much closer to the camera’s built-in rendering. In Develop, click the Profile dropdown, select Browse, and navigate to Camera Matching > Camera Standard.


    If you’re pleased with that as a starting point, you can set Preferences > Presets > Raw Defaults > Global to Camera Settigns.

    2 replies

    JasDAuthor
    Participant
    June 30, 2026

    Thank you very much! Experimenting with this, I think I’ll be switching to camera standard. I appreciate the help!

    johnrellis
    johnrellisCorrect answer
    Legend
    June 30, 2026

     [View this post in your web browser. It contains formatting and images that don't appear in email.]


    Your screenshots clarify what’s going on. When you first view the photo in Library Loupe, LR is using the JPEG preview that was embedded in the raw photo by the camera:

    When you go to Develop, LR then renders the raw file using its default settings, including the Adobe Color profile, and thereafter Library starts using LR’s rendering, which in this case is quite different from the camera’s rendering.


    To see LR’s rendering immediately after Import, you’ve got two options:


    1. In the Import window, set the option File Handling > Build Previews to Standard (in the right column).


    2. Set the option Preferences > General > Replace Embedded Previews With Standard Previews During Idle Time.


    For the underlying issue that LR’s rendering differs from your camera’s, that’s an inherent property of working with raws -- each raw engine renders differently.

    You could try using the camera-matching profiles rather than Adobe Color, which by design usually results in appearances much closer to the camera’s built-in rendering. In Develop, click the Profile dropdown, select Browse, and navigate to Camera Matching > Camera Standard.


    If you’re pleased with that as a starting point, you can set Preferences > Presets > Raw Defaults > Global to Camera Settigns.