

How to adjust Linear & Radial filters in 3 easy steps in Lightroom Classic!
Adjust Linear and Radial filters in your portrait
What is a filter?
Once you have completed global adjustments, you may want to make some local exposure, clarity, or tonal adjustments that are limited to a certain area of your photo. Lightroom Classic offers the Graduated Filter and the Radial Filter to help you create a mask that blends gradually into the other parts of your image.
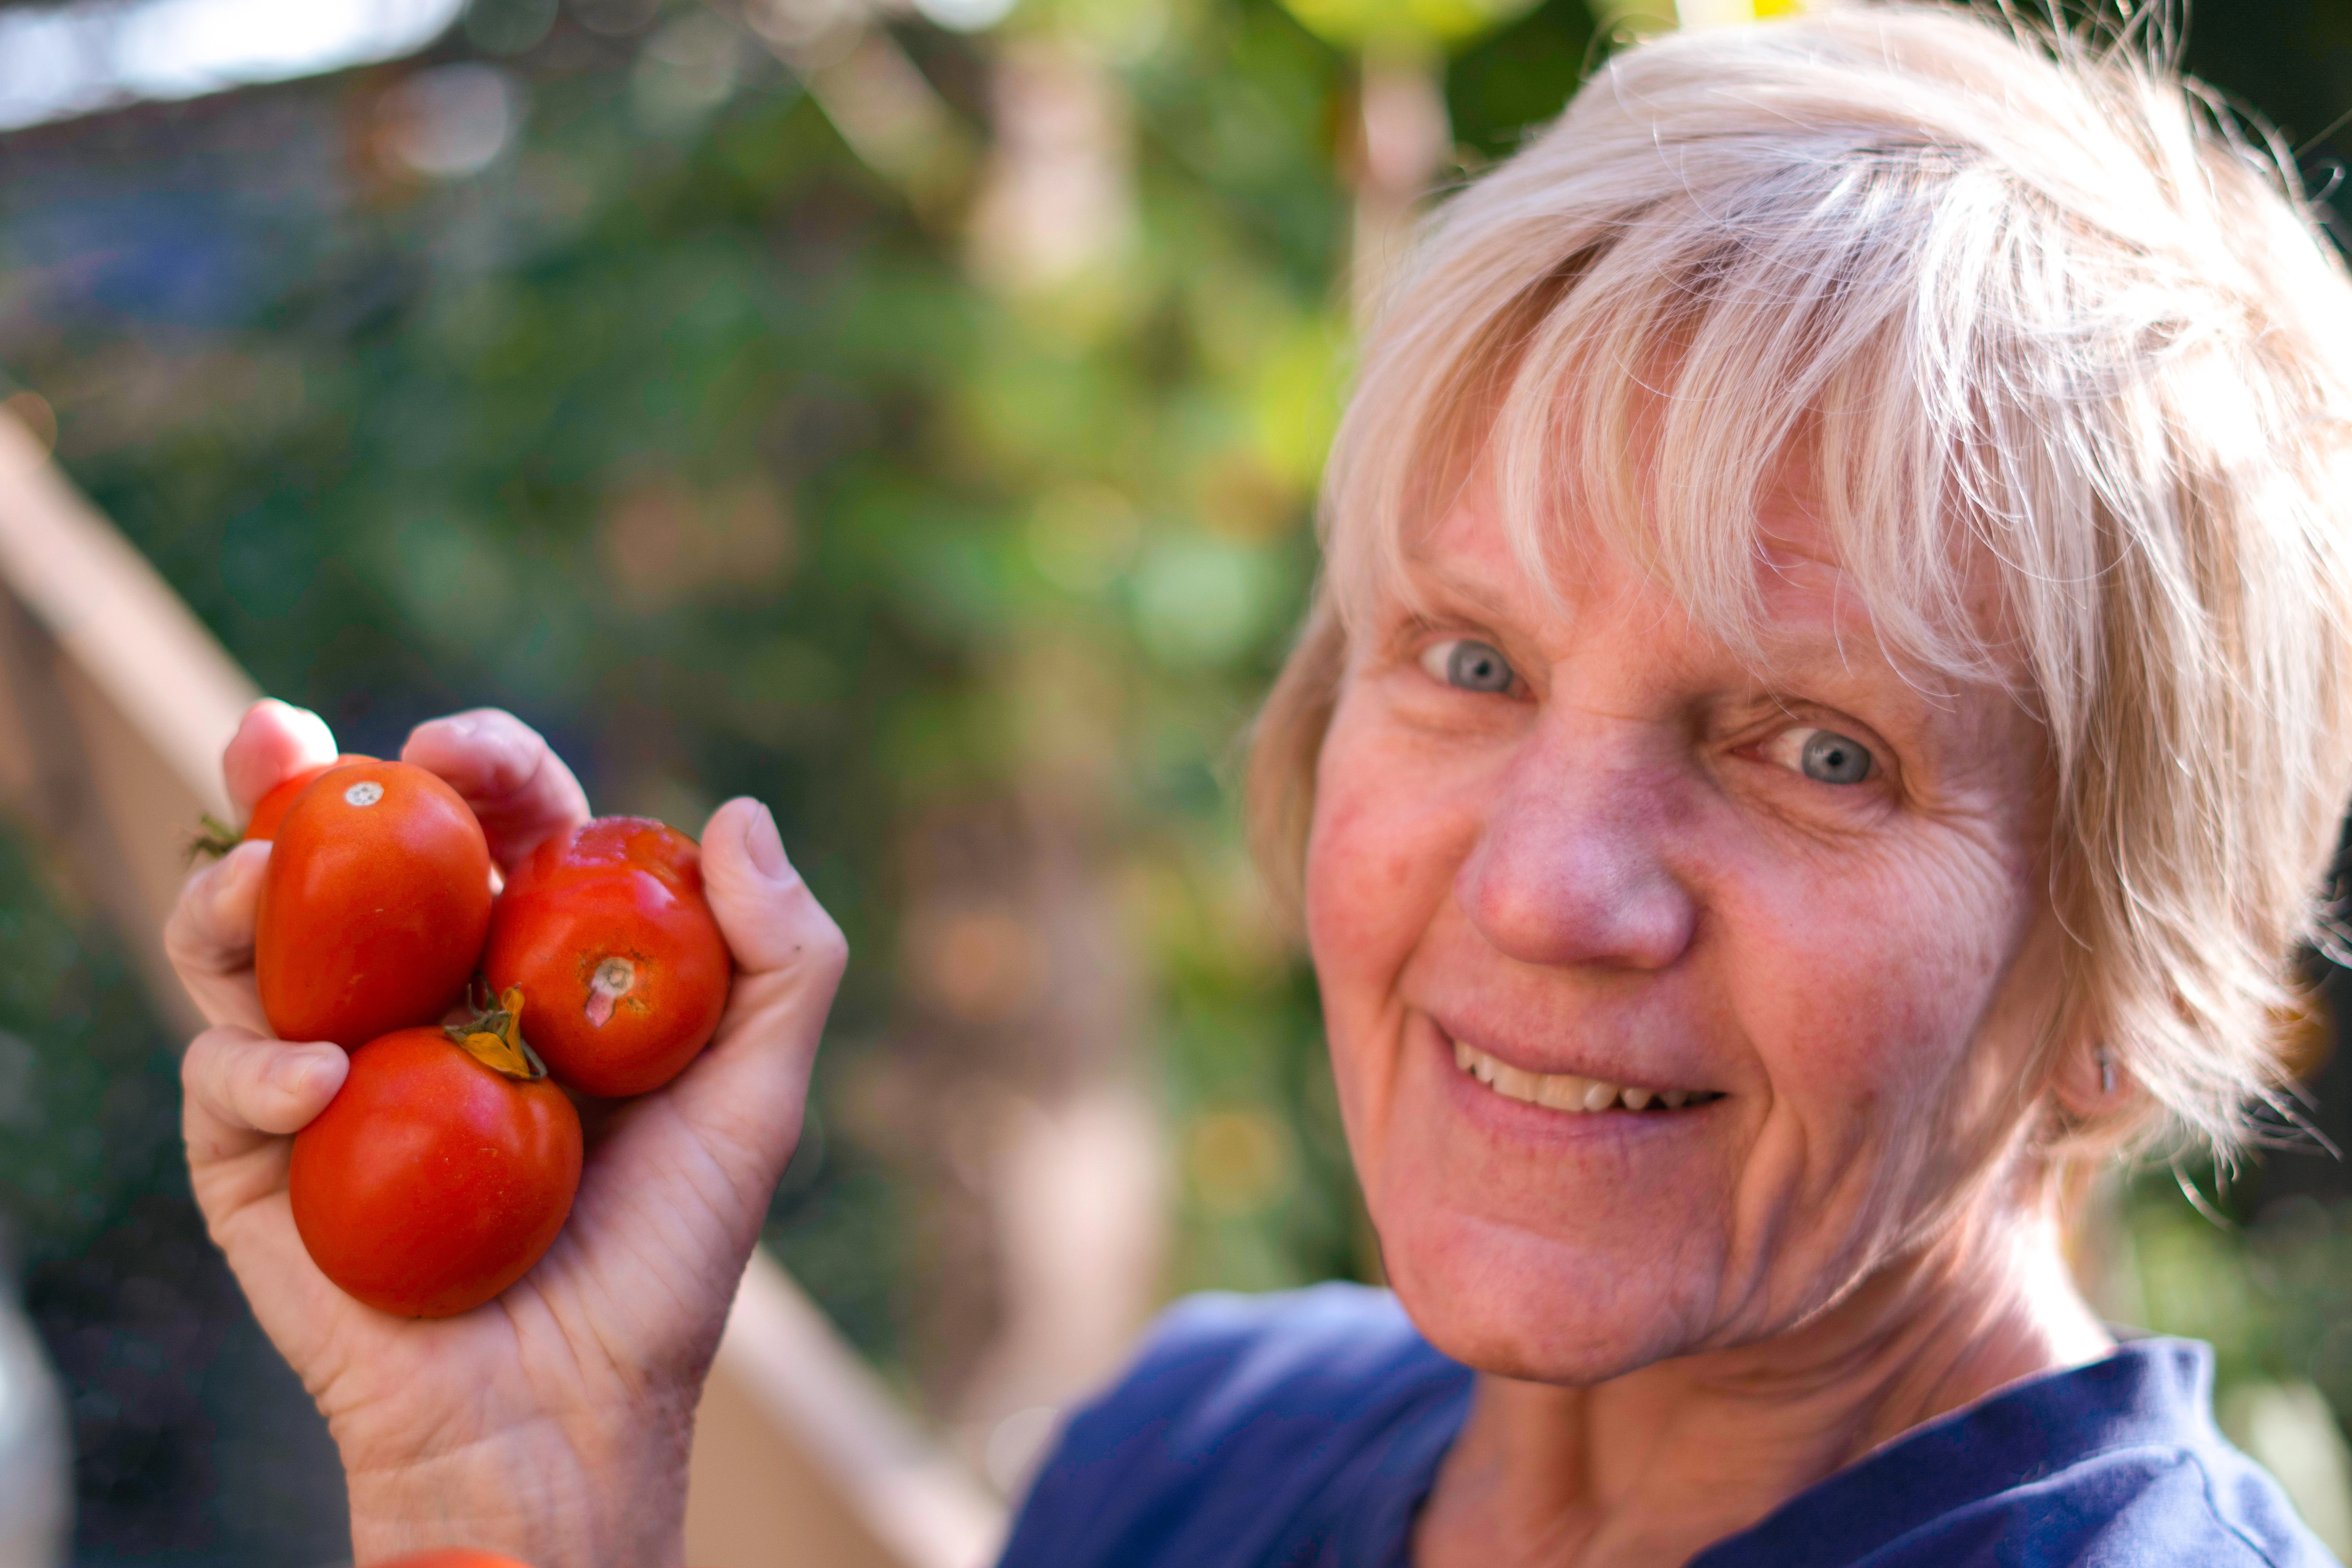
- Here's how the unedited portrait looks:
❶ Graduated Filter
The Graduated Filter is used to create linear gradient masks in Lightroom Classic. The masks begin at a straight line and fade away. They can be used to make local changes to parts of an image, such as a sky. Because of its linear approach, you can make a gradual change of tone and color in an image.
- Click on the rectangular-shaped graduated filter icon found under the histogram panel.
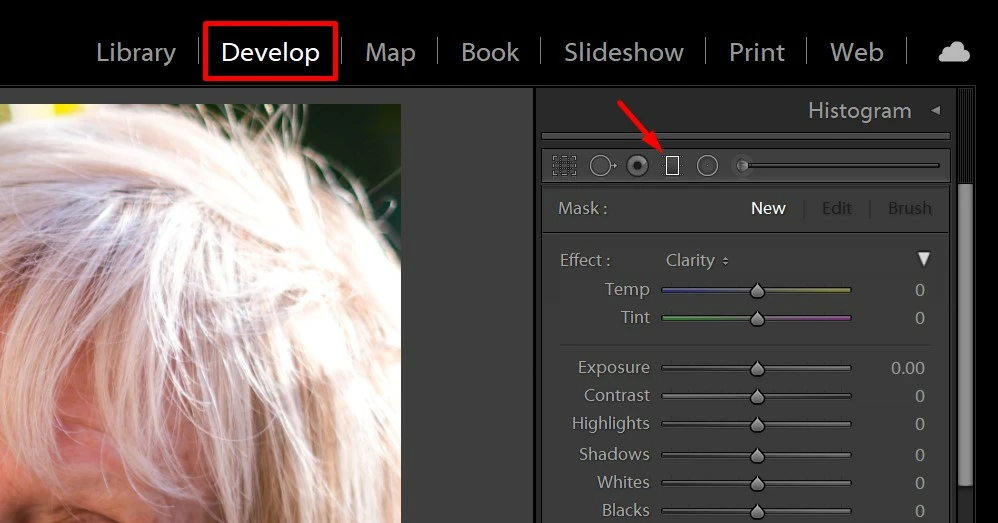
Note: You can also use the keyboard shortcut Shift+M to open the Graduated Filter, a panel opens up with all the editing choices available for this tool
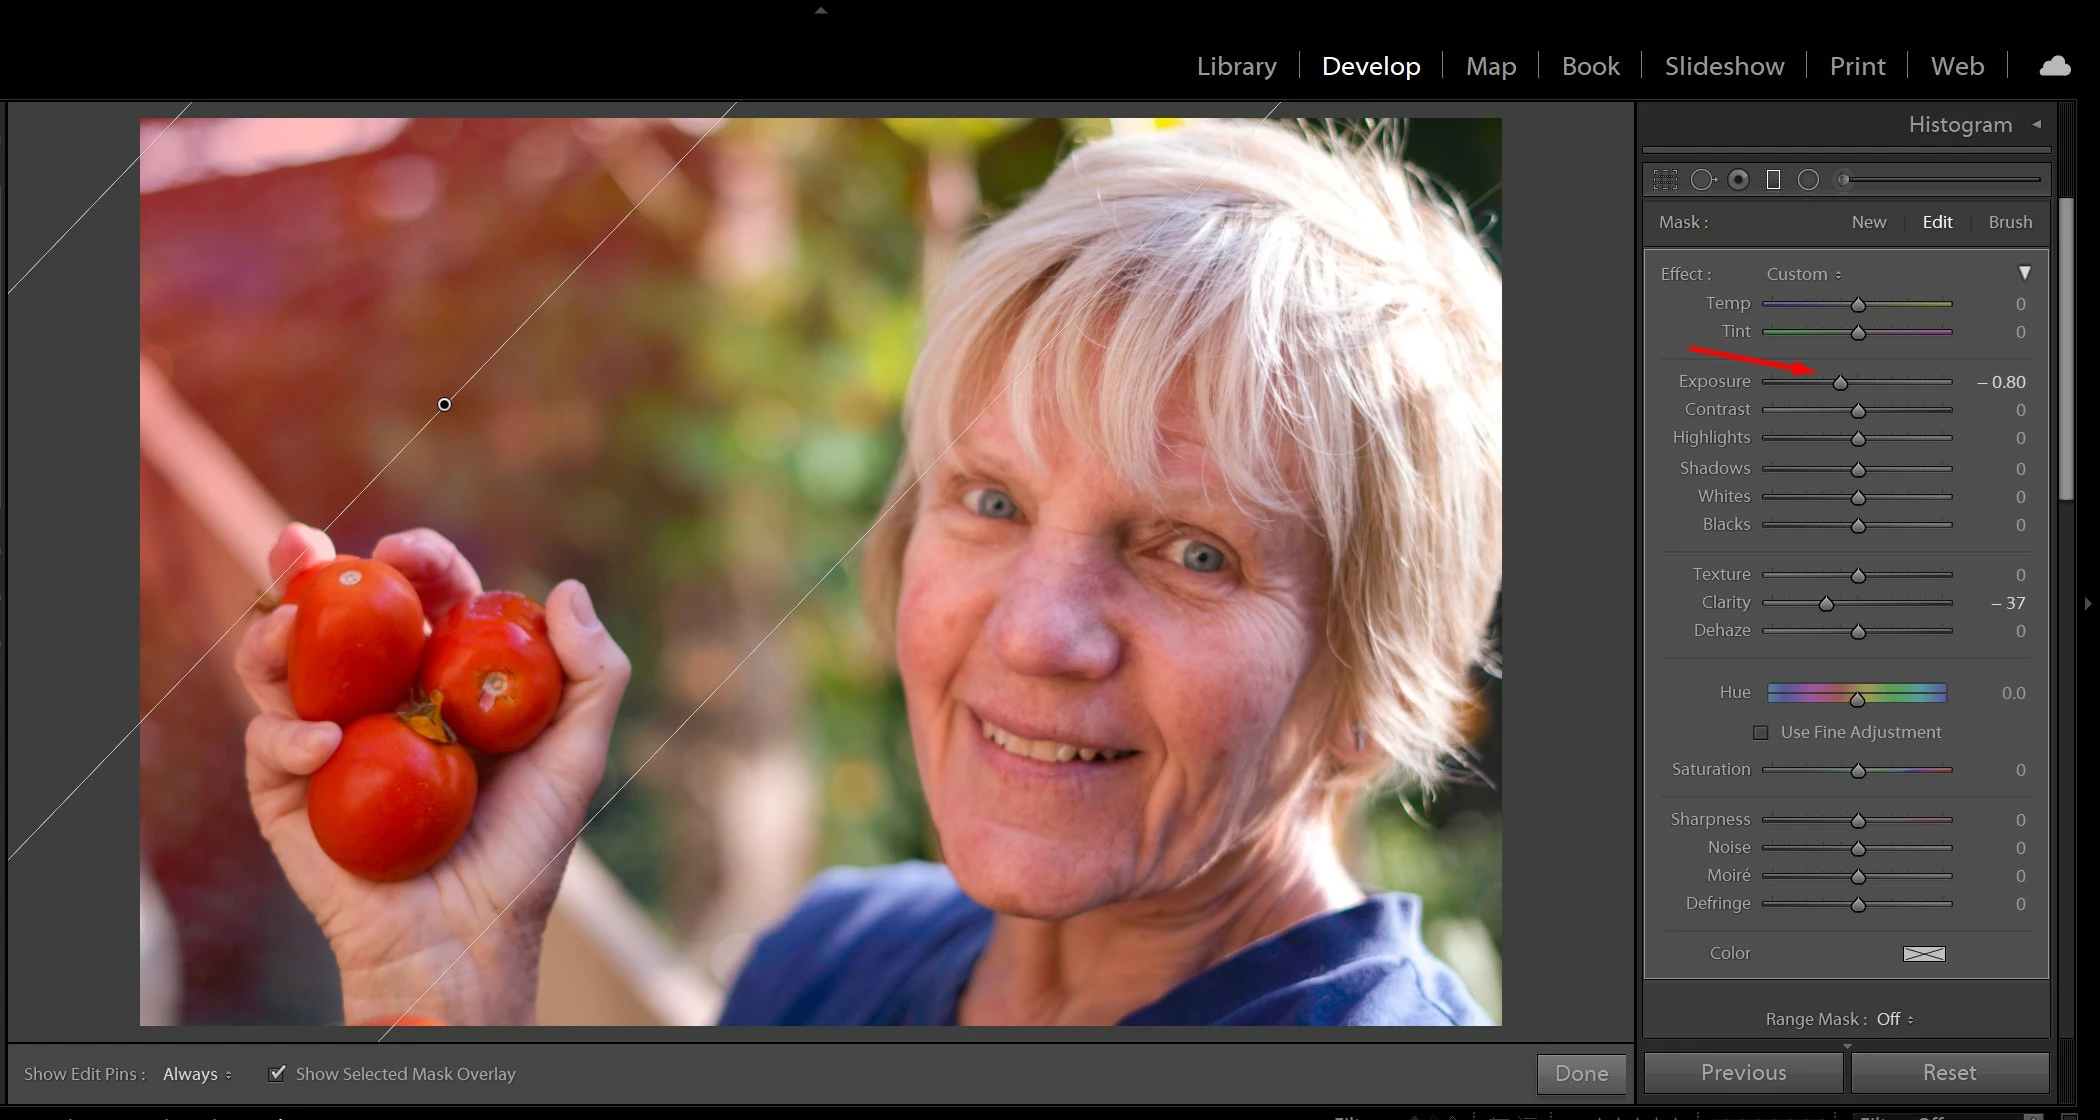
- To adjust the foreground of the image, click anywhere on the foreground and drag up. This creates a linear gradient that will apply the strongest adjustments starting at the bottom of the image, gradually fading out to no adjustments above the top line of the gradient.
Note: If you want the linear gradient to be horizontal, hold the Shift key as you drag.
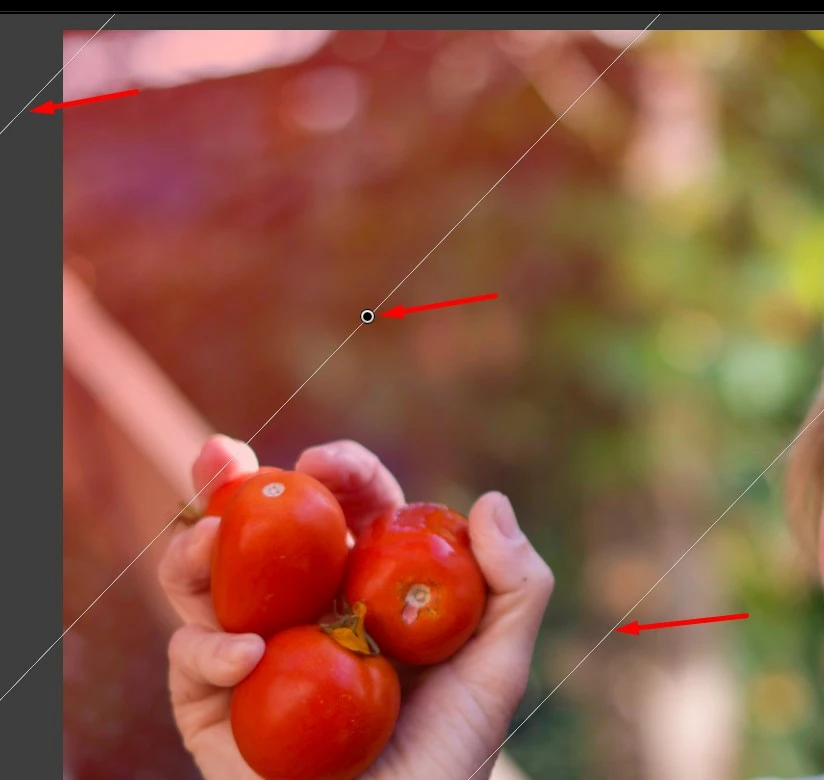
- To fine-tune the size of the gradient, drag either or both of the two white outer gradient lines.
- To move the gradient, drag the pin.
- To rotate the gradient, drag the center line.
- To make changes to a gradient, select the pin for the gradient you want to edit and adjust sliders in the right panel.
Note: You can draw a linear gradient in any direction–horizontally, vertically, or diagonally, depending on which part of the image you want to affect.
❷ Radial Filter
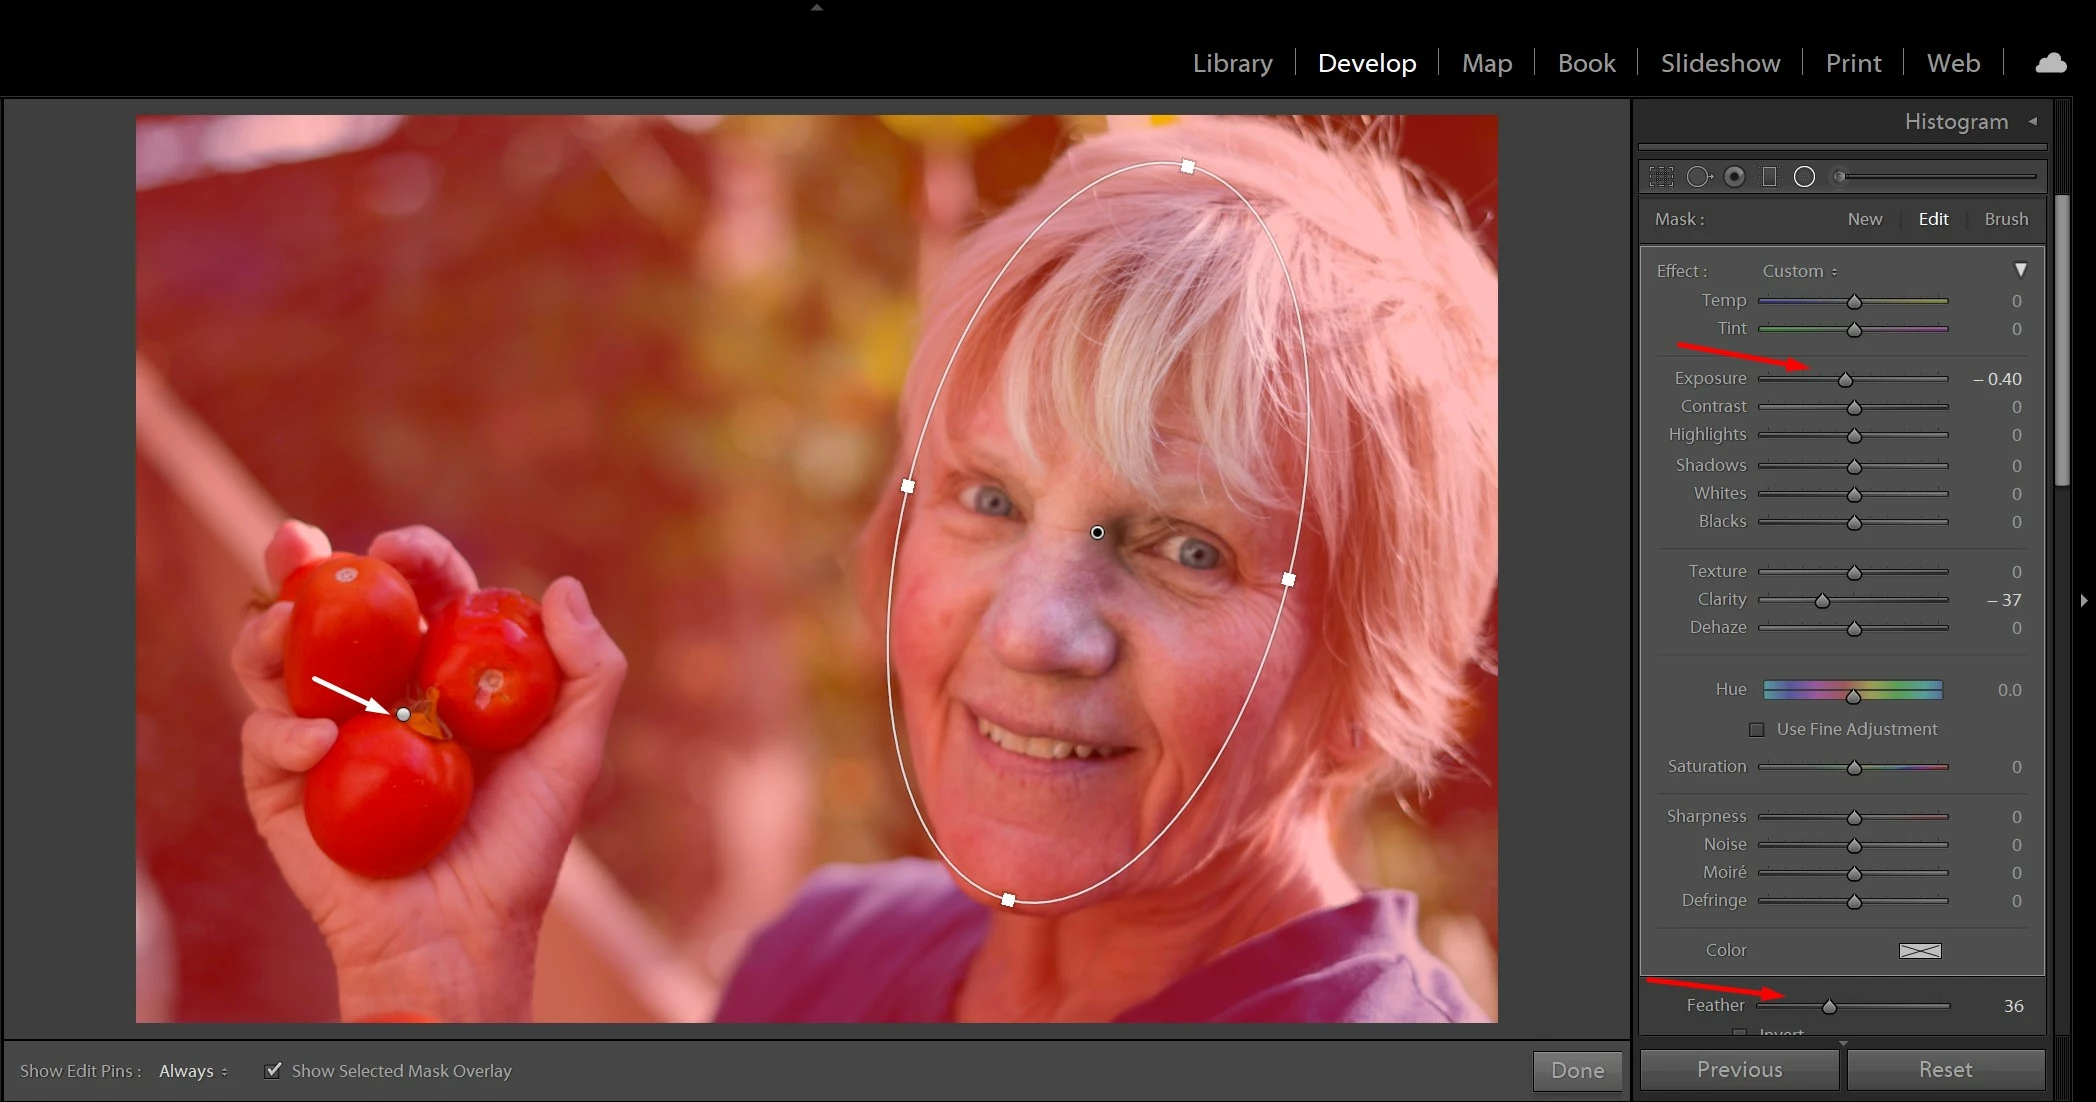
The Radial Filter available in Lightroom Classic creates a mask so you can apply local adjustments inside or outside an oval shape. It can be used to highlight specific parts of an image.
- Click on the Radial filter icon found under the histogram panel. It looks like a circle with a dot in the center.
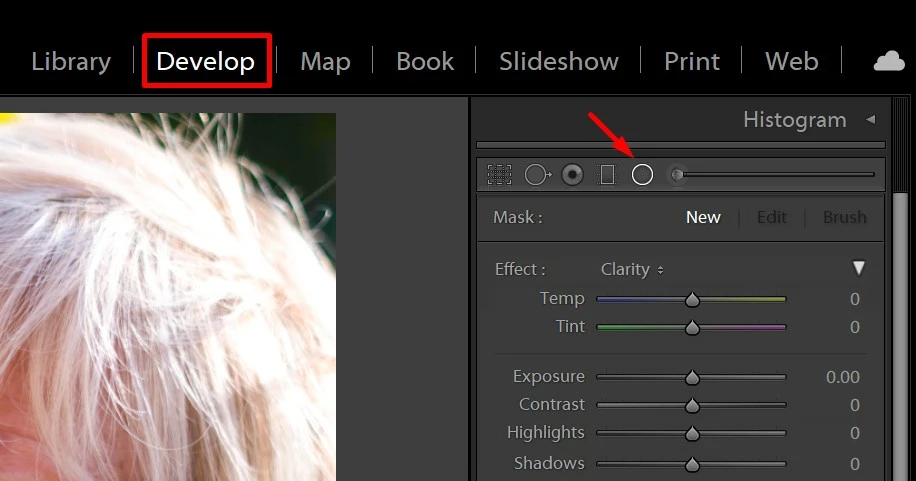
Note: You can also use the keyboard shortcut Shift+M to open the Radial Filter, a panel opens up with all the editing choices available for this tool.
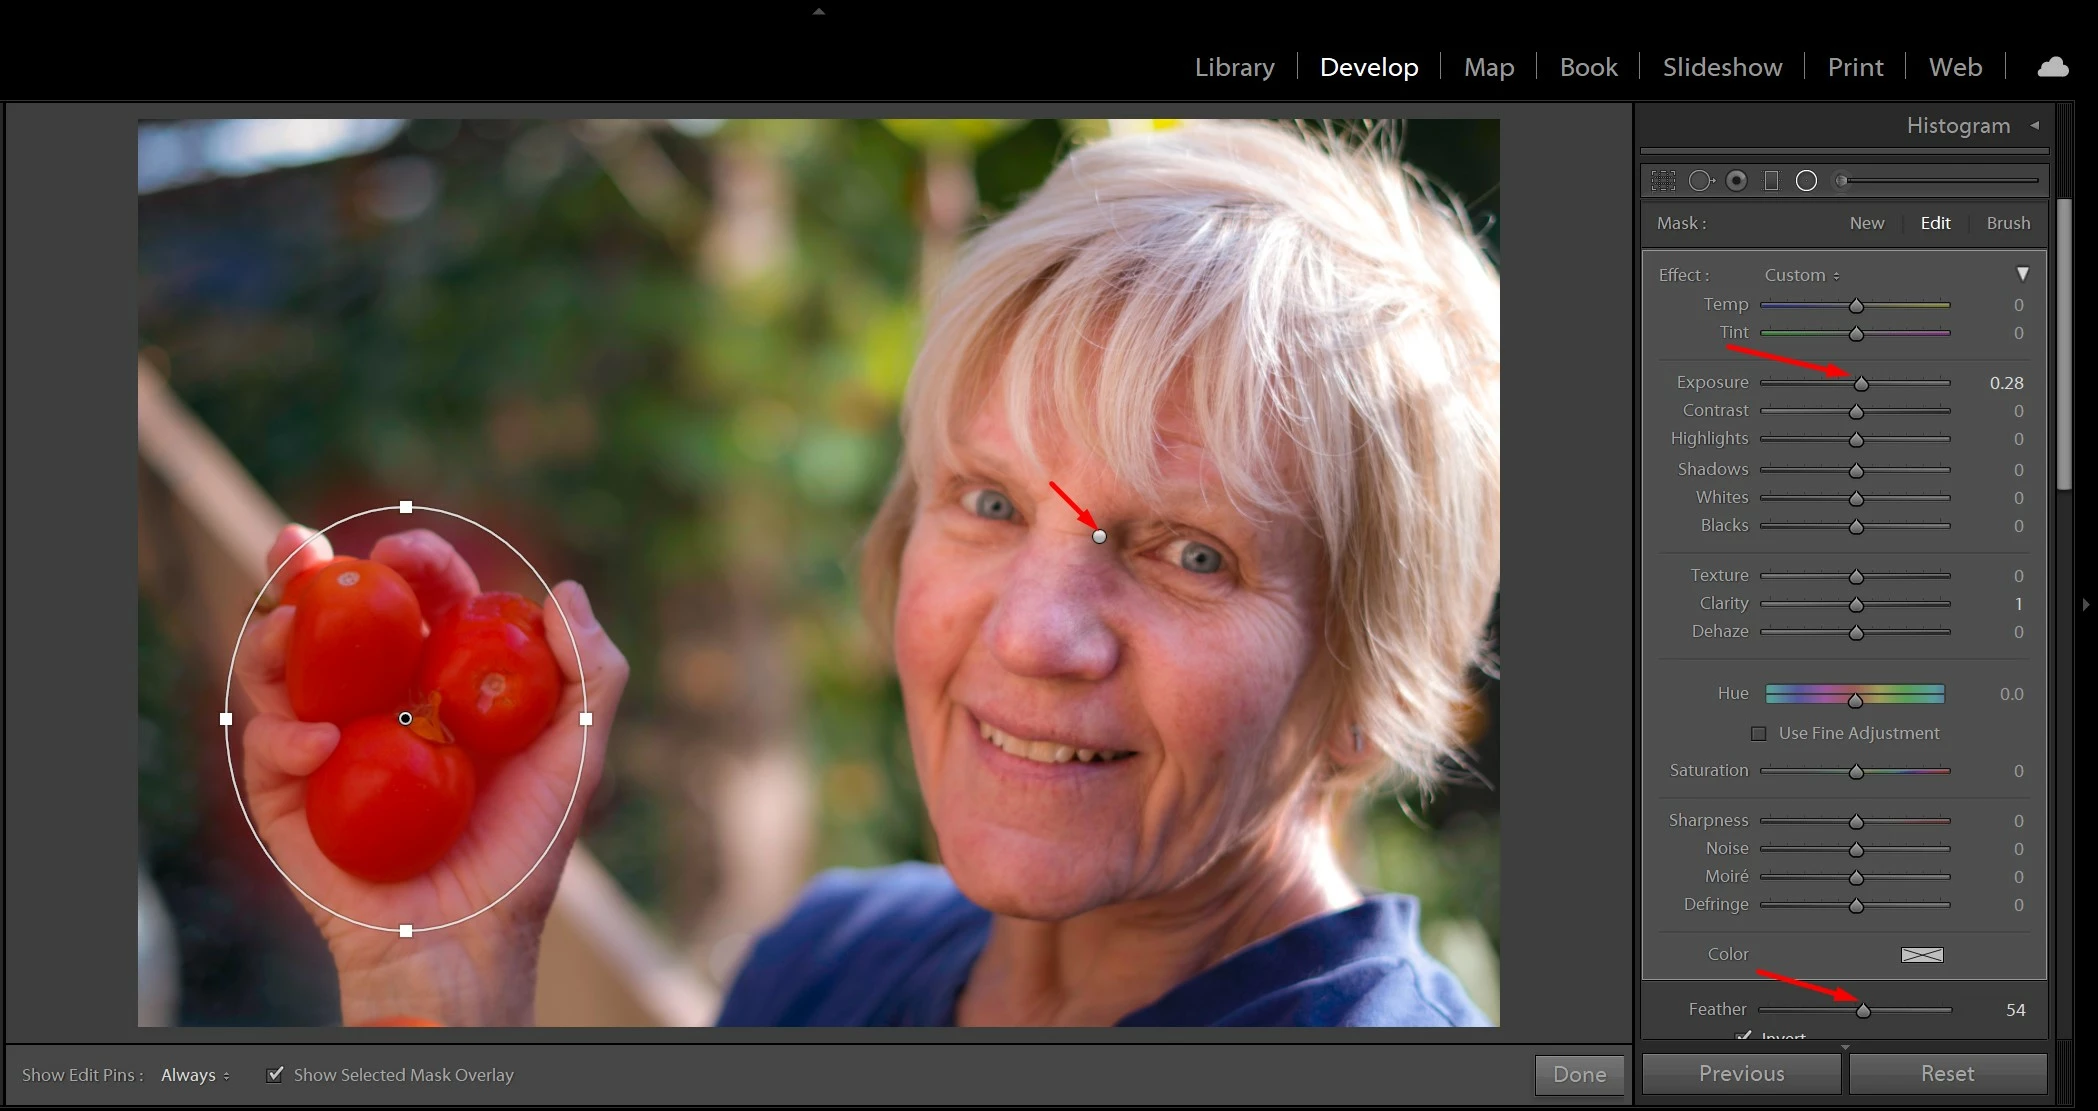
- To create more than one radial gradient in the photo, drag over the photo again and set the adjustment sliders for this radial gradient.
Note: You can also duplicate a radial gradient to apply the same adjustments elsewhere in a photo. Right-click (Windows) or Control-click (MacOS) a radial gradient pin and choose Duplicate. Then drag the duplicate pin to a new location.
- To make changes to the adjustments on a radial gradient, select the pin for that radial gradient and adjust sliders in the Radial Gradient panel.
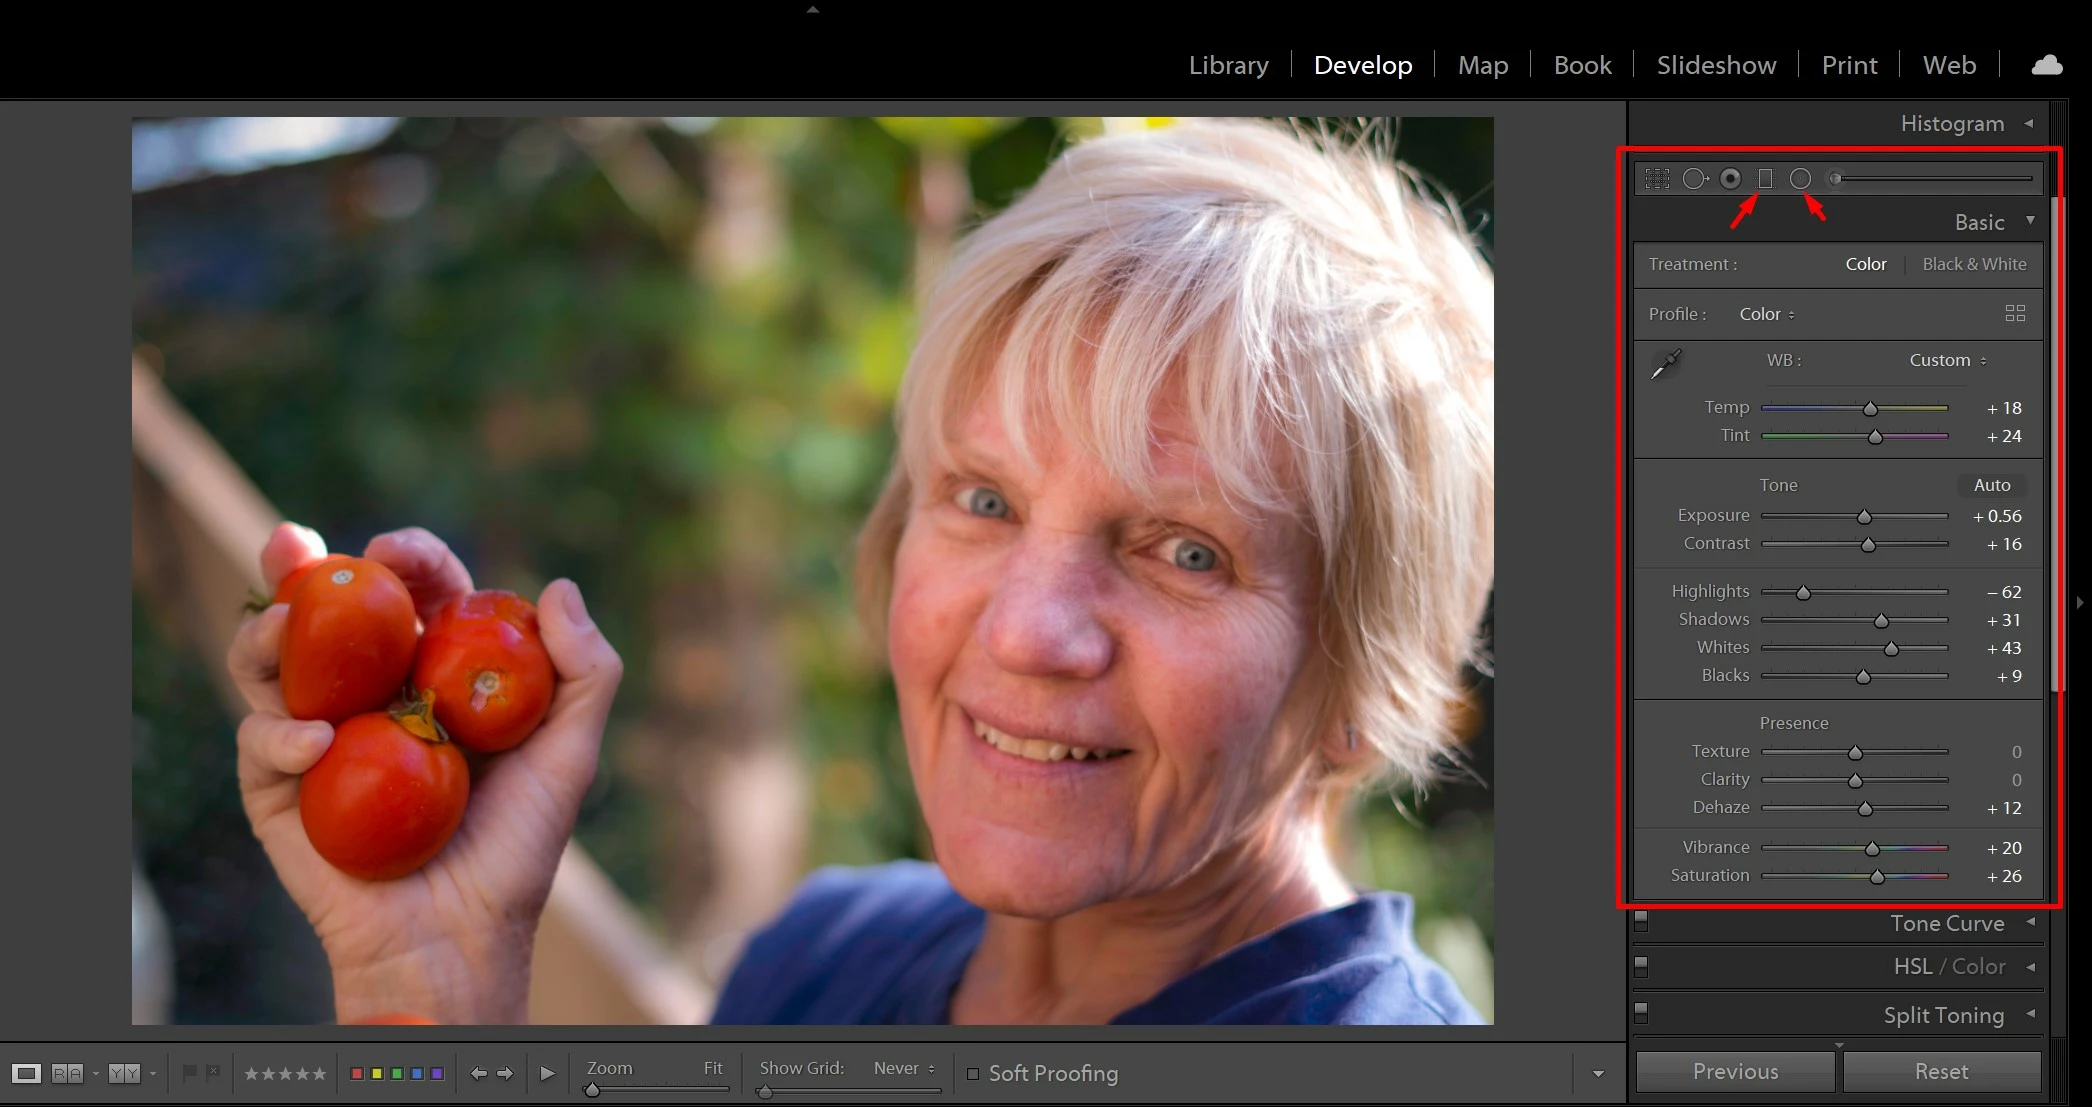
Here's how the final portrait looks: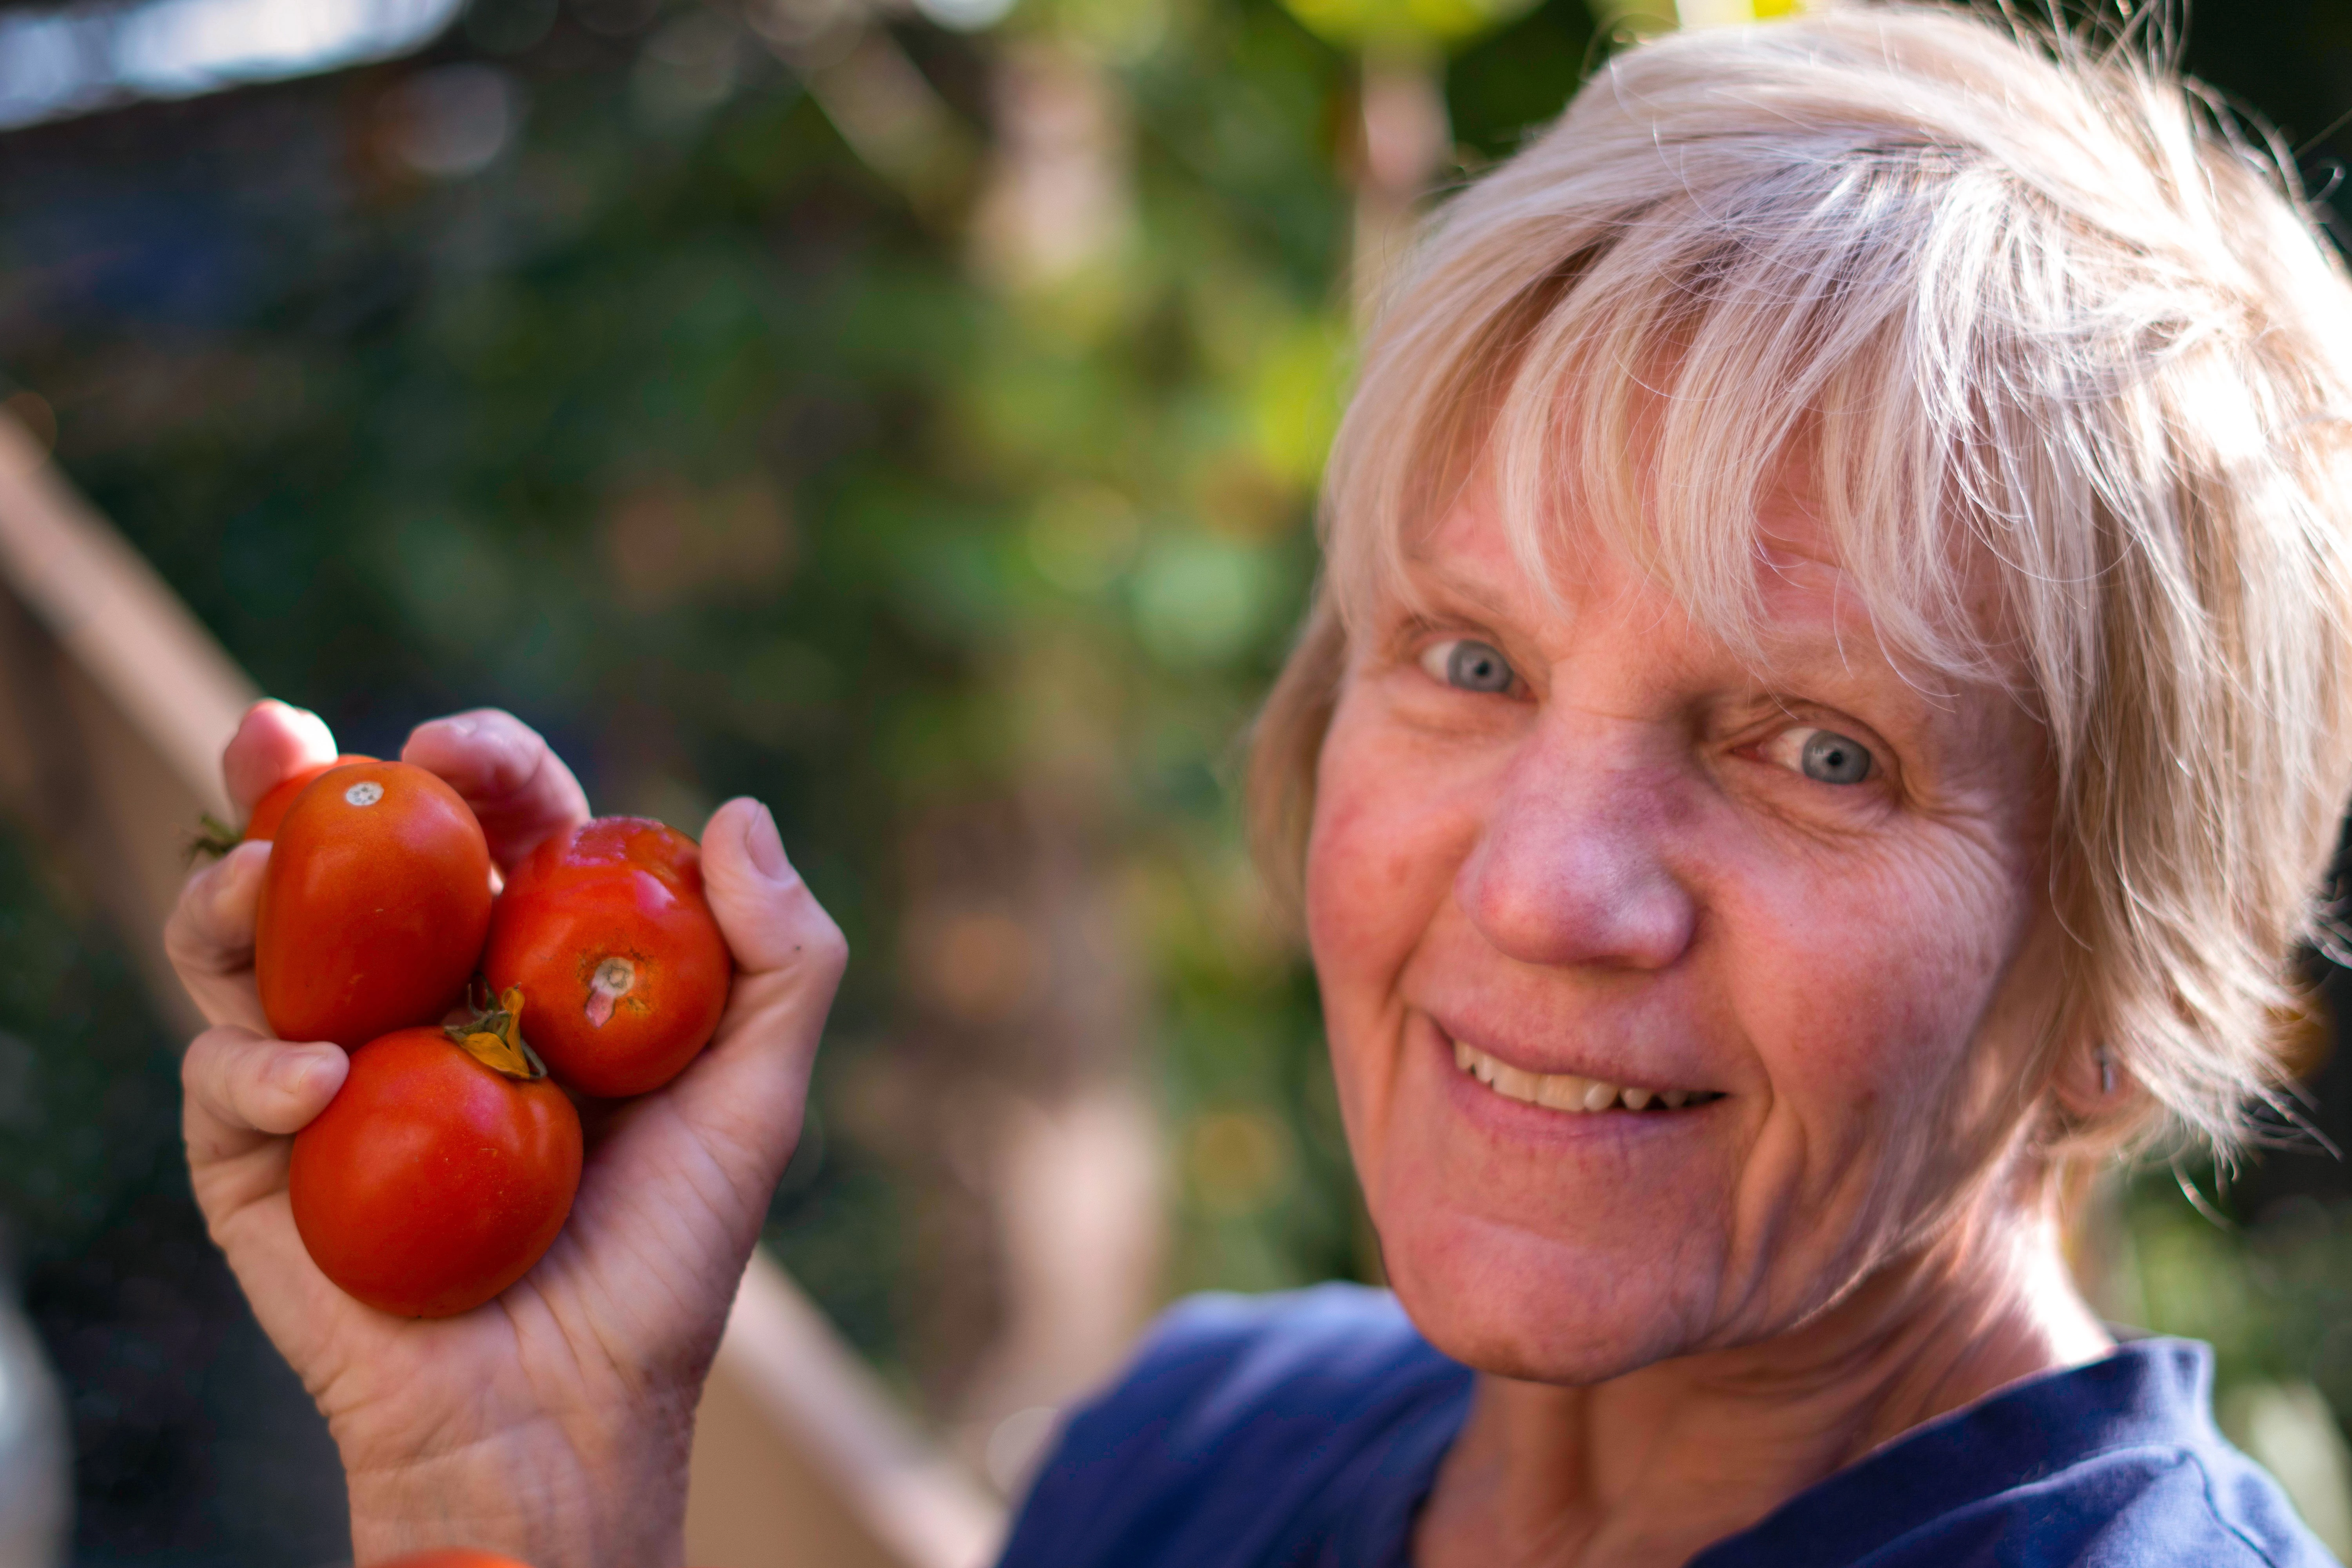
Download the sample portrait from HERE and apply all the retouching techniques to see the results.
Related Links:
Edit a landscape photo with linear gradient adjustments
Highlight parts of a photo with radial gradients
< Dehaze, Saturation, Vibrance - Dodge and Burn >