
Question
Improving Colour and Contrast of Photos in Adobe Lightroom Classic
Although there are several ways to improve the colour and contrast of photos in Adobe Lightroom Classic, a world-class desktop-focused RAW image processor, in this post I would like to mention only the Basic Panel and few more Global Adjustment tools for colour correction and contrast improvement of a RAW image. For this, we need to head over to the Development Module of Adobe Lightroom Classic.
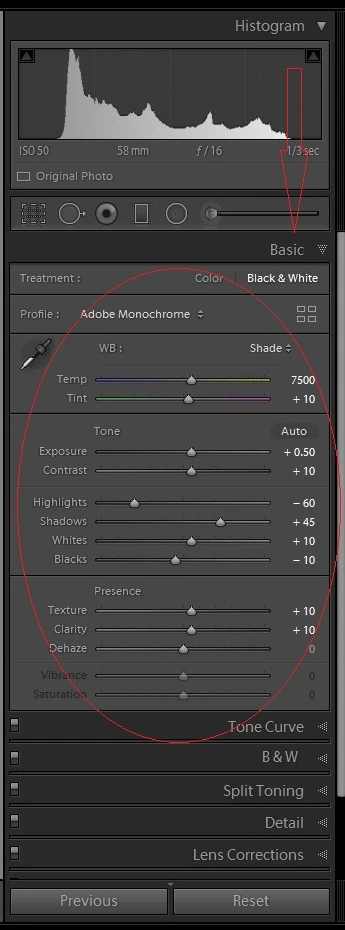
Here are some Global Adjustment tools for colour and contrast pop for pictures that I personally use on my photos:
- Treatment
- White Balance
- Temperature & Tint
- Exposure
- Contrast
- Highlights
- Shadows
- Whites
- Blacks
- Texture
- Clarity
- Dehaze
- Vibrance & Saturation
- Tone Curve
- Split Toning
- HSL/Color Panel