
Is it possible to edit a photo with this much light/dark range?
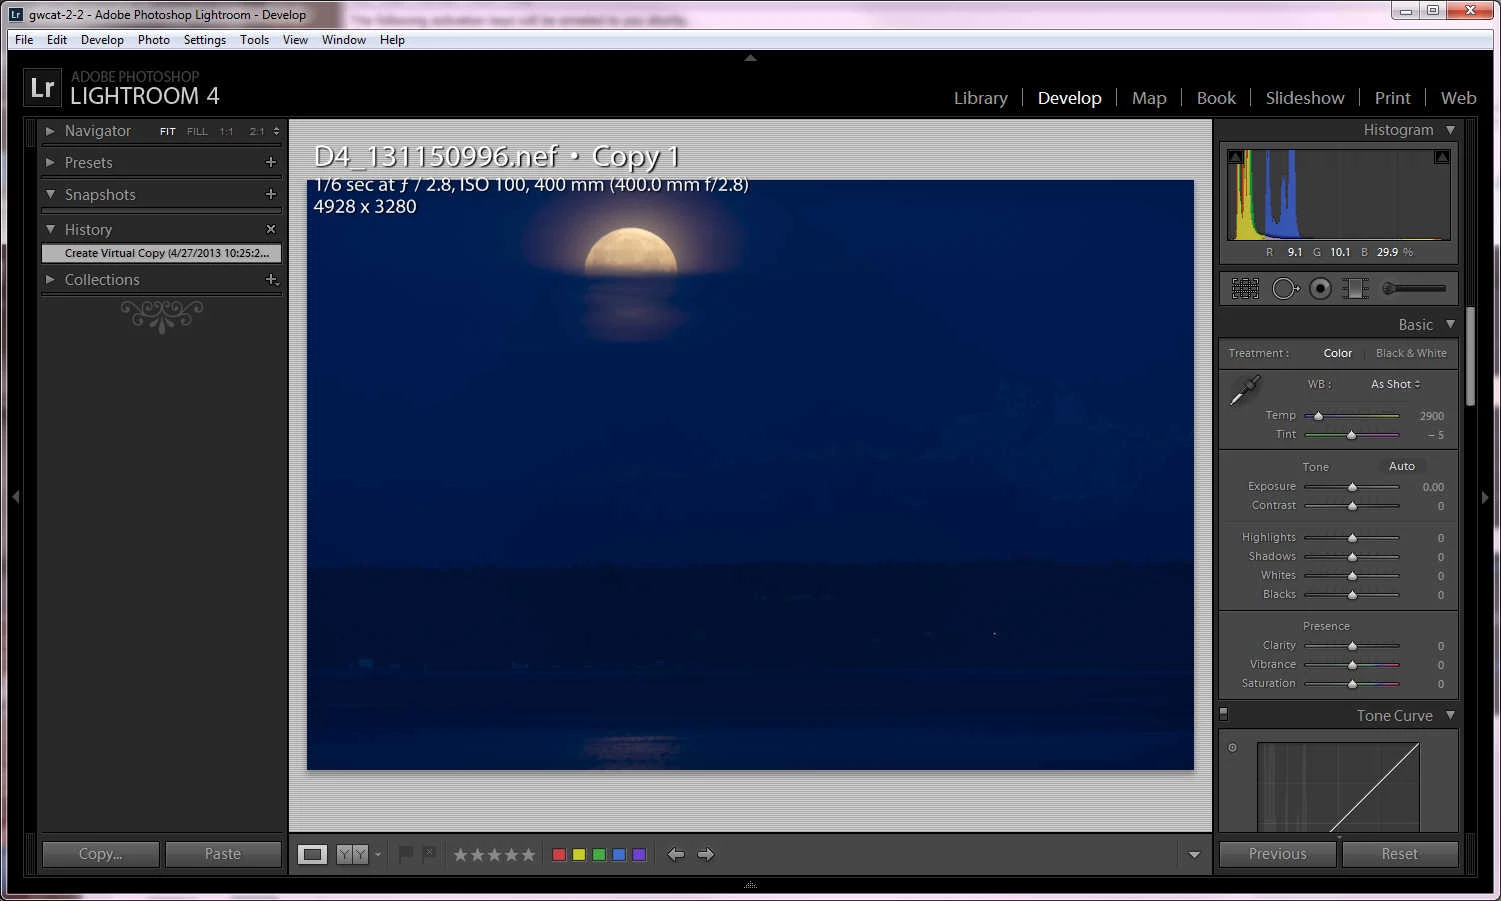
This is a "how to" question. See attached photo of the moon setting at first light "as-shot". The goal was to keep the moon from overexposing with the idea that the camera was capable of recording sufficient landscape information in the shadows. I have this scene bracketed quite a ways but the settings here seem to work best.
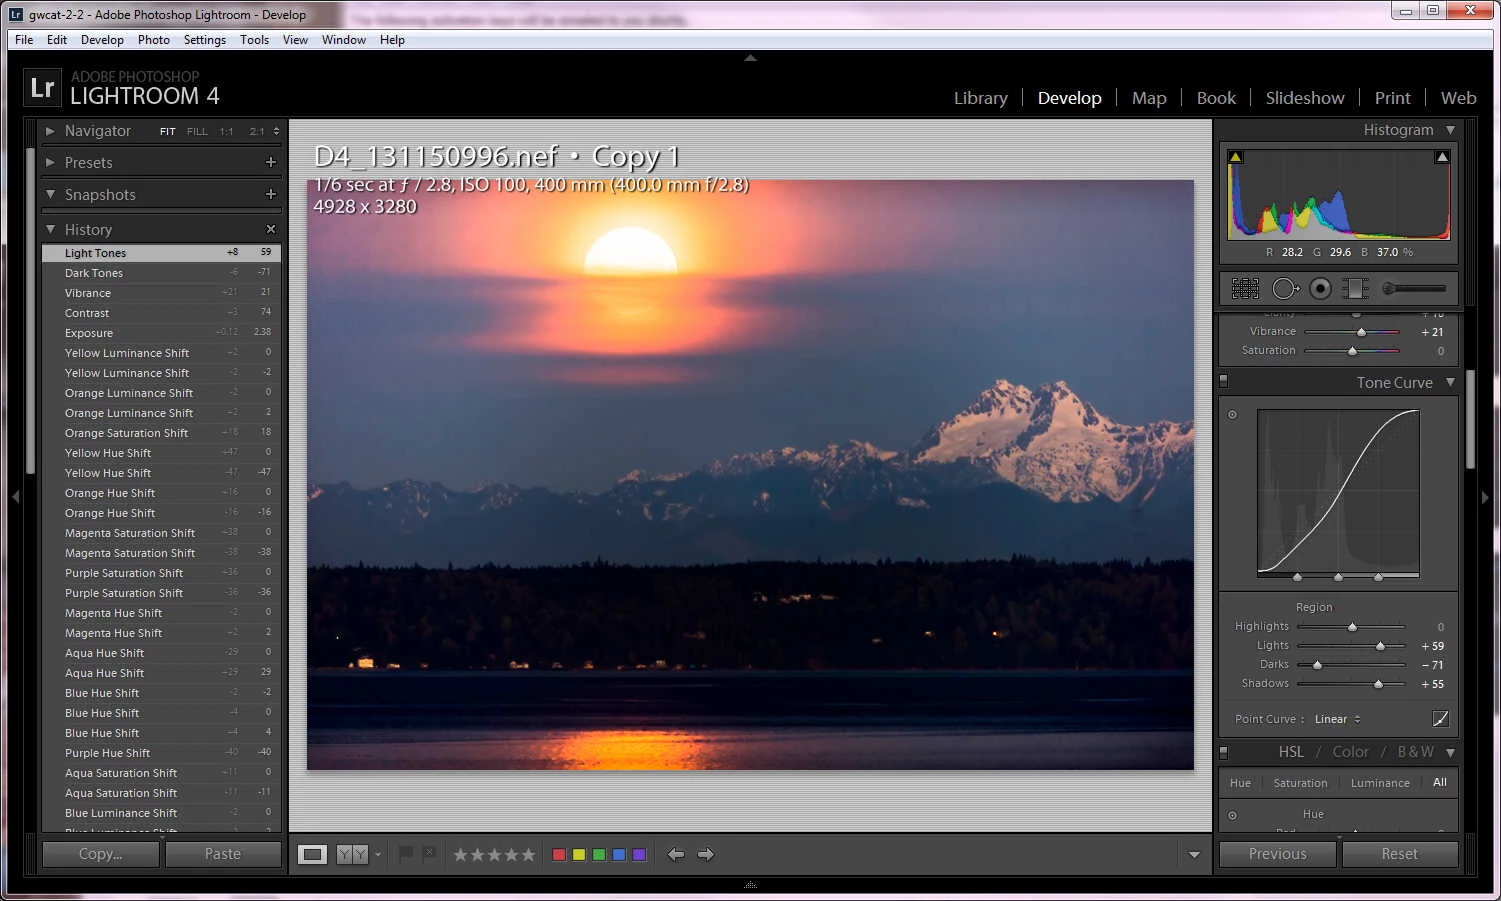
Here it is with the mountain brought out of the shadows and temperature adjusted. The mountain has good depth, but what it takes to do this, messes up the moon (as you can see).
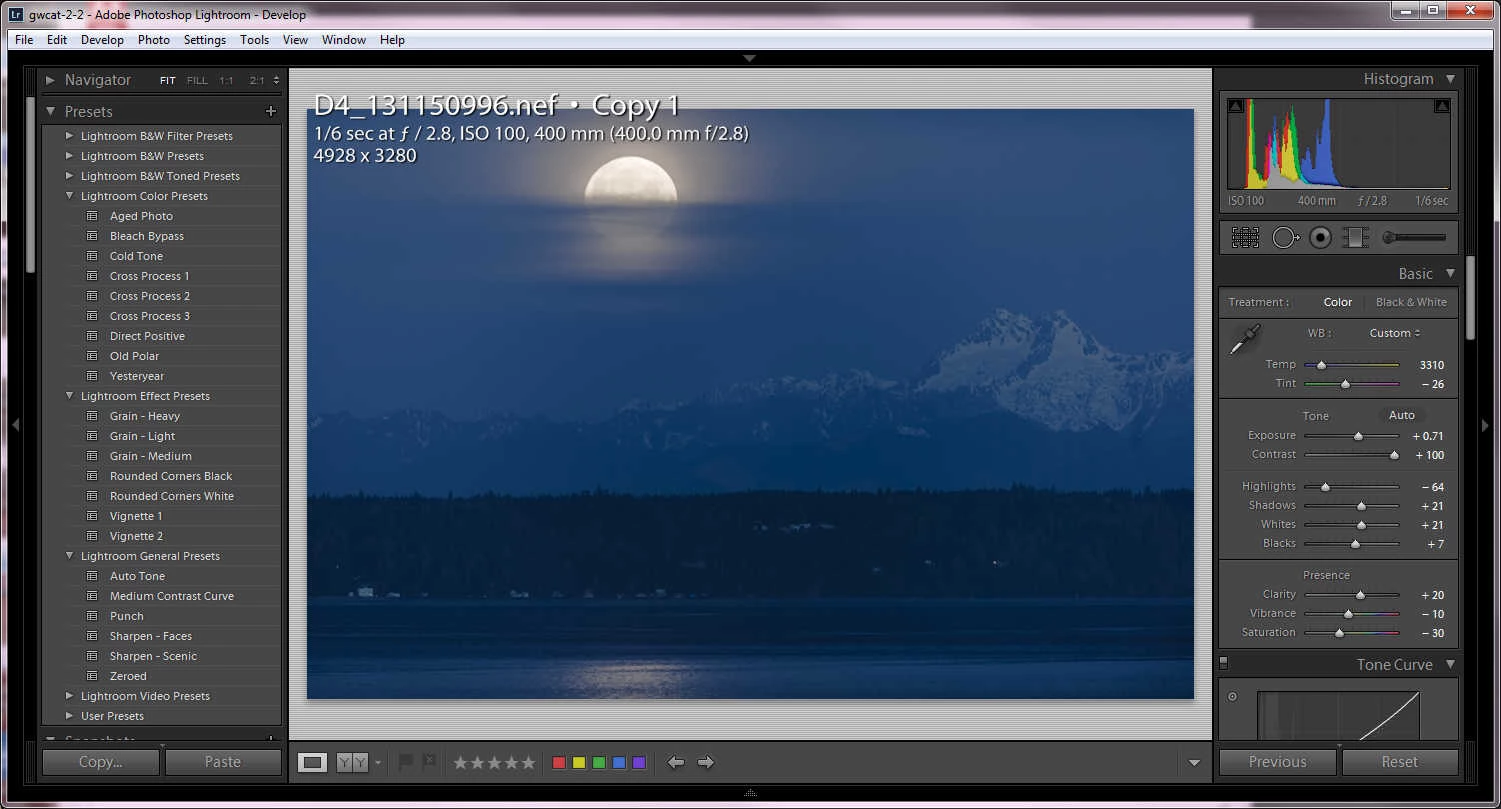
After messing around with the controls I noticed the bleach bypass preset will actually preserve most detail, but at the expense of most color. The orange reflection on the snow gives extraordinary depth to the mountain (especially for predawn). The instant I try to add more color, the moon turns bad.
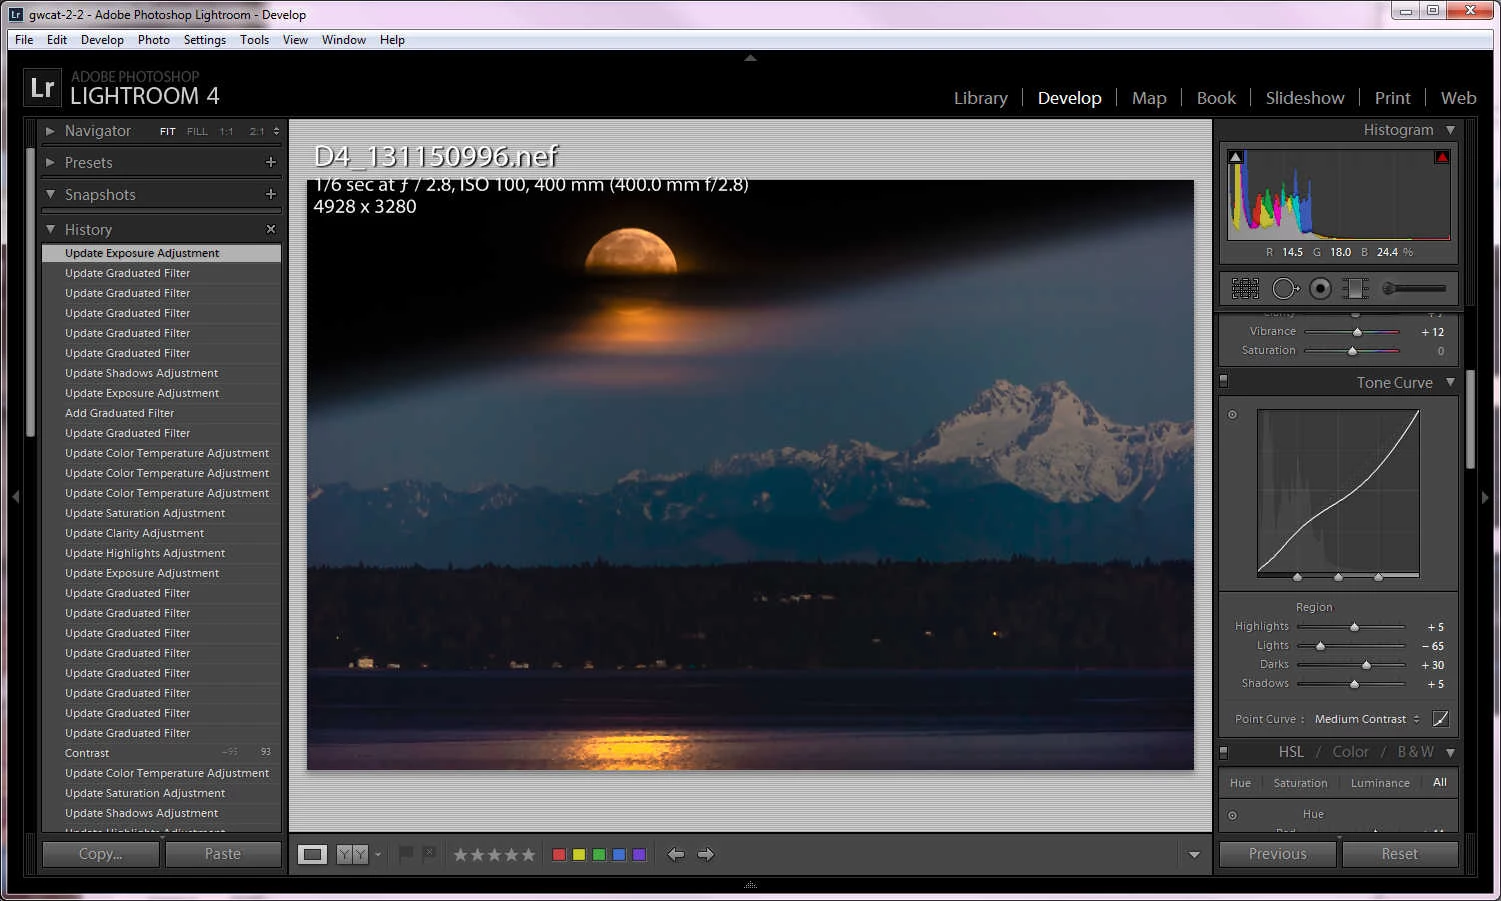
For illustrative purpose, this is the closest I can get both subjects on the same photo using LR, graduated filters and some controls cranked. I run out of control trying to recover the black around the moon, and lowering its saturation. Obviously this is unacceptable except that it shows that since detail at both extremes got recorded to the same raw file, it should be theoretically possible to make it look like I want. Or not? That's the question.
What appears to destroy the moon the most is correcting the temperature to get the orange snow reflection. Another way of looking at it: since my eyes had no trouble seeing this scene live, and the camera was able to record this detail, there should be a way to render it. I don't take a lot of landscapes so I don't know. Any ideas? or am I out of luck?
Thank you in advance for any input.