Participant
June 6, 2025
Answered

Revert to Original - white balance is not the same as original

  • June 6, 2025
  • 2 replies
  • 373 views

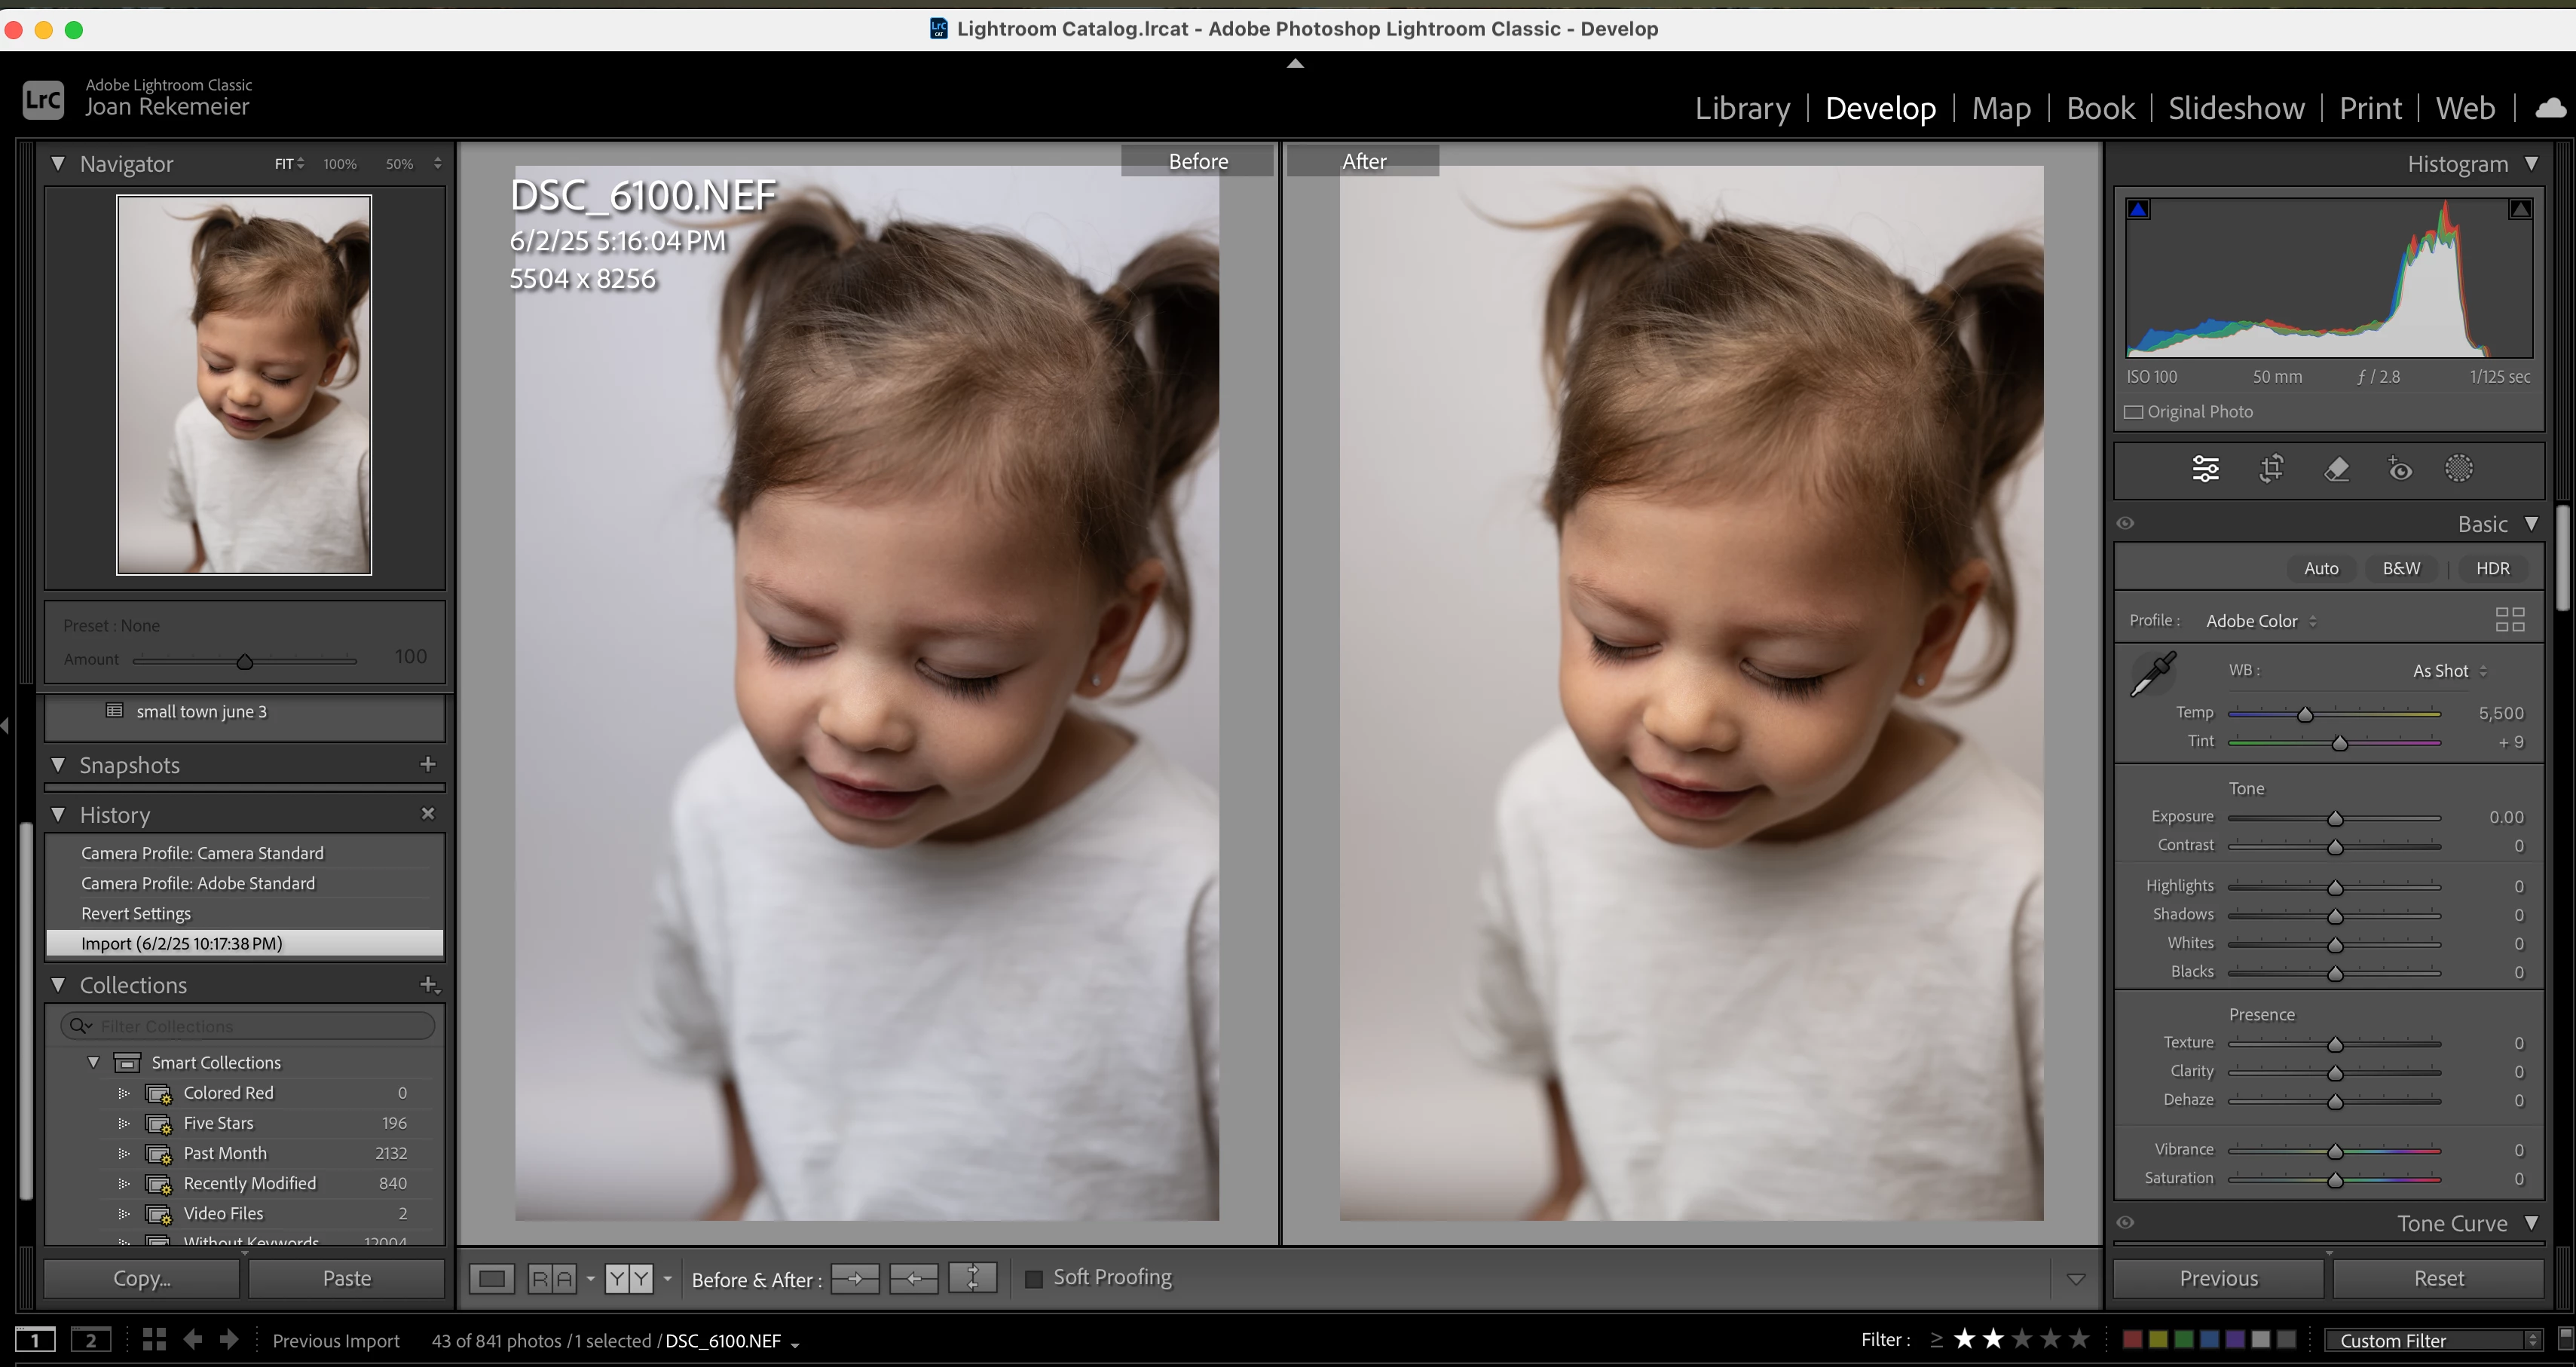
I am clicking on "revert to original" and the new "original" does not have the same white balance as the original.  But if you look at the white balance section of the module, it shows "as shot".  But clearly looking at the original and the "revert to original" images side by side you can see that they are NOT the same color.

Correct answer drtonyb

@joanr76089777 


Your History tells me that after Import you have clicked on the "Copy Before's settings to After" button, changed Profile to Adobe Color, changed Profile to Adaptive Color, then clicked on the Import step in the History panel.


I think the best way to resolve this is Remove the photo from LrC and Import it again so you can start over.


2 replies

Legend
June 6, 2025

@joanr76089777 


My suggestion is only for the one photo that you provided, not your whole catalog. I suggested this because the photo has no edits that can't be easily redone.


You said 'I am clicking on "revert to original"...'


This is no "revert to original", so what are you clicking on?


If it is this button in the Before/After view


as I think it might be, that is not what this button does.

Noel Orridge
Community Manager
Community Manager
June 6, 2025

Hi @joanr76089777, Thank you for reaching out! In addition to what drtonyb has pointed out, the color difference is due to Lightroom applying the Camera Profile. Your reverted photo uses the Adobe Color profile, while your camera's original preview (the warmer Image) was created using Nikon's internal color processing. Even with the same "As Shot" white balance settings, different profiles will render the colors differently.


Try using Camera Matching Profiles to get a result closer to the white balance in which your camera shot the image.

  • In the Develop module, go to the Basic panel at the top.
  • You will see the Profile is set to "Adobe Color". Click on it.
  • This will open the Profile Browser. At the top, look for a section called "Camera Matching".
  • Inside "Camera Matching," you will find profiles that Adobe has designed to emulate your Nikon's built-in Picture Controls (e.g., Camera Faithful, Camera Landscape, Camera Neutral, Camera Standard, etc.).
  • Try selecting the "Camera Standard" profile. This will most likely give you a result that is very close to the warmer, "original" look you are expecting.


Let us know how it goes!

Cheers!

Noel
drtonybCorrect answer
Legend
June 6, 2025

@joanr76089777 


Your History tells me that after Import you have clicked on the "Copy Before's settings to After" button, changed Profile to Adobe Color, changed Profile to Adaptive Color, then clicked on the Import step in the History panel.


I think the best way to resolve this is Remove the photo from LrC and Import it again so you can start over.


Participant
June 6, 2025

Shouldn't I be able to click on reset and the image will go back to the raw file as I originally imported it?  I have hundreds of images and can't just remove and reupload if I change my mind about my edits.


Community Expert
June 6, 2025

It's a useful understanding IMO, that Reset does NOT claim to always return the image to whatever it looked like at first import. It is not a time machine. It just clears editing and imposes whatever "fresh" state it would otherwise have received, if it was being imported newly under whatever default processing settings, profiles etc are current.


So, if processing defaults or even Process Version have changed meanwhile, underlying profiles get replaced with newer versions slightly tweaked, or if as part of original import a preset was applied 'silently' in the "Apply During Import" panel of the import screen - a different look can be seen.