

How to quickly use Dodge and Burn in 3 easy steps!
Portrait editing: Use Dodge and Burn in Lightroom desktop
What are Dodge and Burn?
Dodge and Burn simply refer to lightening and darkening certain areas of your photo, respectively.
Why are they important?
When you lighten an area, you bring more focus to that part of the photo. When you darken an area, you take focus away from it. For example, you can brighten or illuminate a person's face (Dodge) and darken parts of the backgroud (Burn) which will make the subject stand out.
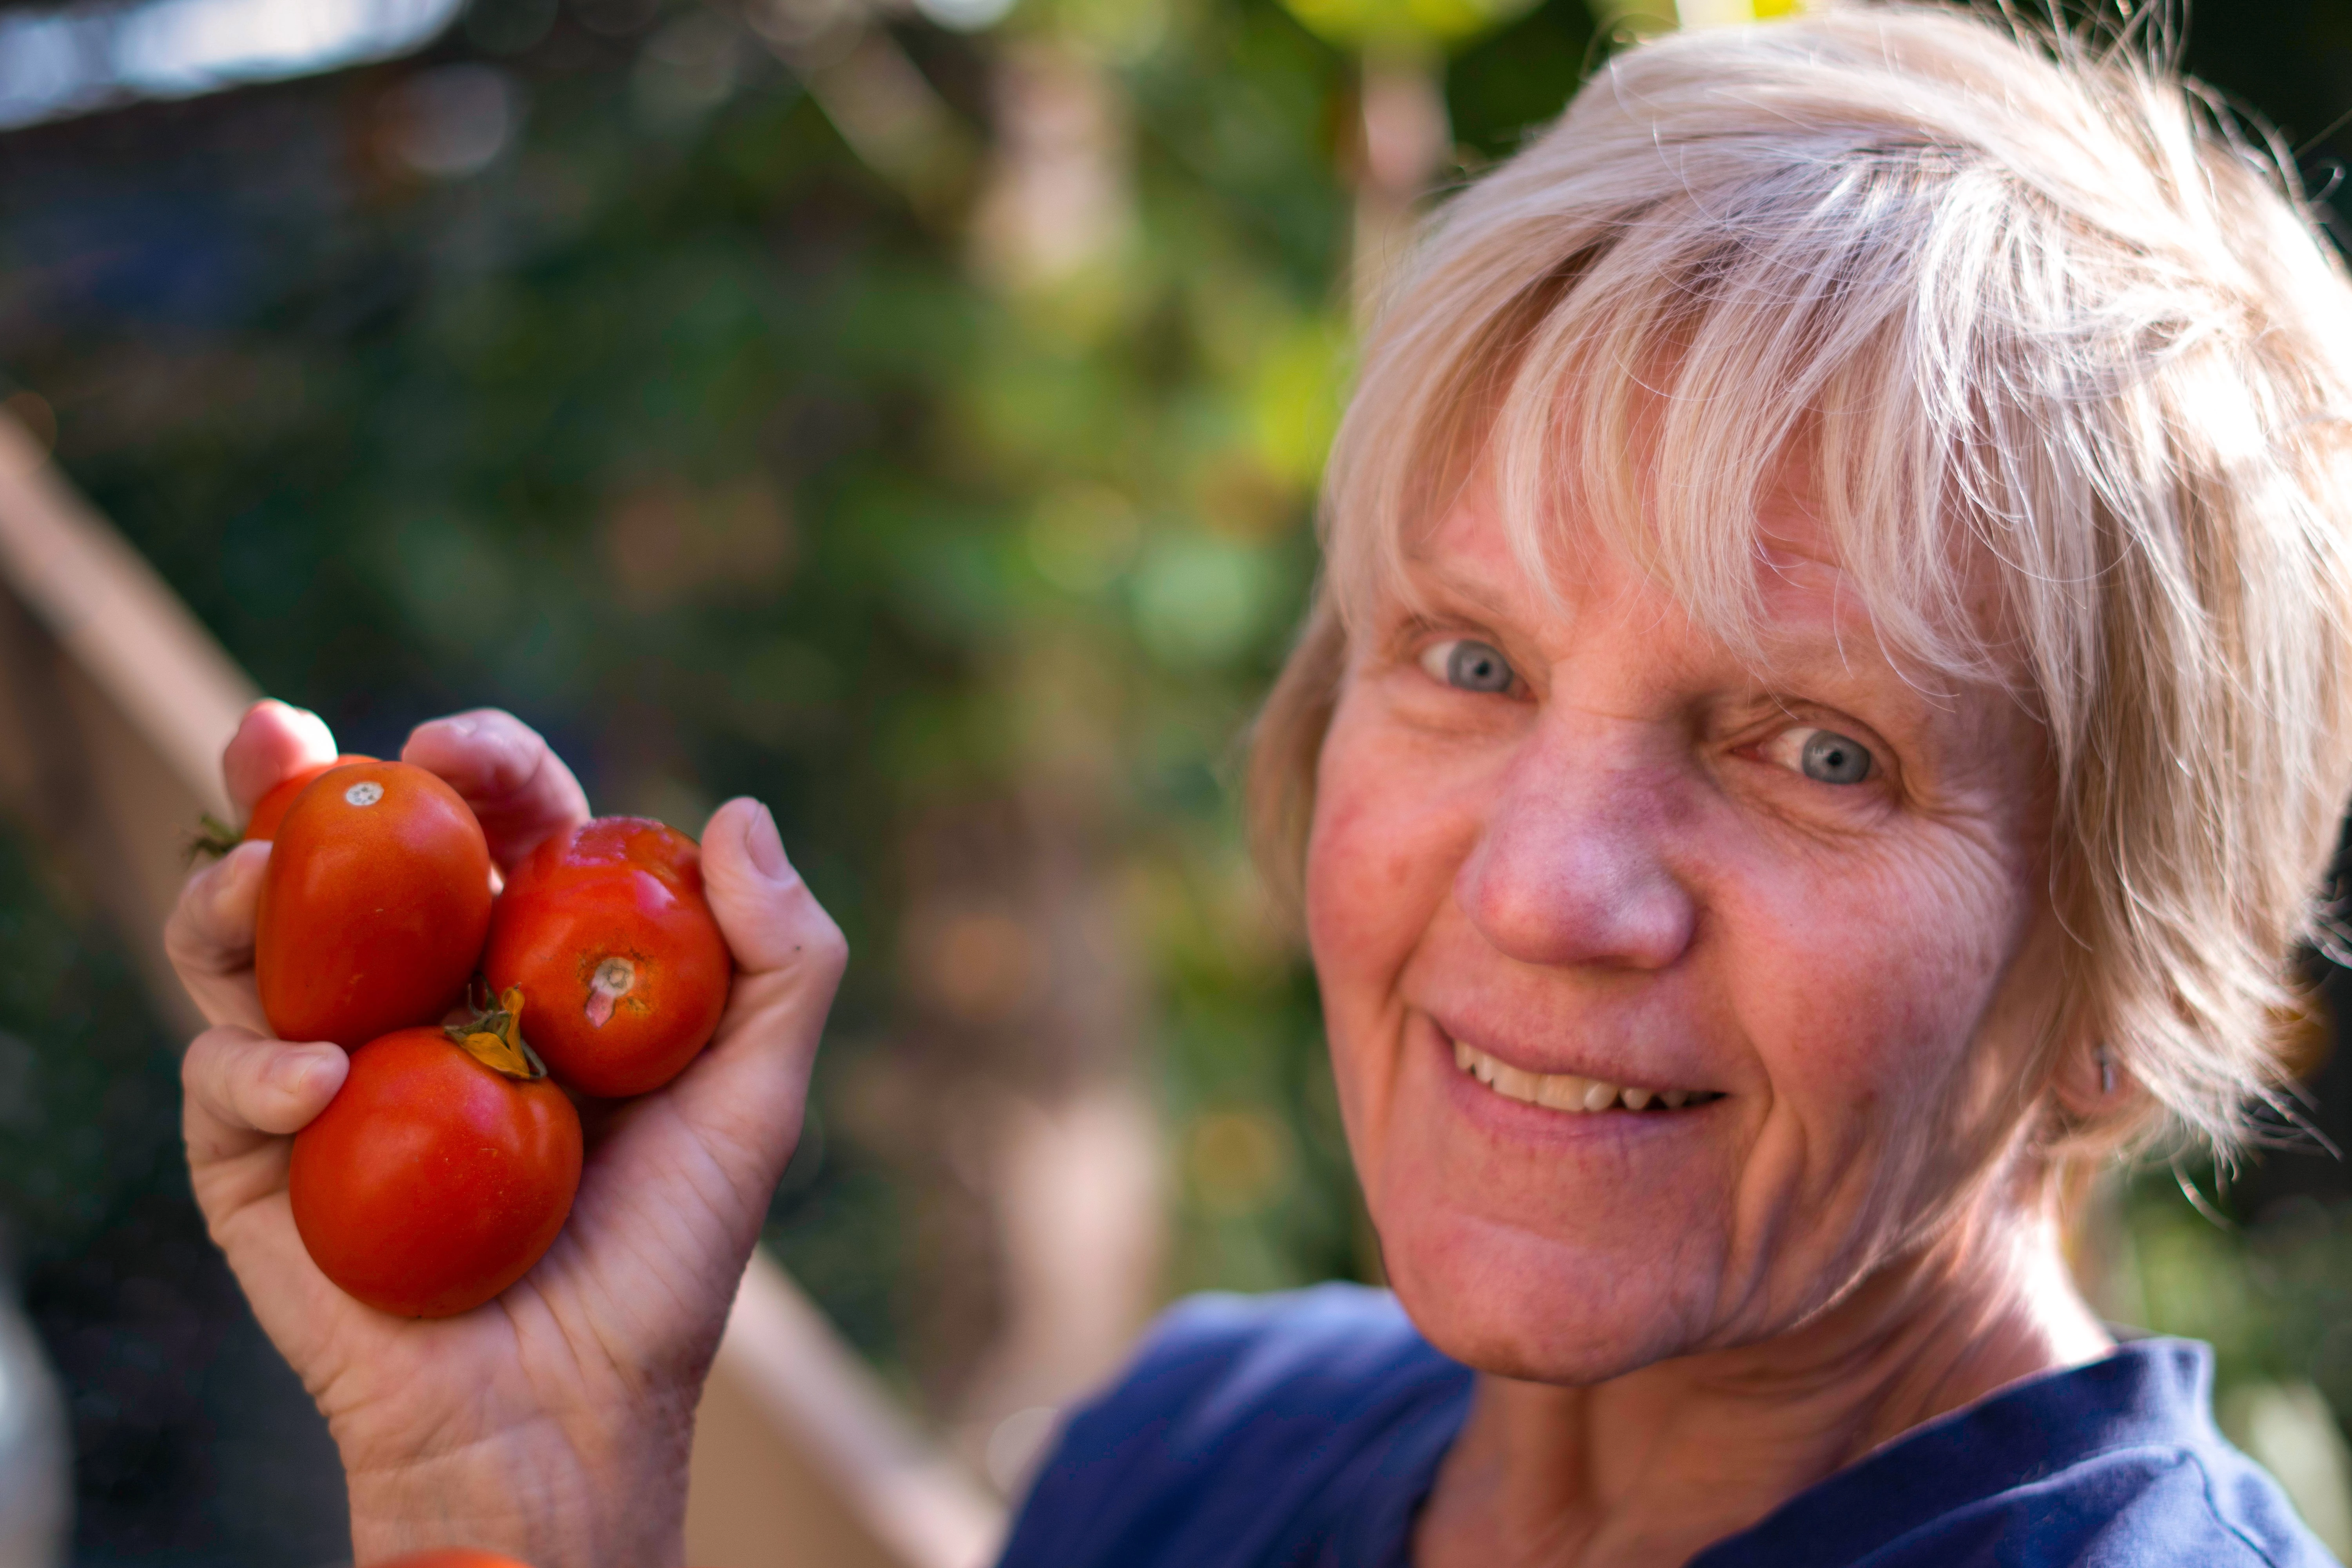
Let's apply Dodge and Burn to a portrait. Here's how the unedited portrait looks:
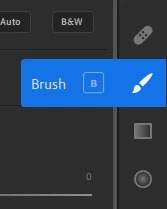
❶ Select a local adjustment tool
- In the right panel, select one of the following: Brush, Linear Gradient, or Radial Gradient. Here, let's select Brush or press B.
- For details on how to work with Linear and Radial Gradient tools, see Use Linear and Radial Gradient.
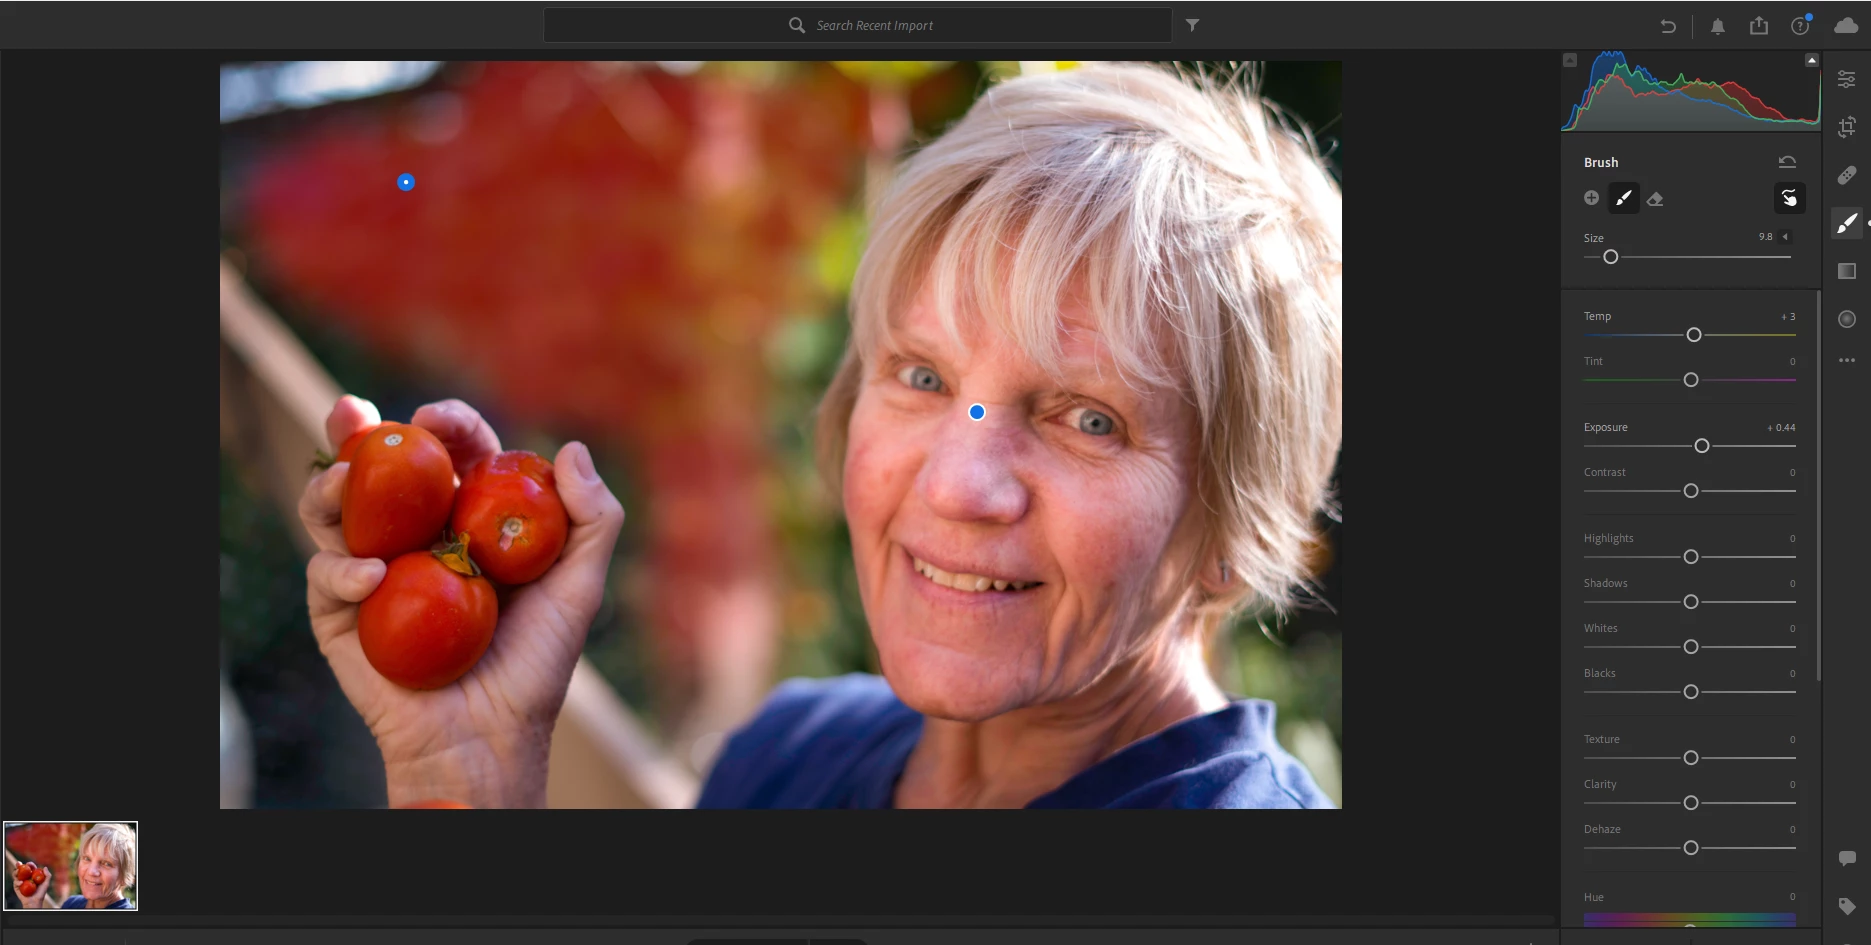
❷ Lighten an area (Dodge)
- In the Brush panel, use the Size slider to adjust the brush size.
- Make a selection to the facial area.
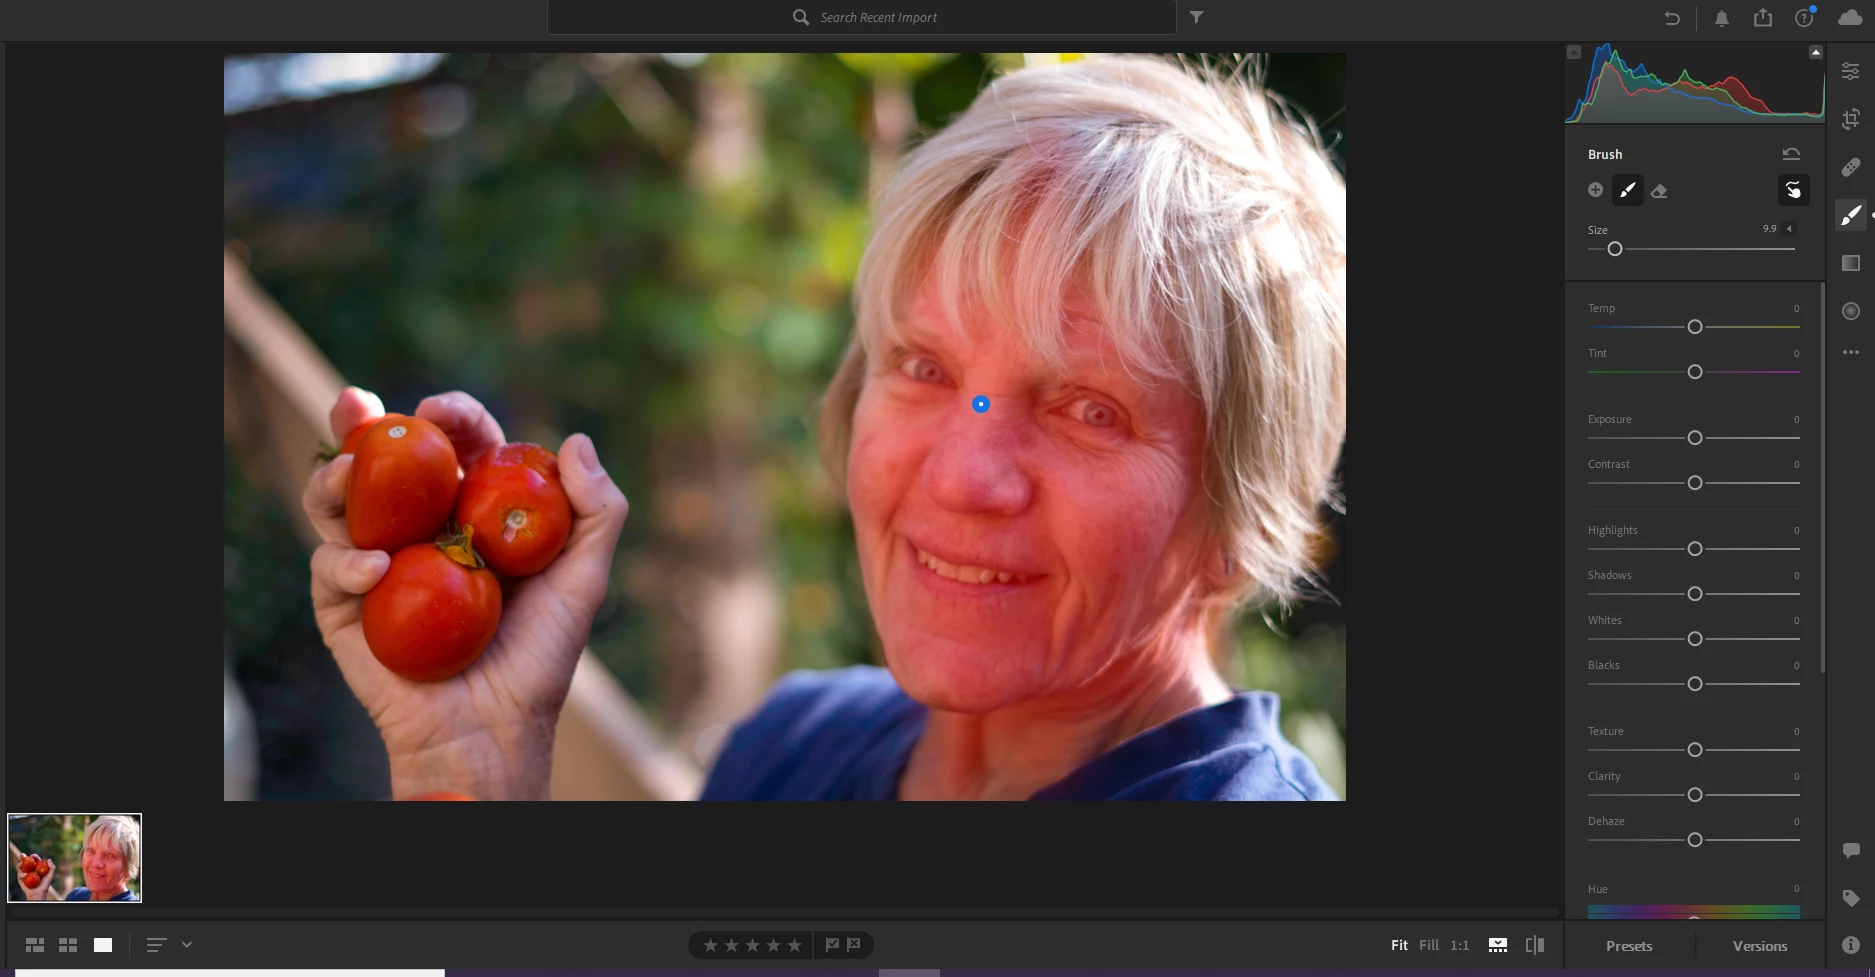
- Click Eraser and use the brush to clean up around the edges of the face to make the selection more precise.
- Move the Exposure and Temp sliders slightly to the right.

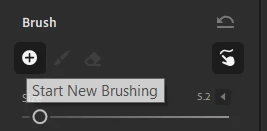
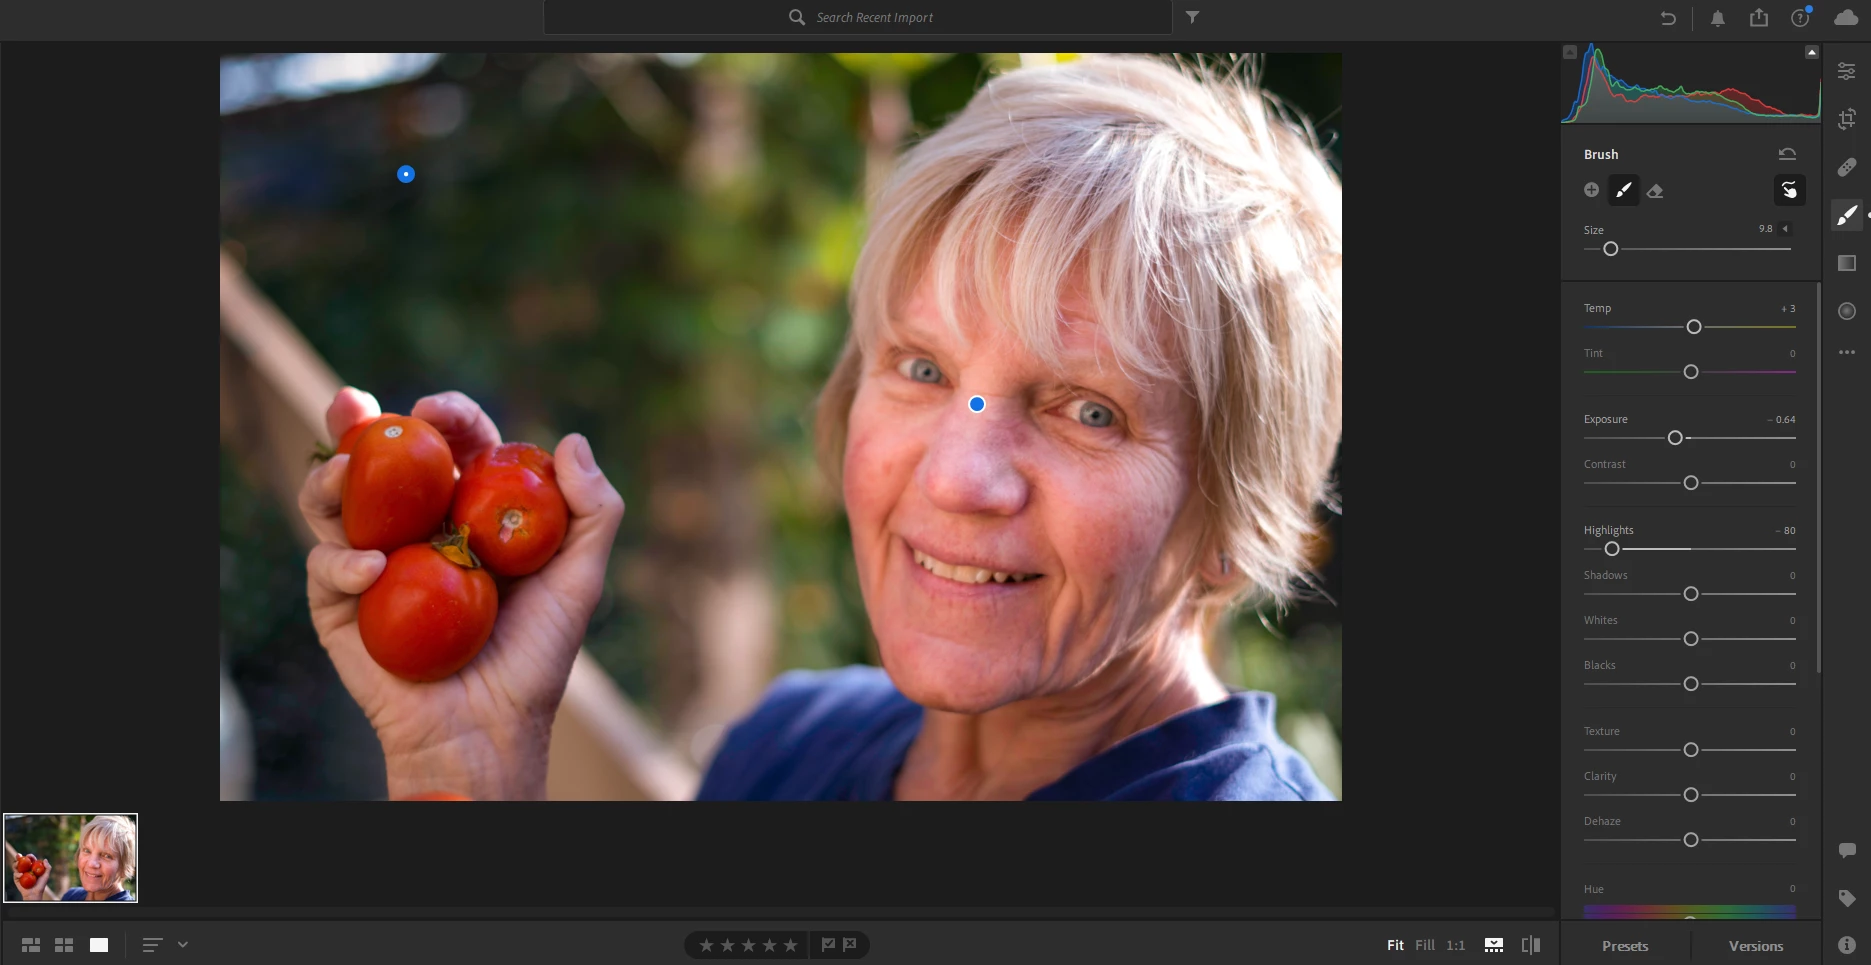
❸ Darken an area (Burn)
- Click the + icon to create a new mask.
- Adjust the new brush size using the Size slider.
- Make a selection in the background.
- Move the Exposure slider to the left.
- Move the Highlights slider to the left to further remove any bright areas.
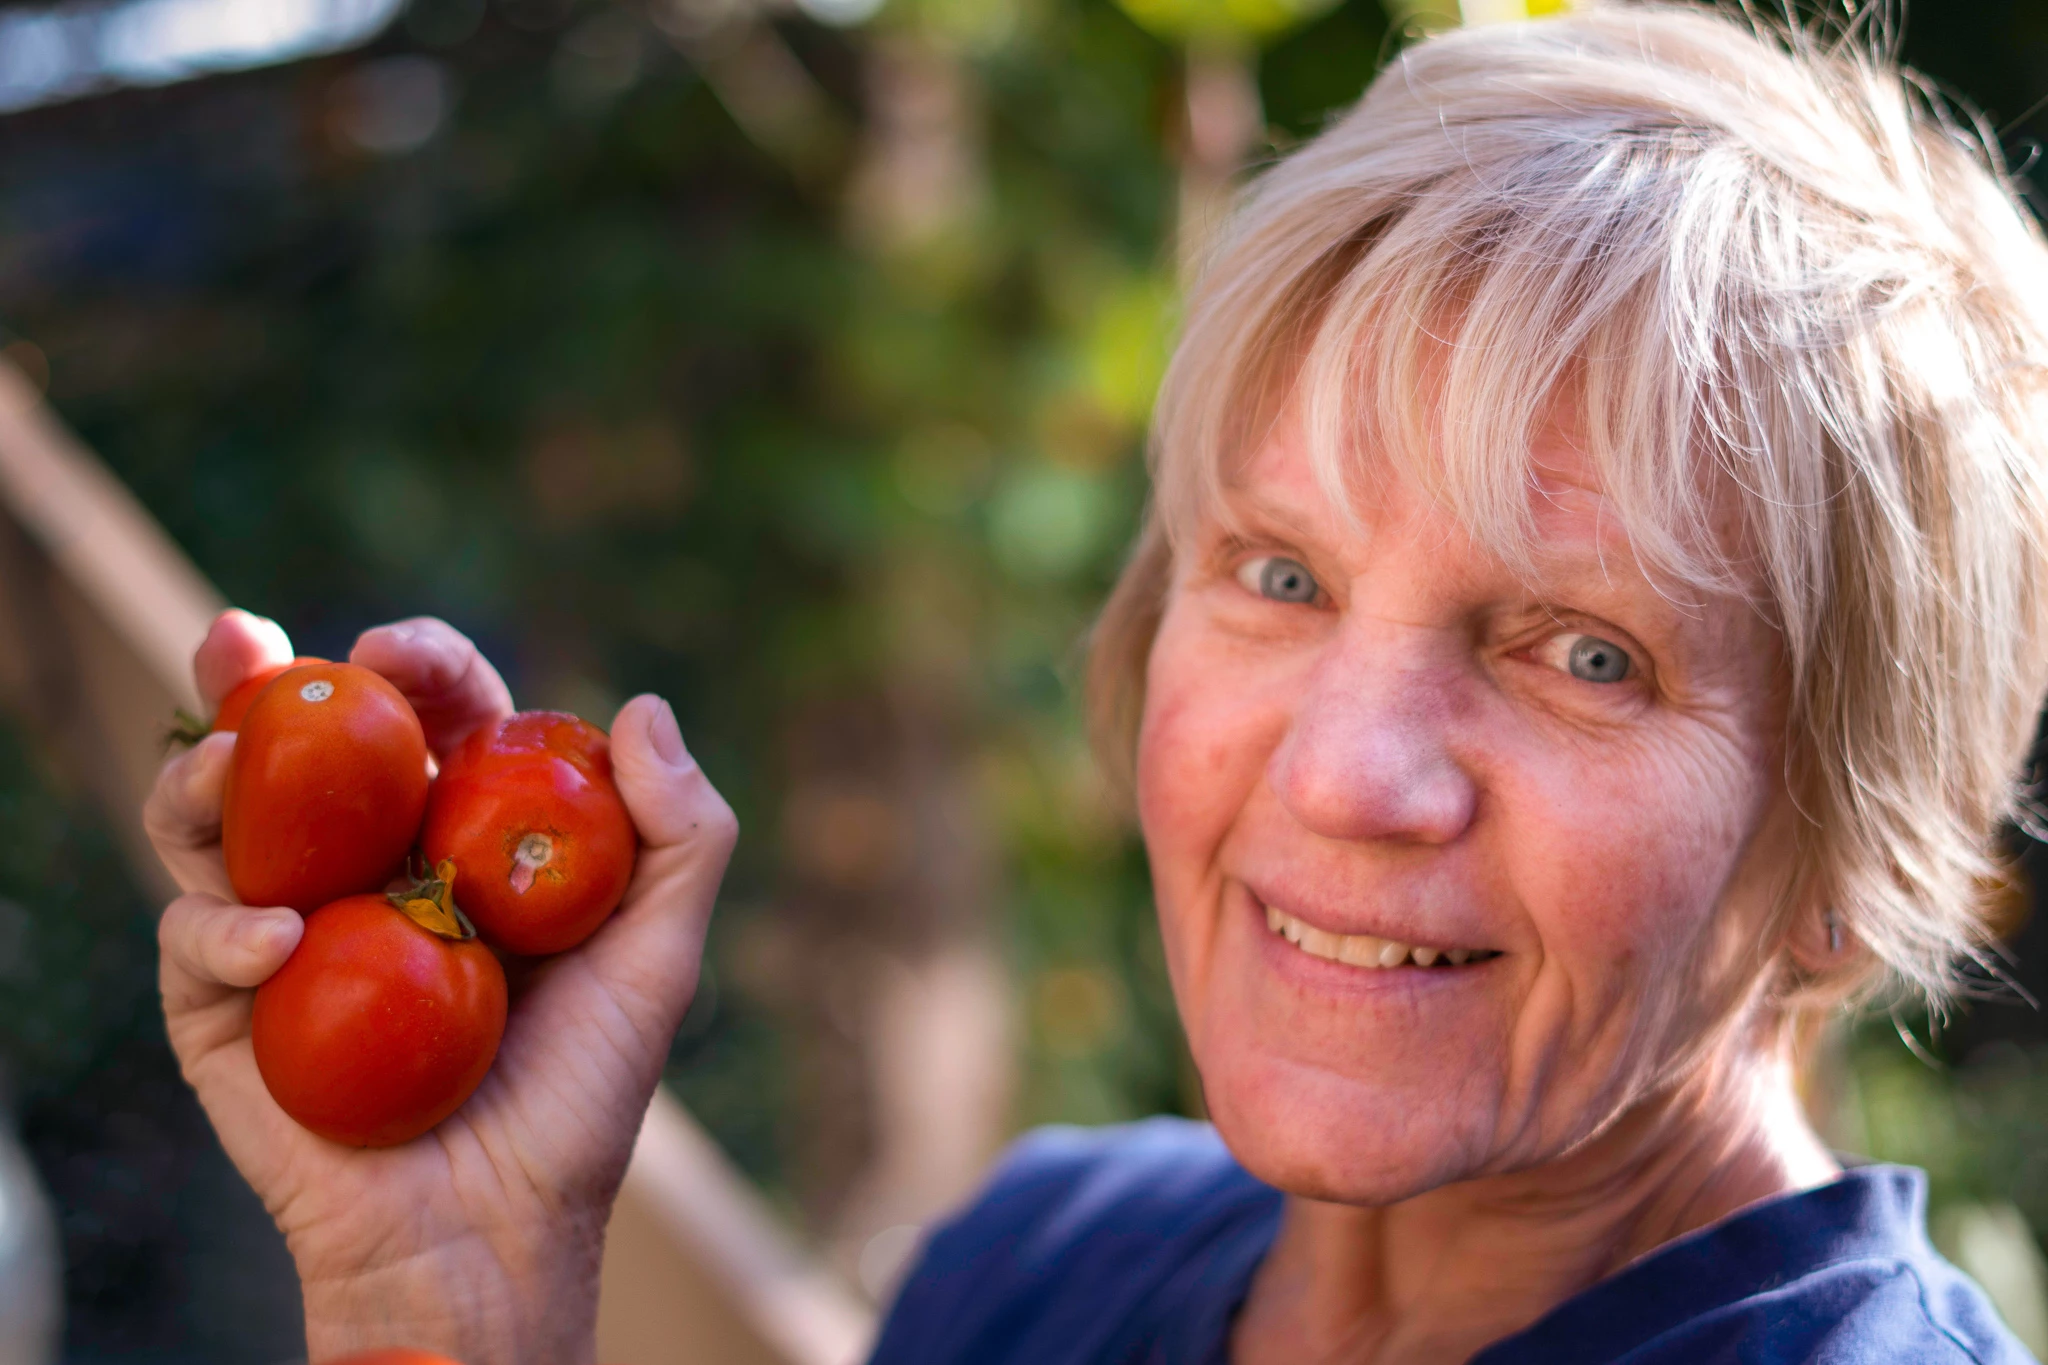
And, that's it!
Here's how the final portrait looks:
Let us know in the comments what you think about this workflow!
Related links:
Lighten and darken different parts of a photo
Click the link below to see the previous post or go back to Overview.
