Known Participant
June 10, 2019
Answered

How do create a mockup ---> insert an image into another image

  • June 10, 2019
  • 2 replies
  • 4345 views

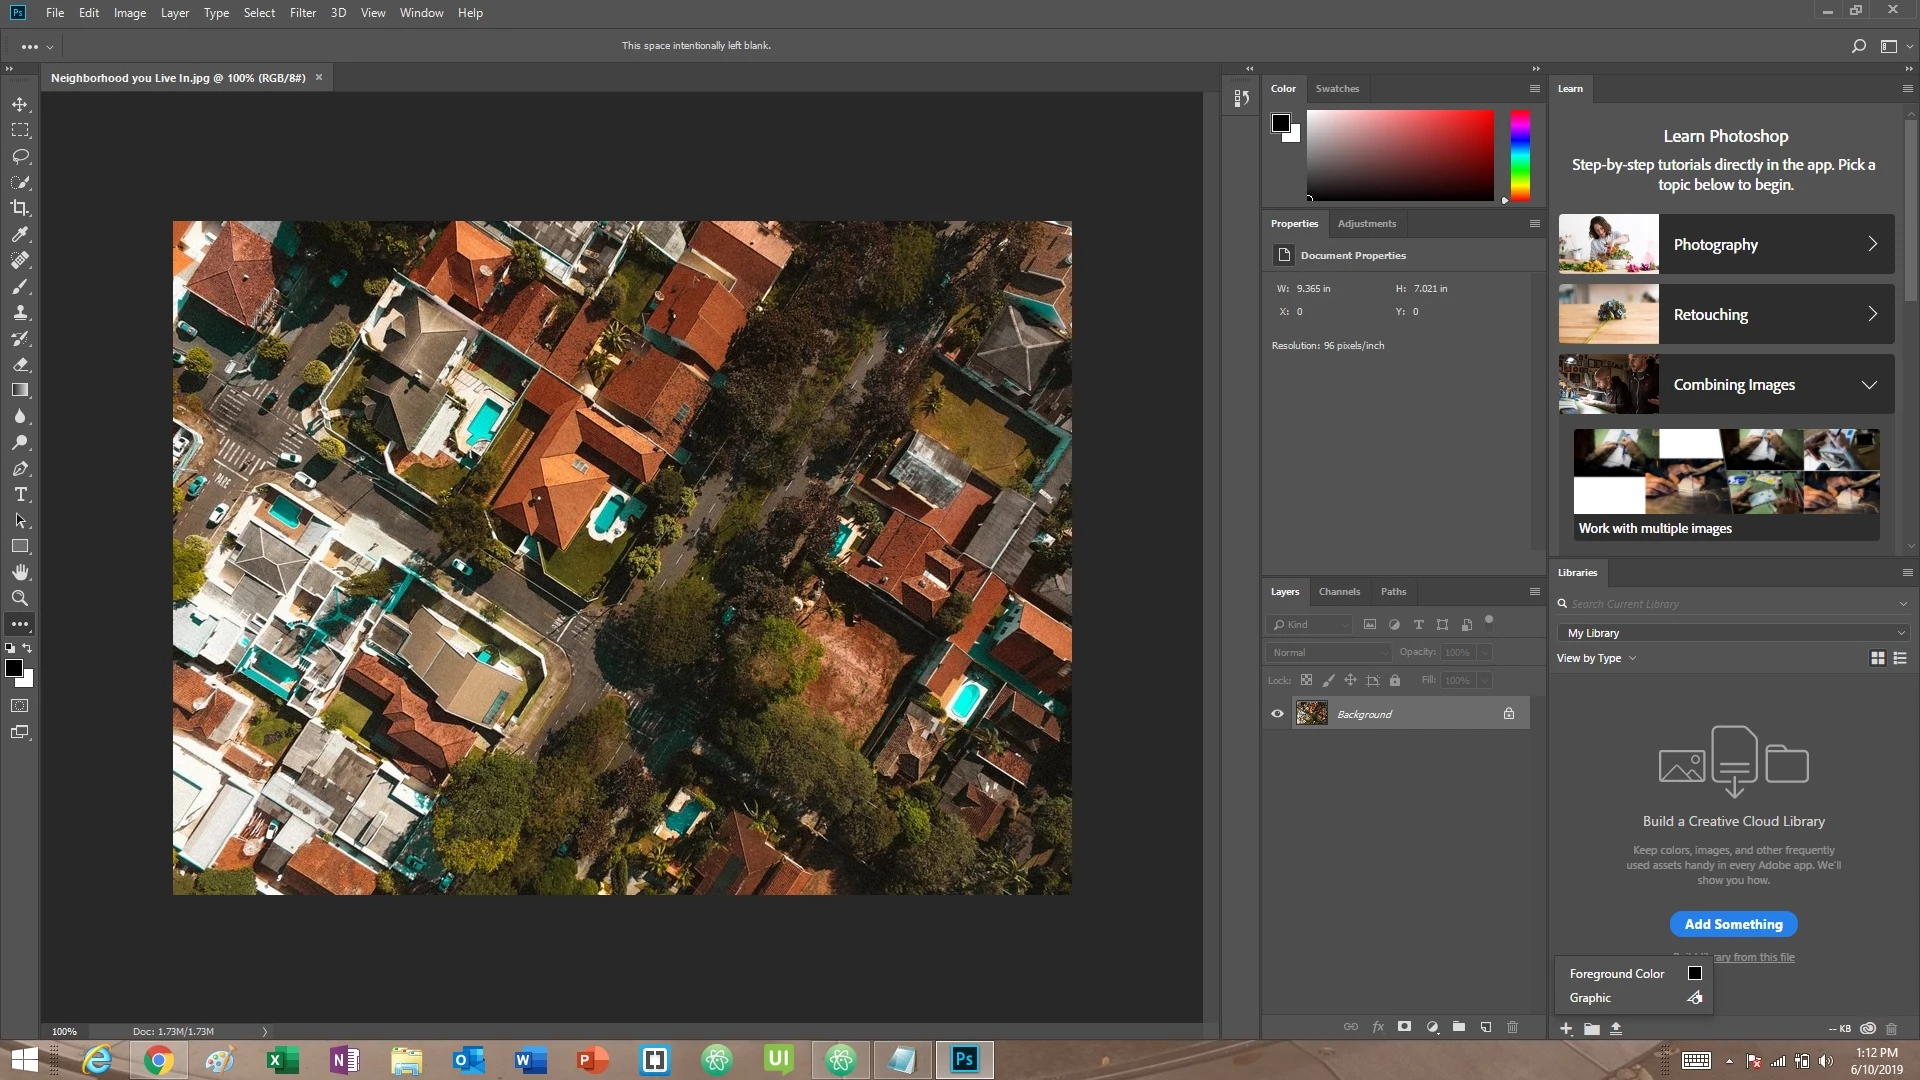
I'm using the following version of PS - Adobe Photoshop Version: 19.1.8 20190226.r.442 2019/02/26: 1205701  x64

I'm unable to use the newest version of PS

I just watched this video - How to Insert Your Images on a MockUp (Easy Tutorial) - YouTube

I'm a brand new user to PS and I don't know how to get the gridlines like the video shows

I'm on a pc

I just opened an image and the below image is of my photoshop screen. I can't find how to add gridlines

can someone help me?

This topic has been closed for replies.
Correct answer Sahil.Chawla

Hi Keith,

As you're looking to add Grid lines to the image, please Press & Hold the CTRL key and the Tap the letter R to open the Ruler,
Then you can simply drag the Grid lines vertically or horizontally from the ruler section as shown below:

Hope this helps.
Regards,
Sahil

2 replies

Norman Sanders
Legend
June 10, 2019

If you want to follow the  instructions in the video, before you begin choose View > Rulers. From the rulers now at the top and side of the image drag out the reference lines that were are referred to.

An alternative to the method described, consider the following,

1. Choose the Podlygonal Lasso tool (it is nested with the Lasso tool). Click and drag touching the four corners of the white area that will hold the new image. You will see a marching ants tilted rectangle.

2. Open the new image.  Its proportions should be similar to the white panel area proportions. If not crop as needed. Then Select > All.  Edit > Copy.

3. Return to the original image. Choose Edit > Paste Special > Paste Into. The result is the bottom left image

4. Choose Edit > Transform > Rotate so that the tilted image content aligns with the iPad black frame. Don't OK yet. (Fig 3)

5. Choose Edit > Transform > Distort and use the four corner handles to bring the four corners of the new image into the white frame area altering its size.  (Fig 4). Note the jntentional image distortion created by matching the tilt and twist of the iPad.

ALSO: If, because of the size of the new image, the Transform handles are outside the screen viewing area, use Cmd+0 (zero) to change the view so that the handles can be seen.)

Sahil.Chawla
Adobe Employee
Sahil.ChawlaCorrect answer
Adobe Employee
June 10, 2019

Hi Keith,

As you're looking to add Grid lines to the image, please Press & Hold the CTRL key and the Tap the letter R to open the Ruler,
Then you can simply drag the Grid lines vertically or horizontally from the ruler section as shown below:

Hope this helps.
Regards,
Sahil

Known Participant
June 11, 2019

Thank You. This worked