BDRANEY
Participating Frequently
June 4, 2018
Question

How do I get rid of the background image & change background color?

  • June 4, 2018
  • 2 replies
  • 535 views

Hello,

I have a study guide where we're assigned to do this task with the easiest method and I need help (yes, we're allowed to use online and forum help; it's a study guide for a graded test next week). The instructions are:

Delete the shoe in the background seamlessly so there is only one shoe. Now change the off-white background to a pure white background (#ffffff) and a pure black background (#000000). Do this with the easiest & practical method as possible. Explain your steps and process (<--- I'll do this explain part)

First I tried changing background with Fill Color but it changed part of the shoes. Then I tried Quick Selection tool but it won't select all of my shoes or their shadows. Then I settled with Select>Color Range and changed the background using this method... but it had some off-white pixels around the shoe that I had to erase manually. Is there a better method for changing the background color?

As for deleting the background shoe... I'm stumped. I used eraser tool and erased it manually, but I know I'll fail since this method is definitely impractical and I deleted some original shoe pixels (it also took me a long time).

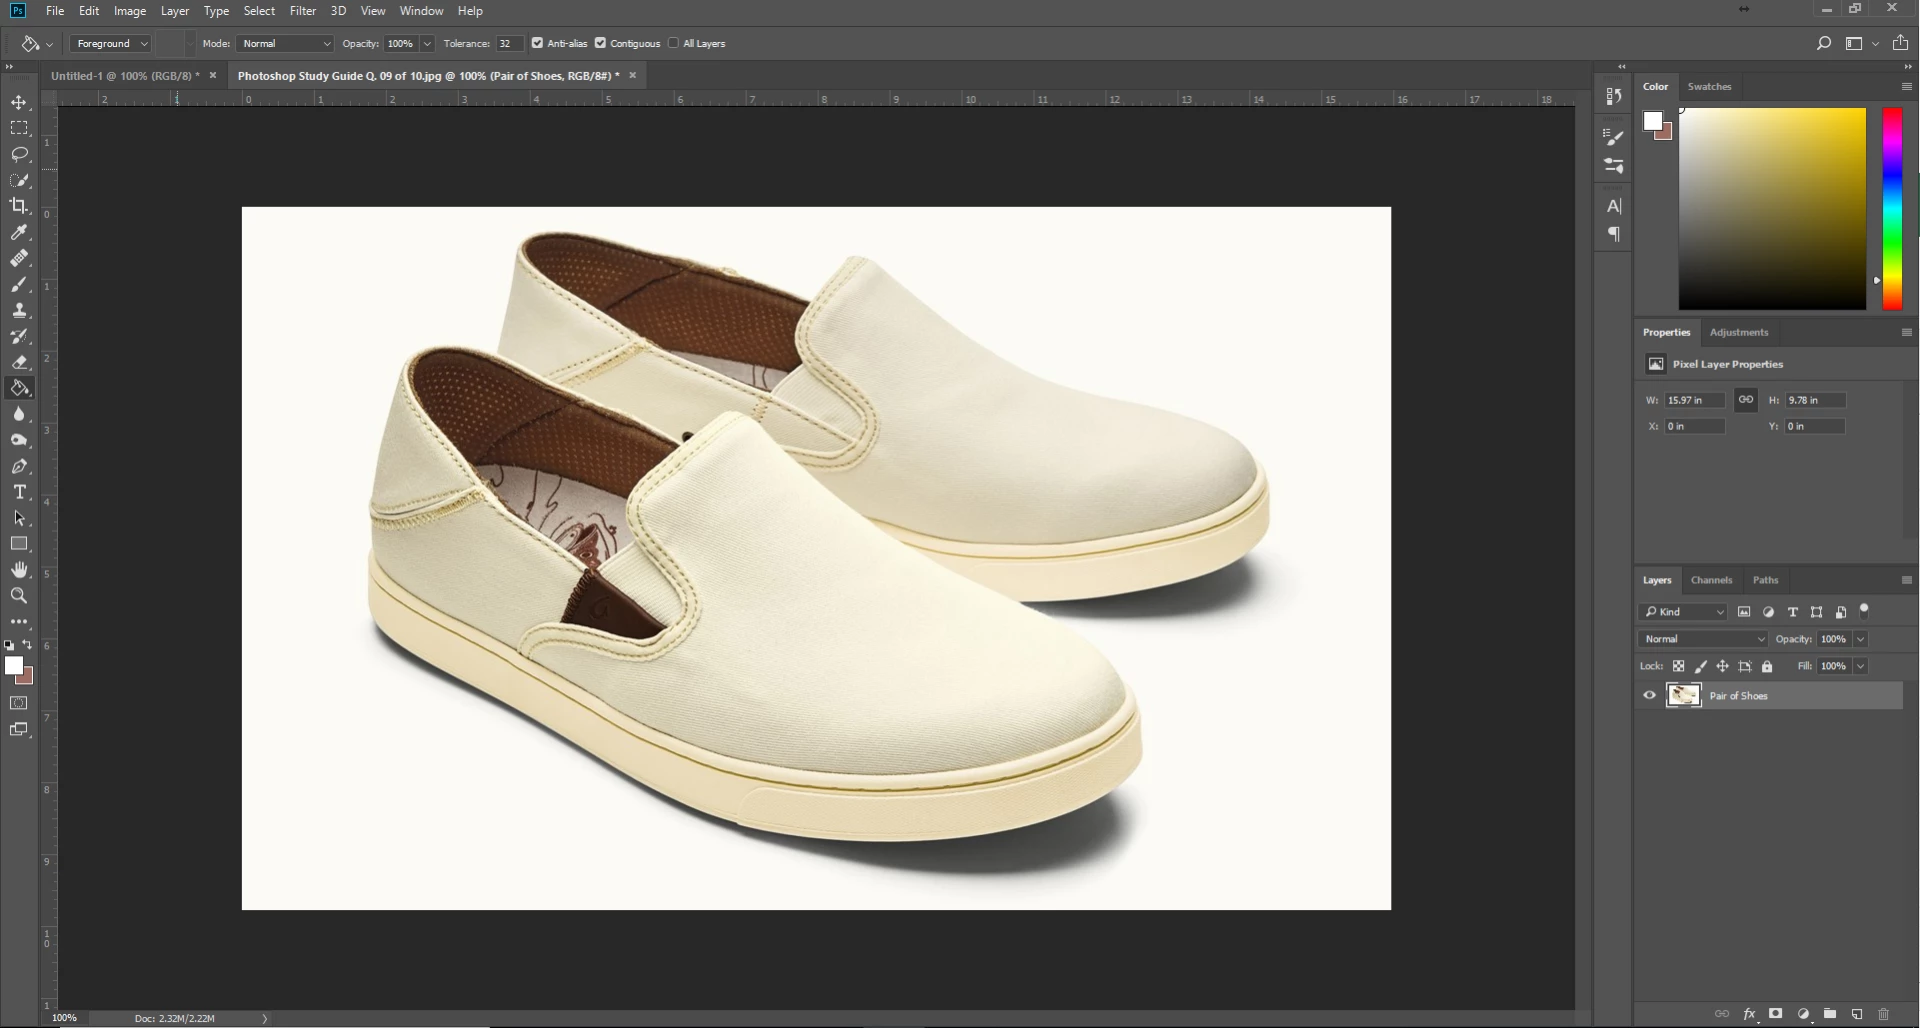
Here is the full screenshot of what I'm working with:

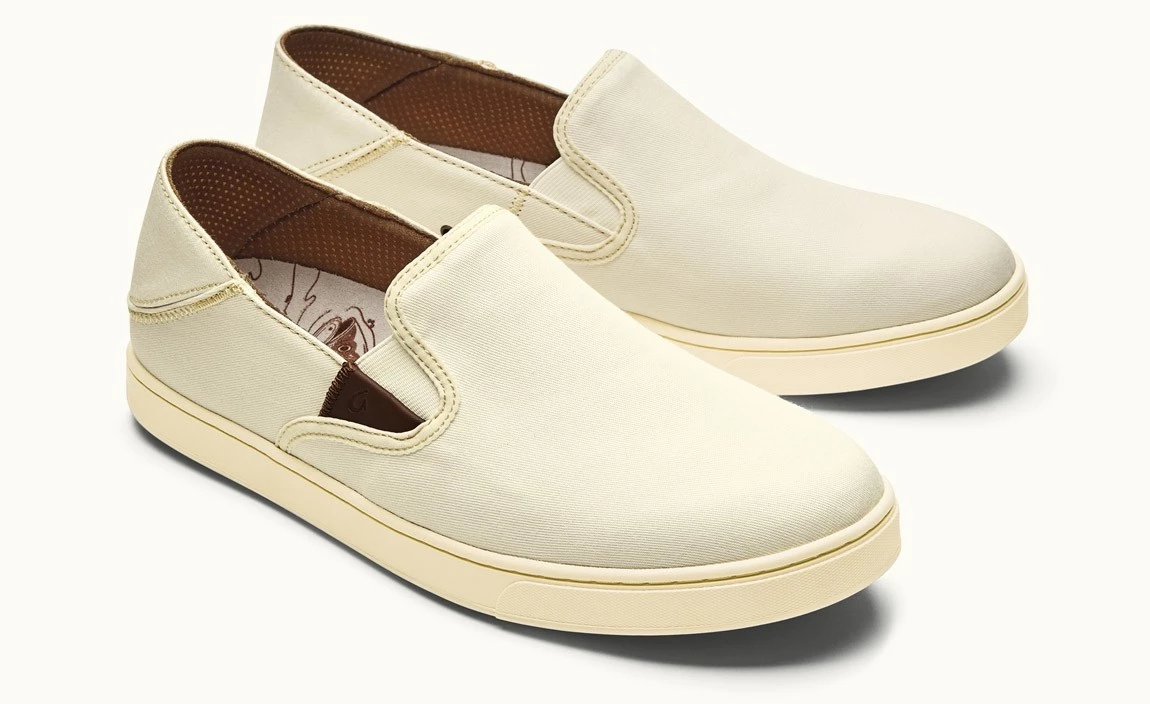
Here is original Picture:

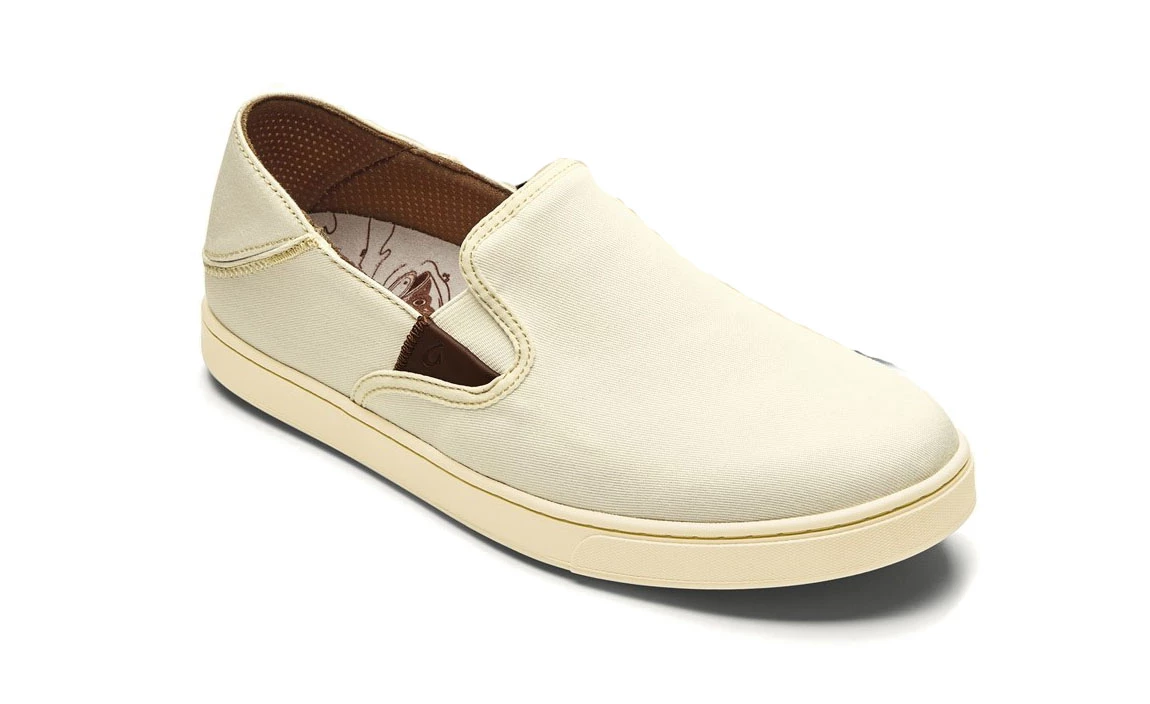
And here is one of my results of what I said I did which turned out a bit badly.

Thanks for reading. Please help me improve. I would love to learn about this. Thank you!

    This topic has been closed for replies.

    2 replies

    melissapiccone
    Community Expert
    Community Expert
    June 11, 2018

    There are a million ways to do this. I would use the pen tool to select the shoe in the background and then create a layer mask, or just delete it.

    If the pen tool is too daunting, use the quick selection tool as best you can, then take it into select and mask and finish it up using the paint brush in there.

    Then use Chuck's suggestion for background.

    Melissa Piccone | Adobe Trainer | Online Courses Author | Fine Artist
    Chuck Uebele
    Community Expert
    Community Expert
    June 4, 2018

    In the channels panel, duplicate the blue channel, this give the most separation between the shoes and the background. Use levels to increase the contrast to isolate the shoes:

    Using the brush tool set to overlay and black, refine the channel to make the shoes all black.

    Using Quick Selection tool, select the edges of the shoes where the shadow is:

    Going back to your copy of the blue channel, invert your selection and paint out the shadows with white using the brush tool:

    Add a solid color fill layer with the selection of your blue copy channel:

    Set the blend mode to multiply:

    Abambo
    Community Expert
    Community Expert
    June 11, 2018

    Chuck Uebele You still need to get rid of the second shoe...

    to do this task with the easiest method

    The pen tool as suggested by melissapiccone​ is not the easiest for me...

    I would:

    • create a layer mask
    • paint the layer mask with my black and white coloured brush
    • doing the background with solid colour fill layers (this seams to be unanimously the method to go... )

    This said, looking at the shoe, I think that melissapiccone​'s method is fastest in this case, as the shoe has quite uniform hard edges. Blending into the background (no object has really hard edges if you analyse photographs) can be done by applying a very small feather to the layer's mask.

    melissapiccone​ also suggests to optionally delete the background. Experience will show, that it is in most cases a good idea to work non-destructively as long as possible. In this case, with such a simple background there is probably no harm done, except if in a second step you would need to bring back the second shoe...

    ABAMBO | Hard- and Software Engineer | Photographer