How to Batch Export PNGs in Photoshop
Step 1: Open a file you want to convert / export to PNG
Step 2:
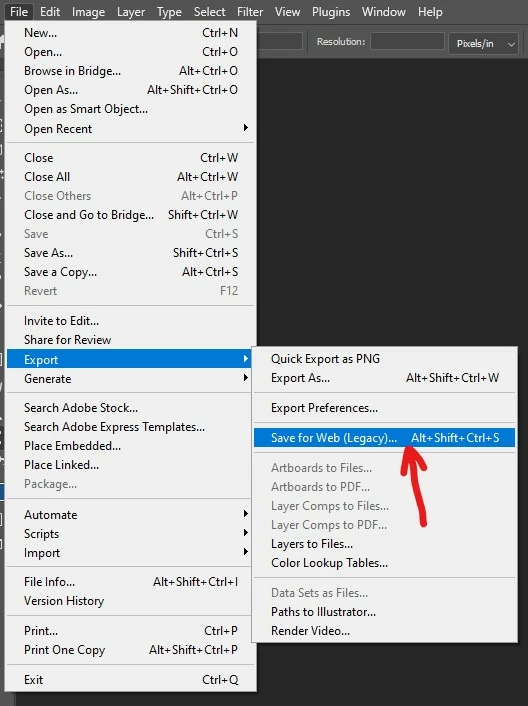
Create a new Action, then you MUST choose File ->Export -> Save for Web (Legacy). From my testing, no other export choices from the menu will work for making a PNG export Action.
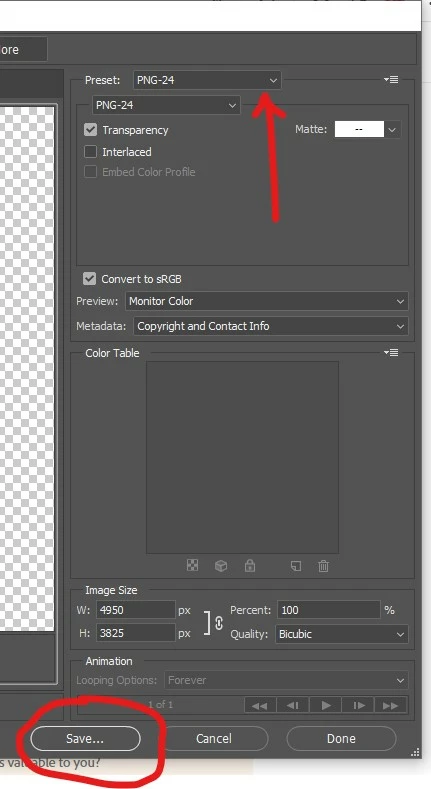
Step 3: Select PNG-24 preset, then hit SAVE.
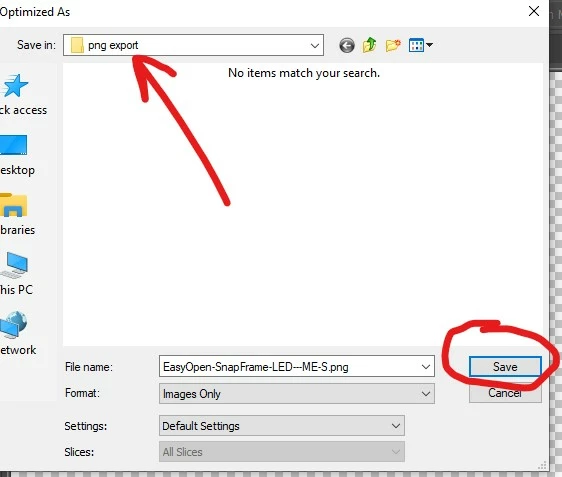
Step 4: Create and/or choose the folder you want to save the PNGs, then hit SAVE
IMPORTANT: The folder you pick here will ALWAYS be used for saving any PNGs exported when running the Action on a single file or using it for batch exporting. You'll need to make a new separate action if you want to have a different folder location when running the action.
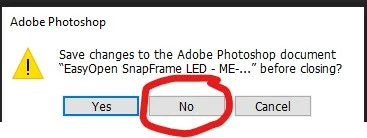
Step 5: Close the file and choose NO for the save changes UI window
Step 6: Go to Window -> Actions to reopen the Actions window, then hit STOP on the action recording for your PNG Export action.

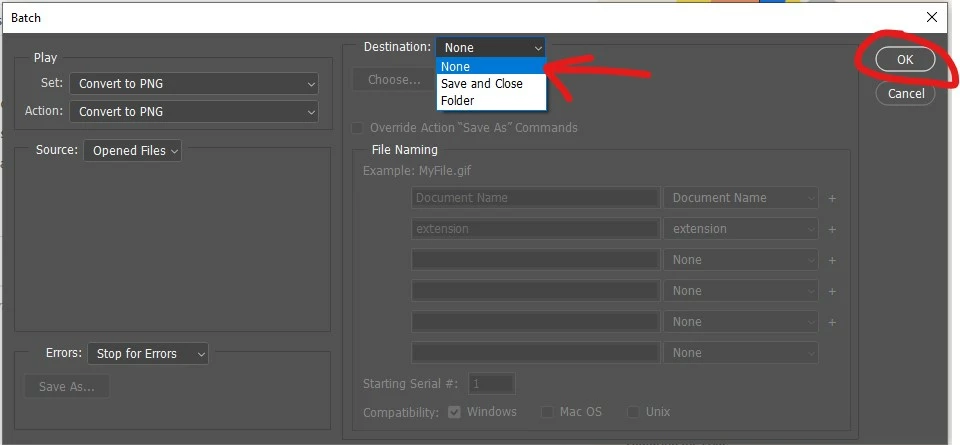
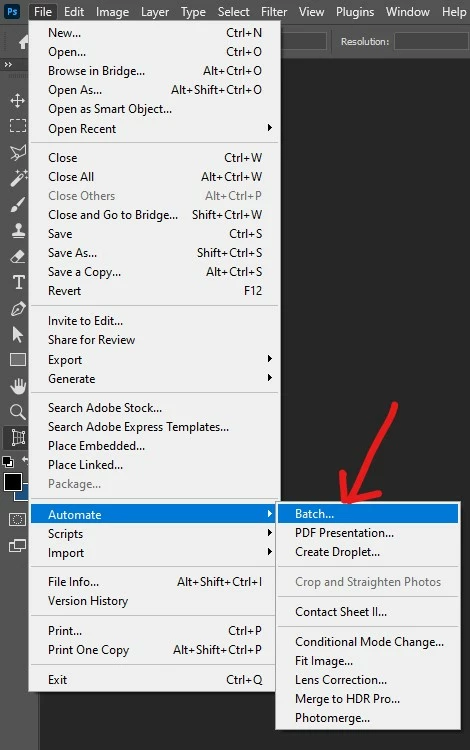
Step 7: Go to File -> Automate -> Batch
Step 8: Pick your action from the Set: and Action: dropdowns, and set your destination to NONE, then hit OK.
In the screenshot below, I happened to name my Action Set: Convert to PNG, and I also named the Action: Convert to PNG, but you can name them whatever you like of course.
(Note: Even if you pick FOLDER for destination, the exported PNGs will still go to the folder path set in the Action step no matter what.)