Inspiring
October 7, 2026
Answered

How to efficiently colour in an old black-and-white comic?

  • October 7, 2026
  • 12 replies
  • 81 views

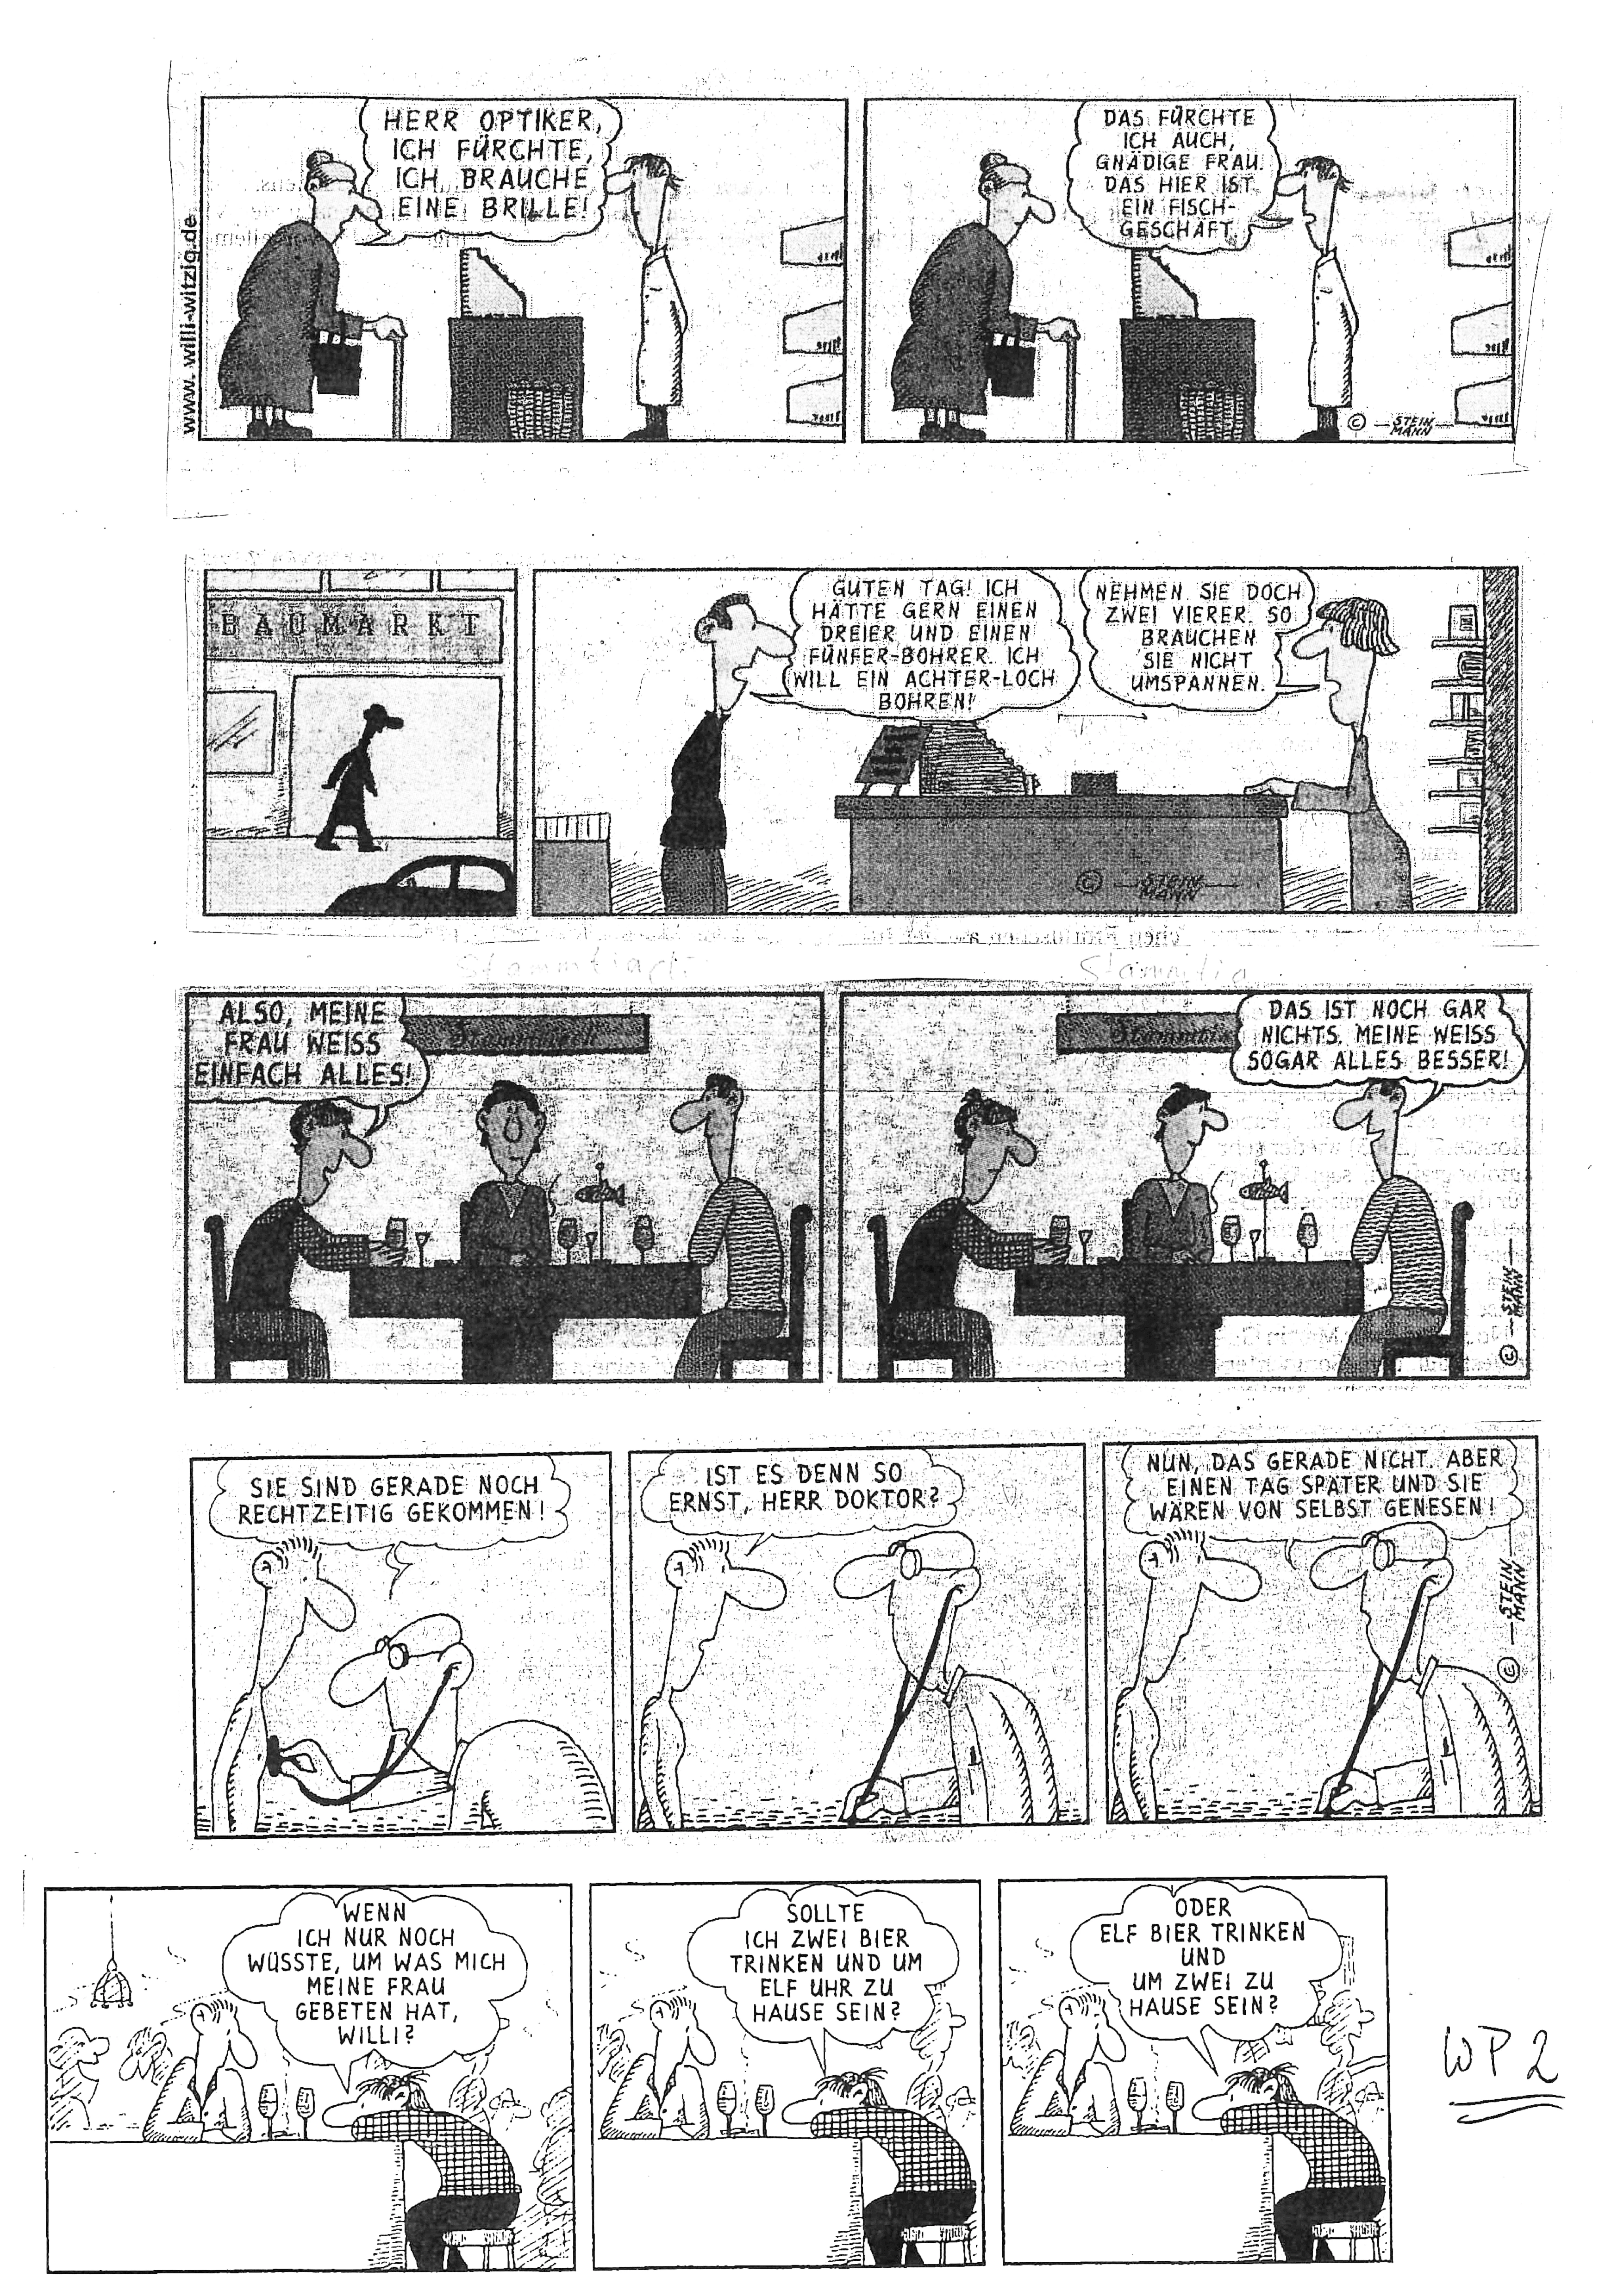
Trying to learn Photoshop, and wanted to turn an old black-white comic into something colorfull. Adding skintones, clothes colous and so on. The white spaces in the characters from the comic also have a lot of black grain inside of them, and some are grayed out so some characters are more grayscale while others are as white as the background.

Whats the most efficient way to do this? Just mark everything that needs colouring in with the Lasso and Alt+Backspace? Or is there a better way i am unaware of?


    Correct answer Gord@APL

    Been a few years since I did anything like this but, if you have the printed originals, I’d aim to get as clean a scan as possible to start with - play with the brightness and contrast at the pre-scanning stage for best results. You may also get better results if you put a solid black backing behind the originals, as that will help keep the contrast consistent across the entire image.

    I’d also tend to work in pure black and white rather than greyscale, so scan at 1200ppi, ideally.

    What I used to do was create a new layer for colours, below the linework, and set the linework layer to Multiply. That’s not ideal, though, particularly if you’re working with greyscale scans. Much better to work with transparent 1-bit/bitmap - wide areas that want a single colour, you can use the magic want on the line layer, switch to the colour layer, then fill (possibly expanding the selection by 1px first). Other than that, colour by whatever method suits you best - hand-painting if you have a tablet/stylus can be a lot of fun… Not so much with a mouse, though.

    If you end up wanting to colour the lines, make sure to switch on ‘Lock Transparent Pixels’ in the Layers window.

    12 replies

    Conrad_C
    Community Expert
    Community Expert
    October 7, 2026

    The Object Selection tool might help here because it doesn't just look for levels (like Magic Wand) or content edges (Quick Selection), it tries to recognize objects. These are the steps shown in the demo below:

    1. Select the Object Selection tool, and set it to Lasso mode so you can draw irregular selection outlines.
    2. Loosely surround the next object you want to color. The Object Selection tool selects what it recognizes.
    3. Color it. I created a Solid Color fill layer because it’s easy to edit later. This automatically converts the selection to a pixel mask for the fill layer that was created.
    4. Obviously the Object Selection tool did not select everything, so make another selection pass for the missed areas. Use standard add/subtract tool modes (the ones that work with all selection tools) as needed. 
    5. Make sure the Solid Color fill layer mask is selected, and fill it with white. I used the relatively new shortcut of clicking the Fill Selection button in the Contextual Task Bar, but you can just press the Fill keyboard shortcut if you’re used to that.
    6. Deselect. Again, although I know the traditional keyboard shortcut, in this case I found it easier to just click the Deselect button in the Contextual Task Bar.
    7. If anything else in this document needs the same color, just fill this same Solid Color fill layer’s mask with white in that area.
    8. For any other color, add another Solid Color fill layer.


    I suspect that most of the “grain” is simply ink from the other side of the newsprint being seen by the scanner, and I think Gord@APL’s tip of placing a solid black sheet or board behind the newsprint while scanning should greatly reduce that problem.

    If you combine the Object Selection tool with good selection/mask editing techniques, and better scanning technique, it should be possible for this process to go much faster.

    Not shown, because I forgot to include it: To remove the color from the eyeglasses, I used the same Quick Selection tool in Subtract mode and dragged around the eyeglasses, then filled the Solid Color fill’s pixel mask with black. 

    Inspiring
    October 7, 2026


    Yeah...i have noticed that the magic wand was not helpfull at all...i ended up using the color selector to remove the white from the comic to end up with just the outline, and set the layer of the lines to multiply. After that i went to painting in the areas as best as i could, 

    Still WIP, and i might need to think of a new way to colour in some areas that have less defined lines...ill definetly use your trick with removing the greys though!


    Derek Cross
    Community Expert
    Community Expert
    October 7, 2026

    Re the use of Photoshop for your colouring, you did use the word “efficiently” in your question. So for others viewing this thread you might prefer to colour a line drawing individually yourself, but you might need to consider whether, from a commercial point of view it’s worth spending many hours doing something that nowadays can be done very efficiently in minutes!

    Derek Cross
    Community Expert
    Community Expert
    October 7, 2026

    You can use the AI in Photoshop 2026. For this I used FLUX 2 pro.  (Make sure your image colour mode is RGB)


    Inspiring
    October 7, 2026

    I think i’d rather rely on my own skills to use photoshop rather than have something do the job for me. Im trying to learn how to use photoshop, not how to let someone or something else do everything for me

    Gord@APL
    Gord@APLCorrect answer
    Inspiring
    October 7, 2026

    Been a few years since I did anything like this but, if you have the printed originals, I’d aim to get as clean a scan as possible to start with - play with the brightness and contrast at the pre-scanning stage for best results. You may also get better results if you put a solid black backing behind the originals, as that will help keep the contrast consistent across the entire image.

    I’d also tend to work in pure black and white rather than greyscale, so scan at 1200ppi, ideally.

    What I used to do was create a new layer for colours, below the linework, and set the linework layer to Multiply. That’s not ideal, though, particularly if you’re working with greyscale scans. Much better to work with transparent 1-bit/bitmap - wide areas that want a single colour, you can use the magic want on the line layer, switch to the colour layer, then fill (possibly expanding the selection by 1px first). Other than that, colour by whatever method suits you best - hand-painting if you have a tablet/stylus can be a lot of fun… Not so much with a mouse, though.

    If you end up wanting to colour the lines, make sure to switch on ‘Lock Transparent Pixels’ in the Layers window.

    Inspiring
    October 7, 2026

    Thanks for the advice! Unfortunately scanning it wont be possible, this specific comic i only have in the variant i’ve shown above. Frankly i dread colouring in the badly scanned parts with the grayish areas.


    If i understand it correctly you are suggesting to seperate the linework from the rest of the comic by marking them via magic wand and/or color selector, then fill those black on a new layer to essentially create cleaner linework, so then i can colour it in below those lines with whatever method i feel fits? Or did i misunderstand it at a certain point?

    Gord@APL
    Inspiring
    October 7, 2026

    Not quite separate the linework but, if you don’t have access to the originals to re-scan, I think using the existing scans as Multiply layers over the top of a new colour layer is likely to be the simplest option.

    I’d recommend playing with the Brightness/Contrast and Levels of the greyscale images to clean them up as much as possible. This will get you as close as possible to the bare linework, reducing the presence of any actual greys without overly affecting the crosshatching. You can then manually erase the worst, most stubborn grey or mottled areas.

    The magic wand tool probably won’t be a great deal of use - it’s rather an outdated tool, and very fussy to use.