Participant
July 10, 2026
Answered

How to remove creases from paper in Photoshop

  • July 10, 2026
  • 13 replies
  • 216 views

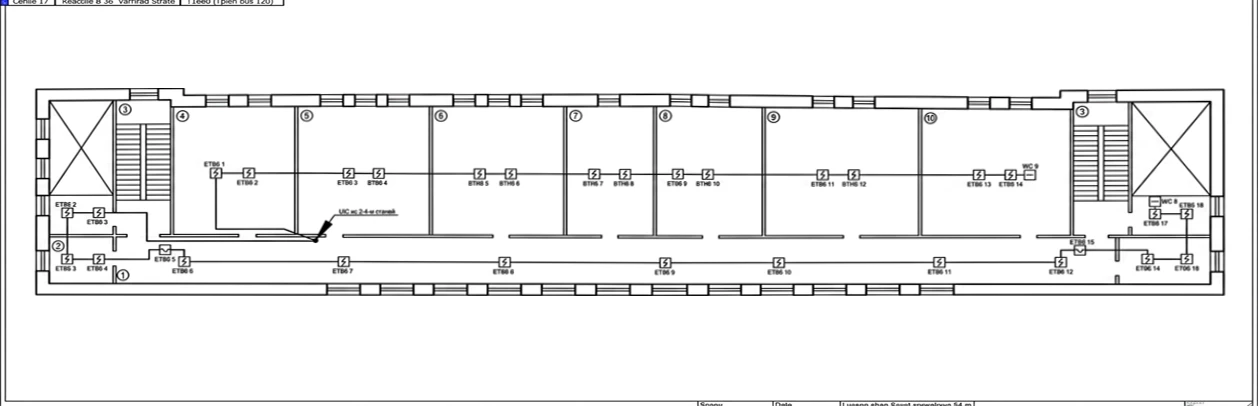
I was given a lot of photos of diagrams and asked to remove the creases so they would look a bit flatter. How can I do this in Photoshop?
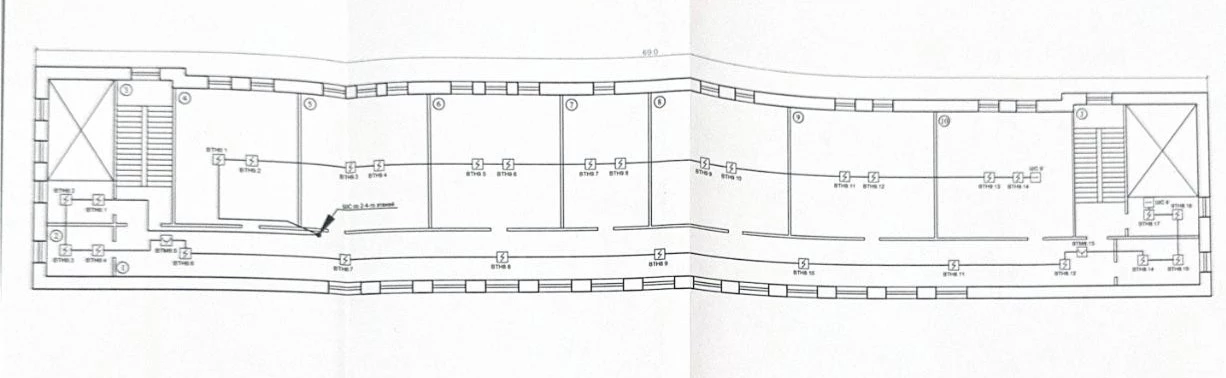
The photo shows an example of creases.

    Correct answer Trevor.Dennis

    I think this would have been somewhere between very difficult to impossible to do with Photoshop a year or two ago, but I think the Generative Ai tools might do it.  I am going to try with the following Prompt using Flux 2 Pro (because it is supposed to be the best model when text is involved)

    remove the creases in this scanned document. make the lines perpendicular to the image boundary. 

    Nope. That didn’t work
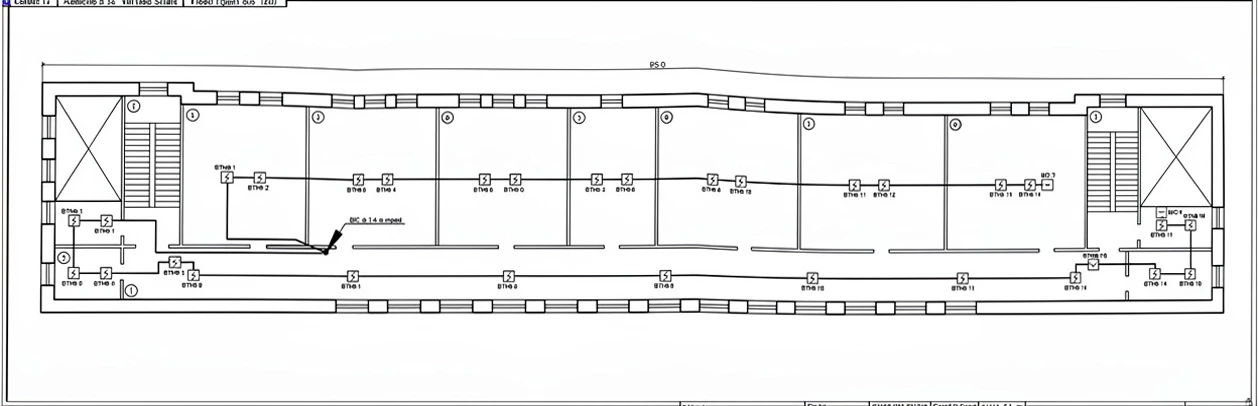
    I’m going to try again using Gemini 3.1 Nano Banana 2 with a different prompt:

    Straighten the lines in this scanned document. Fix the distortion making the lines straight and square to the image boundary. Remove the shading making the background white. Improve the contrast. Sharpen.

    Better, but the drawing is more narrow on the right.
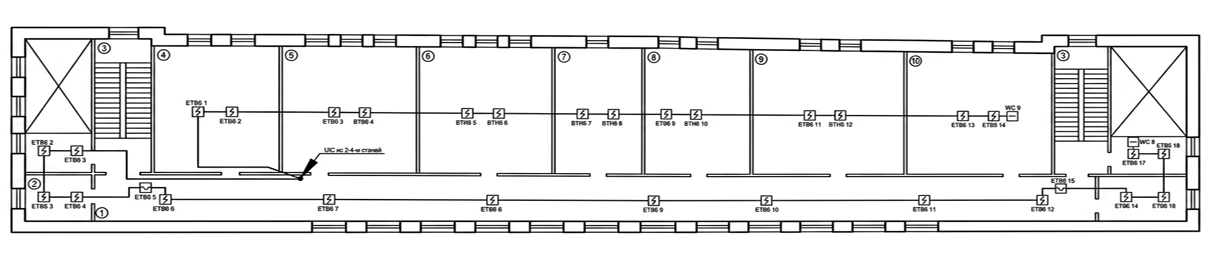
    I’m going to fix that with Perspective C+rop.

    Note: I had to Duplicate the layer to a new document as Perspective Crop would not work with the Generative layers in the document.  I could have deleted or rasterized those layers as an alternative.
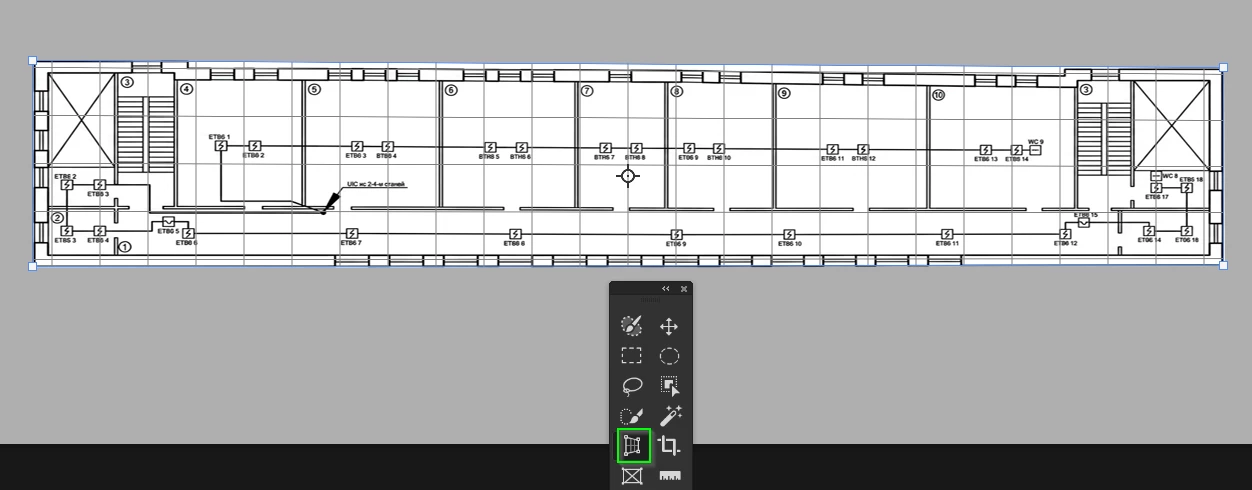
     

    And we are there.  Strange thing… my eyes are telling me the drawing is rotated slightly clockwise, but aligning Guides with the drawing shows it to be perfectly straight.  Is anyone else seeing that?
     

    13 replies

    D Fosse
    Community Expert
    Community Expert
    July 14, 2026

    The only possible way to do this is Edit > Transform > Warp, in sections.

    As you can see this isn’t perfect, especially close to the folds, so you may need two passes:


    c.pfaffenbichler
    Community Expert
    Community Expert
    July 14, 2026

    A little Liquifying (as a Smart Filter) could also be employed. 

    Inspiring
    July 13, 2026

    Adding a tip for removing the crease, as I do this quite often. 

    Using selective color, select the background or the text/lines. Use the color selection range so you’re getting the line work and text, but not the background, or visa-versa. Use command+J to put the linework and text on its own layer. It won’t always be perfect, but often it is. 

    If you have sufficiently selected the text and lines, you can take the background layer and fill it with white. This not only removes the creases, but cleans up any light falloff throughout the document. 

    You may want to make two layers using selective color. One for the background, and one for the text/lines. Then you can clone out or use the healing brush to remove the creases and not affect the text. 

    Once this is done you can proceed to fixing the lines so they’re straight using some of the other examples here with warp tool etc. 

    Nancy OShea
    Community Expert
    Community Expert
    July 13, 2026

    This is very challenging because you have both peaks & valley creases to deal with. The shadows & displacements are reversed.  Work with one area at a time. 


    Shadows are fairly easy to remove with Blend If & Spot Healing Brush. But correcting gross misalignments of lines & text are more labor-intensive with Free Transform or Perspective Warp tools.


    If you have access to the original diagrams, my best advice is to press out the folds with an iron set on medium-high heat. Use kitchen parchment paper between the iron & original diagram to avoid scorching.


    Failing that, work with one Rectangular Marquee Selection at a time, not the entire diagram.  

    Copy original layer with Ctrl+J. If you make mistakes, the original is still intact. 


    Best of luck.


    Nancy O'Shea— Product User & Community Expert
    Trevor.Dennis
    Community Expert
    Trevor.DennisCommunity ExpertCorrect answer
    Community Expert
    July 11, 2026

    I think this would have been somewhere between very difficult to impossible to do with Photoshop a year or two ago, but I think the Generative Ai tools might do it.  I am going to try with the following Prompt using Flux 2 Pro (because it is supposed to be the best model when text is involved)

    remove the creases in this scanned document. make the lines perpendicular to the image boundary. 

    Nope. That didn’t work

    I’m going to try again using Gemini 3.1 Nano Banana 2 with a different prompt:

    Straighten the lines in this scanned document. Fix the distortion making the lines straight and square to the image boundary. Remove the shading making the background white. Improve the contrast. Sharpen.

    Better, but the drawing is more narrow on the right.

    I’m going to fix that with Perspective C+rop.

    Note: I had to Duplicate the layer to a new document as Perspective Crop would not work with the Generative layers in the document.  I could have deleted or rasterized those layers as an alternative.


    And we are there.  Strange thing… my eyes are telling me the drawing is rotated slightly clockwise, but aligning Guides with the drawing shows it to be perfectly straight.  Is anyone else seeing that?


    Trevor.Dennis
    Community Expert
    Community Expert
    July 11, 2026

    Note: the drawing is no longer to scale after the above process.  In fact some of the central partitions are drastically out.  This would probably be avoided with a different prompt. You have to put as much attention into telling the Ai what NOT to do as well as what you’d like it to do. This could be colours.  If you don’t specify colours the Ai will often get all bizarre on you and use unwanted colours.  I would add something like:

    All of the drawing lines should be in essentially the same position, and only moved enough to straighten the lines and make them square to the boundary.

    It is always a good idea to use redundant statements in your prompts.  Say the same thing different ways.  That applies to both telling(asking) the Ai what you want it to do, and what you want it not to do.

    [EDIT]  Yes.  Thinking about it, you couldn’t possibly trust an Ai to edit an engineering drawing.


    davescm
    Community Expert
    Community Expert
    July 11, 2026

    @Trevor.Dennis These results suffers the same issue as an earlier AI version posted by Ged, which seems to have been removed now. At first glance they both look good and on photos the technique appears to work well. But on close examination some elements have changed, including measurement numbers. The odd AI 'hallucination' might be OK in a photo but in an engineering or electrical drawing it could be at least confusing or at worst dangerous.

    Dave

    c.pfaffenbichler
    Community Expert
    Community Expert
    July 10, 2026

    First off: Please ask for a proper scan of the image. 


    As that is likely to be pointless you could split the image into Smart Objects and warp them individually. 


    hope291Author
    Participant
    July 10, 2026


     Thanks a lot for the tip! there are no better photos, said to work with it. And another point, is there any guide to this deformation like in your photo? I'm new to Photoshop so the most basic features.