Participant
October 18, 2024
Question

Old Photo Perforations

  • October 18, 2024
  • 2 replies
  • 358 views

I have a bunch of photos from roughly the 1970s, some of them seem to have these small dot/perforations throughout them, they aren't damaged just seemed to be a style of paper.  Attched a photo zoomed in on one of them.
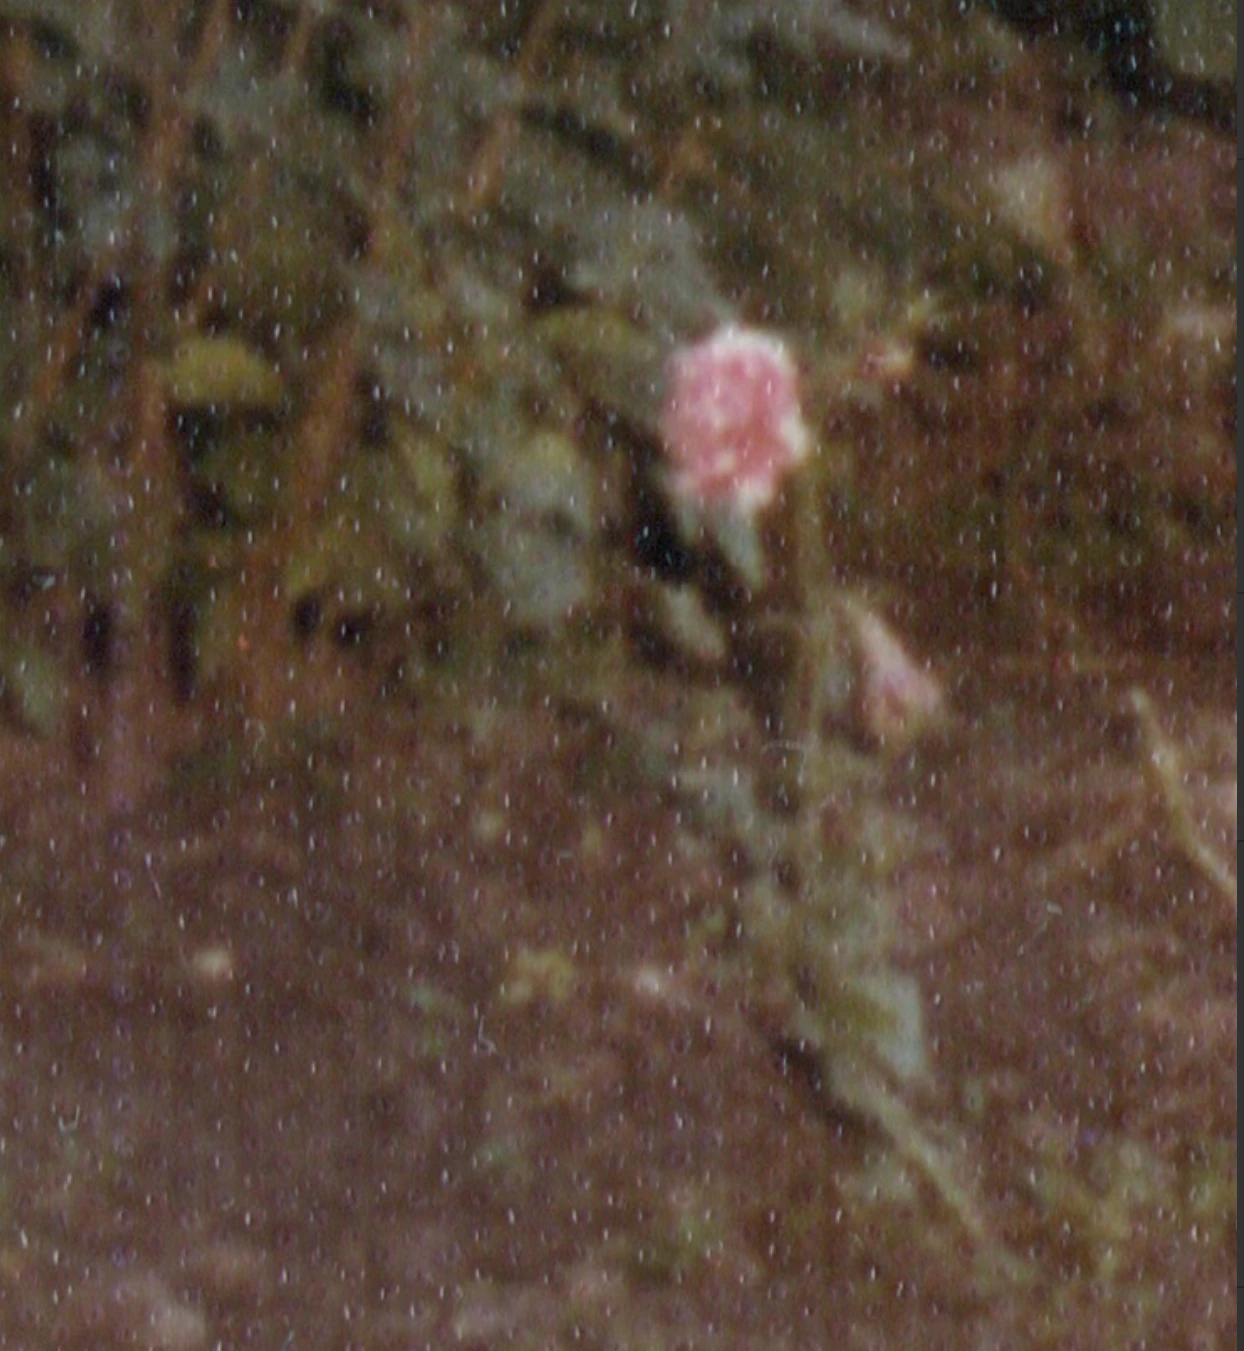
They don't look that great when scanned. Wondered if anyone has any luck post processing them to "fill" those holes or something?

This topic has been closed for replies.

2 replies

Stephen Marsh
Community Expert
Community Expert
October 20, 2024

This will generally be a trade-off between quality and speed. These methods would likely be faster than the neural filters.


For batching many images with global filtering, I would look at:


Filter > Noise > Dust & Scratches (4-6 radius, threshold 4)... Which is essentially the Median filter with a threshold.


Filter > Blur > Surface Blur (6 radius, 50 threshold)... Similar results as above, I'd just use the Median filter for speed.


P.S. Flatbed scanners use directional lighting which can emphasise such surface patterns, using a DSLR and a copy stand with polarised lighting is a "common" alternative.

Conrad_C
Community Expert
Community Expert
October 18, 2024

Were these prints that were covered by a “protective” plastic film, or part of an old photo album page like the kind that had the sticky clear plastic overlay over the pages?


Anyway, I tried one idea. I opened the uploaded sample in Photoshop and ran it through the Neural Filter called Photo Restoration (choose the command Filter > Neural Filters and enable and select Photo Restoration), and it seemed to help somewhat, but it didn’t remove everything. It might help more if their machine learning model was trained on this type of pattern, but it looks like it wasn’t.


When you run it on an entire image, be careful as you increase the settings values — watch the rest of the image and make sure you stop before the filter takes out details you want to preserve.


You can see my settings and a before/after comparison in the demo below.