Participant
March 31, 2025
Answered

selection

  • March 31, 2025
  • 2 replies
  • 632 views

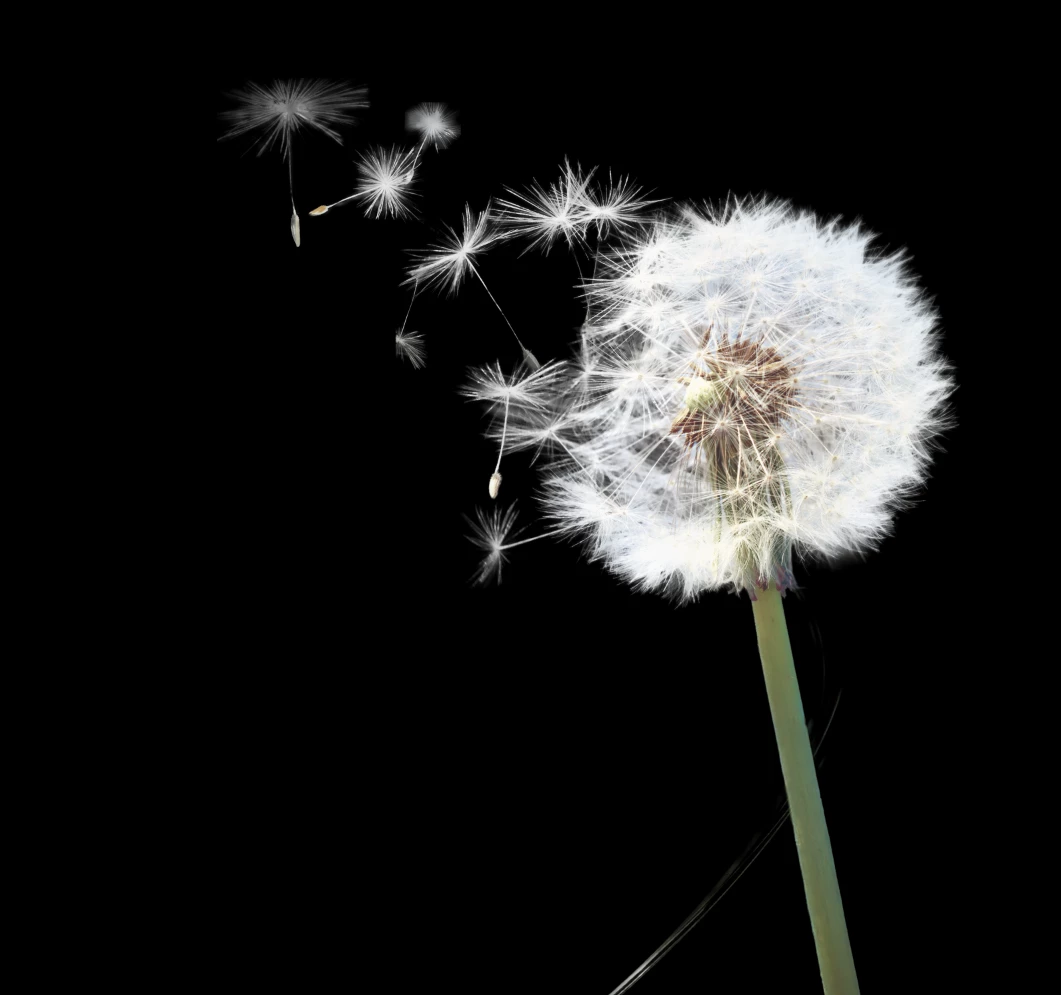
hi every one , this is an cover design of book , i am trying to make the selection of dandolin but here in this sistuation dendolin is mixed with highlights, and i am unable to make spot uv , or you can say block for this part  , i dont know how to do that perfectly i try many times but fail, if anyboy can tell me . thanks alot 


Correct answer Trevor.Dennis

Hi rehan.  Right now, the beta version (m.3022) is making a significantly better job of selections.

You'll need to be online, and have this Preference setting enabled.


Then, simply click on Properties > Remove Background.

You'll still see some blue at this stage, but if you double click the layer mask > go down to Output Settings, and enable Decontaminate Colors and OK it, you get the following result.

Spectacularly good I'd say!


2 replies

Trevor.Dennis
Community Expert
Trevor.DennisCommunity ExpertCorrect answer
Community Expert
April 1, 2025

Hi rehan.  Right now, the beta version (m.3022) is making a significantly better job of selections.

You'll need to be online, and have this Preference setting enabled.


Then, simply click on Properties > Remove Background.

You'll still see some blue at this stage, but if you double click the layer mask > go down to Output Settings, and enable Decontaminate Colors and OK it, you get the following result.

Spectacularly good I'd say!


Trevor.Dennis
Community Expert
Community Expert
April 1, 2025

I feel I ought to stress that the above sellection has zero additional retouching.  It's exactly what I got from Remove Background with Decontaminat Colors enabled.

mglush
Community Expert
Community Expert
March 31, 2025

Hi!

Have you tried using a Channel to create your spot UV? 


First, make sure you are using an RGB image, and then open up the Channels Panel. If you look at all three channels, you will notice that the Red Channel has the most contrast. Duplicate the Red Channel, and then open up Curves and adjust the image so that what is gray turns black. Click Ok and you now have an image that will allow you to put down a UV coat just on the light areas.

Click on the composite image at the top of the Channels panel. Go back to the Layers Panel and add a new Layer. From the Select Menu, choose Load Selection, and choose the "Red Copy" alpha Channel you just created, click the checkbox that says Invert, and hit Ok. You now have a selection of everything you want to turn black--so fill with Black. I hit return+delete and select Black from the Dropdown menu.


Now you have an image that you can paint out whatevery you don't want to be UV coated, and then save it as the file to give to the printer to use for the UV. Rember whatever is white will have the UV coat and whatever is black will stay uncoated.


Let us know if you have any questions!

Michelle


Participant
April 1, 2025

what do you mean by compoiste image in 3rd para i didn't understand please explain 

mglush
Community Expert
Community Expert
April 1, 2025

Good morning!

If you look in your Channels Panel there are the three channels--red, gren, and blue, and at the top of those three is the image that is the combination of the three channels. That is the composite image.


How is the project going?

Michelle