Inspiring
September 23, 2026
Question

working with smart objects, unsharp mask and transparency

  • September 23, 2026
  • 2 replies
  • 17 views

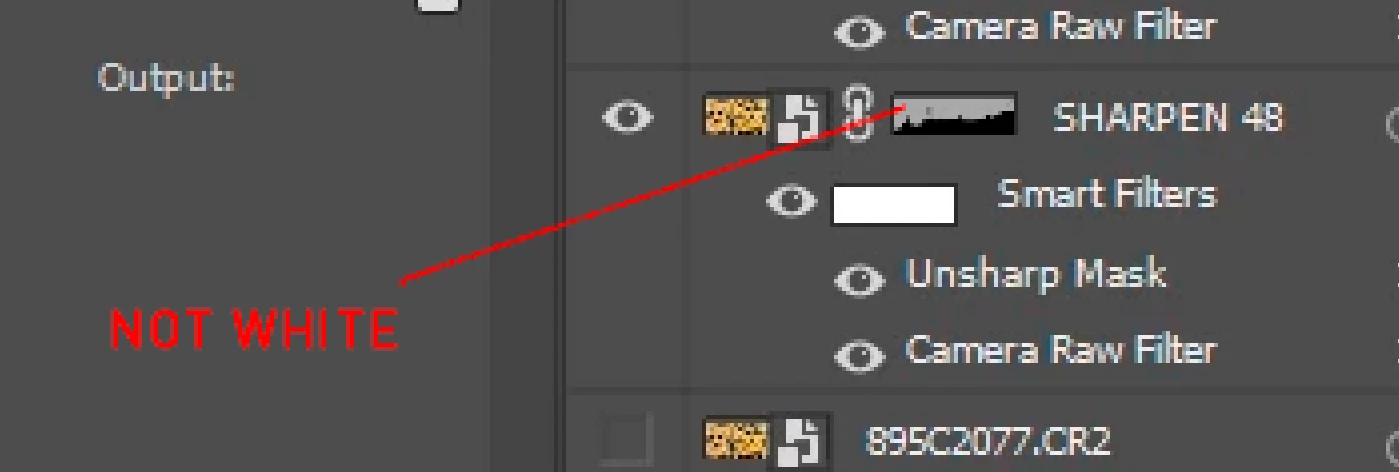
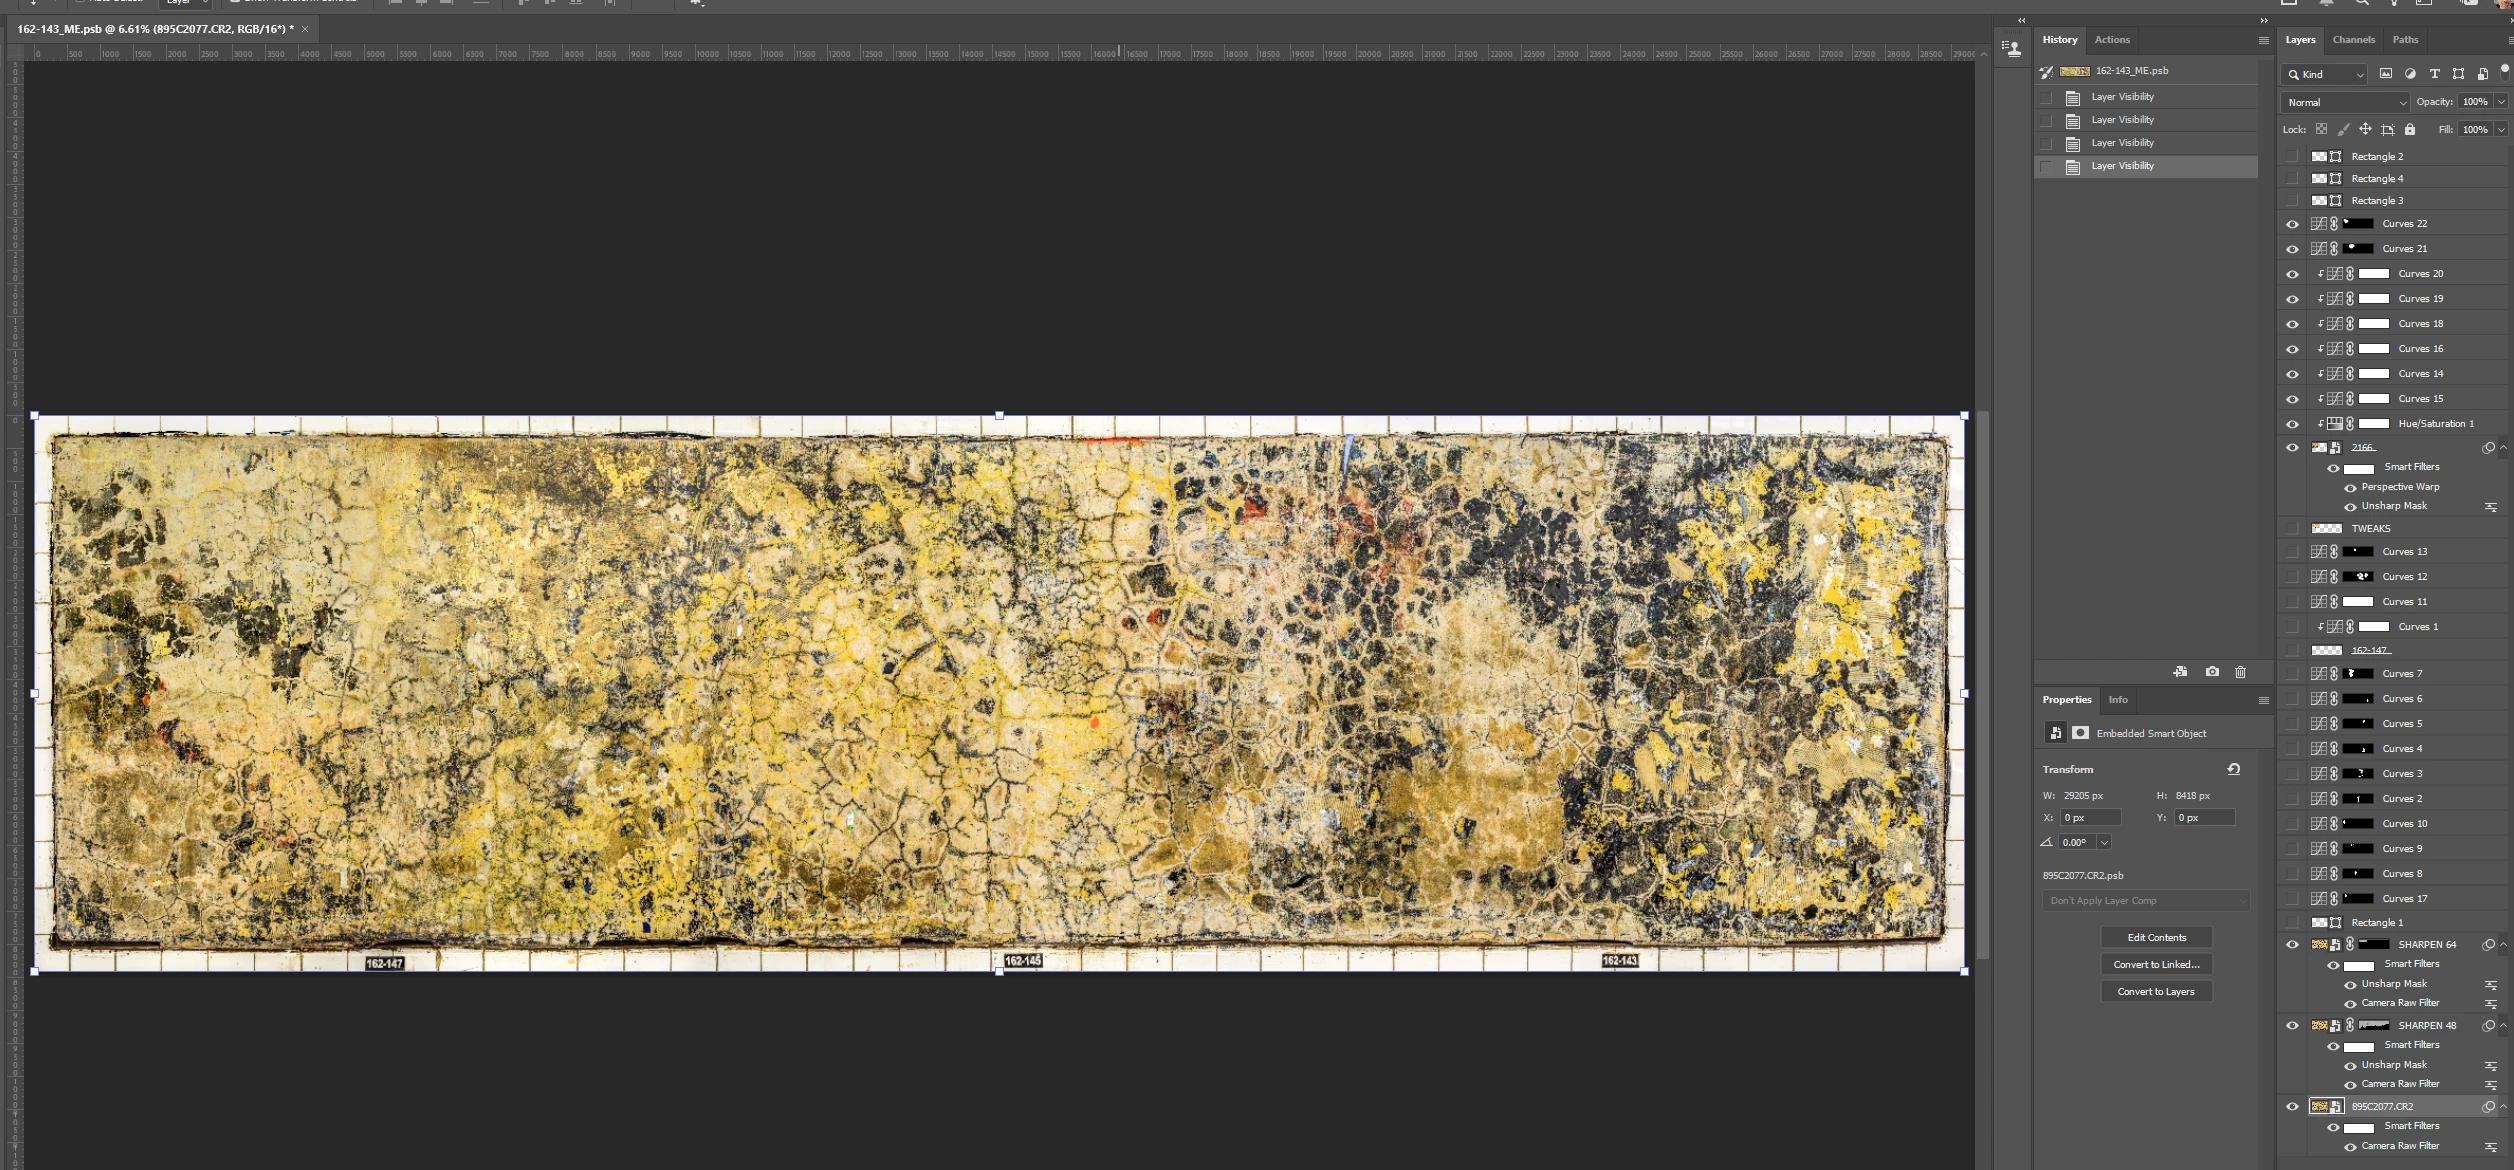
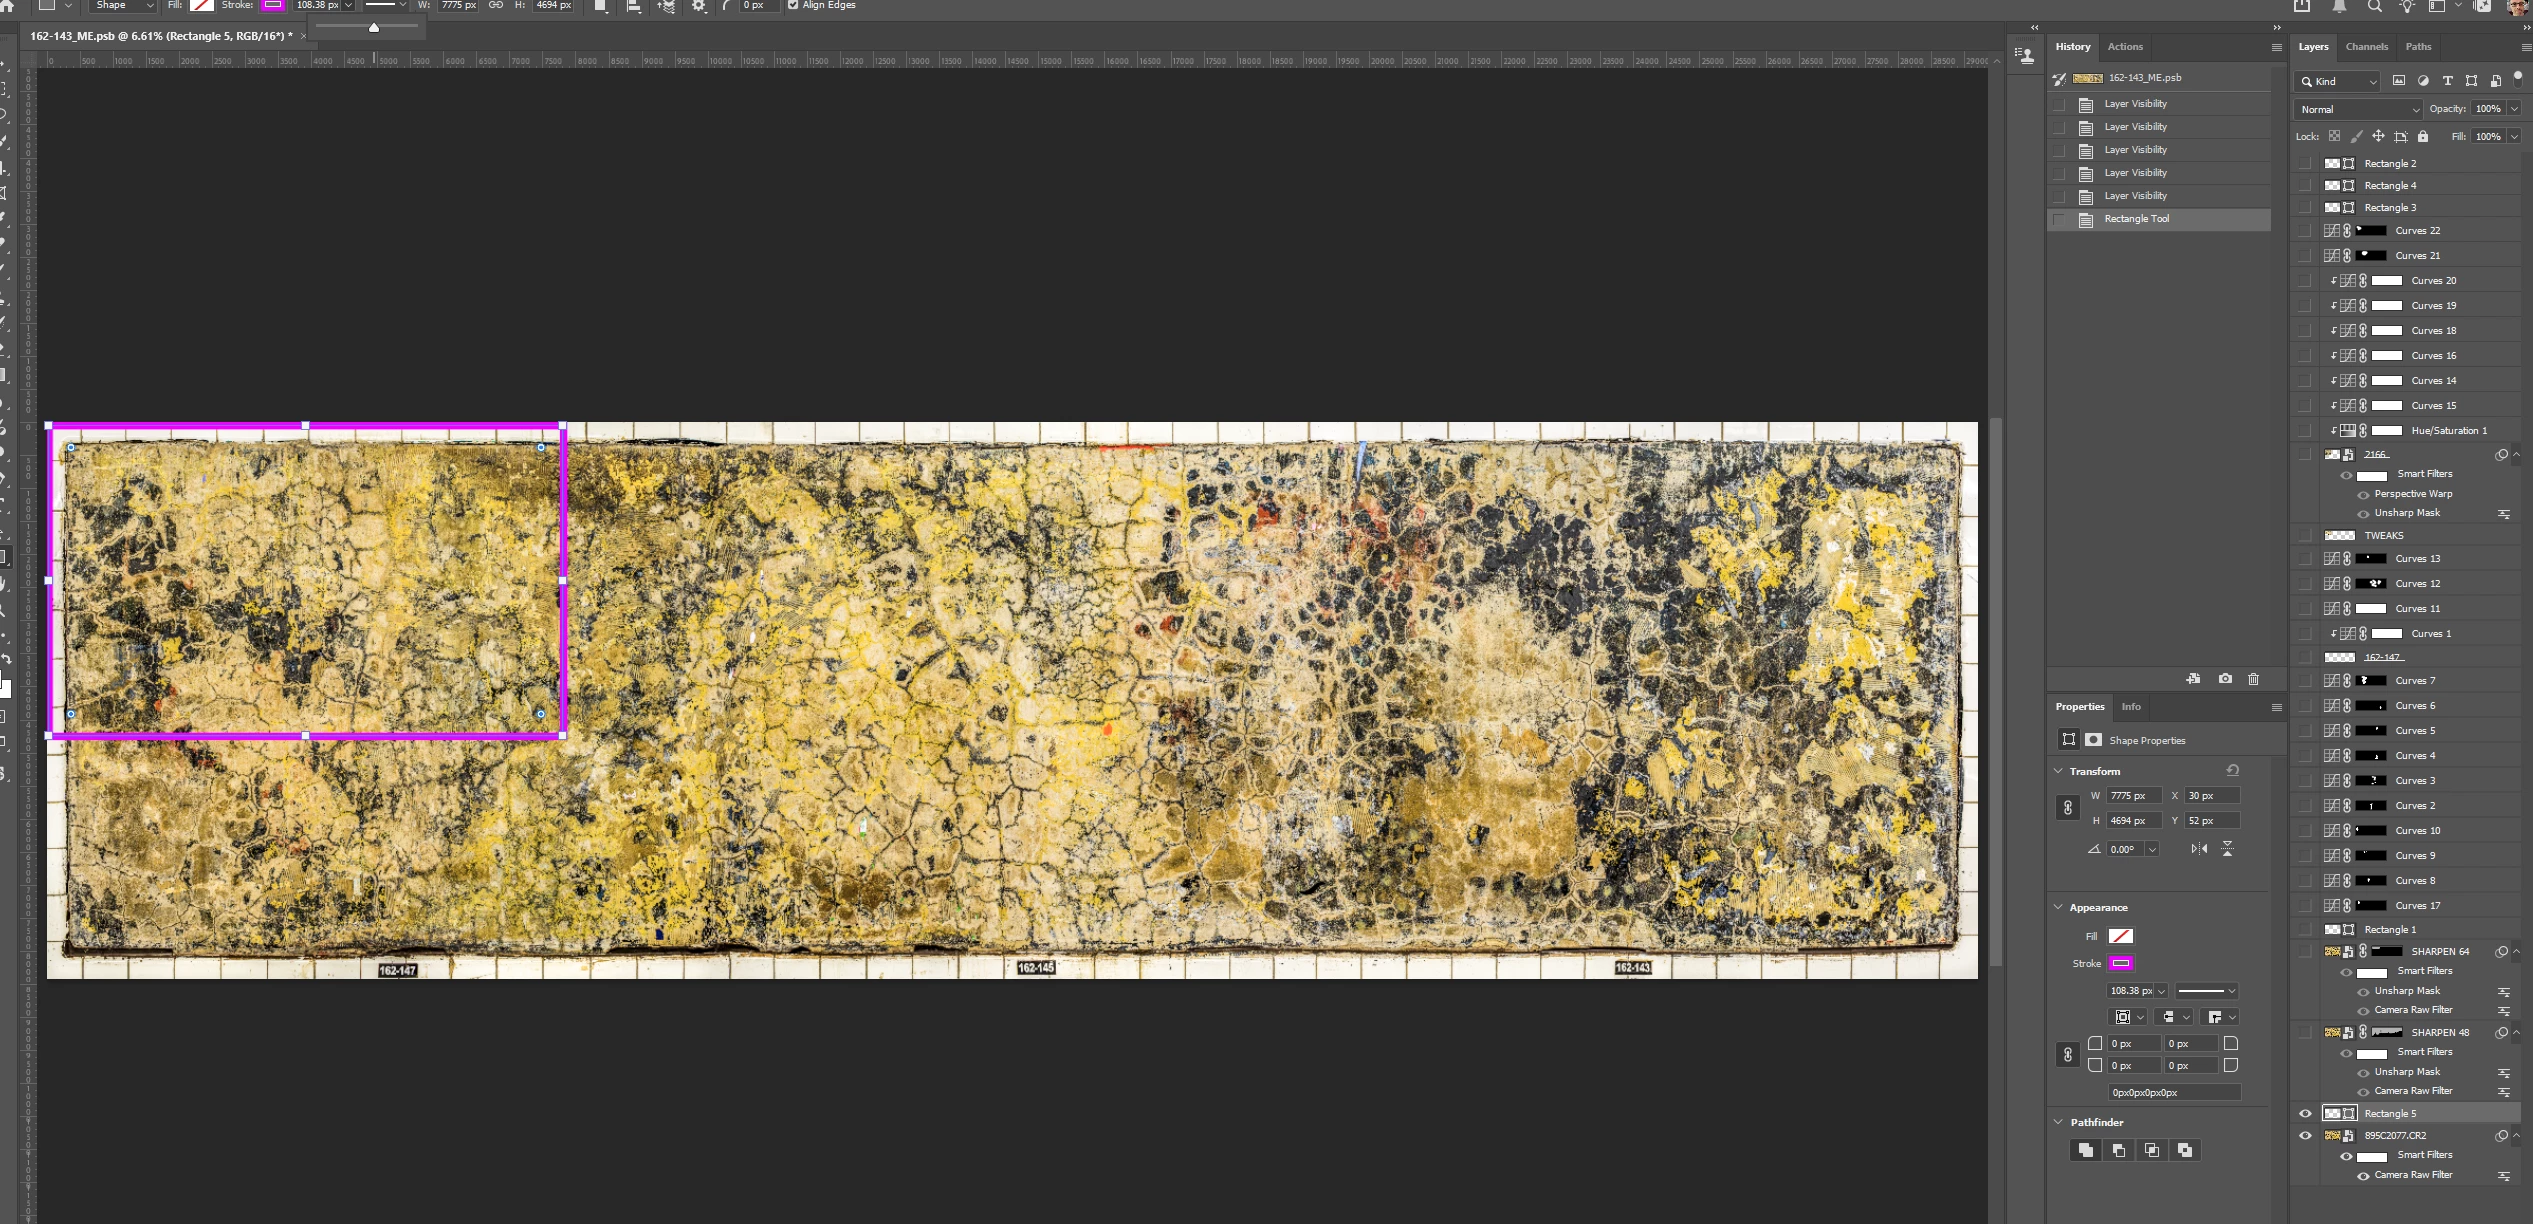
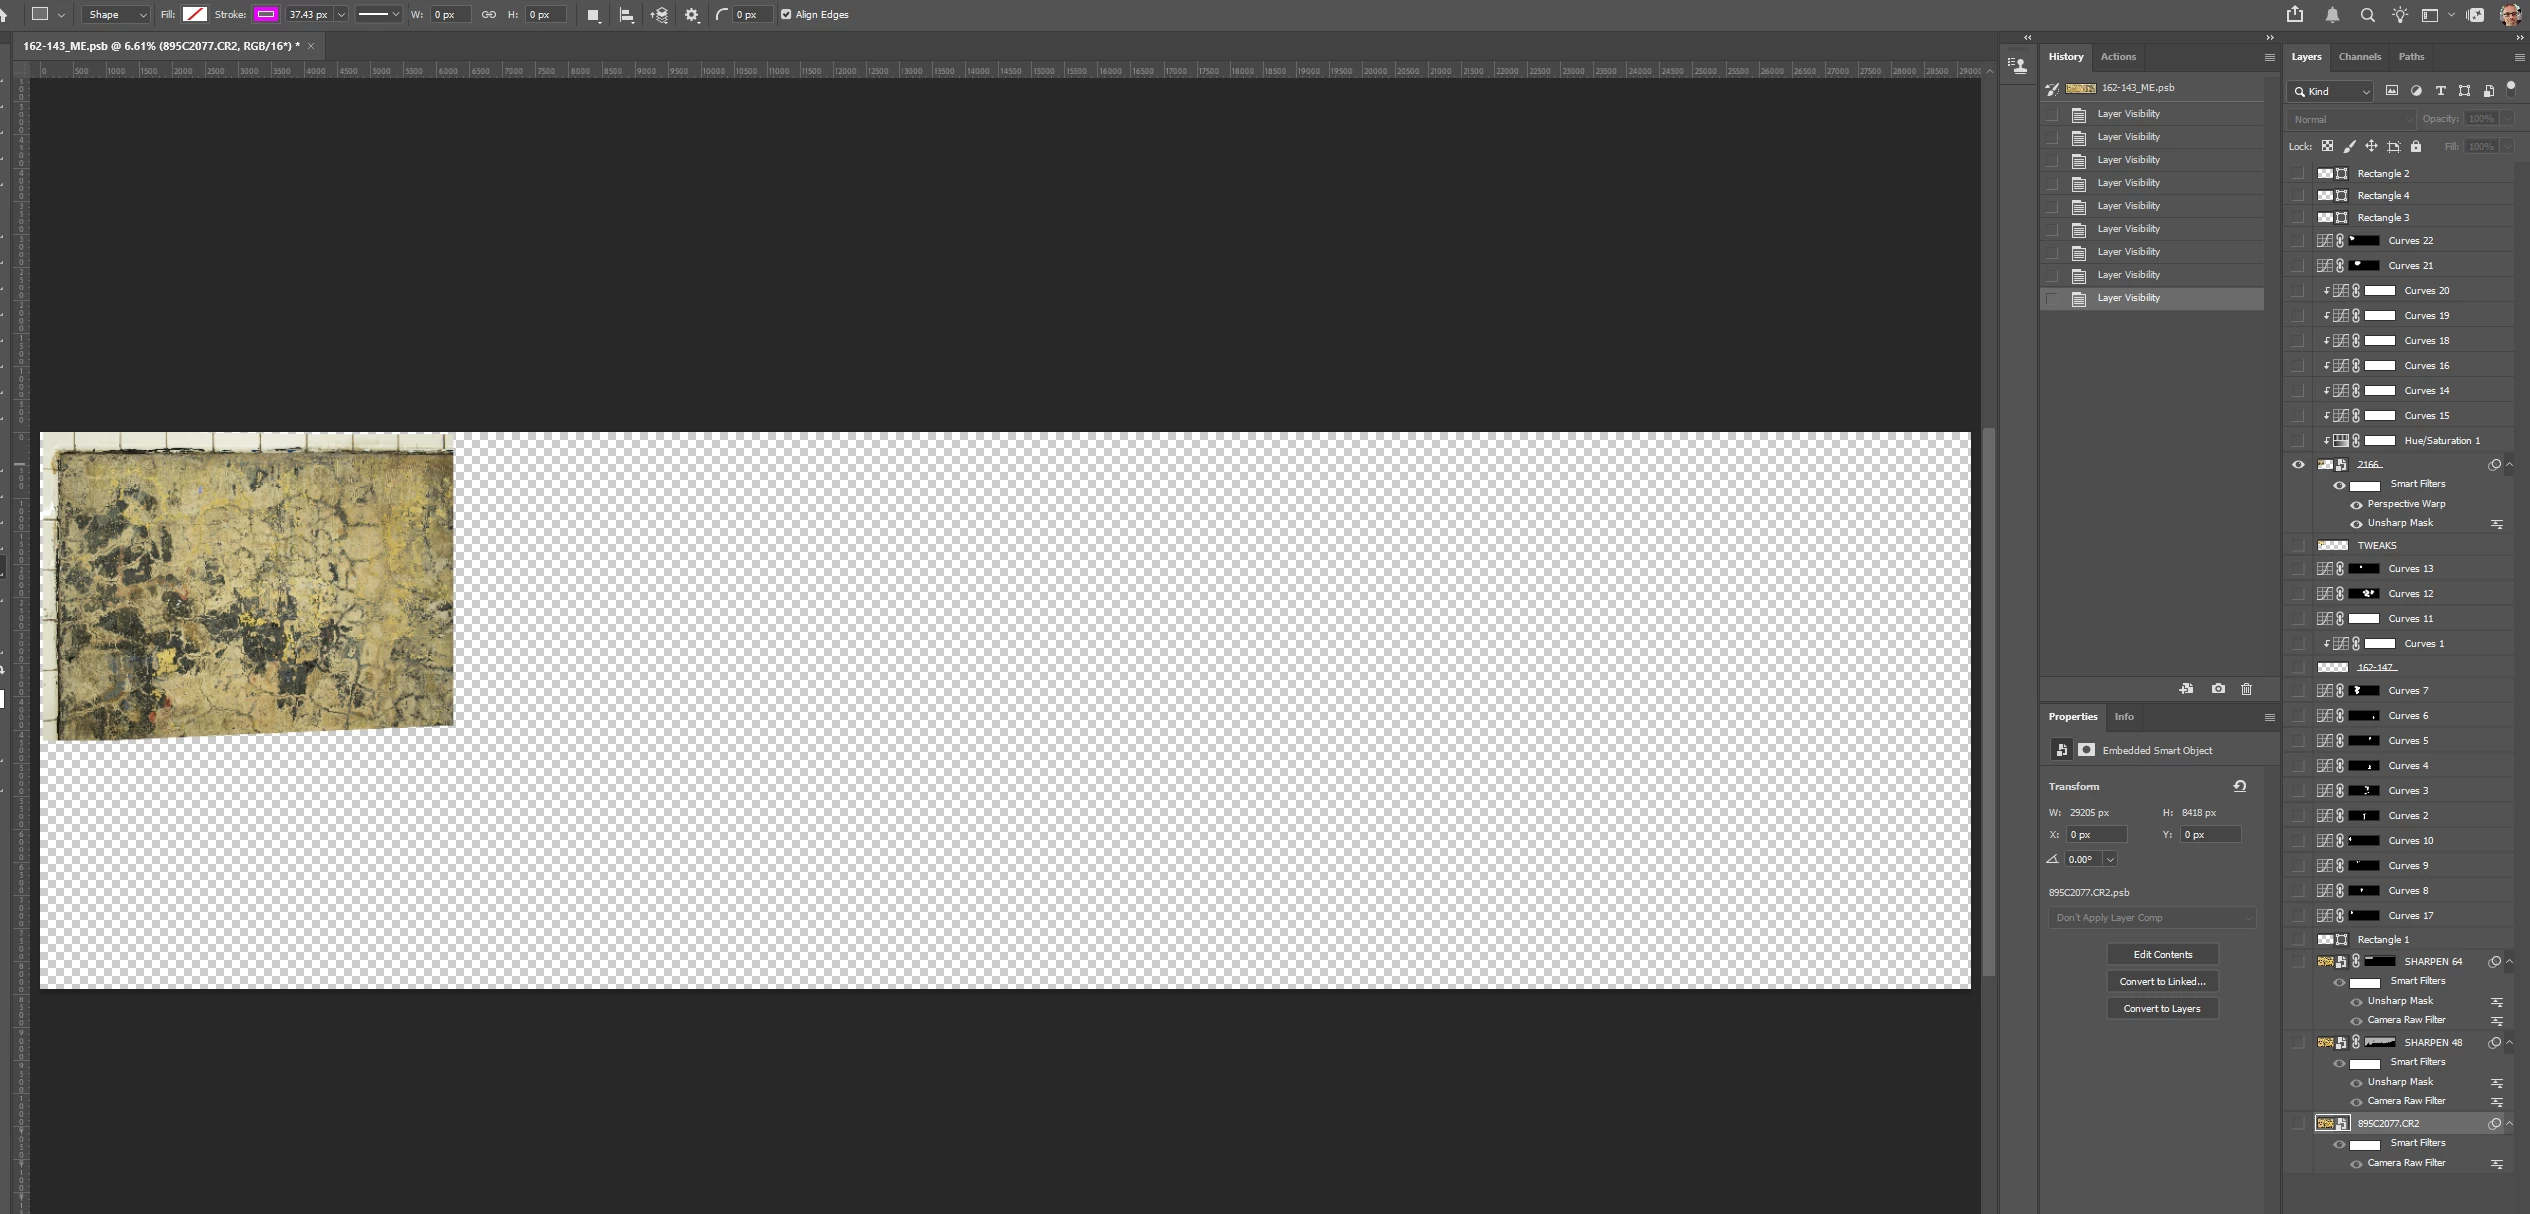
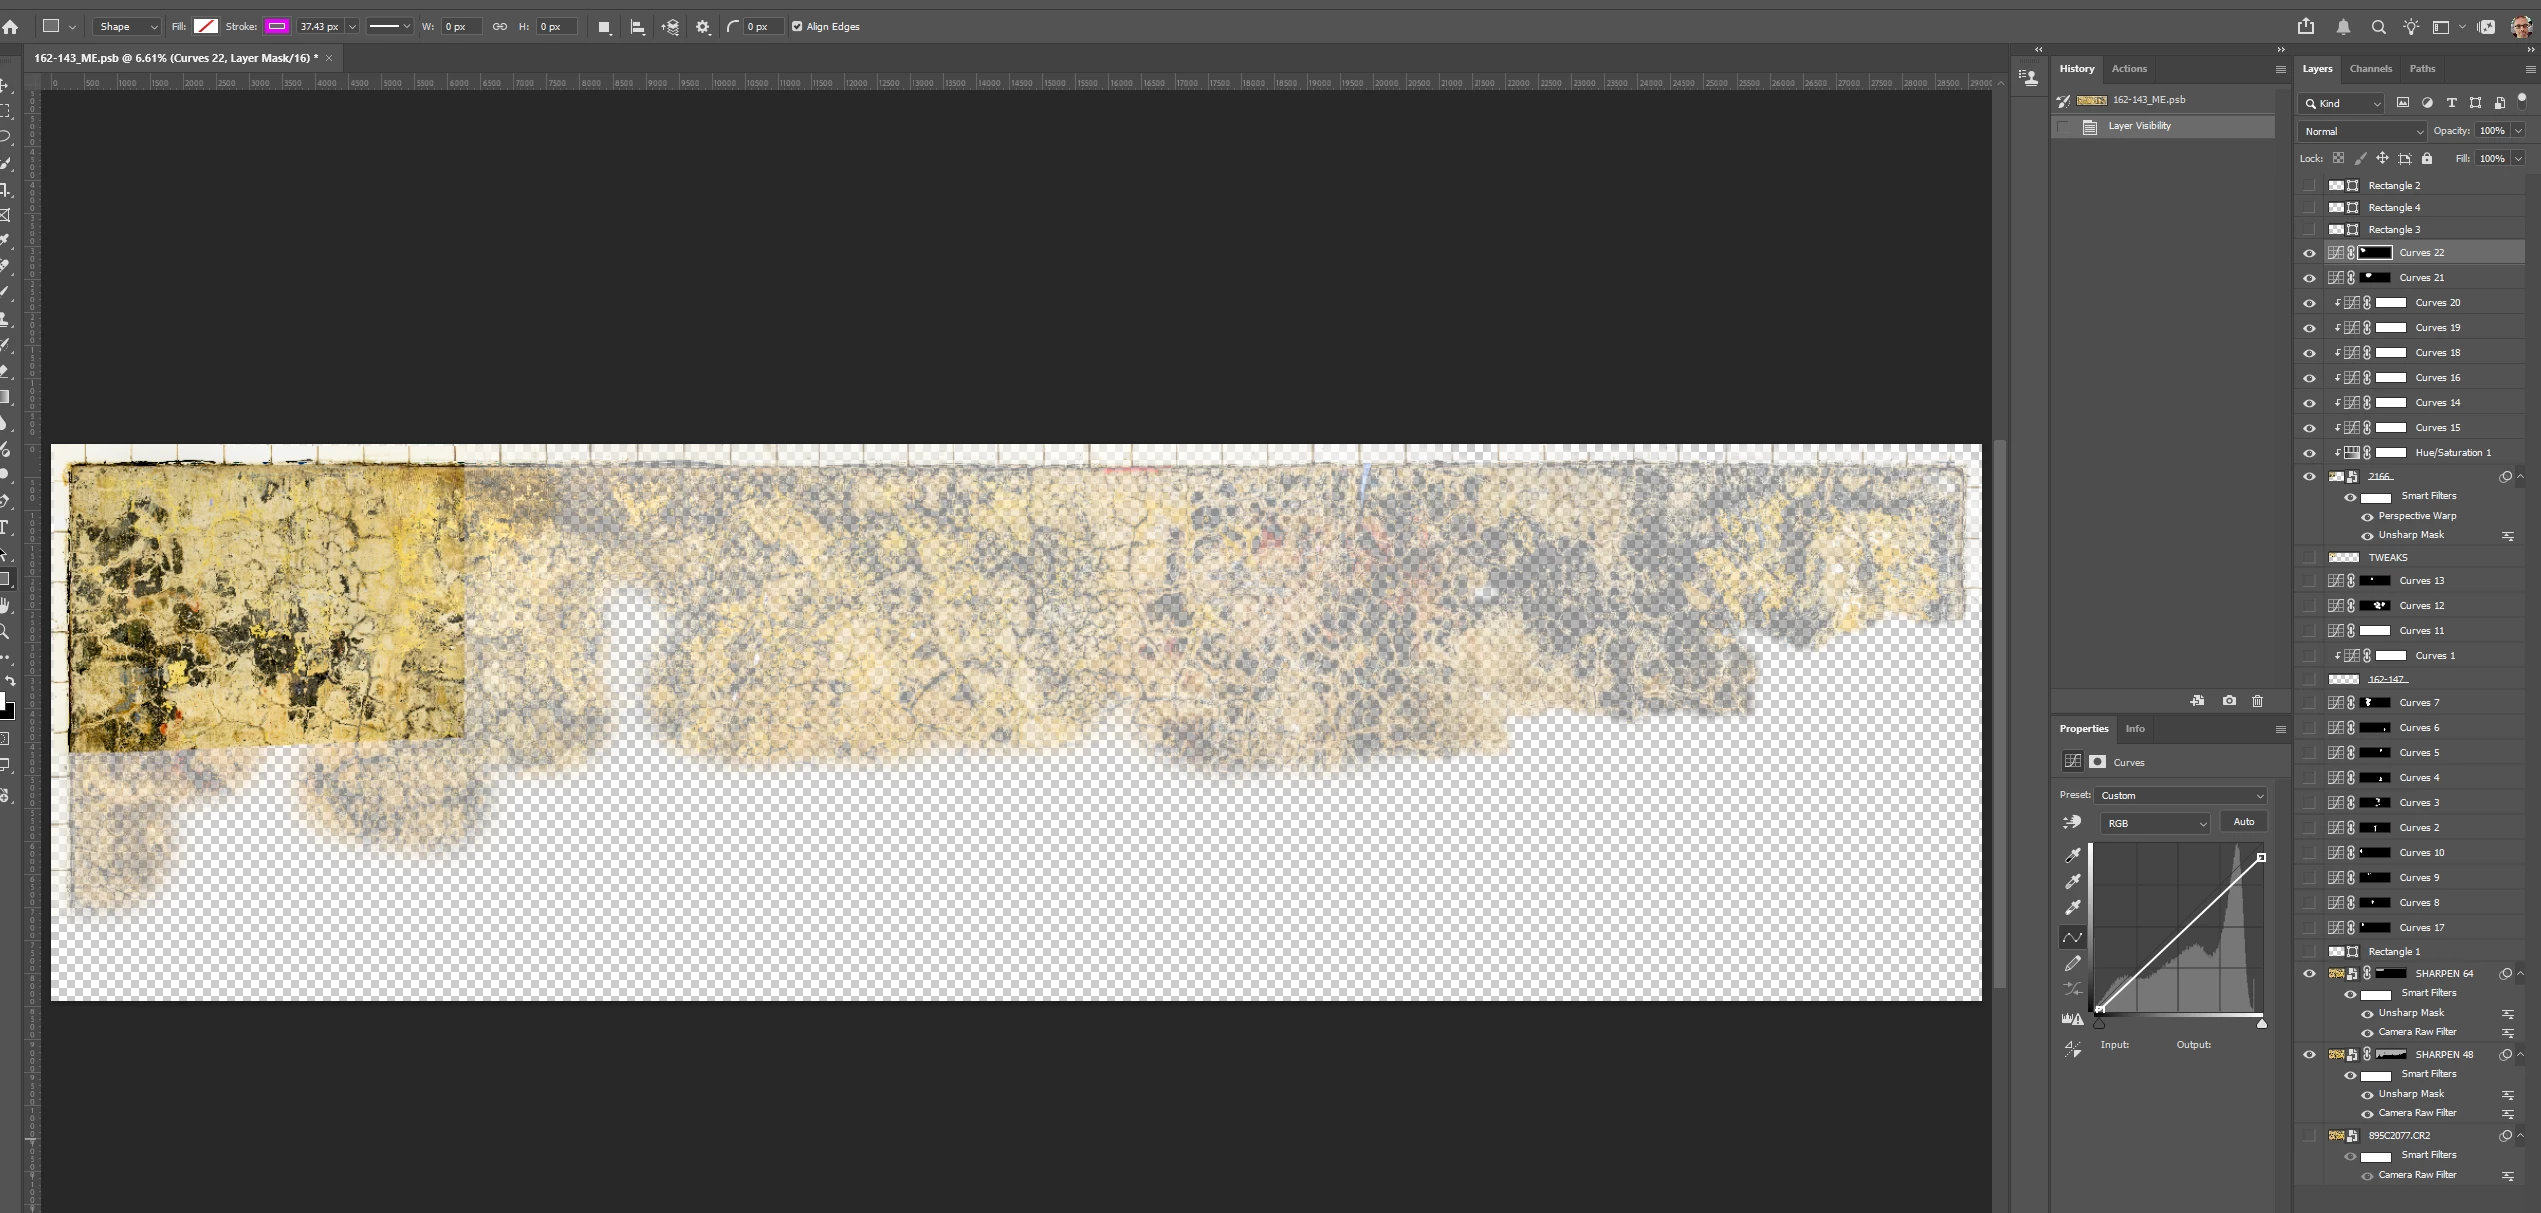
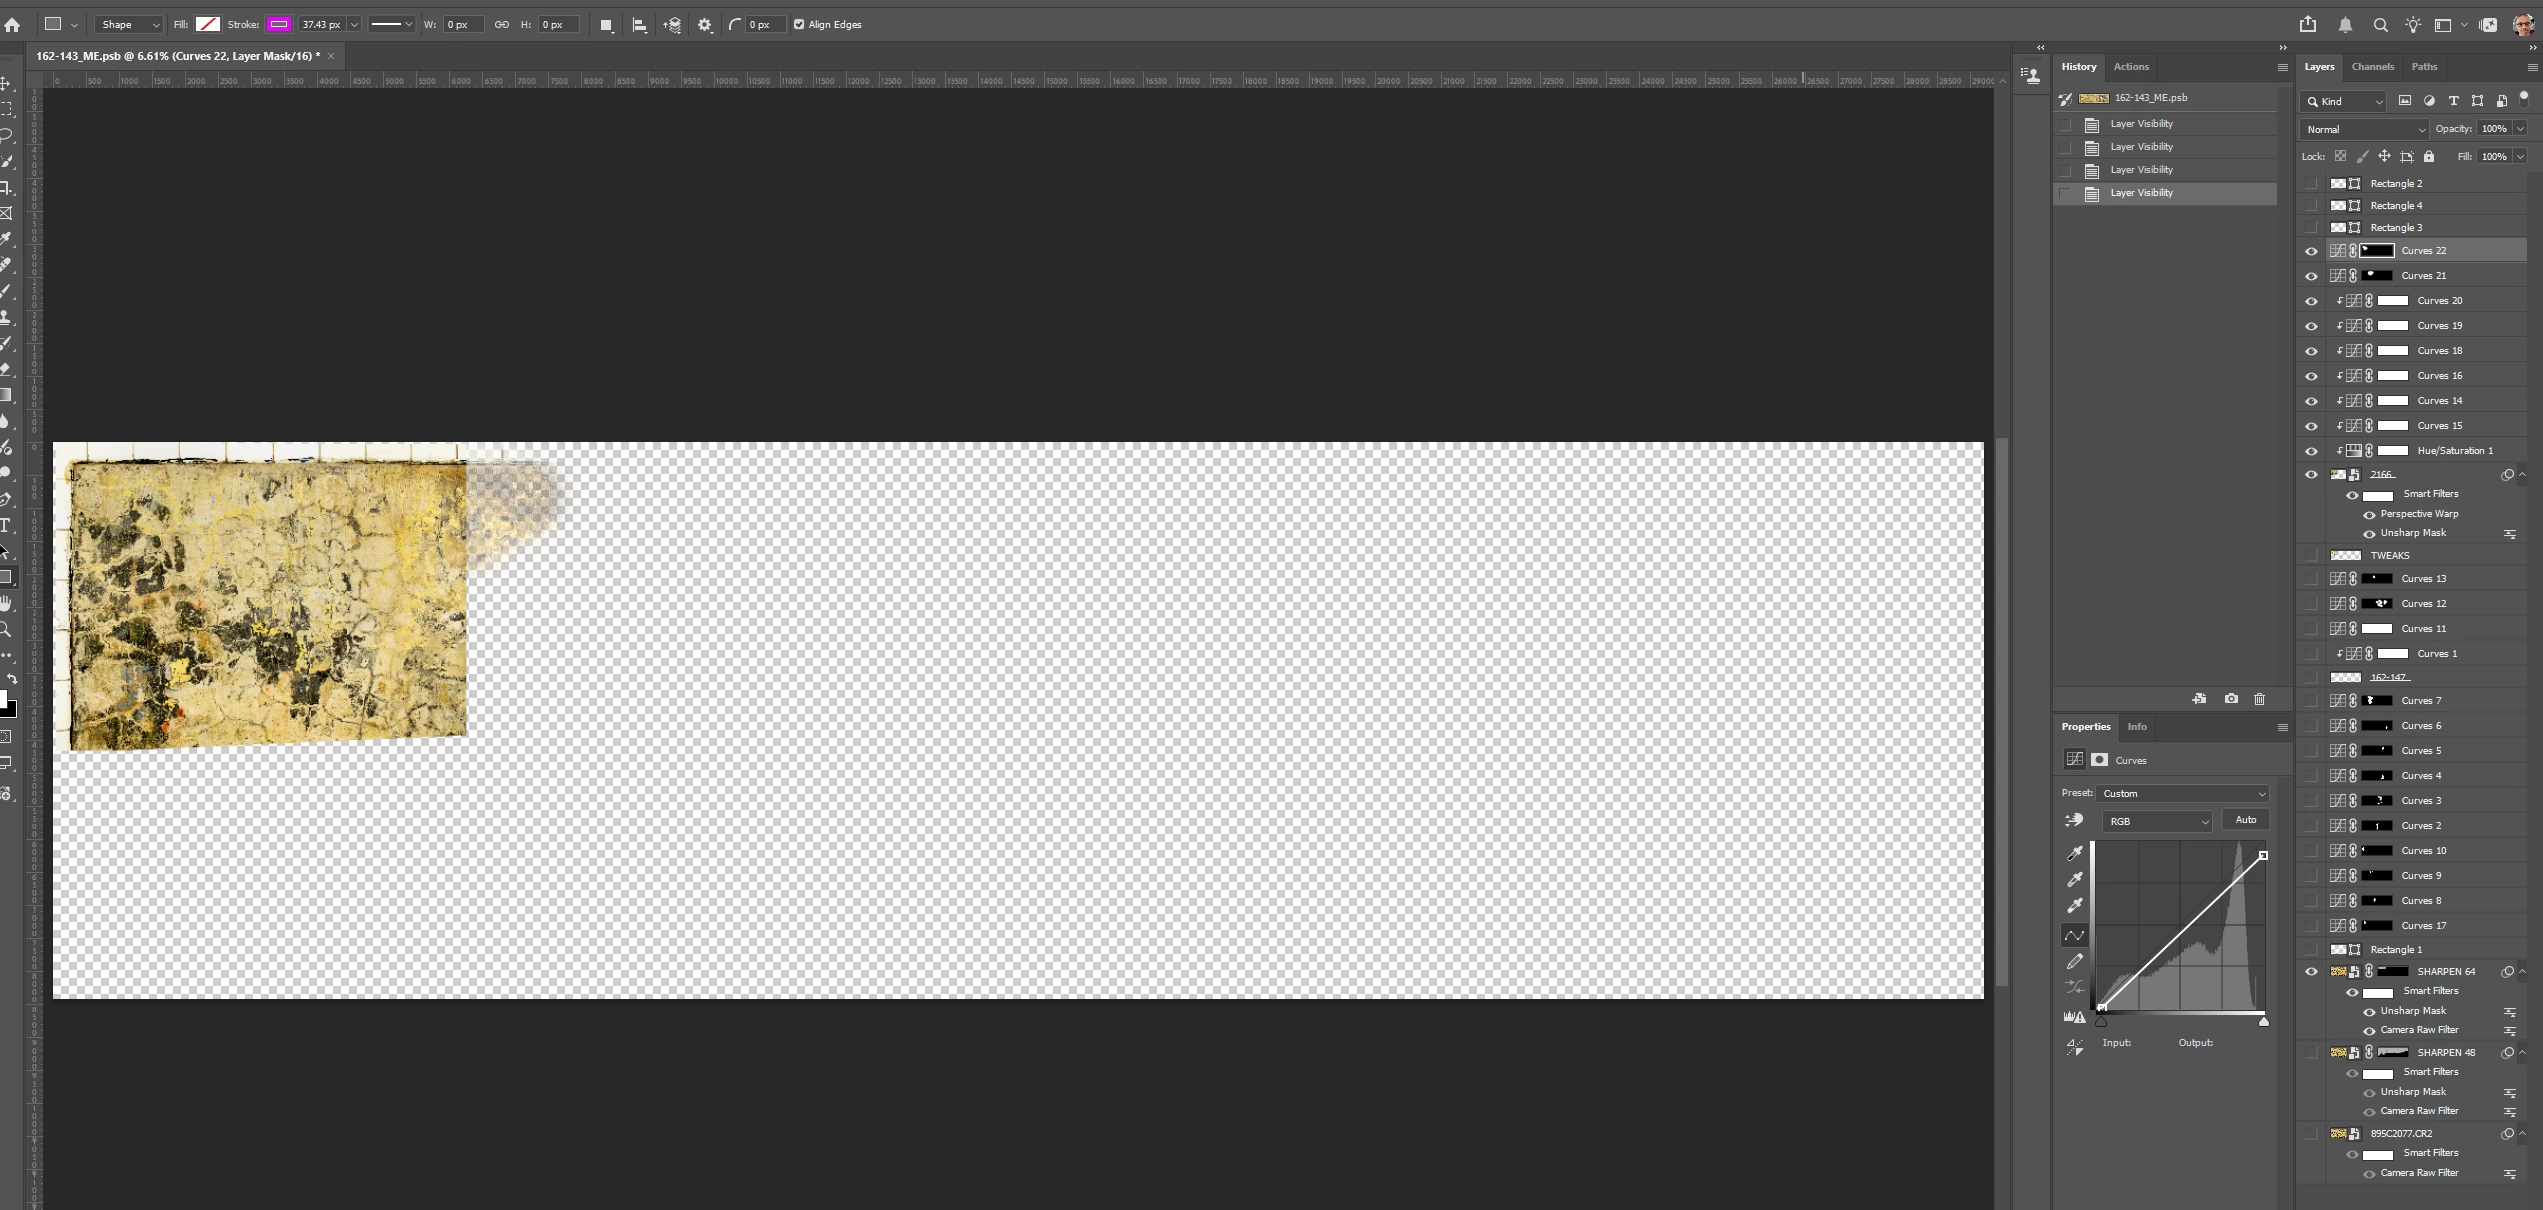
I created a file many years ago before I stopped working with Smart Objects.  At the time, I wanted to sharpen sections of the image. I now need to enlarge the canvas slightly to augment the tile border, and in the process of doing that, I noticed that my Smart Objects have transparency.  AI says “the Unsharp Mask filter … operates strictly on the color and luminance channels of an image and does not utilize, modify, or factor in layer transparency or alpha channels during its calculation.”  In the first screenshot below, the finished image with all its usable layers is shown.  In the second, the bottom layer only is toggled on and reveals an out of focus section in the left upper corner which is replaced by the Layer in the 3rd screenshot (2166).  What I don’t understand is what is going on in screen shots 4 & 5, which show semi-transparent pixels.  Those areas seem to correspond with what is showing on the respective masks for those objects.  If transparency is not used for masking, what function might it serve here?  Was it possibly just user error on my part?

1
2
3
4
5
 

    2 replies

    Trevor.Dennis
    Community Expert
    Community Expert
    September 23, 2026

    I am in the same position as ​@c.pfaffenbichler  You appear to be over thinking it.

    This a BIG file going on the 6.6% zoom ratio and it still being more than 1900 pixels wide in your screenshot.  Is the image scientific in nature?

    You have a bunch of Curves layers all clipped to the same Smart Object layer, and all with solid white masks so affecting the entire document area.  What’s going on there?

    This layer appears to be empty other than the top left corner, and has Unsharp Mask applied.

    I can’t see a scroll bar for the Layers Panel in your screenshot, and the layer is the upper most pixel layer in the stack, so the Unsharp Mask will only be applied to the top left corner, and have no effect on the layers below it in the stack.  I think you knew that? 


    I am not entirely sure this is the bottom of the stack, because you might have cropped the scroll bar when making the screen shot, but going by the .CR2 layer name I think this might be the original RAW file object layer.  The two smart objects above it have masks with greyscale areas, so they will show as around 50% opacity.  They will not show in the top left corner because the 2166 Smart Object layer hides that area.


    OK, bottom line.  If it was me I would turn off every one of the Unsharp Mask sharpening, because there are much better ways to sharpen nowadays.  If everything else is as you want it, I would add a copy merged layer to the top of the stack (Shift Ctrl Alt E) and apply sharpening to that entire layer. Personally I would use Topaz Photo, or Topaz Photo AI, but I’m guessing you don’t have that?  It’s a very busy image, and I suspect that might make a difference to how it is approached. 

    I wonder if using High Pass in two stages might work here, using low value for the fine detail, and higher value for the less busy areas, but I am not sure if you’d need to mask some of the upper High Pass layer, or just set both to Overlay and they work themselves out.

    If you have the Generative Credits you might split into 2000 x 2000 pixel squares, and use Flux Pro with a prompt like this: (the prompt comes Prompt Vault from The Photoshop Training Channel)

    Enhance this image with crisp , sharp focus an increased micro-detail throughout. Bring out surface textures, and material definition. Keep the pose, camera angle, composition, scale and lighting exactly the same.

    There might be an issue with AI sharpening if this a scientific image, because you couldn’t be 100% sure that new content was not introduced.

    @davescm  Any ideas on the best way to sharpen this?

    c.pfaffenbichler
    Community Expert
    Community Expert
    September 23, 2026

    I don't understand what the problem is supposed to be.

    If you created a layer mask with gray values the masked smart object's visibility will be determined by those (and its own transparency). 


    Edit: so if you want to hide the semitransparent areas you can edit the layer mask, with curves for example or by painting or filling.