It's not a problem, it's by design, and only applies to the basic options in ACR. I don't think it was a good design to include the eye icon in the basic area since it doesn't do anything in the basic area. This is unlke the eye icon in the layers panel- click on the eye icon in a layers panel and that layer is turned off- that is not the case in ACR for photoshop elements.
The stuff below, except for the screenshot I uploaded is a 100% A.I. response I got.
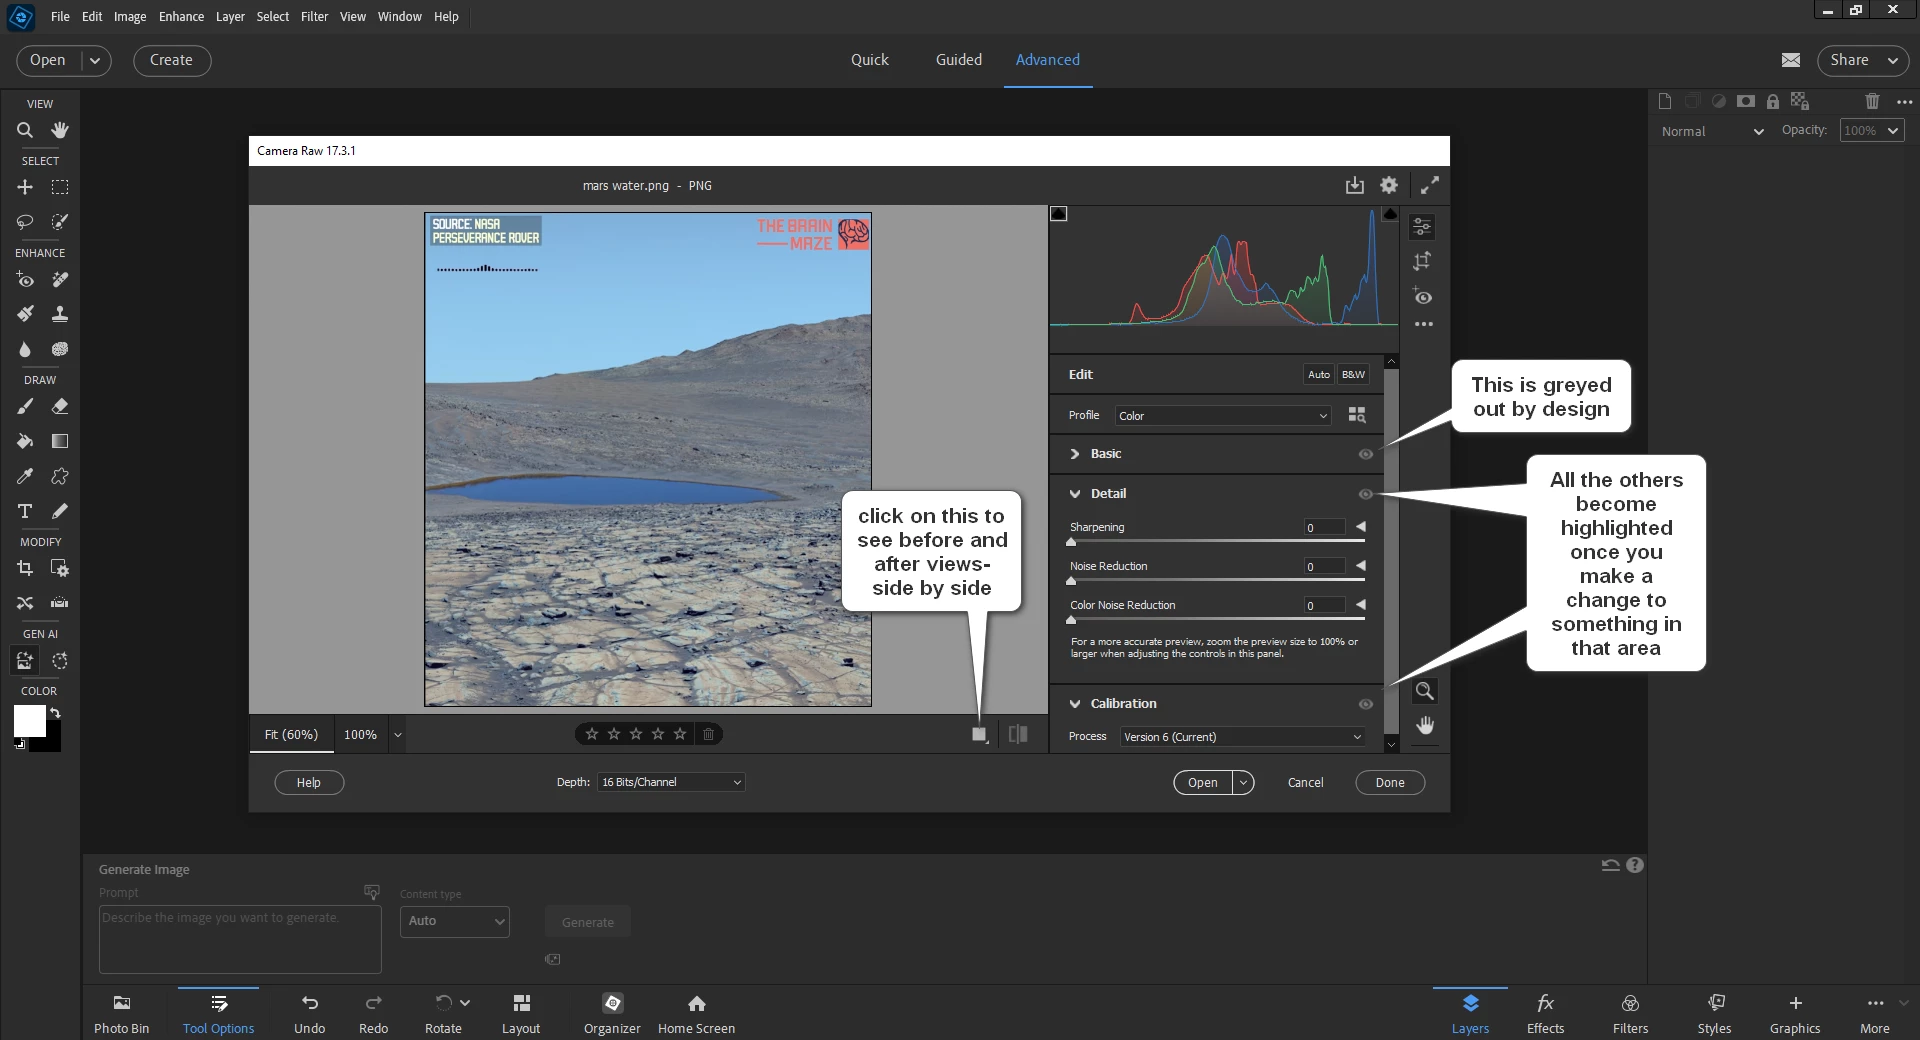
In Adobe Camera Raw (ACR), the visibility toggle (eye icon) for the Basic panel is permanently greyed out by design. This is because the Basic adjustments are considered a fundamental part of the RAW conversion process and cannot be turned on or off like other, more specific, panels.
For other panels where the toggle icon appears grey, it is not an error but an indicator that you have not yet made any adjustments in that specific panel.
How to preview your Basic adjustments
Since you can't toggle the Basic panel off and on, use these methods to view the changes:
- Hold the eye icon for a specific panel: For most other panels (like Color Grading or Effects), you can click and hold the eye icon to preview your image without those specific changes.
- Use Before/After views: This is the most effective way to compare all your edits, including the basic ones, to the original version.
- Click the Cycle between Before/After Views icon (a circular icon with a "B/A") in the toolbar at the bottom of the Camera Raw window.
- Press the keyboard shortcut Q to cycle through the different comparison views.
- Hold the Alt/Option key to reset: To see a temporary "before" view of a specific slider or a whole panel, hold the Alt (Windows) or Option (Mac) key. The adjustment's name will change to "Reset," which you can click to revert the slider to its original state. To undo this, press Ctrl+Z (Windows) or Cmd+Z (Mac).
Why other toggles might be greyed out
If the eye icon on a different panel is greyed out, it means you haven't made any adjustments there yet. Once you make an edit using any of that panel's sliders or options, the eye icon will become active.