Participant
May 10, 2025
Answered

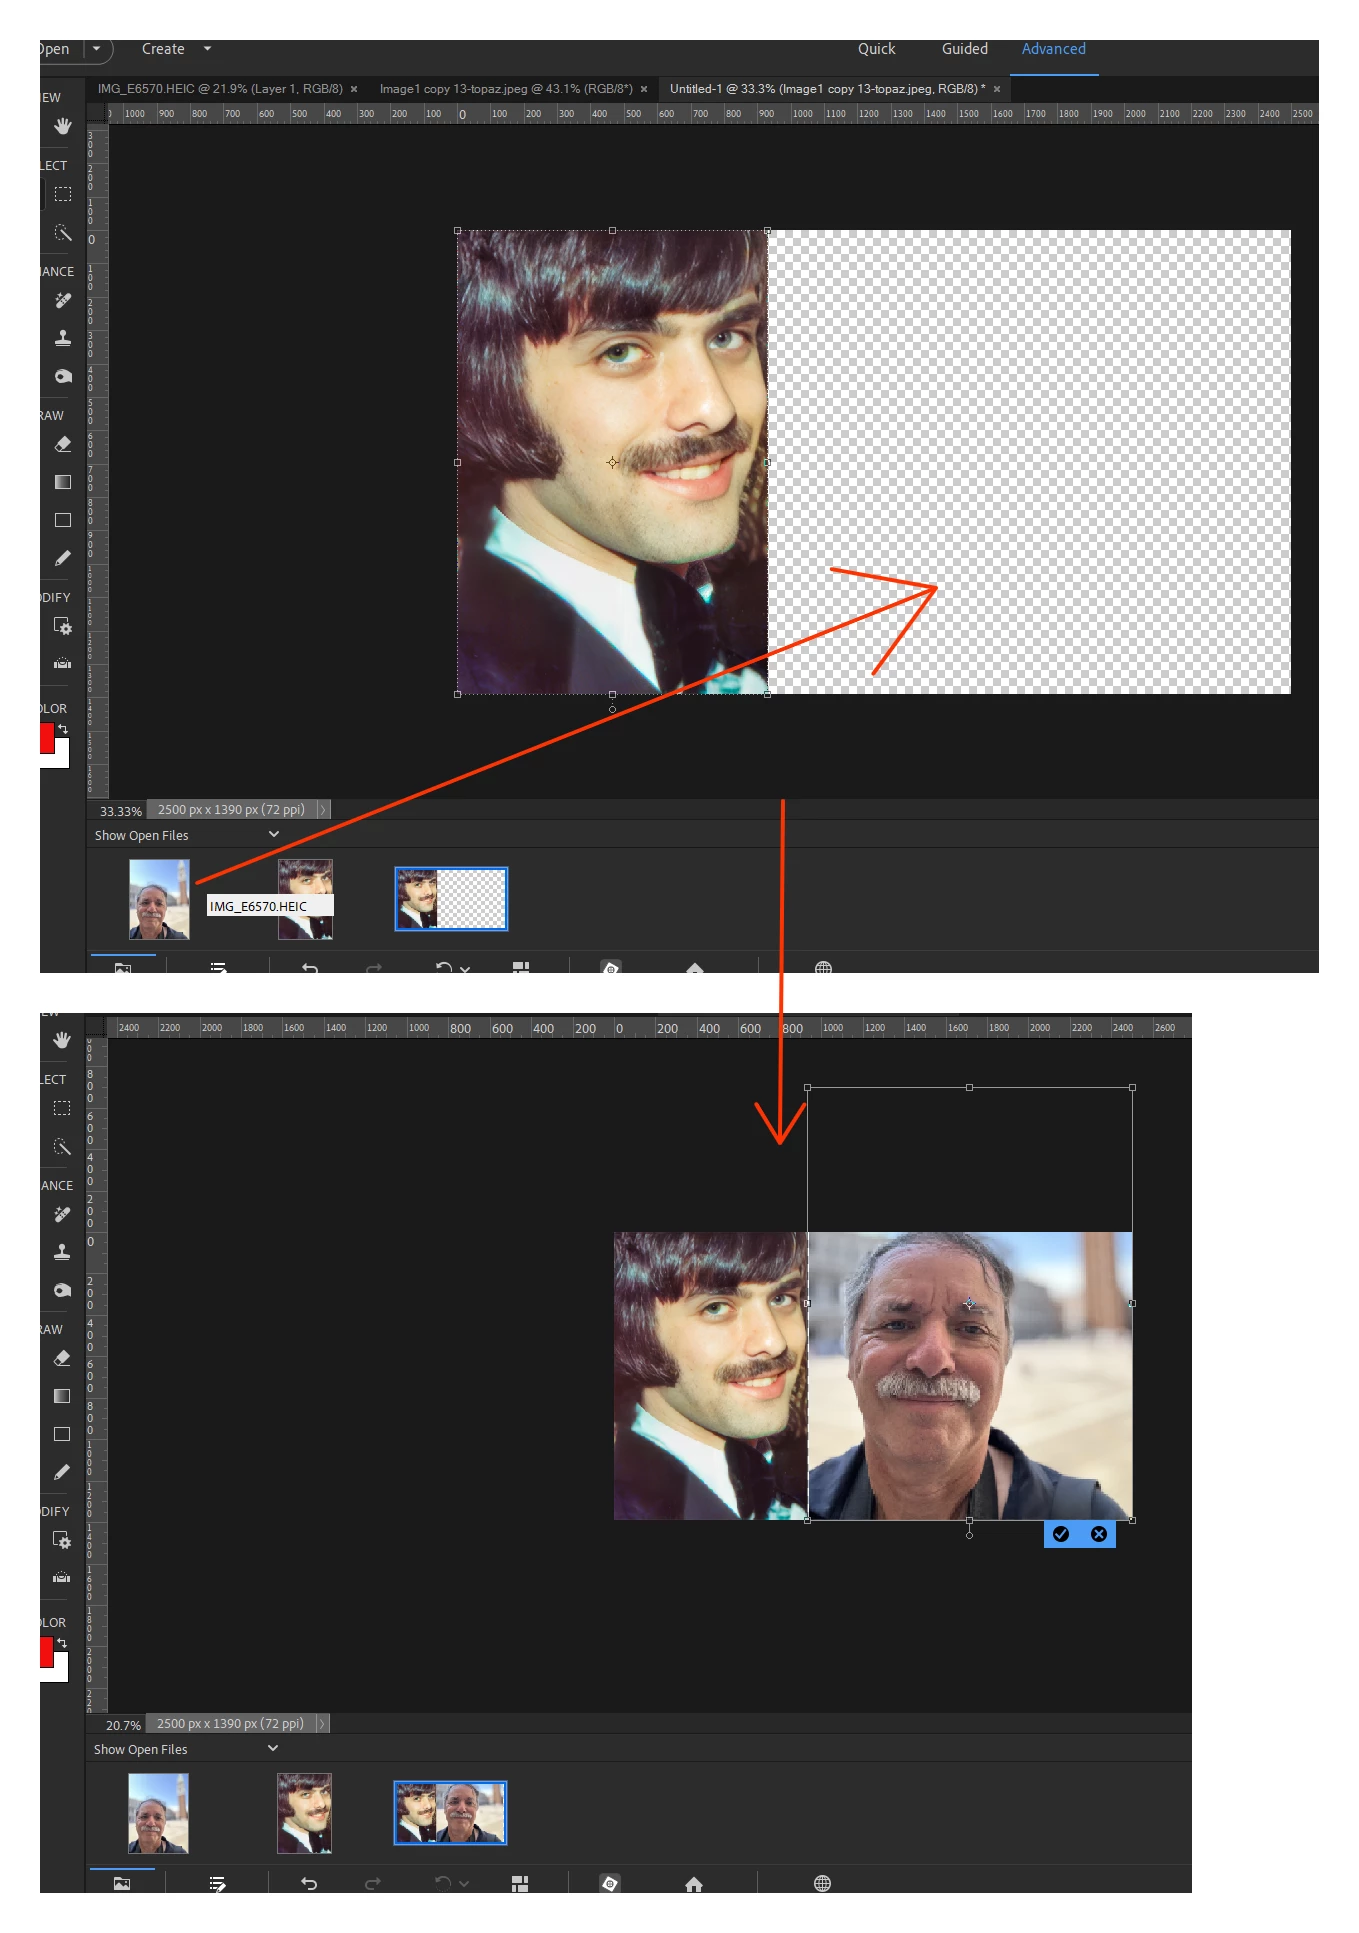
Creating 1 image from 2 side by side photos showing the comparison of the two

  • May 10, 2025
  • 2 replies
  • 333 views

I have 2 photos of the same subject taken at different times. I want to create 1 image of both photos, as a side by side comparison.

What are the exact steps to do this?


Correct answer Greg_S.
  • Open both photos in the Editor
  • Create a new blank file wide enough to fit both photos (File>New>Blank File)
  • Open the photo bin at the bottom so that all three photos are displayed
  • Select the blank file
  • Click and drag the before photo thumbnail from the photo bin to the blank file
  • Use the Move tool to place the photo on the left of the blank file and resize it if necessary using the layer handles
  • Do the same with the after photo (resizing and placing it to the right).


2 replies

Greg_S.
Community Expert
Community Expert
May 12, 2025

Which version of Elements are you using?


Are you in Quick Mode or Advanced/Expert mode?  You really need to be in Advanced Mode for this to work easier.


In Quick Mode, the Move tool (icon shaped like a cross) is at the bottom of the Tool panel.  In Advanced Mode it is near the top.  You can simply press V for the keyboard shortcut to activate.


Once you click and drag an image thumbnail from the Photo Bin to the blank new file, that image becomes a new layer in the file.  If the Move tool is activated, and you click on that layer, the handles should appear and you should be able to move the image around and resize it using the handles.


Please let us know if you are still having problems.


Arslycus1Author
Participant
May 12, 2025

Hey Greg,

Elements Photoshop 2025, Advanced mode.

Thanks to your response I figured out what I was doing wrong. I was trying to move the image using the Hand tool instead of the Move tool. DUH!!!

Once this was resolved all worked out great with the results I wanted.

Thank you.

Lee

Greg_S.
Community Expert
Greg_S.Community ExpertCorrect answer
Community Expert
May 10, 2025
  • Open both photos in the Editor
  • Create a new blank file wide enough to fit both photos (File>New>Blank File)
  • Open the photo bin at the bottom so that all three photos are displayed
  • Select the blank file
  • Click and drag the before photo thumbnail from the photo bin to the blank file
  • Use the Move tool to place the photo on the left of the blank file and resize it if necessary using the layer handles
  • Do the same with the after photo (resizing and placing it to the right).


Arslycus1Author
Participant
May 12, 2025

Hi Greg,


Thank you for taking the time to help. I’m having a problem following your instructions as the results are not coming out.

I open both photos. I see both in the Photo bin. Creating a new blank file I’m not sure about. The only way I was able to figure out how to do this was to select File at the top of the screen then New then Blank File then create the needed space to fit both photos. I can see all 3 in the Photo bin. I then select the blank file and then Click-Drag the before photo into the blank file. I see the photo inside the blank file but I can not adjust its position within the blank file frame. I’ve tried to figure out how to get layer handles, but am not successful.


Lee