gordo320
Participant
January 10, 2023
Question

Custom Crop PE 16

  • January 10, 2023
  • 1 reply
  • 170 views

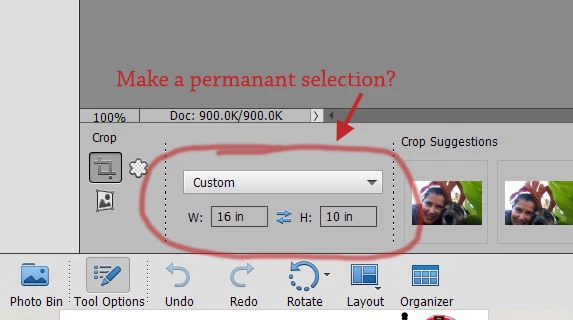
How do I save a custom crop size in PE 16? Ie 16x10........I know how to do it until I change the size, then I have to redo the size everytime. Running Windows 10.

This topic has been closed for replies.

1 reply

Greg_S.
Community Expert
Community Expert
January 15, 2023

AFAIK, there is no easy way to save a custom size for the crop tool.  But you may want to consider creating a 16x10 inch frame template file that you can use to place your photo in.  You then have the ability to transform the layer using the zoom and move tools to crop the photo to your custom dimensions.


Here is how to do it:

  • Create a new file with your desired custom dimensions (and a transparent background).
  • Go to the Guided Edit>Special Edits>Frame Creator

  • Use the Magic Wand tool and click once in the blank image.  This will select the entire image.
  • Click the Create Frame button
  • Click the Save Frame button and give the frame a name that will appear in the My Frames section of the Graphics>Frames panel
  • Click the Continue in Expert button.  You will now be switched to Expert mode.
  • Save the file as a .psd file.  This will create a frame file that will be available whenever you want to crop a file to your desired dimensions.


Now, whenever you need to crop a photo to your custom dimension open the .psd frame template file and do the following:

  • Drag your photo from the Photo Bin to the open frame template (or double-click on the frame and navigate to the desired photo).  The image you want to crop will appear inside the frame.

  • You can now use the Zoom slider and the Move tool to crop the image to the dimensions of the custom frame.

  • Save the file with a new name so that you don't overwrite frame template.


Or, just keep on doing what you have done in the past and change the custom size of the Crop Tool each time you need it.  🙂