gfbugaboo
Inspiring
August 18, 2020
Question

Dealing with poor sun angle and late-afternoon haze

  • August 18, 2020
  • 4 replies
  • 649 views

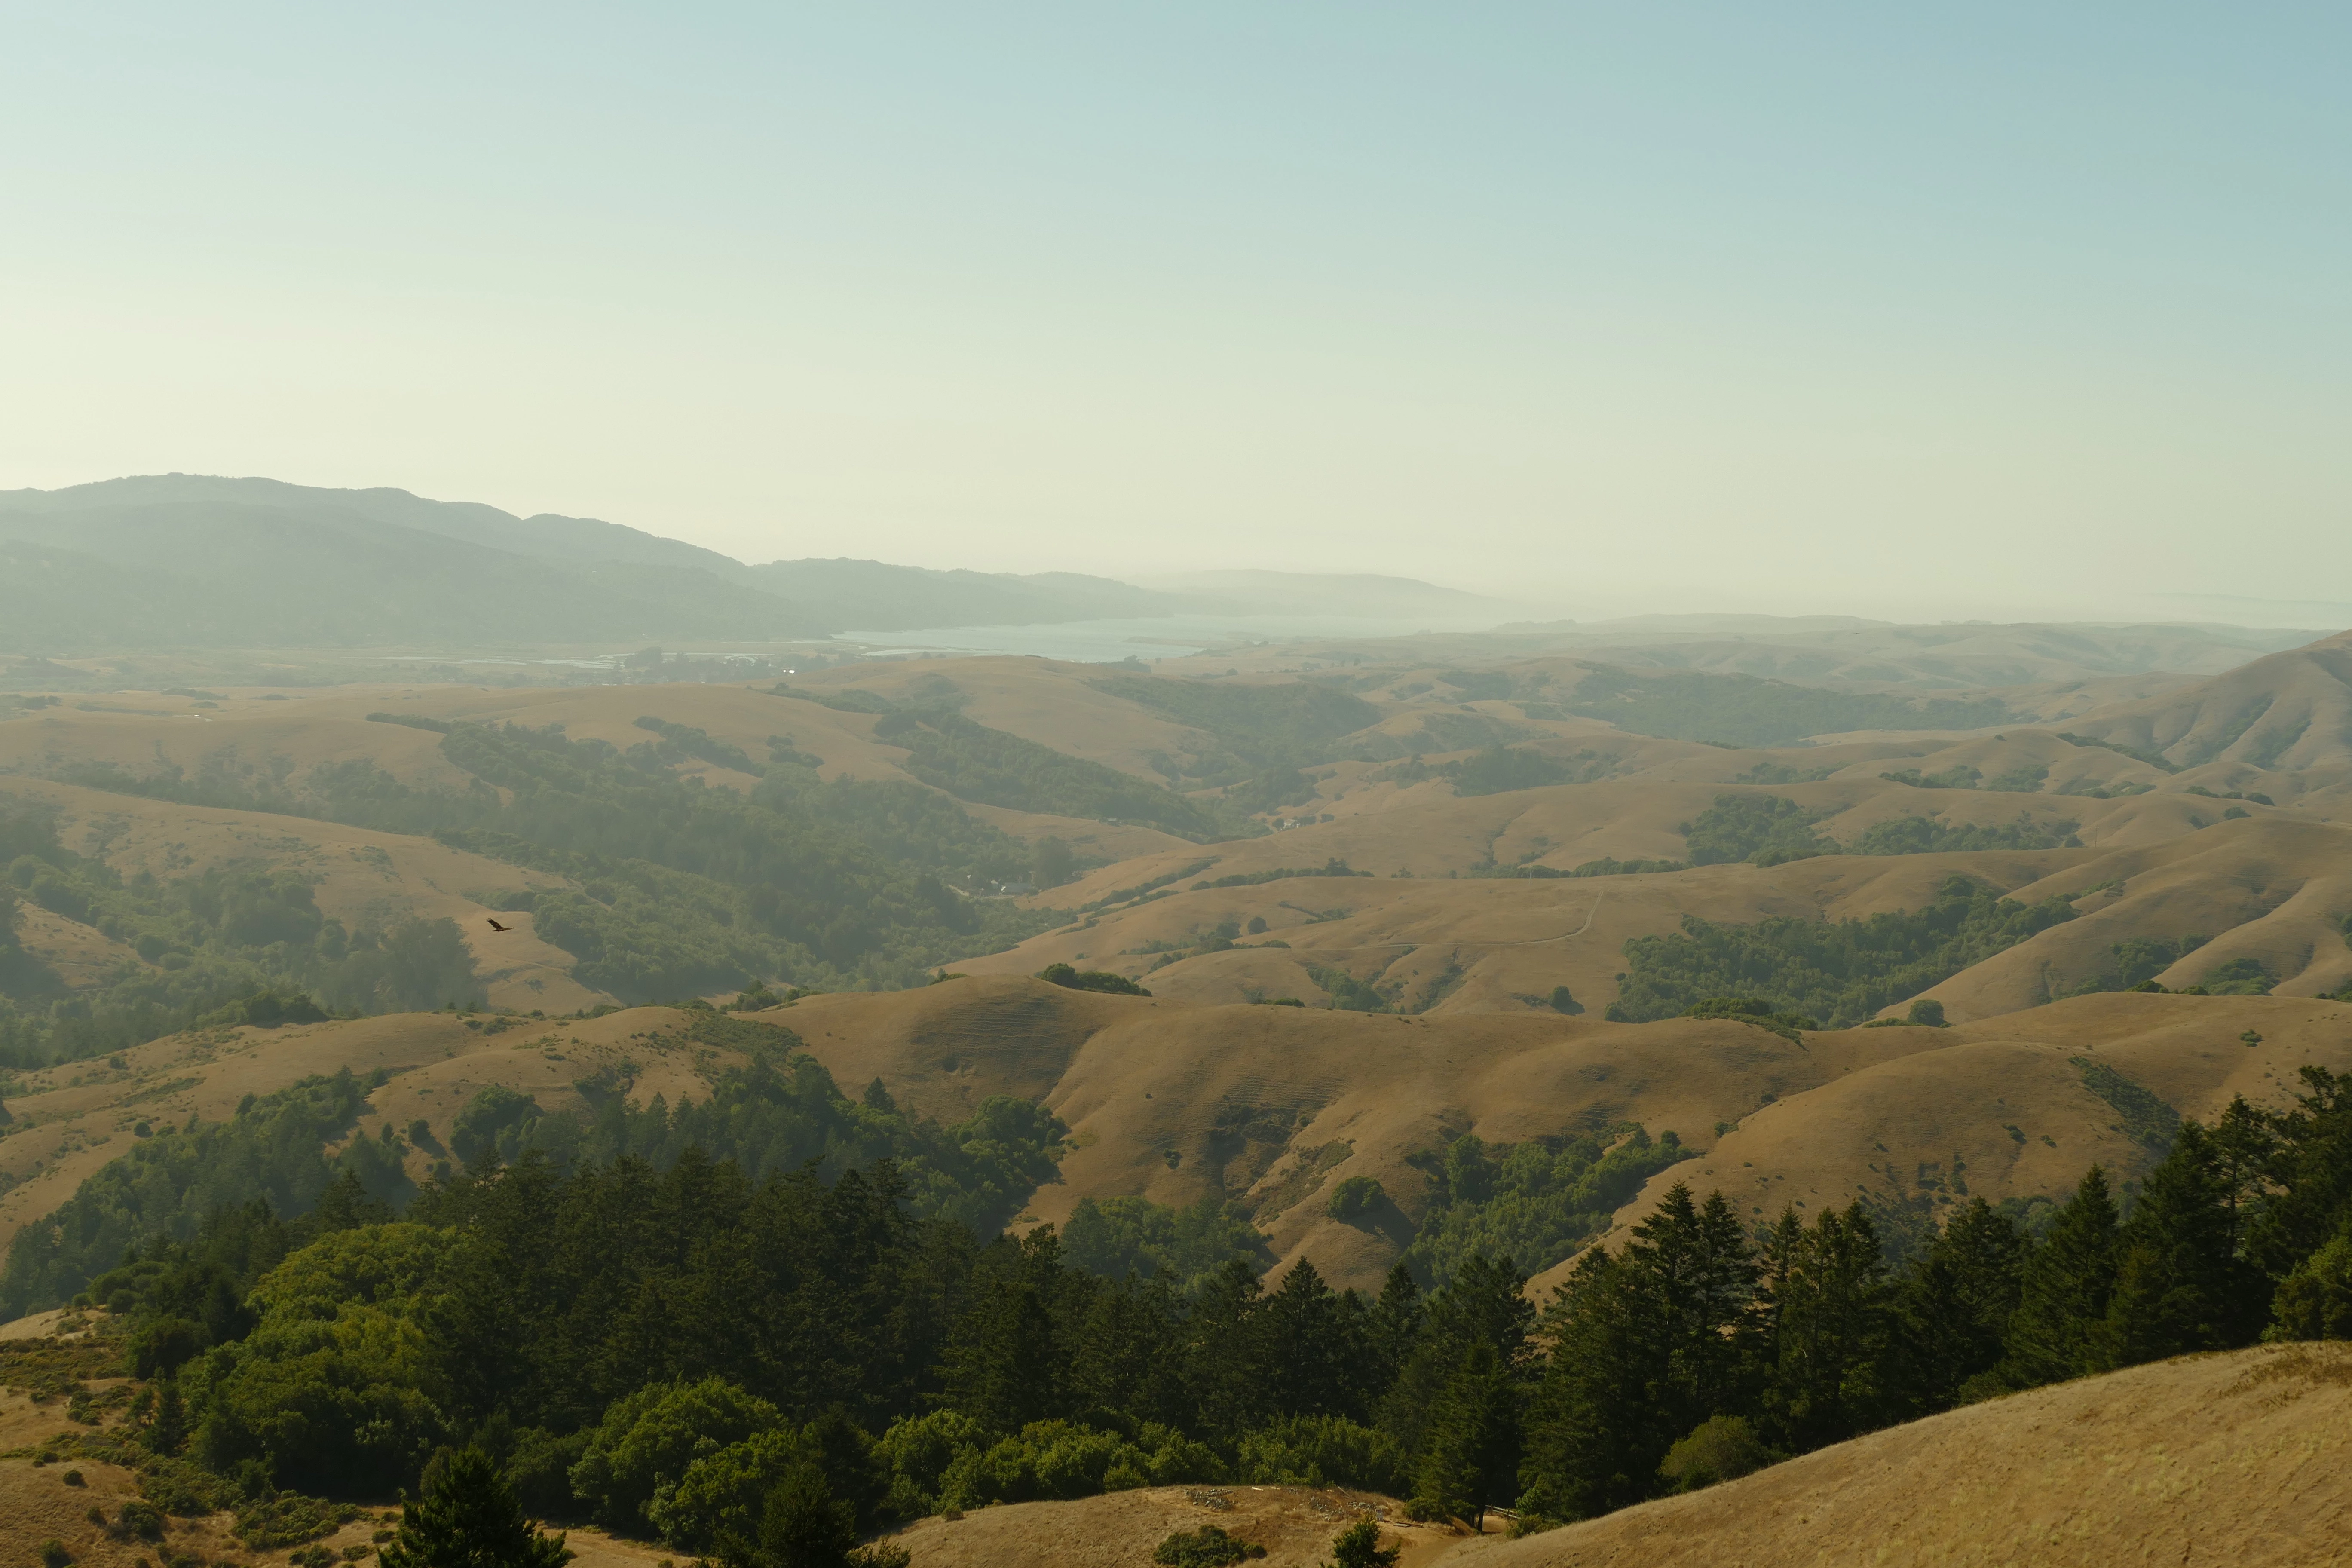
I shot the following, looking northwest from atop Mount Barnabe in Samuel P.Taylor State Park, at about 5 p.m., with the sun having begun its descent in the west:

I’m looking for suggestions on getting the best results with this. I have a RAW version to work with, and I did make an initial attempt, centering around the haze reduction tool. It resulted in some false colors, but it doesn’t look bad:

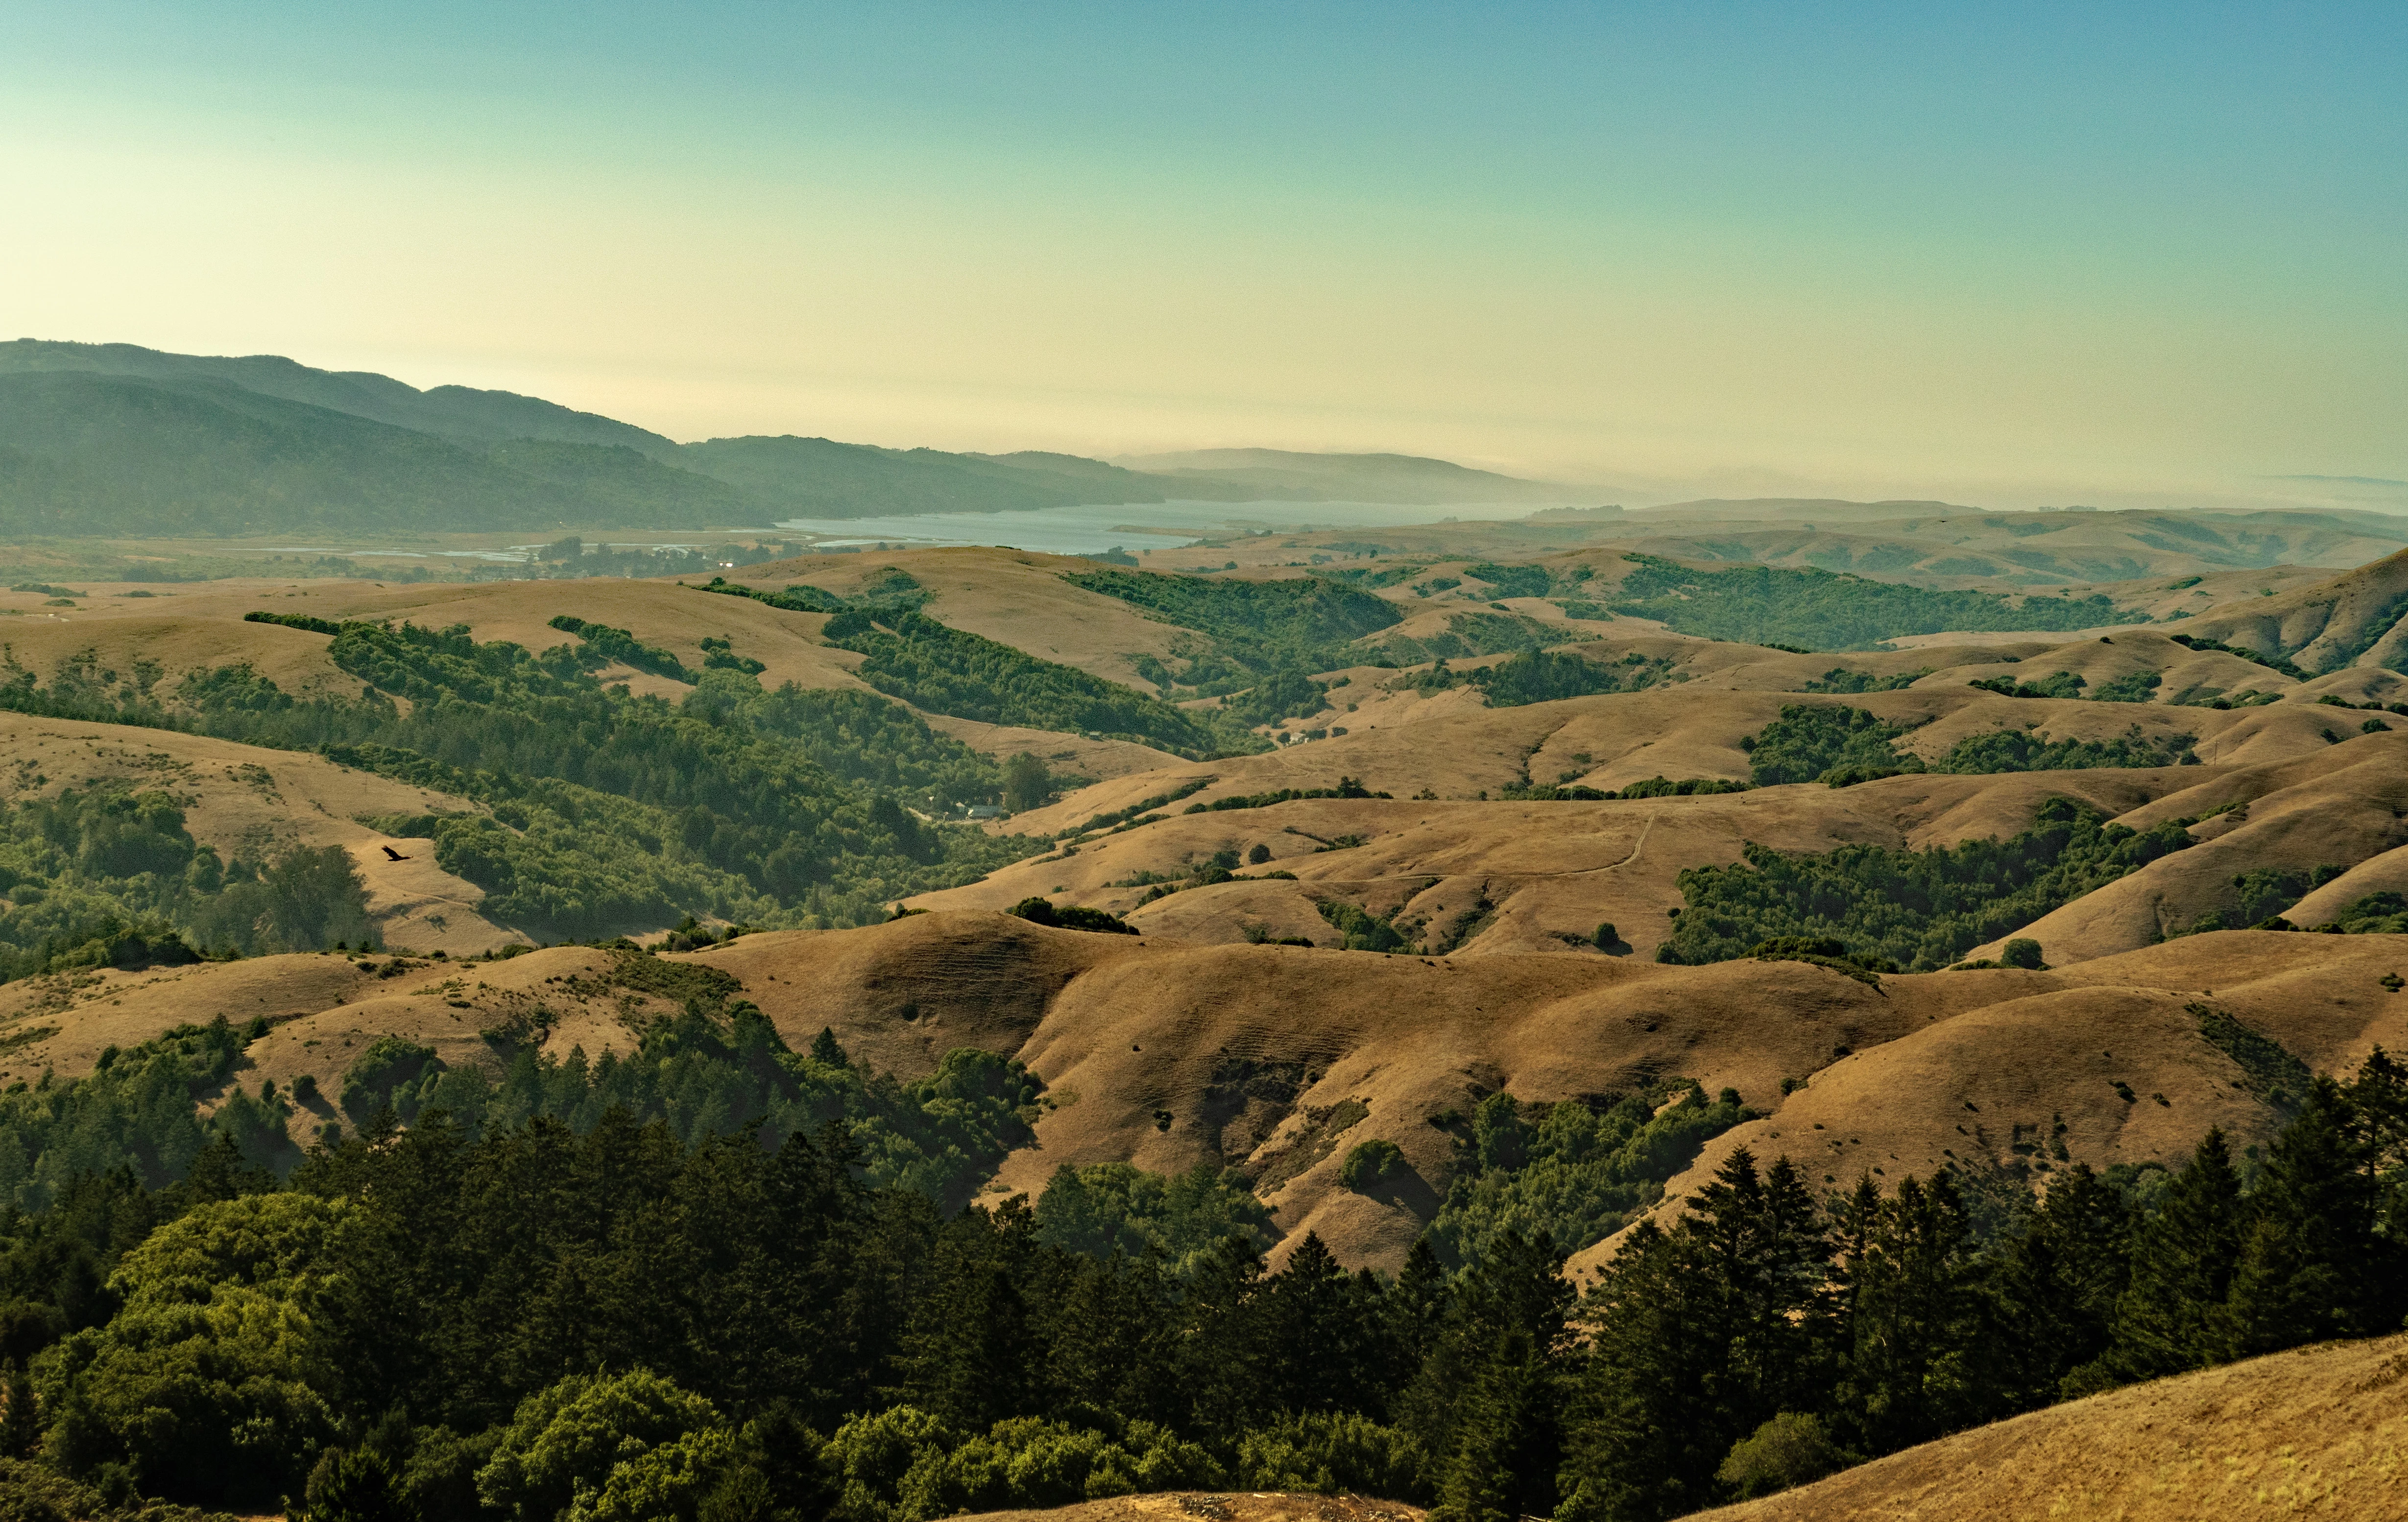
When you display it at close to 100% size and look closely, though, the flaws are glaring:

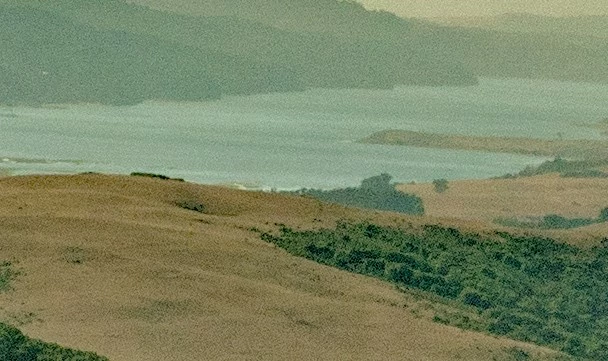
Is there any more I can do to the photo to enhance it for zoom-in viewing, or are my options limited because of the angle of the sun? (I did try some blur filters, but they just made the whole photo look, well, blurry.)

This topic has been closed for replies.

4 replies

99jon
Genius
August 20, 2020

Sorry I should have said you will probably need to apply some sharpening to overcome the softening effect of noise reduction. If you hold down the Alt key while masking you will see the B&W preview. Only edges shown in white will be sharpened. Nothing in black will get sharpened. On a raw file you can push edge sharpening quite high when using masking without affecting artefacts.


It’s the same principle when using a layer mask e.g. black conceals and white reveals. A nice way to remember is painting on a layer mask with black, blocks the effect. So Black blocks.

99jon
Genius
August 19, 2020

I used open in camera raw. So this will look best with your original raw file. I used the detail panel to remove the luminance noise seen at 100% and masking to avoid the entire image becoming soft. I then adjusted highlights and the white & black points. You can use the sliders to your own taste. Here are the settings:

Basic Panel

Highlights -100

Whites +45

Blacks +4

Details Panel

Noise reduction 60

Masking 80

Leave radius, color noise etc. at the default settings.


If you hold down the Alt key while moving the masking slider you will get a B&W preview which will help you see the amount of noise/artefacts being masked as you move the slider. 


You could also experiment with the temperature slider by pushing slightly to the left. Image #2


gfbugaboo
gfbugabooAuthor
Inspiring
August 19, 2020

Thank you for that. Based on an earlier suggestion, I did some additional adjustments in Camera Raw last night, most notably with the Details panel (I had completely forgotten about the Details adjustments option), and it did improve my results somewhat. I will incorporate your suggestions and see if I get similar results to yours.

Jeff Arola
Community Expert
Community Expert
August 19, 2020

Setting the White Balance and basic camera raw adjustments


or this


hatstead
Inspiring
August 18, 2020

I opened this in camera raw, but could not improve it very much

Then opened in regular PSE, duplicated the background layer, set the blending mode of this layer to overlay,

Next went to Filter menu>other>high pass and applied this. Worked the slider to best advantage.

Replaced the sky with light blue - - - C7D7EA in the color picker.

You can add a few clouds if you think that it is appropriate.