Elements 2019 isolate subject so that text wrap in InDesign will follow irregular edges of subject.
I have looked at many video tutorials over the past days but none have shown me how to isolate a primary subject in a photo, making all other parts of the image transparent (disappear). I'm on an iMac. All tutorials have shown how to make a transparent background to isolate a primary subject in a photo or graphic. But when I do that, the now-invisible extraneous/unwanted part of the original image still seems to appear as "paper" when placed into an InDesign document. When I place the doctored image into an InDesign 2020 document and do a text wrap, the text follows the straight invisible rectangular border around the image, not the irregular border of the subject I'm attempting to isolate. Using an older Elements, I used to quickly and easily accomplished this by:
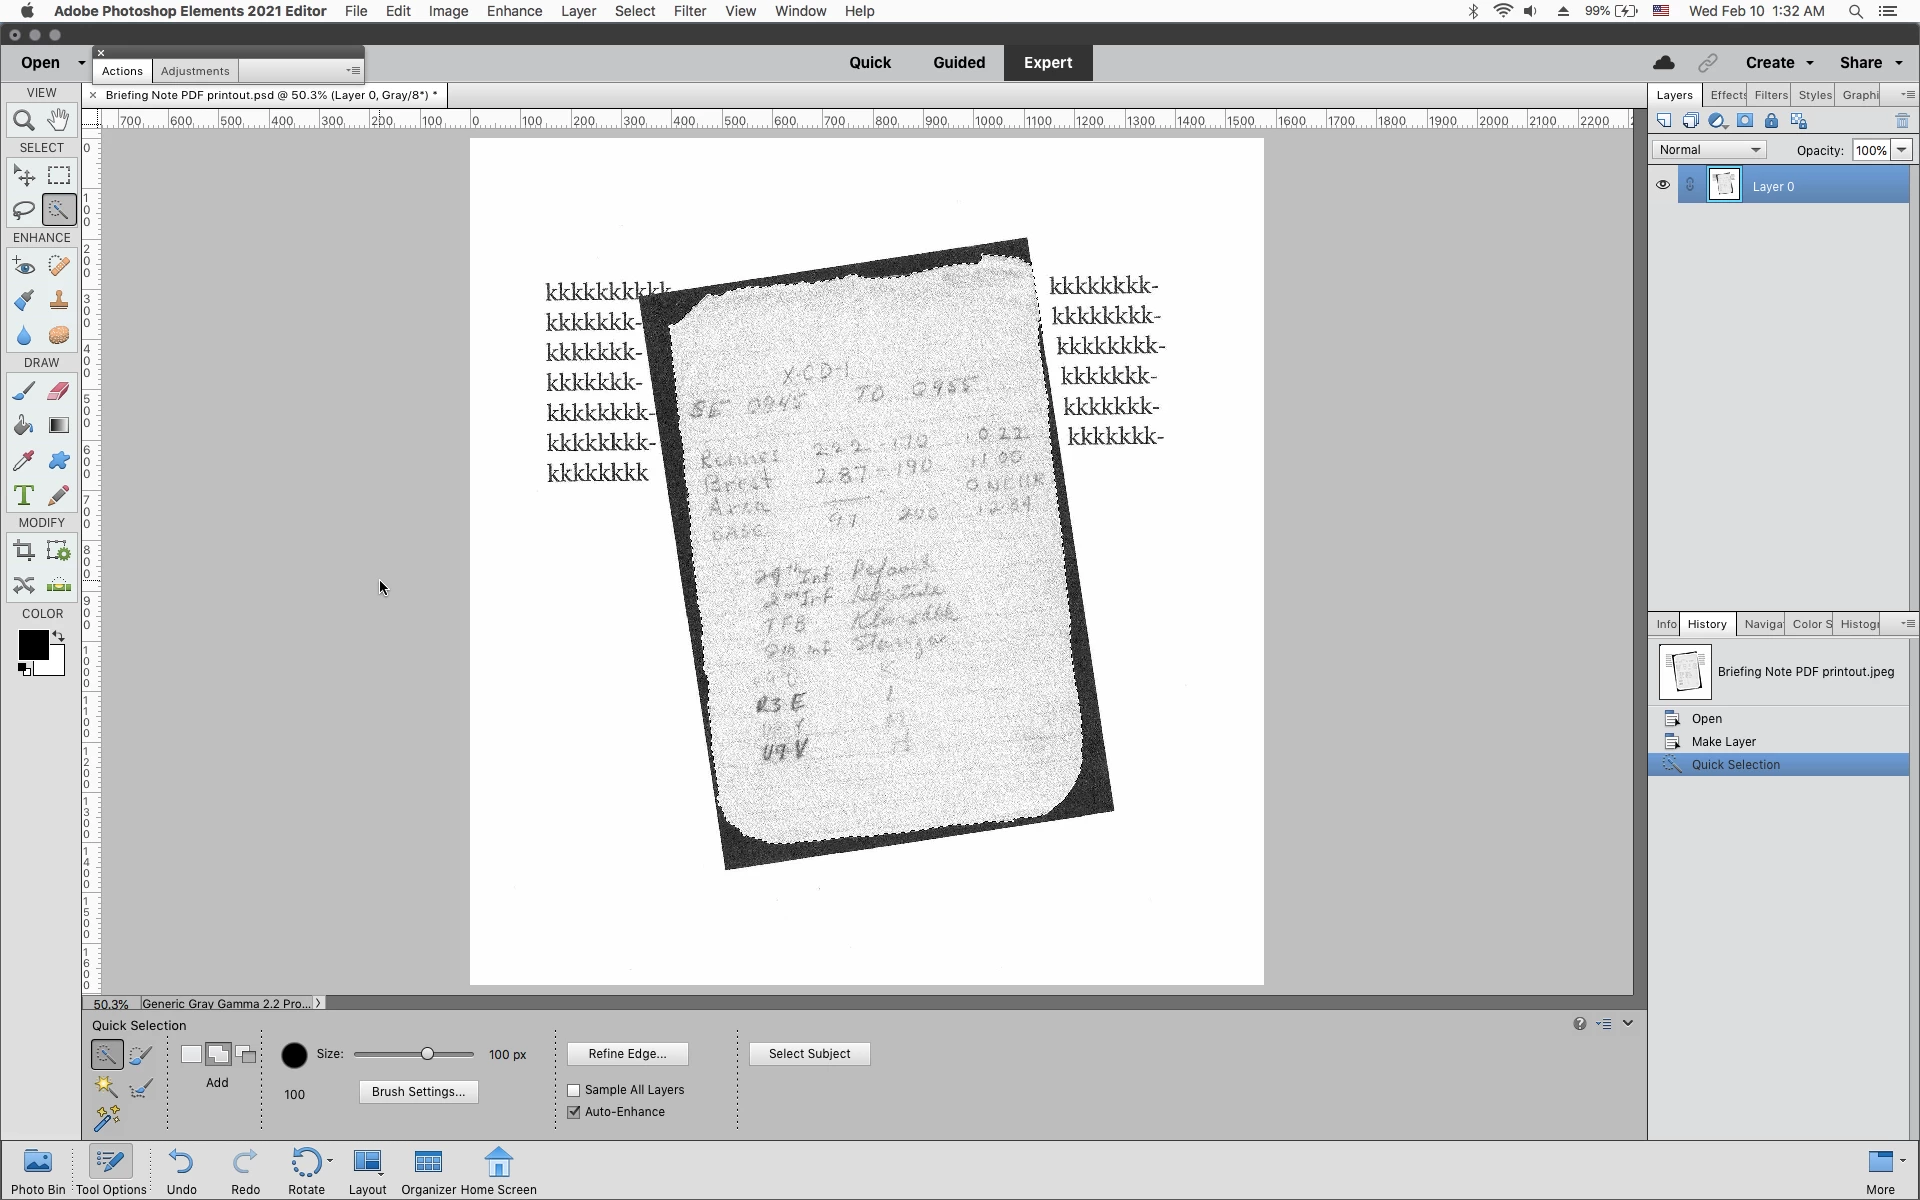
1. Unlock layer.
2. Outline the desired image with the appropriate Magic Wand, getting the "marching ants" around the desired image. (Hit "Command-Shift" to antify other parts.)
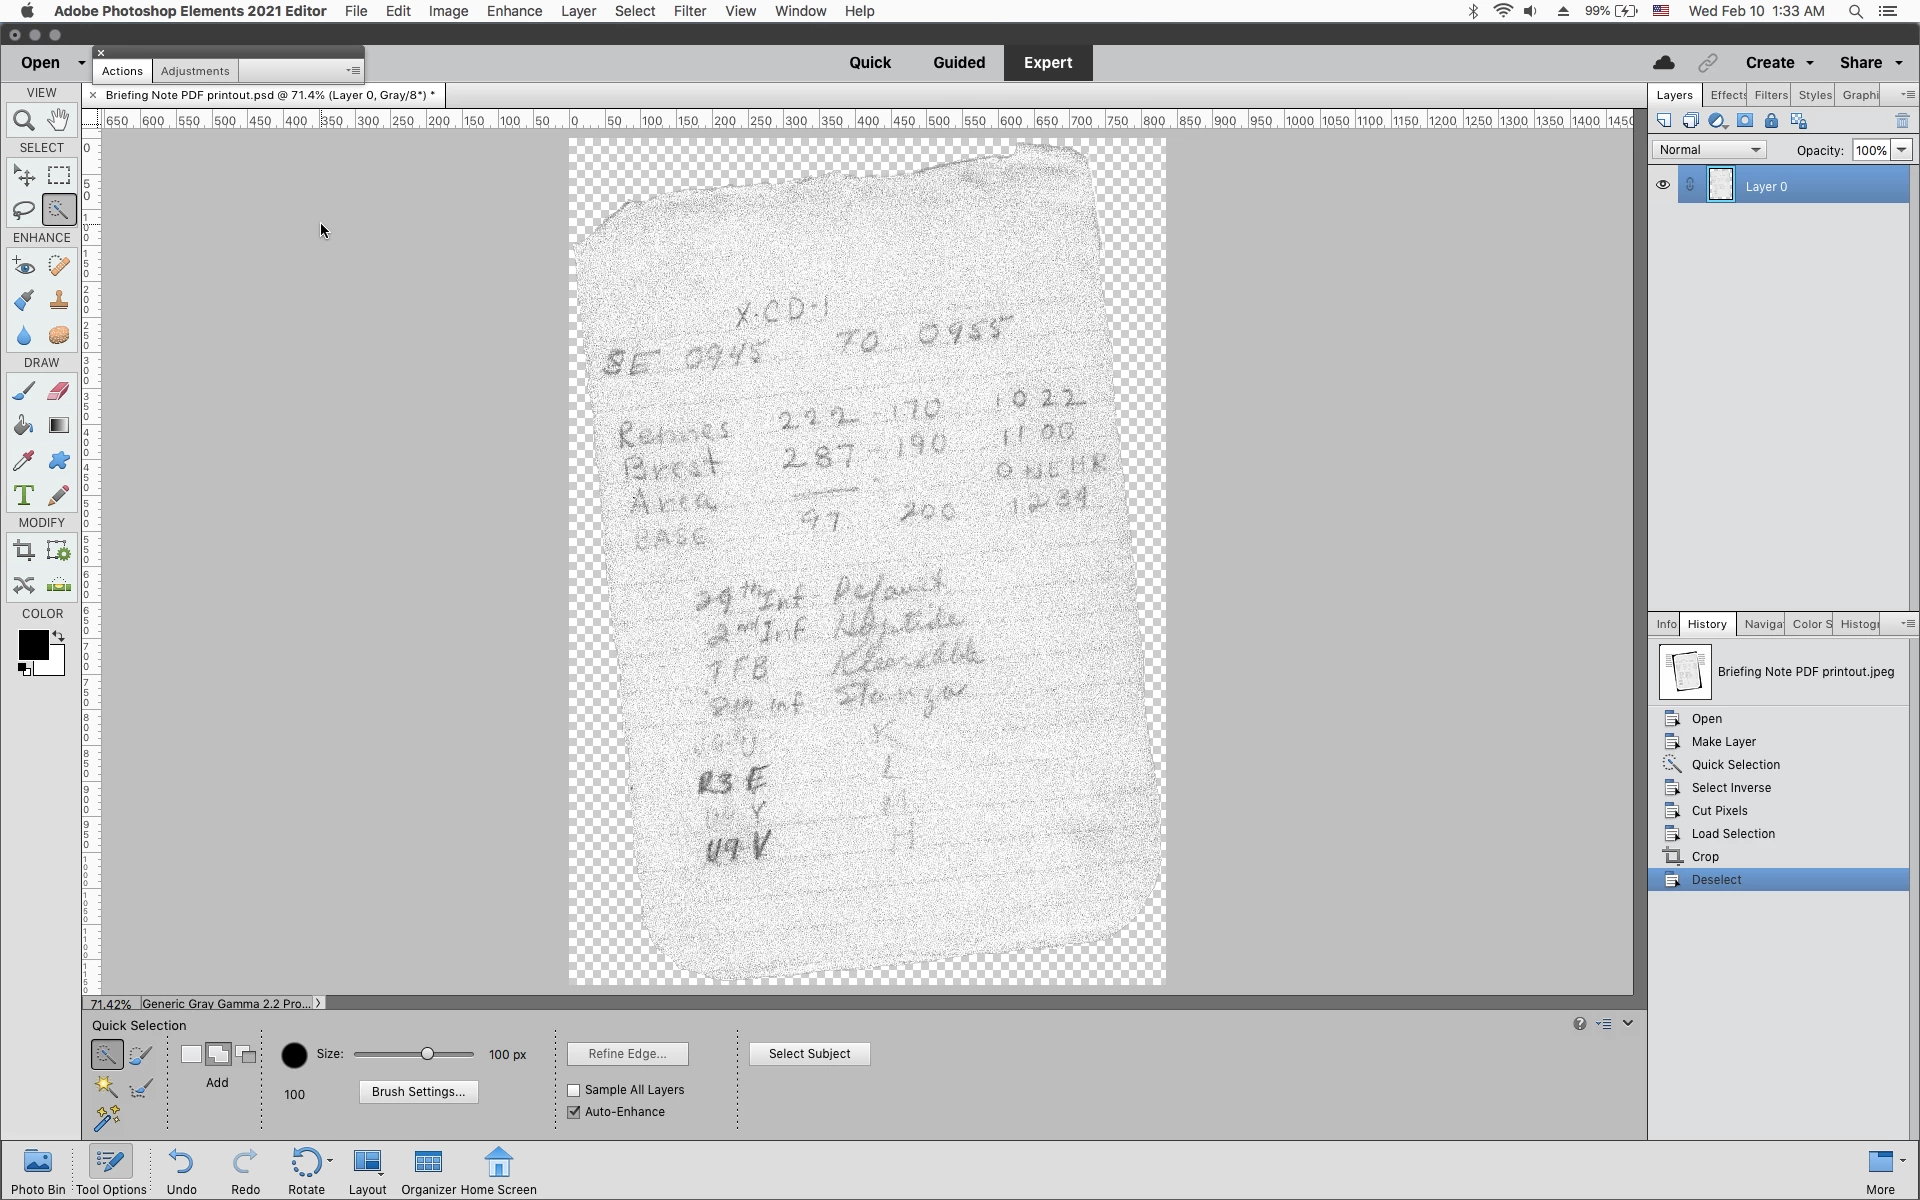
3. Hit Delete key on my keyboard, getting the checkerboard pattern in the part of the image I want to expunge.
4. Simultaneously hit keyboard Command key and "D" key. The undesired part of the image is now gone. When I place it into an InDesign document, text wrap will follow the irregular edges of the graphic.
That simple process does not work for me with PS Elements 2019. Is there an equally simple way to accomplish what I want to do? If not, what are the steps for accomplishing the isolation of a subject within a photo or other graphic (e.g., a logo, etc.) so that when placed in an InDesign document, the text wrap will follow the irregular edge of the isolated image, not the sides of the invisible rectangle box the image is in? Given how simple the process used to be, there must be a similar simple procedure for PSE 2019, but I sure can't find it online. Thanks much! And my deep apologies if this simple problem has been well addressed many times before.