gfbugaboo
Inspiring
August 13, 2020
Answered

How best to deal with pink or purple tint in cloudy sky

  • August 13, 2020
  • 3 replies
  • 2636 views

I've seen this in a few of my photos taken of gray, cloudy skies and wondering how best to remove the tint:

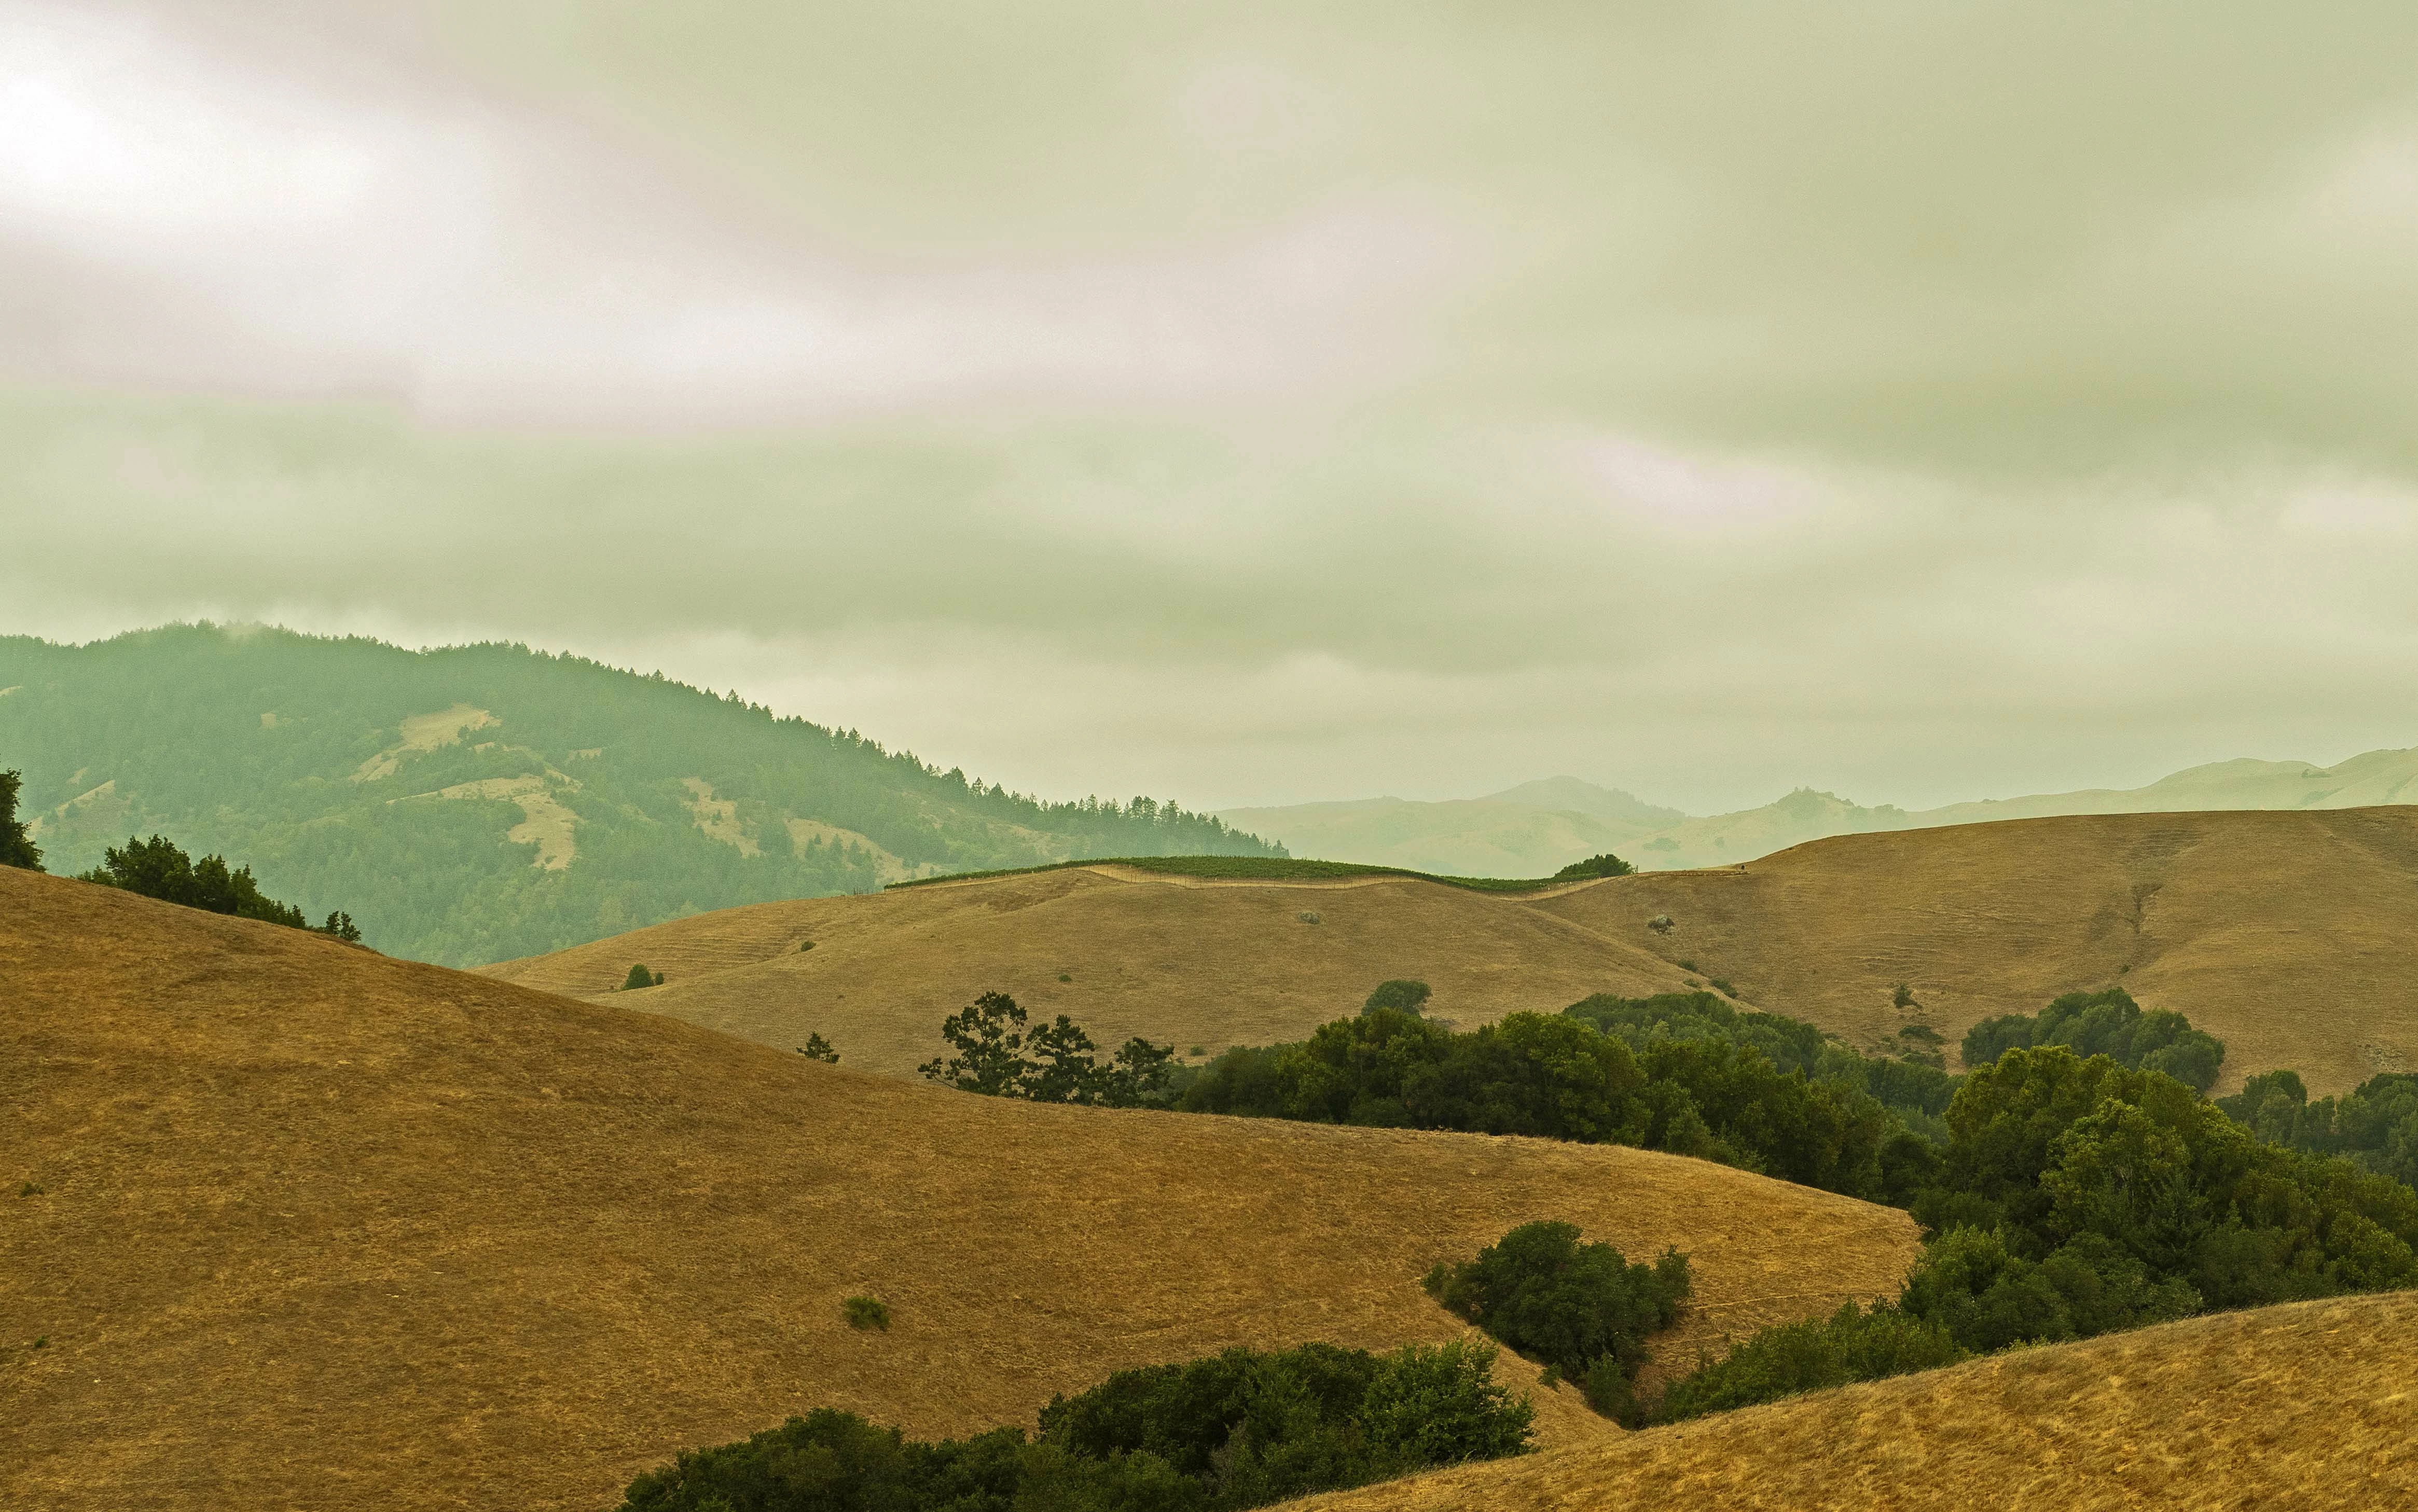
I've tried cloning and level adjustments and neither of those methods worked well. I figure this is a pretty common problem but I couldn't find a topic on it in my searches. Suggestons?

This topic has been closed for replies.
Correct answer Walter_H

It looks like the white balance setting in your camera is off. Have you tried to reset your camera back to factory defaults? Or maybe set the white balance to Auto?


3 replies

Walter_H
Walter_HCorrect answer
Legend
August 13, 2020

It looks like the white balance setting in your camera is off. Have you tried to reset your camera back to factory defaults? Or maybe set the white balance to Auto?


--Walter in Davie, FL
hatstead
Inspiring
August 13, 2020

My camera works very well, Sir.

Walter_H
Legend
August 13, 2020

Hi hatstead,


I'm a little curious why you would reply as if you were the original poster "gfbugaboo"?


I did not say that there was anything wrong with your Panasonic FZ-1000 camera. The EXIF data in your photo indicates that the white balance is set to "manual" and Exposure bias of -0.33 eV.


Gfbugaboo (original poster) asked for suggestions. That's what I offered in my reply.


And, here's a screenclip of the EXIF data from the photo that gfbugaboo posted.


--Walter in Davie, FL
hatstead
Inspiring
August 13, 2020

Try this:

1. Open the picture file

2. Activate the eye dropper and sample the light green/blue sky in your picture

3. Open a blank layer above the Background layer (Layer 1) Set the blending mode of  Layer 1 to "color"

4. Activate the Brush tool and set opacity to 50% and brush cursor to about 500 px. Gently brush over the areas that are to be corrected. Still on Layer 1, if there are some areas with sharp edges, use the smudge tool to soften the adjoining areas.


TIP: to increase/decrease the size of the brush cursor, use the bracket keys next to the letter P on the keyboard.

gfbugaboo
gfbugabooAuthor
Inspiring
August 13, 2020

That worked perfectly! (Once I figured out that the unmarked dropdown next to Opacity was the blending mode.) It gave me exactly what I wanted. Thank you so much. I will try to find more information on the process, but can you briefly explain the concept to me? I've never used anything like that before, though it reminded me of the blending (if that's the correct term) process using layer masks.

hatstead
Inspiring
August 14, 2020

You're very welcome. Glad to help.

99jon
Genius
August 13, 2020

I duplicated the background layer (Ctrl+J)

Used Layer >> Adjustment Layer >> Gradient Map

Pressed Alt and clipped the adjustment layer to layer 1

Double-Clicked in the gradient and selected a dark blue

Adjusted the slider between lightness and darkness focusing on the sky (but the whole image turns blue)

With layer 1 selected Press Alt and click on layer mask to block the adjustments with a black mask

Set the foreground color to white and use a large brush to brush over the sky to reveal the blue tint.


You don't need to use blue. You can select any color of your choice for the gradient including black or gray.