Known Participant
January 30, 2019
Question

How to lighten part shadows on a face in PSE 15?

  • January 30, 2019
  • 4 replies
  • 2359 views

I have this photo that I would like to lighten the shadows on the upper part of the face.  I've seen tutorials of skys made brighter and am wondering how I can do that to her face in this photo?  I already adjusted most of the photo to make it brighter.   My next goal is to remove the background and place images in each of the lenses of the sunglasses of the beach similar to a photo I saw in a travel ad.  If anyone has any suggestions of the easiest way to place the images into the lenses 
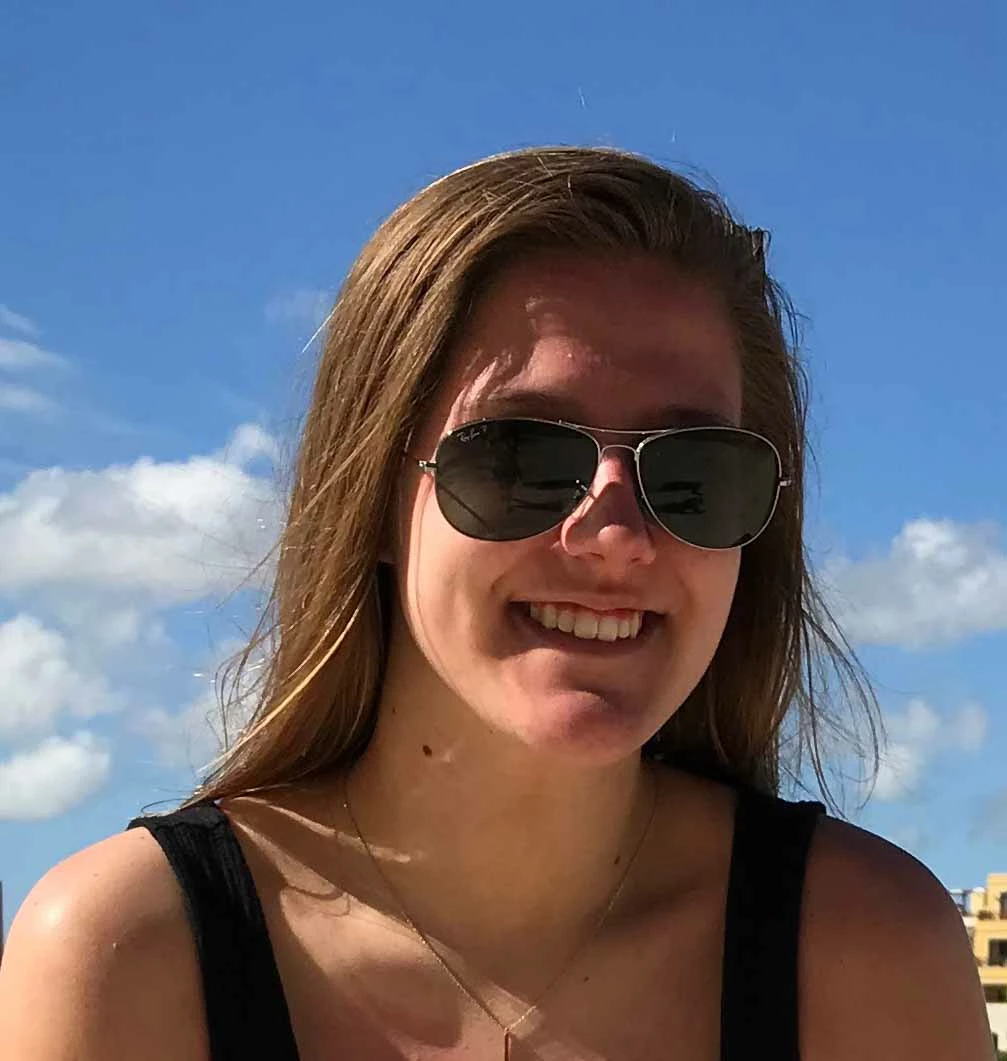
I would appreciate that as well. 

    This topic has been closed for replies.

    4 replies

    Greg_S.
    Community Expert
    Community Expert
    February 3, 2019

    Sorry,  I meant to say you need to switch the foreground color to black.

    RmcdonAuthor
    Known Participant
    February 3, 2019

    It's still not black but it's working now to erase just the layer and not the background.  How did you get it to be in the glasses so well?  Is there an add when I take away too much?

    Greg_S.
    Community Expert
    Community Expert
    February 3, 2019

    Rmcdon  wrote

    It's still not black but it's working now to erase just the layer and not the background.  How did you get it to be in the glasses so well?  Is there an add when I take away too much?

    Press D to get the default black and white.  Press X to switch between the two.  Paint on white to replace what you have taken away with the black.

    Greg_S.
    Community Expert
    Community Expert
    February 3, 2019

    OK.  You need to switch the foreground layer to black.  In your screenshot, it is currently white. Press the X key and it will switch from white to black.

    99jon
    Legend
    January 31, 2019

    I would do as Greg suggested but just push up the shadows slider in camera raw to +100

    You are not then affecting the highlights which are mainly in the sky.

    You set depth to 8 bits/channel and click the open image button to send it into the regular editor.

    If you layer it with a copy of the original you can add a layer mask and paint over the glasses to darken them again.

    You could simply paint out the building with the brush after sampling the nearby sky with the color picker.

    N.B this simpler method is introducing artefacts on your jpeg copy so use a larger original if you have it or experiment with shadow settings. If not Greg’s method with lower slider values should produce a more pleasing result.

    Greg_S.
    Community Expert
    Community Expert
    January 31, 2019

    A couple of suggestions:

    In order to brighten the shadow on the face, I would open the image in camera raw.  (Select File>Open in Camera Raw and browse to the file.)  Here, you can make a number of adjustments to brighten the dark areas by using the shadows and blacks sliders.  You can also play around with the other sliders to adjust the overall exposure and color of the image.  Decreasing the contrast and clarity will also smooth out the skin on the face.  Here is an idea of what I am talking about.  (I have exaggerated some of the adjustments.)

    Because the exposure of the sky has been lightened, you can restore the original by opening your original image and drag and dropping the adjusted image into it so you have two layers with different exposures. (Make the top layer, the adjusted image.) Create a mask on the top layer, then with the mask thumbnail selected, paint the sky with a brush, using black as the background color.

    For me, the easiest way to place the beach image into the lens is to open the image and drag and drop it from the photo bin into the face picture to create a new layer.  Resize the image to cover one of the lenses, create a mask, and then select the mask thumbnail and paint around the lens with a black brush so the beach can only be seen on the lens.  Duplicate the layer and move the duplicate over the second lens.  Make adjustments to the beach over the second lens.  Adjust the opacity of the beach layers to taste.  You should then end up with something like this:

    As for removing the background, are you talking about the building by the shoulder on the right or the whole sky? 

    BTW, I don't claim to be an expert, but hopefully, this will give you some ideas.

    RmcdonAuthor
    Known Participant
    February 2, 2019

    I don't know how to create a mask.  I found the icon that will allow me to create a mask and it looks like what you show in the layers panel.  However, when I am switching to the brush and the black to paint over it to adjust the sky it is just giving me a spinning wheel and not doing anything (meaning no black is showing up).  Also, I dragged a photo in over the lense but once again, the mask with the brush is doing the same thing, no black to reveal the photo behind it. 

    Greg_S.
    Community Expert
    Community Expert
    February 3, 2019

    Rmcdon  wrote

    I don't know how to create a mask.  I found the icon that will allow me to create a mask and it looks like what you show in the layers panel.  However, when I am switching to the brush and the black to paint over it to adjust the sky it is just giving me a spinning wheel and not doing anything (meaning no black is showing up).  Also, I dragged a photo in over the lense but once again, the mask with the brush is doing the same thing, no black to reveal the photo behind it. 

    You need to click in the white thumbnail of the mask in the layer panel before starting to paint in the black area.