Known Participant
February 28, 2025
Answered

Where's My Cursor?

  • February 28, 2025
  • 4 replies
  • 1244 views

When using PS Elements 2024 – 25, to cut an object from the image using the manual selection tools where the auto has failed to grab the outline, the cursor will disappear in certain colour backgrounds. That in turn, makes accurate selection of indistinct edges where the object colour blends into the background, very difficult, particularly in Macro Photography. I would like to be able to select a colour, and the density in pixels for the cursor to keep its visibility under various conditions and background image. Unfortunately I have recommended your software to over 30 archaeologist around the country, regrettably we all have the same issue.  Please respond.

Correct answer hatstead

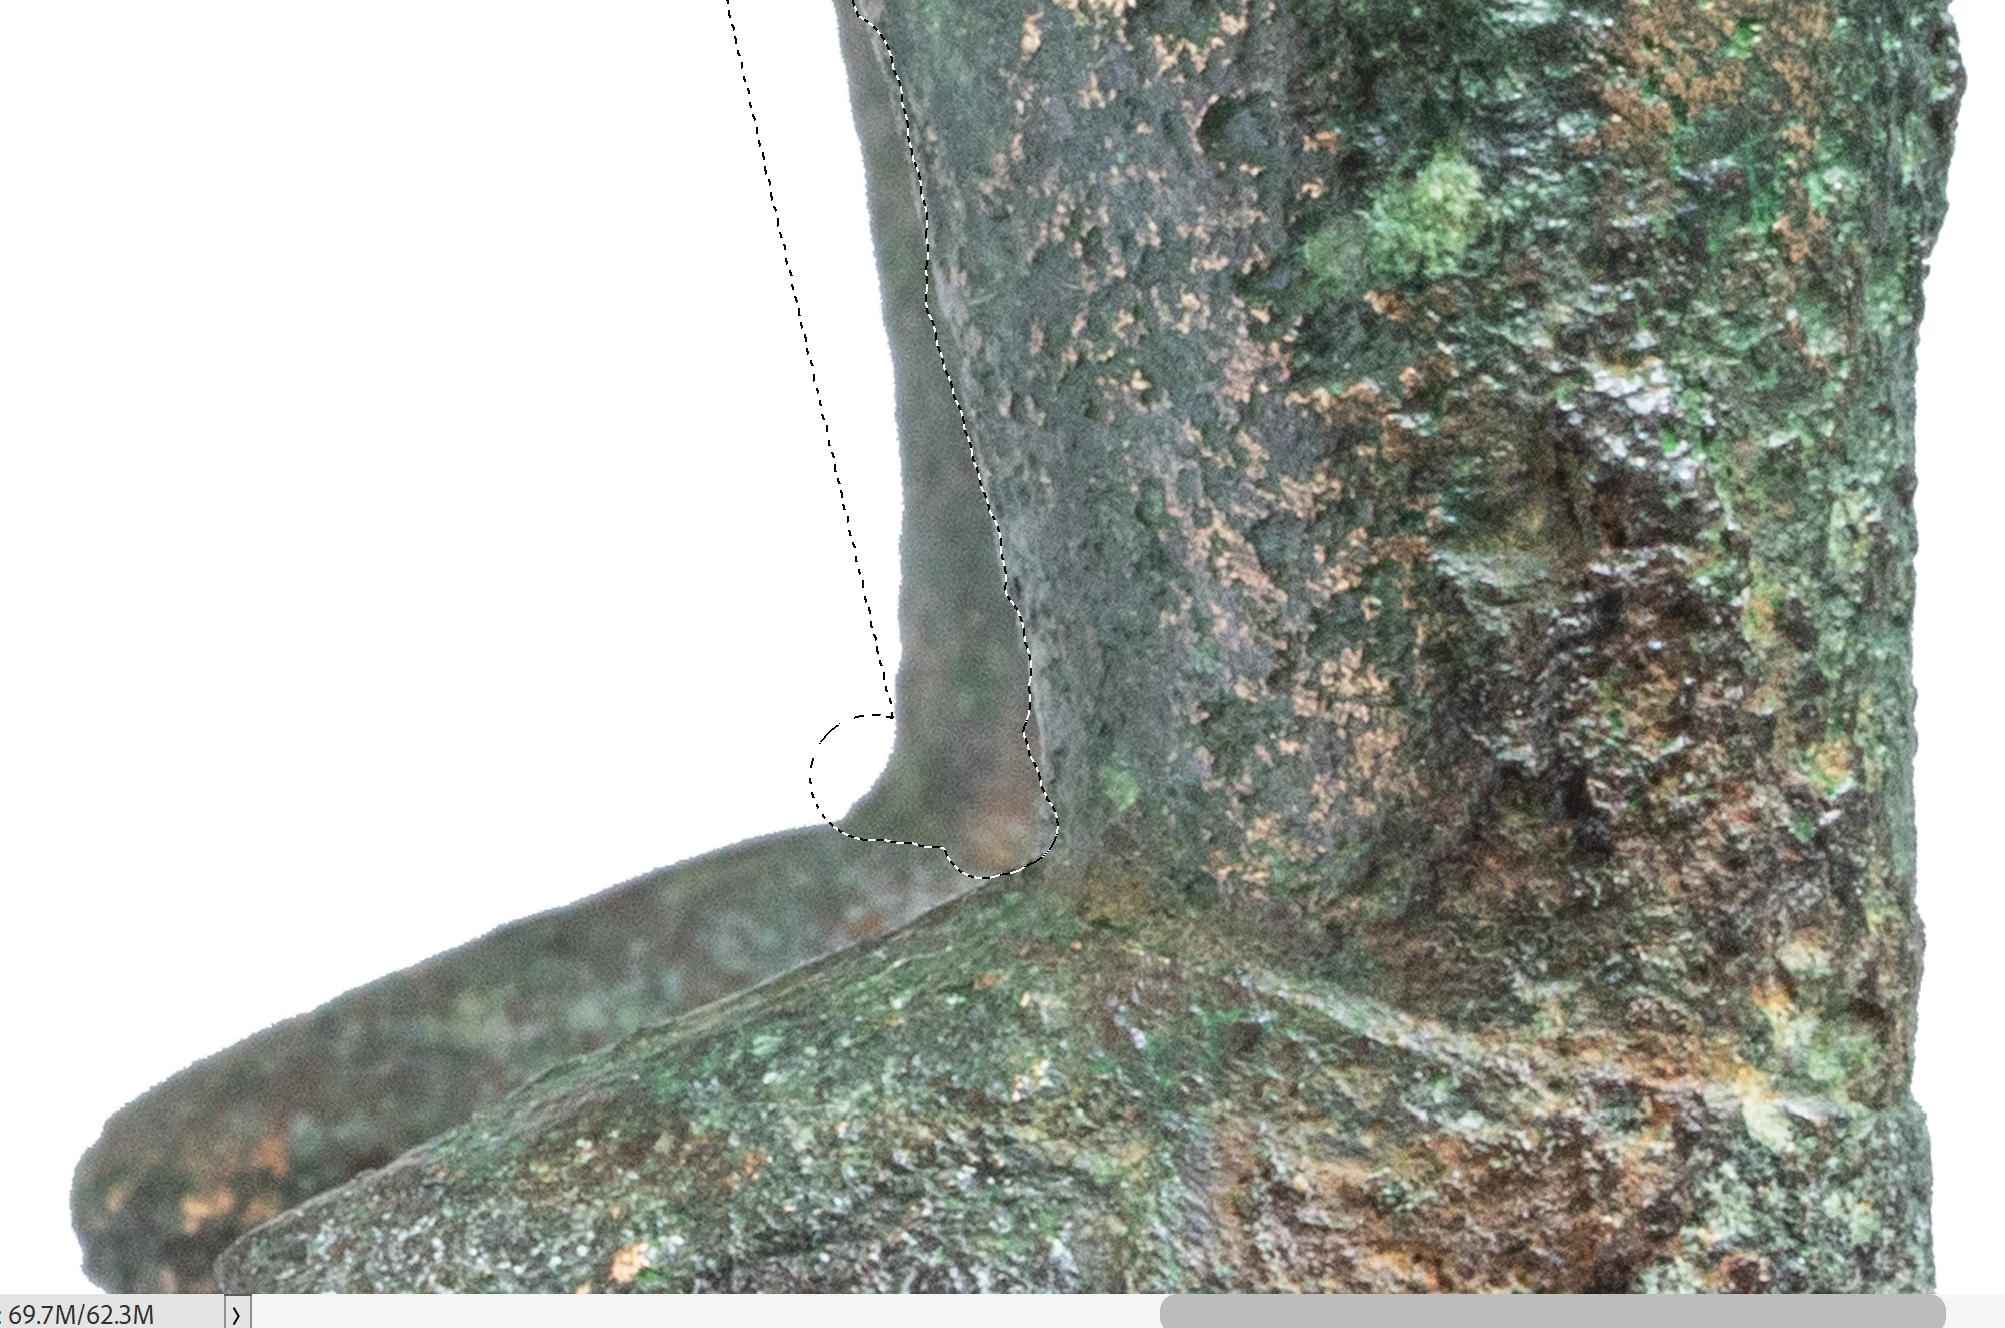
Many thanks for all of the comments regarding the Selection tool.  I have of course,, tried multiple ways of making the selection but when it comes down to the fine edge detail that has a habit of bleeding into the background – only the manual selection will work. But, and it is a big but, the cursor has a habit of disappearing into the background, making precision selection very time consuming. The main problem is that I am working with other peoples imagery and the quality often falls short, causing the selection problems.  Whilst I am working with macro photography, the same issue of disappearing cursors, occurs with any imagery requiring that fine detail selection. There are times if you keep the left mouse button pressed, the cursor may appear clearer, but it is not universal. I have attached a image where you can see the area I have been selecting – the cursor is still on the object, but it has disappeared.

This issue has been a very long running problem, going back several versions of the Elements – why oh why, are the dsoftware chaps not taking this issues more seriously?


Try using a layer mask.

1. Open your image file, duplicate the background layer, shut off its visibility,  and work on the Background Copy Layer.

2. Set your foreground color chip to black

3. At the top of the Layers panel click on the mask icon to select it

4. Paint the background with a black brush. You can change the size of the cursor with the bracket keys next to the letter P on the keyboard. If you go too far, switch the color chip to white. (hit x on keyboard) and paint with white.  "Black hides, white reveals."

5. You should be able to extract the object as a tight, precise selection.

4 replies

Greg_S.
Community Expert
Community Expert
March 12, 2025

I'm afraid I took your greyscale image and had no difficulty seeing the cursor over any of the grey levels.  The cursor probably knows precisely where to change colors because it is all done mathematically based on the shade of grey of the pixel under the cursor.  (BTW, your image on my non-calibrated monitor is not perfectly grey scale.)  So, in case you are looking for more suggestions, here are a few:

  • Change the brightness of your monitor (and maybe use a calibrator).
  • Have you tried different cursors?  (Found under Edit>Preferences>Display & Cursors)
  • The selection tools require the program to find an edge.  That is usually denoted by a change in pixel color and brightness and the presence of gradients.  There are a number of tools you can use on the poor resolution files you are working with.  For example, use a Levels adjustment layer to make the object stand out from the shadow.  Here is an example with your ring:


This seems to create a far larger difference in the tonal value of the edge and makes it easier for the algorithms to find it.


Another tool that you may find helpful is the Refine Selection Brush Tool which has its own very visible cursor which you can see on the linked article.  It is even more visible when used with the color overlay which can be changed to fit your needs.


Rod597Author
Known Participant
March 12, 2025

Thank you again for the considered thoughts you have clearly explained, and I agree, my basic grey scale is not accurate, but it served a purpose. I have a UHD screen, and I tried the same experiment with an actual grey scale, and to the naked eye, the cursor become virtually invisible as certain levels of grey.

I accept too, your notions of changing the levels, I use the Duplicate Layer to do that, and the use of the refine selection brush. Given the years I have spent on these tasks, I have tried them all, with some success, the push tool can be helpful, but I find it a tad vague, changing levels can help, but not always. At each failed ‘other’ method, I then must revert to the Manual selection brush with its habit of disappearing.  

Many image often present differing challenges, to my naked eye, the cursor simply vanishes. I have found that using a magnifying glass can help to visualize the beast, in an idea world, I would have more control of the basic cursor.

Many thanks to all who have contributed to this thread – come on Adobe, give me more control of the cursor!

Greg_S.
Community Expert
Community Expert
March 10, 2025

And using a 10 pixel Quick Selection Brush, it took about 10 seconds to select the ring, including some clean up where the grey background is almost indistinct:


Of course, methods such as Hatstead's provide better visualization of the selection.  And the Refine Selection tool provides a number of other options.  But it seems to me that you should be using a smaller selection brush.

Rod597Author
Known Participant
March 11, 2025

This is one of those conundrums that is both difficult to fully explain, as it is to demonstrate visually.  I may be reading all of th excellent suggestion wrongly, but all of them seem to rely on an element of selecting the edges by hand. Suffice to note that the image I had sent is far from the worst I get from the archaeological community I volunteer with – bottom line, I really would like Adobe to give us more control of the cursor, in it various guises. To seek to demonstrate the issue as I find it, it is correct to note that the cursor changes from grey over white – to white over black, BUT here’s the conundrum, there is an area betwixt white and black, a certain grey, where the cursor does not know what colour, it should be.

I attach a very basic grey scale, if you upload that to your Elements screen, select say, a 40px cursor (or a 10px if you prefer and your eyes can see it) then slide the cursor across the grey scale from white to black, when it reaches the 4th level of grey, it will virtually disappear – and that is the problem, that also happens in colour, where there is a certain colour/level to the object, the cursor disappears.

Dealing as I do with thousands of images (mostly workable) it is those sub-standard images that cause the most grief.  

I hope this now explains the situation, a gathering of info kindly supplied by all who have taken the time to help. I have used the ‘Quich Selection’ brush down as far as a single px, in auto selection mode – it makes no discernible difference. In manual mode, wiping over the object, you get the same result – reverting to fully manual selection with a cursor I begin to curse daily☹ Thank you all for your ttime in looking at this issue – what chance a software engineer for Adobe, come on board to help?

Greg_S.
Community Expert
Community Expert
March 10, 2025

Adobe did recognize this issue, in Elements 2024 I believe, by making the marching ants more distinctive/larger.


Whenever the cursor is over a dark pixel, the cursor will be white.  Whenever it is over a light pixel, it will be grey.  I believe the problem with your images is that there is a mixture of light and dark areas within a very small range of pixels.  Zoom in and you will see what I mean.  Here I have a screenshot of your screenshot in the Editor.  It is one inch wide with a resolution of 72 ppi.


You therefore have to be zoomed in with a very small selection brush in order to make a proper selection of a macro map like this.  You may even have to go down to a 1 pixel brush to get your desired selection result.  


As you indicate, it is almost impossible to demonstrate the visibility of the cursor in a screenshot.  I also tried it with a video capture with only a marginally better demonstration because of the software that I am using.


  But when zoomed in, I didn't have much trouble making a selection on your map.


Jeff Arola
Community Expert
Community Expert
February 28, 2025

What operating system are you using?


Any particular tool or it's any of the manual selection tools you've tried?


Can you post an example of the background in which the cursor seems to disappear?

Rod597Author
Known Participant
March 1, 2025

Hi, To send a picture of a virtually invisible cursor is a tad tricky, suffice to say that you can try for yourself and get the same result.  In brief, with any image, select the 'Selection Brush' set at 100% hardness, and at a suitable size for the image you have on screen(small as if to manually select an edge) run it around the screen and you will see that on certain backgrounds, it effectively disappears. 


As uch of my work involve macro images sent to me by archaeologist who may not have the best skill level in macro, I do a great del of manual selection where the auto selection fails. The cursor then become a now you see me – now you don’t!

I spent a good 2 hours on the phone to Adobe, they saw the issue, even acknowledged that the issue does exists with other cursors too. But, they do not as yet have a fix.  


In a reasonable world, the software engineers must surely be able to give us control of cursor colour and pixel density – until then…………

Hi, To send a picture of a virtually invisible cursor is a tad tricky, suffice to say that you can try for yourself and get the same result.  In brief, with any image, select the 'Selection Brush' set at 100% hardness, and at a suitable size for the image you have on screen(small as if to manually select an edge) run it around the screen and you will see that on certain backgrounds, it effectively disappears. 

As uch of my work involve macro images sent to me by archaeologist who may not have the best skill level in macro, I do a great del of manual selection where the auto selection fails. The cursor then become a now you see me – now you don’t!

I spent a good 2 hours on the phone to Adobe, they saw the issue, even acknowledged that the issue does exists with other cursors too. But, they do not as yet have a fix.  

In a reasonable world, the software engineers must surely be able to give us control of cursor colour and pixel density – until then…………I use Windows 11

hatstead
Inspiring
March 1, 2025

Since the Selection brush does not work for you, have you tried to make a selection with the lasso tool, the magnetic lasso tool, or the magic wand tool? The magic wand makes a selection of an object with solid color. Prior to making a selectiom, I invariably boost the contrast between foreground & background. It would help if you post a representative picture (untouched) so that we may try to make a selection and offer more targeted guidance. If there is propriatary information on the picture, you can blur that in order to respect the work of the archeologists.