Participant
January 31, 2018
Answered

frames are different sizes

  • January 31, 2018
  • 3 replies
  • 1537 views

I am brand new to this, have only been using PP for a few months.

I am working on a project with JPG images as well as clips from my dslr camera and I cannot figure out what I am doing wrong.

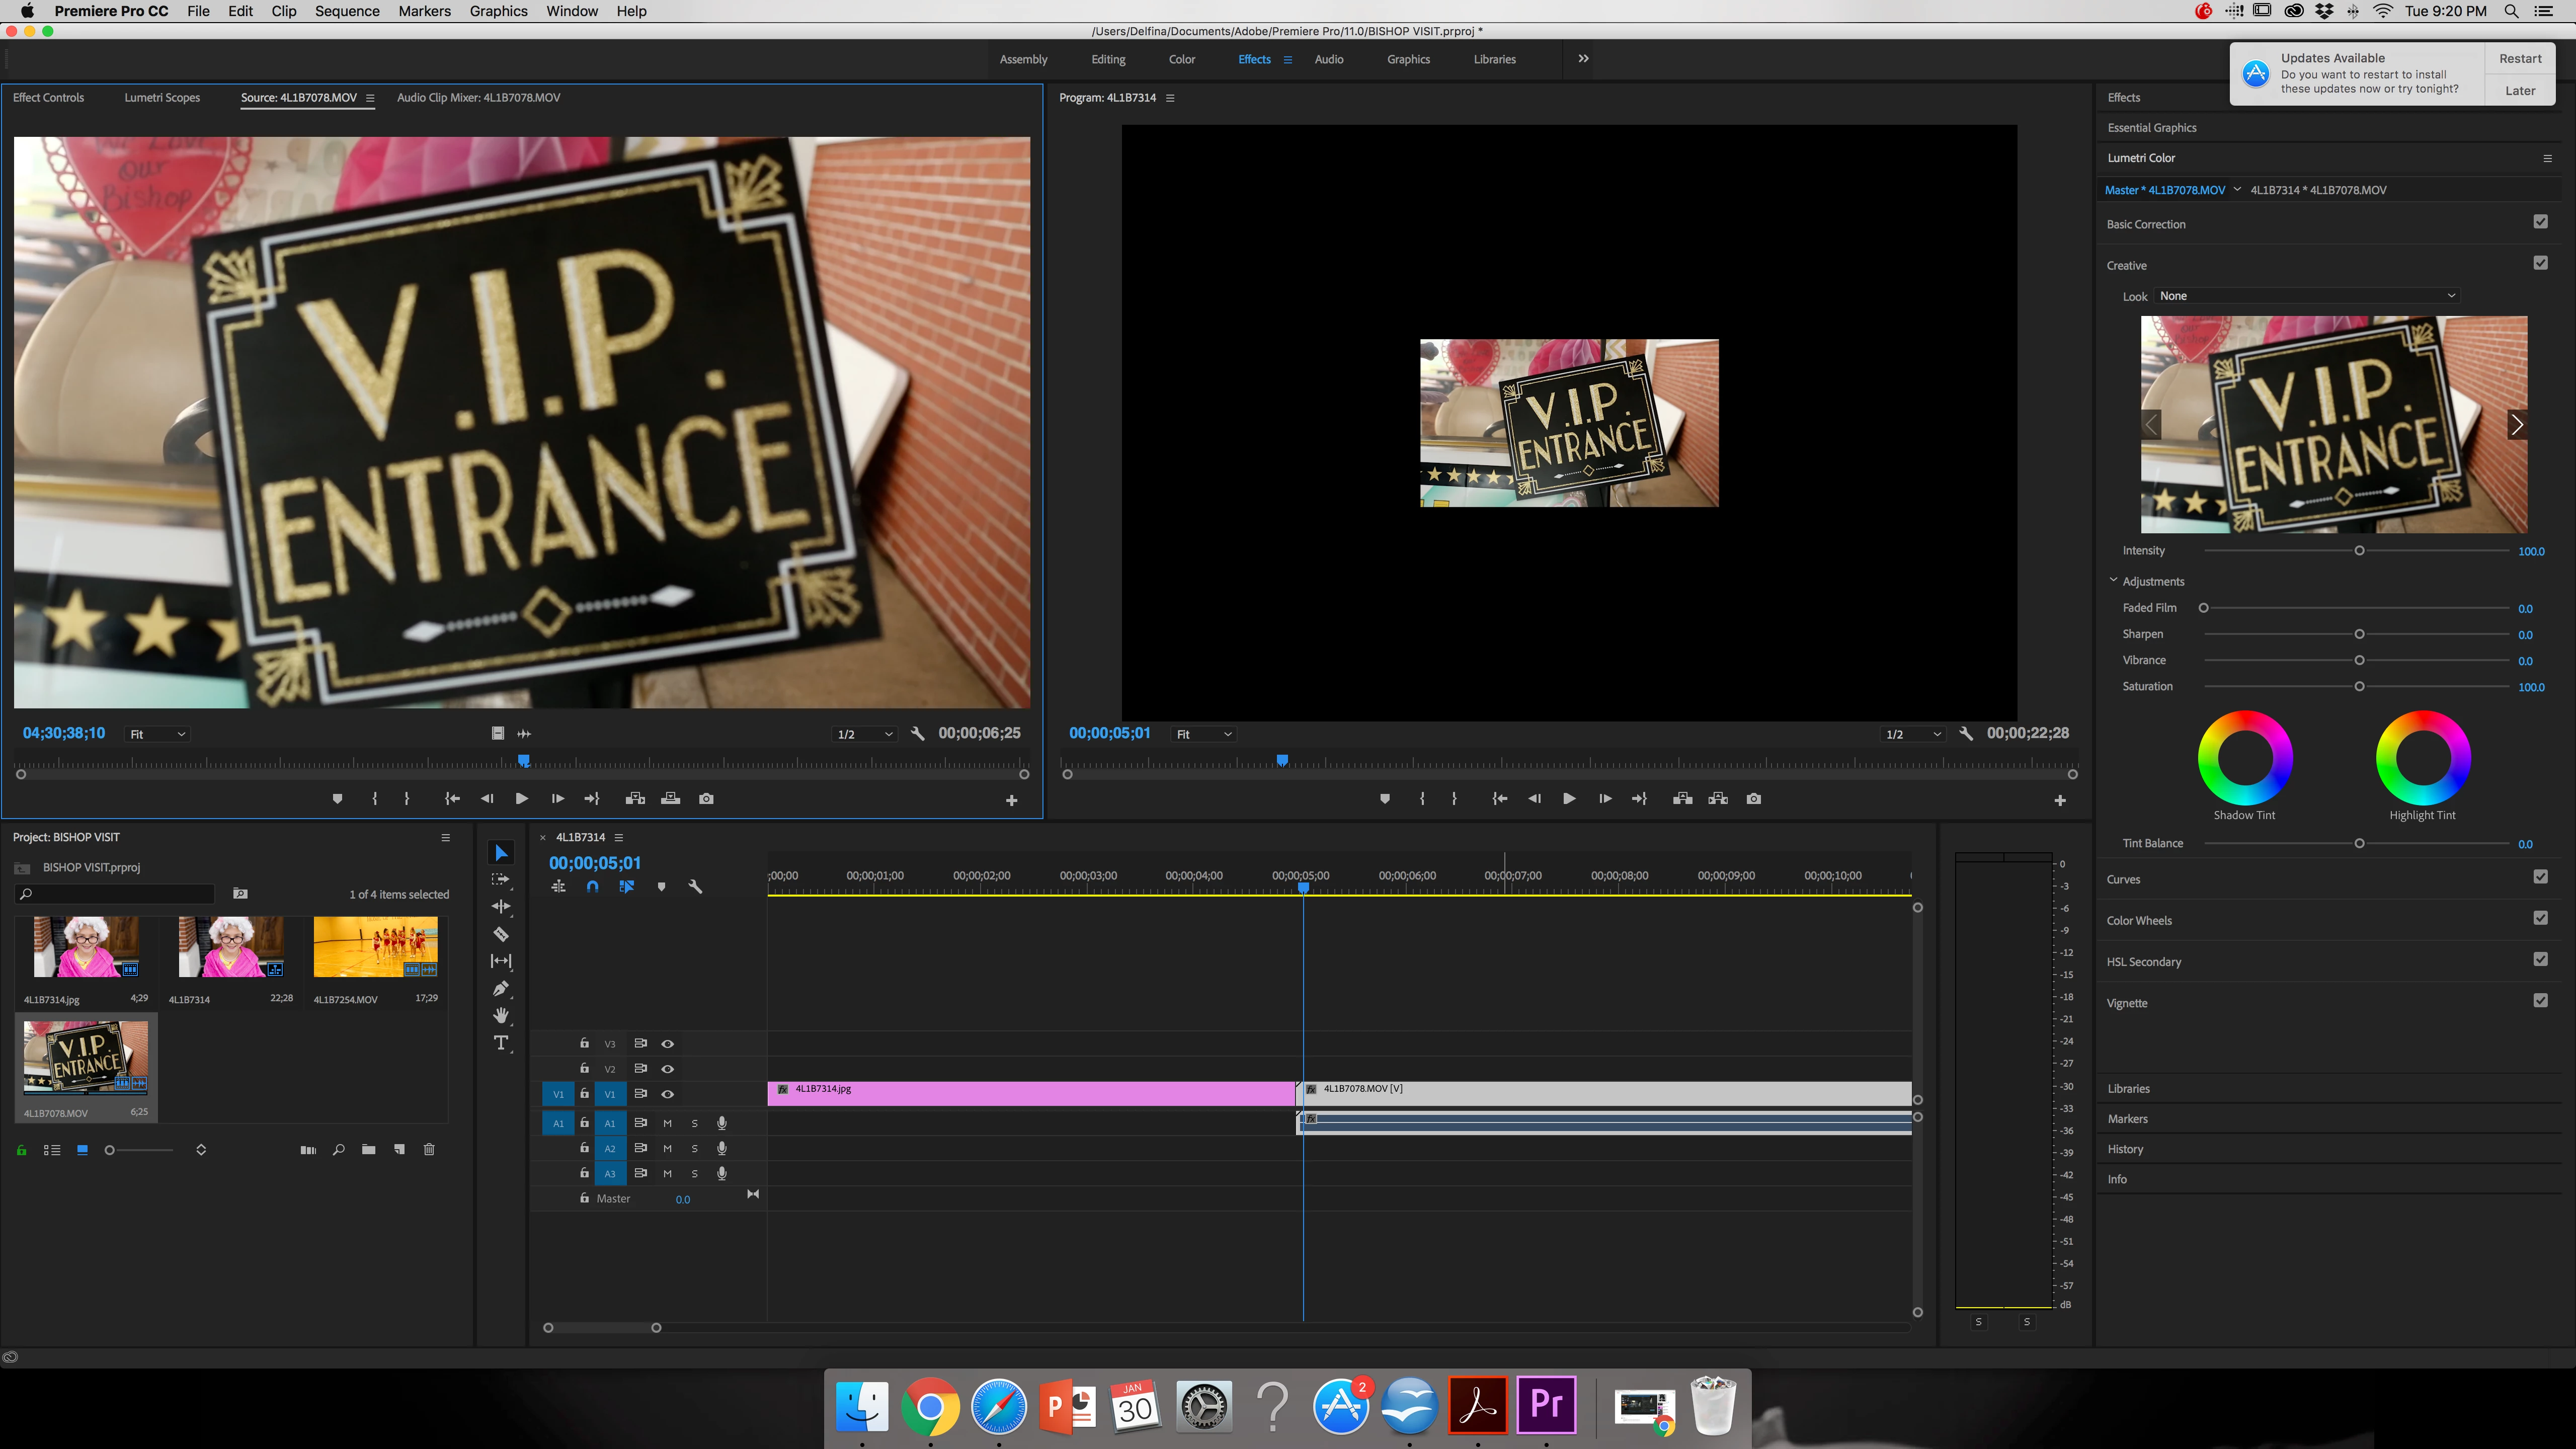
It seems that the JPG image takes up the whole frame, which is what I want, and when I add the video to the next sequence it appears to be framed in black I am attaching some screen shots in hopes you can understand me better and help me figure out how to get everything to be the same size! so when I save/export the project is all equal haha.

The girl dressed as an old lady is the JPG images the 2nd photo shows the movie clip.
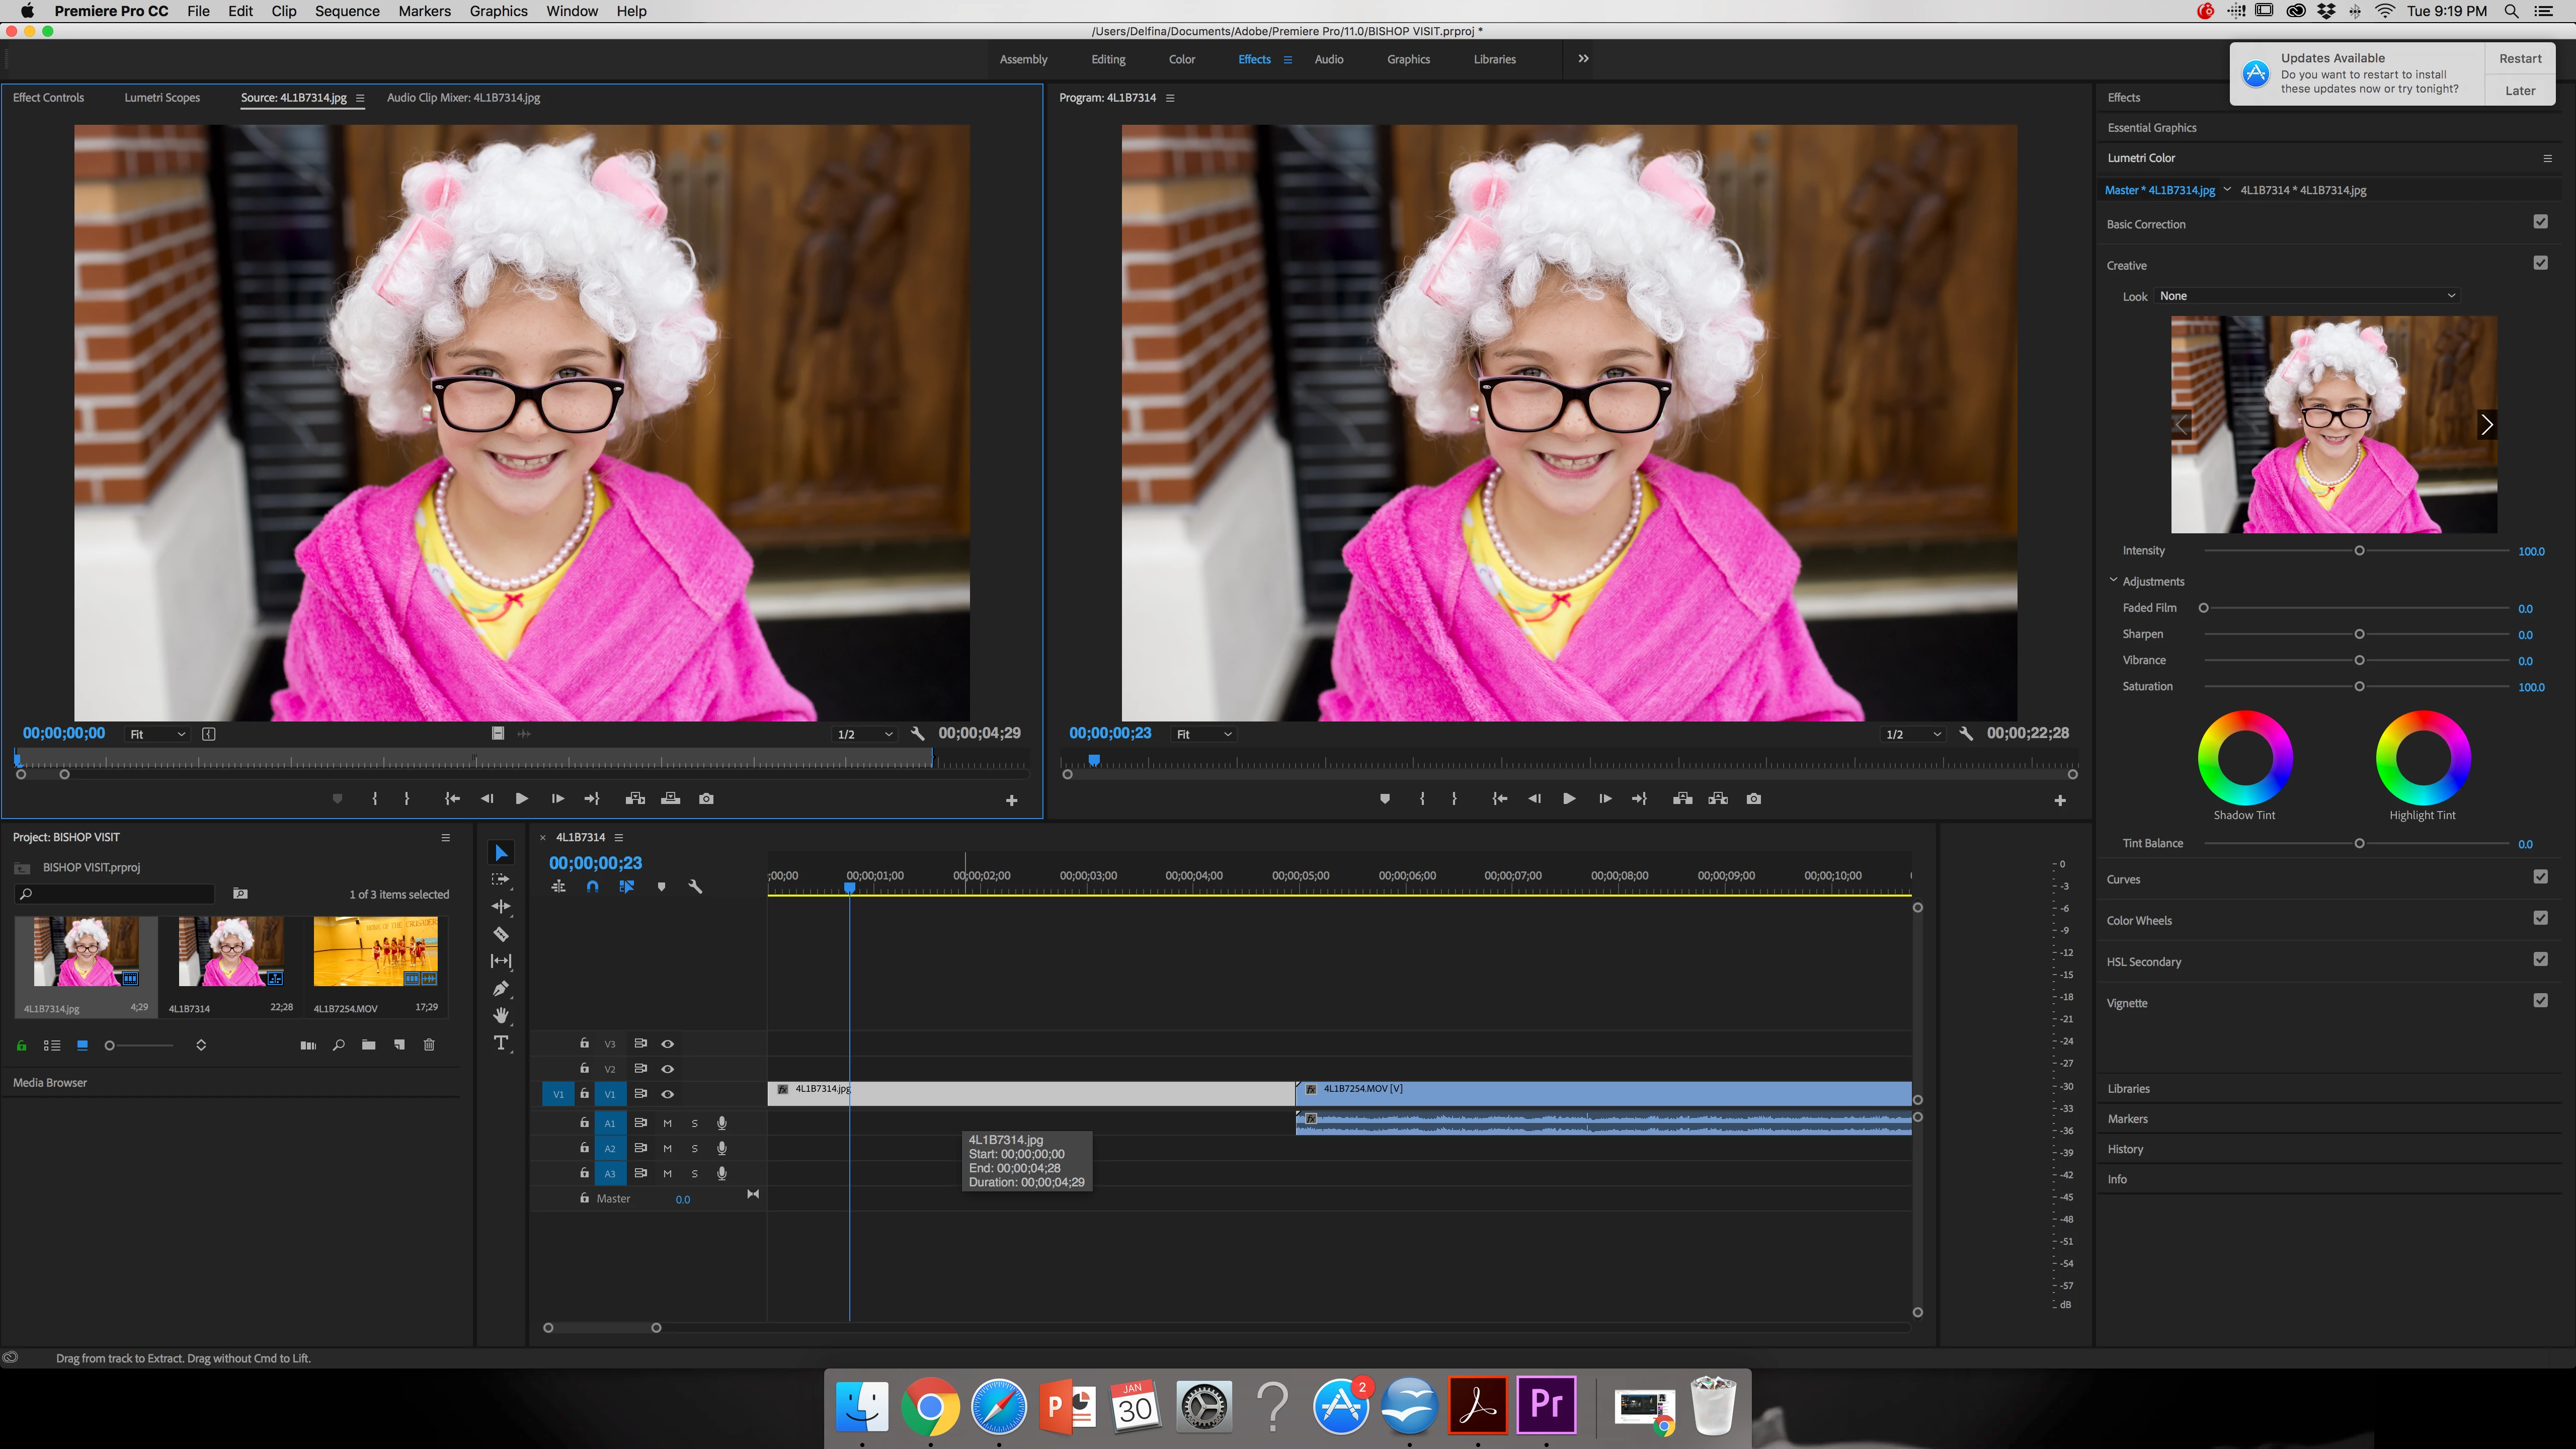
Thank you so much!

    This topic has been closed for replies.
    Correct answer T_Williams

    It looks like you created a sequence to the size/resolution of the jpeg. The photo is larger than the video in terms of resolution, and this is why there is black around the border of your video.

    You should create the sequence to the specifications of your video, then import the jpeg into that sequence. You can scale the jpeg down using the effects controls to your preference.

    Best.

    3 replies

    Inspiring
    January 31, 2018

    In your Project Panel, click down on one of your DSLR video clips and drag it over the New Item icon in the lower right, when the cursor changes to a plus sign, release the mouse.

    This will create a new sequence that is set to the size and properties of the video clip.

    Now, drag into the just created timeline one of your jpeg images. If it does not appear as you wish, then click on it in the timeline to select it, and once selected, go to the Effect Controls Tab. If you look under Motion, you will see controls for scaling and changing the position of the jpeg so that it fits the screen as you wish.

    By using key framing, you can add motion to the jpeg.

    MtD

    delfinak5Author
    Participant
    January 31, 2018

    Thank you so much everyone! That truly helped! You guys are awesome!

    R Neil Haugen
    Legend
    January 31, 2018

    Hey, this thing is a rather complex thing at first. And what's cool, is after you learn a bit more, it's even more complex!

    Now ... take a look at AfterEffects ... sheesh!

    Neil

    Everyone's mileage always varies ...
    R Neil Haugen
    Legend
    January 31, 2018

    T. was correct ... PrPro will create a sequence for the first bit of media it see, likely in this case, one of the stills. You can say double-click a clip in a bin in the project panel, or drag it to a blank timeline area, and PrPro will create a sequence to match the frame-size, frame-rate, and audio channels. You can immediately cut the clip from the sequence if you want to start with something else, a graphic or stills item say.

    For using the stills, I would suggest going into your preferences dialog as shown below, set your Preference to "Set to frame-size" (the option below the highlighted one here). This way the image comes in to fit the frame, but ... without being re-scaled to those pixels, so you can re-size up or down at any time to zoom and keep maximum resolution of the image.

    Also, typically it's good to bring in stills at around 2-3 times (in pixel count) the frame-size of your sequences, as that seems to make the app run better. So ... with a 1920x1080 sequence, stills with a width at 5,800 pixels down to 3840 or so work great. You can deal with larger, but if you have a LOT of very large stills in a project, the sequences start to playback slowly due to the extra RAM taken by the still images.

    Neil

    [edit: forgot the image of the preferences! Ooof.]

    Everyone's mileage always varies ...
    delfinak5Author
    Participant
    January 31, 2018

    This helped a lot, thanks! I did change the preferences to SCALE TO FRAME SIZE, however I feel like all my images look extremely pixelated and just bad? the originals are 100% sharp and shot at ISO's of 200 so I know thats not the issue, what could be causing this?

    T_WilliamsCorrect answer
    Inspiring
    January 31, 2018

    It looks like you created a sequence to the size/resolution of the jpeg. The photo is larger than the video in terms of resolution, and this is why there is black around the border of your video.

    You should create the sequence to the specifications of your video, then import the jpeg into that sequence. You can scale the jpeg down using the effects controls to your preference.

    Best.