Participant
September 14, 2023
Question

Premiere pro export is way overexposed and the wrong color

  • September 14, 2023
  • 3 replies
  • 2255 views

I recently updated my premiere pro from 2020 to 2023. And the first project I edited came out way over exposed when exported. The project looked fine in the project editor. Are there any fixes for that?

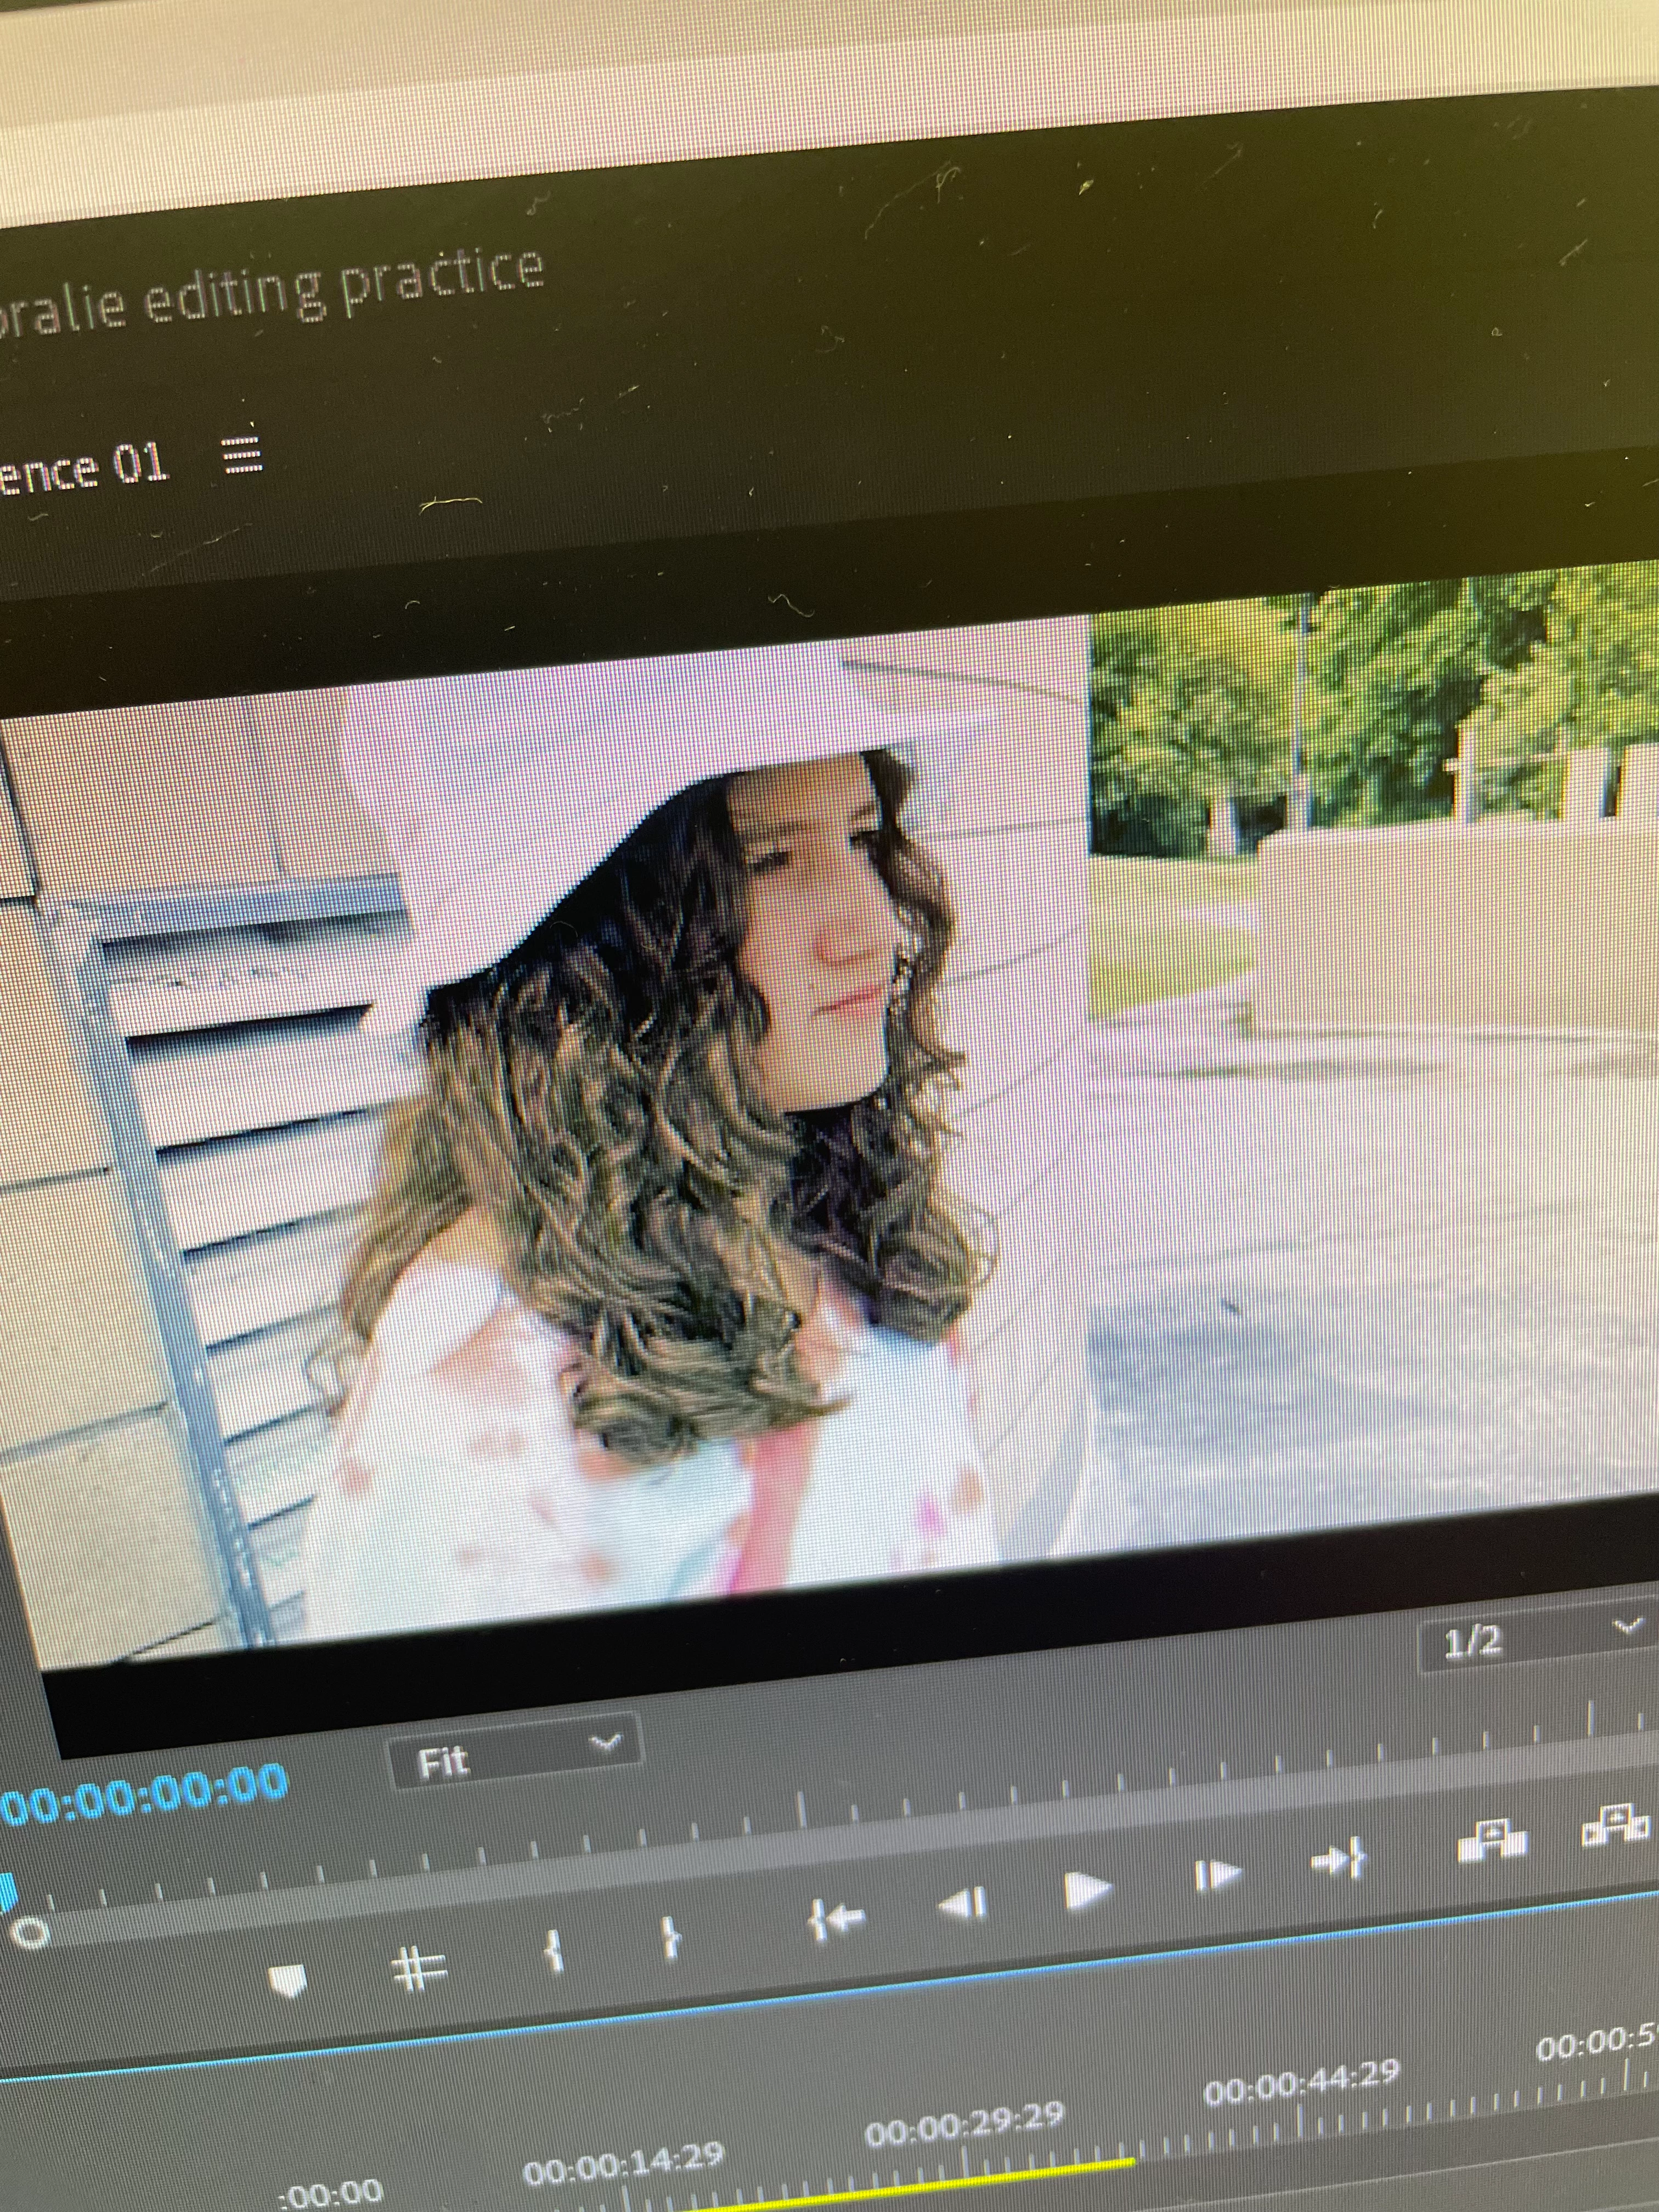
this is it in the project editor 

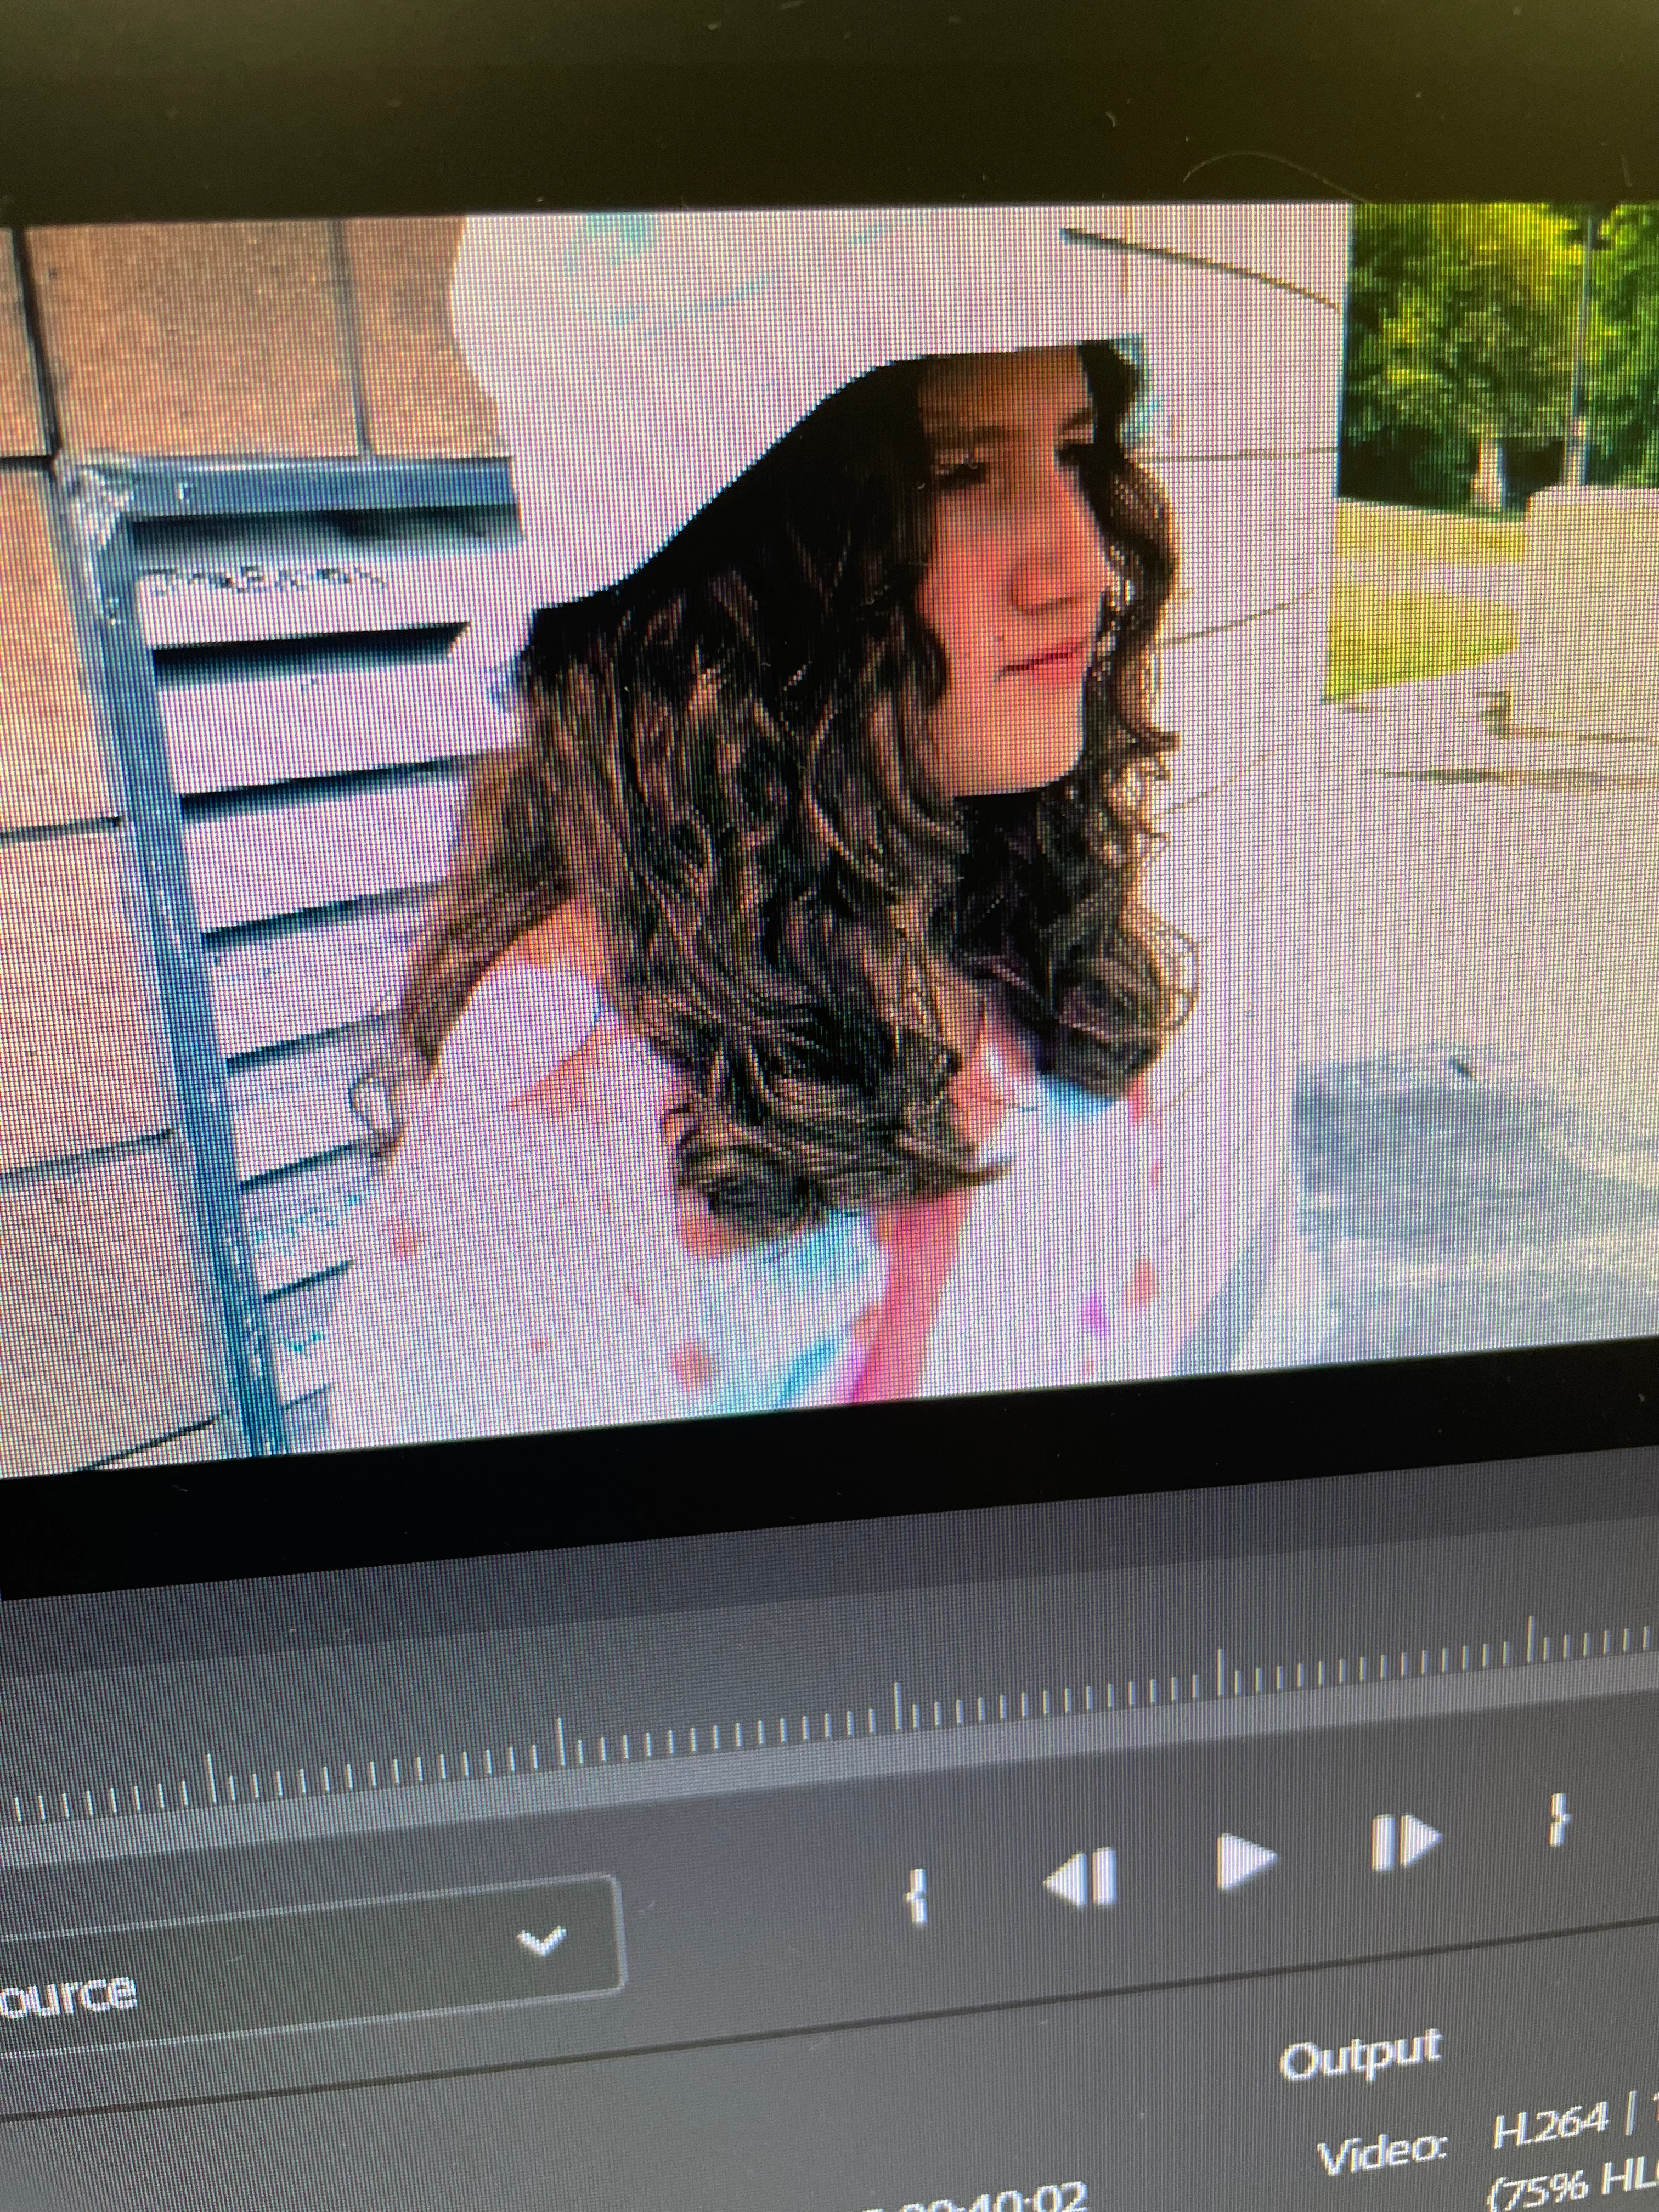
 and this is it when exported

3 replies

Participant
March 6, 2025

It can happen because maybe your raw video has mostly white color, to fix this first import your raw video to After effects adjust a bit of lumetric color export it and then import it in Premiere pro, Now the Premiere pro export will be natural.


R Neil Haugen
Legend
September 14, 2023

If you jumped from 2020 to 2023, Ann's right, you got a lot of learning to do. Why?


Because 2020 was still assuming everything was 'intended' to be within the Rec.709 color space/dynamic range. But during the 2022 cycle of builds, they added user settable color management. So now, you need to take control of color management in PrPro.


Clip color space, sequence working space, and export preset color space all must match, in PrPro 2022 and later, in order for the system to work properly.


Clip color space is currently in the Project panel's right-click context menu Modify/Interpret Footage, at the bottom. I suggest you use the Override-To option to set the clip to Rec.709. (With the next build series, the 24.x which will ship first day of Adobe MAX next month) those are all moving to the Lumetri panel's new Settings tab.)


Then check the Sequence settings, make sure the sequeunce is Rec.709. And use only the "standard" export presets that do not have HLG or PQ in the preset name.


I recommend the above being as HDR ... high dynamic range ... work is still the Wild Wild West, according to most pro colorists. I work for/with/teach pro colorists, so I hear all the issues even trying to do full-broadcast DolbyVision HDR within Resolve ... to match the necessary specs.


IF you really wanna do HDR, then ... flip everything. The clip, sequence, and export all must have identical HDR form settings.


For iPhones, that's HLG for the clip (which it probably is out of the phone) ... HLG for the sequence working color space (which actually sets the display space) ... and use only presets that have HLG in the preset name.


You also must have, in Preferences, "Display color management" set, and on Macs, "Use high dynamic range" or however that other option is listed.


On either Mac or PC, the OS and the monitor also need to be set to the same HDR format, HLG in this case.


And ... good luck!

Everyone's mileage always varies ...
Ann Bens
Community Expert
Community Expert
September 14, 2023

Tone mapping in Premiere Pro

Color management in Premiere Pro


Project editor = Program window/panel.