Ok ... this is a thorny issue, and you're probably better off dropping the LUT now anyway. This last thing first ...
In Premiere 24.x and on, there's a new panel in the Color Workspace/Lumetri panel, the Settings tab. This is a HUGE step forward, and one I'd requested like four years ago finally come to fruition.
ALL color management settings are available there, and there's some new behaviors to the app in general ... so you need to know how to work now because it's different than it was!
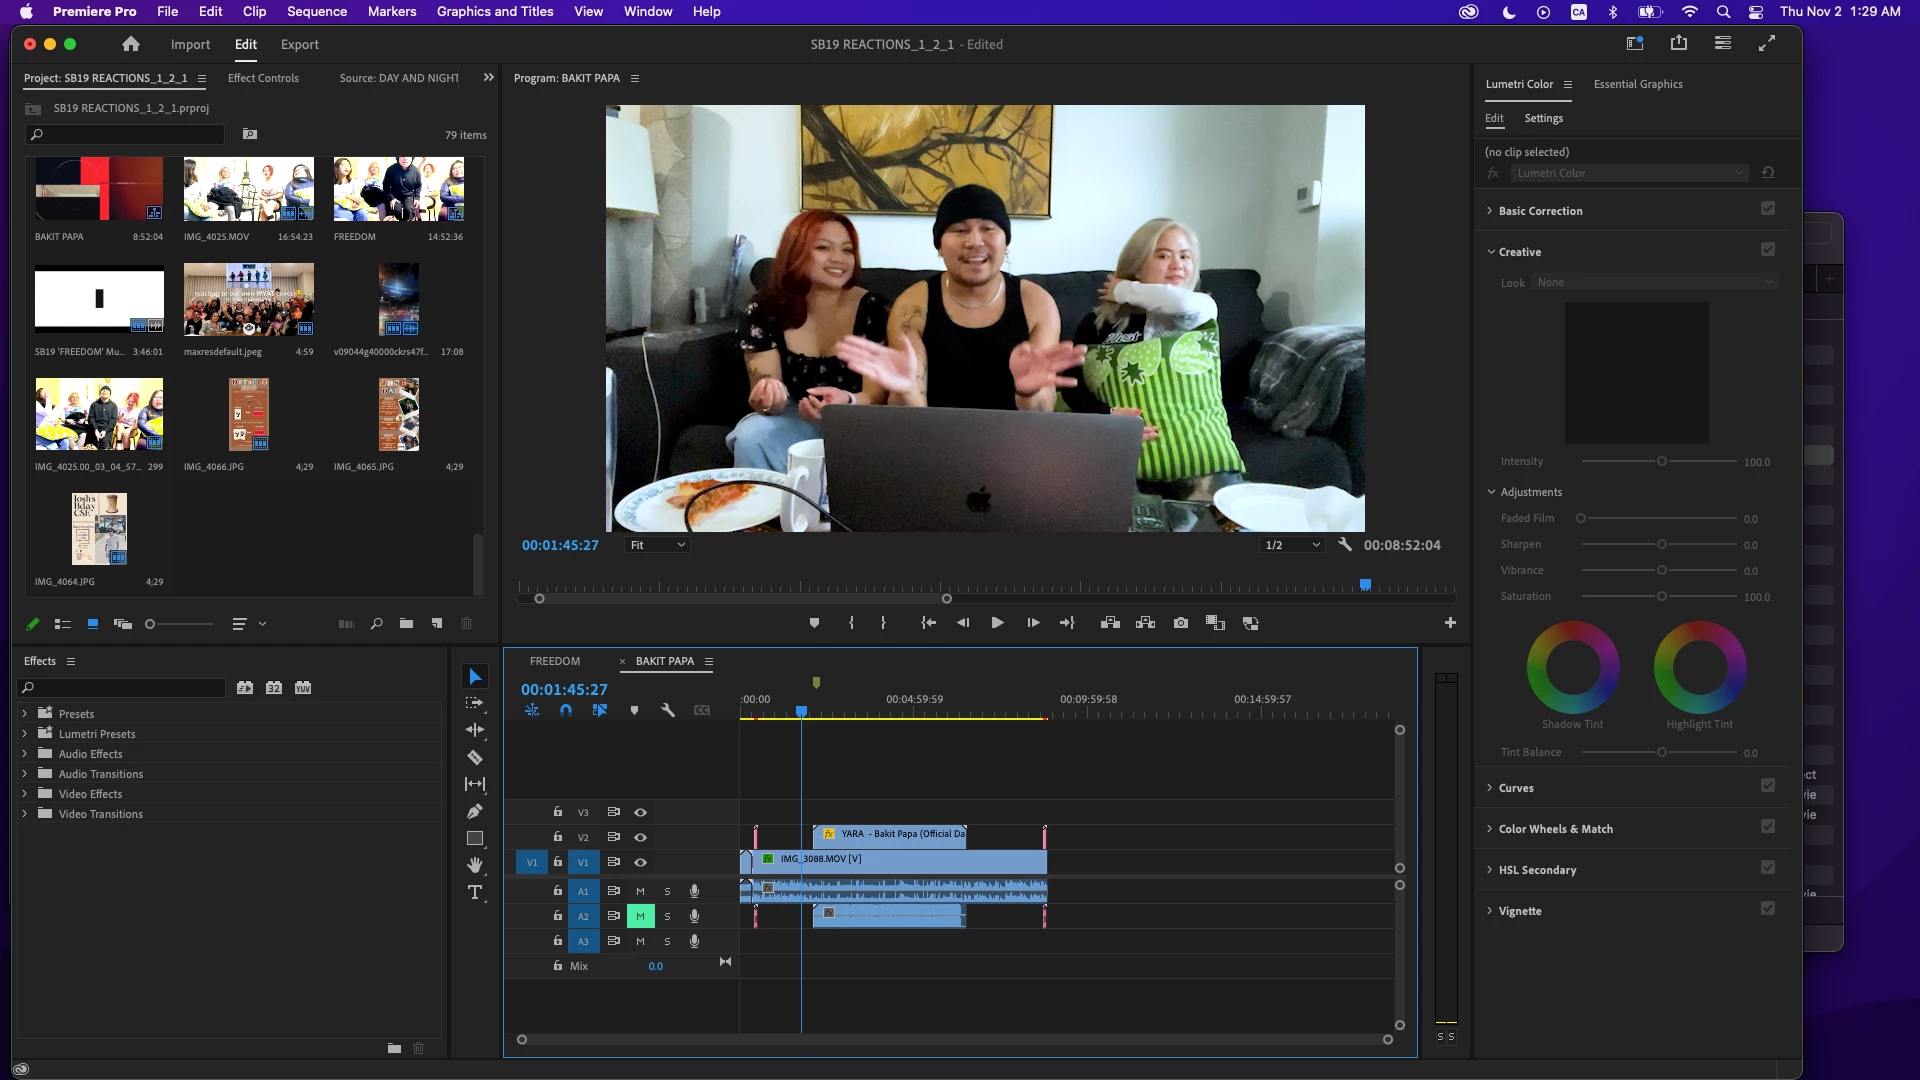
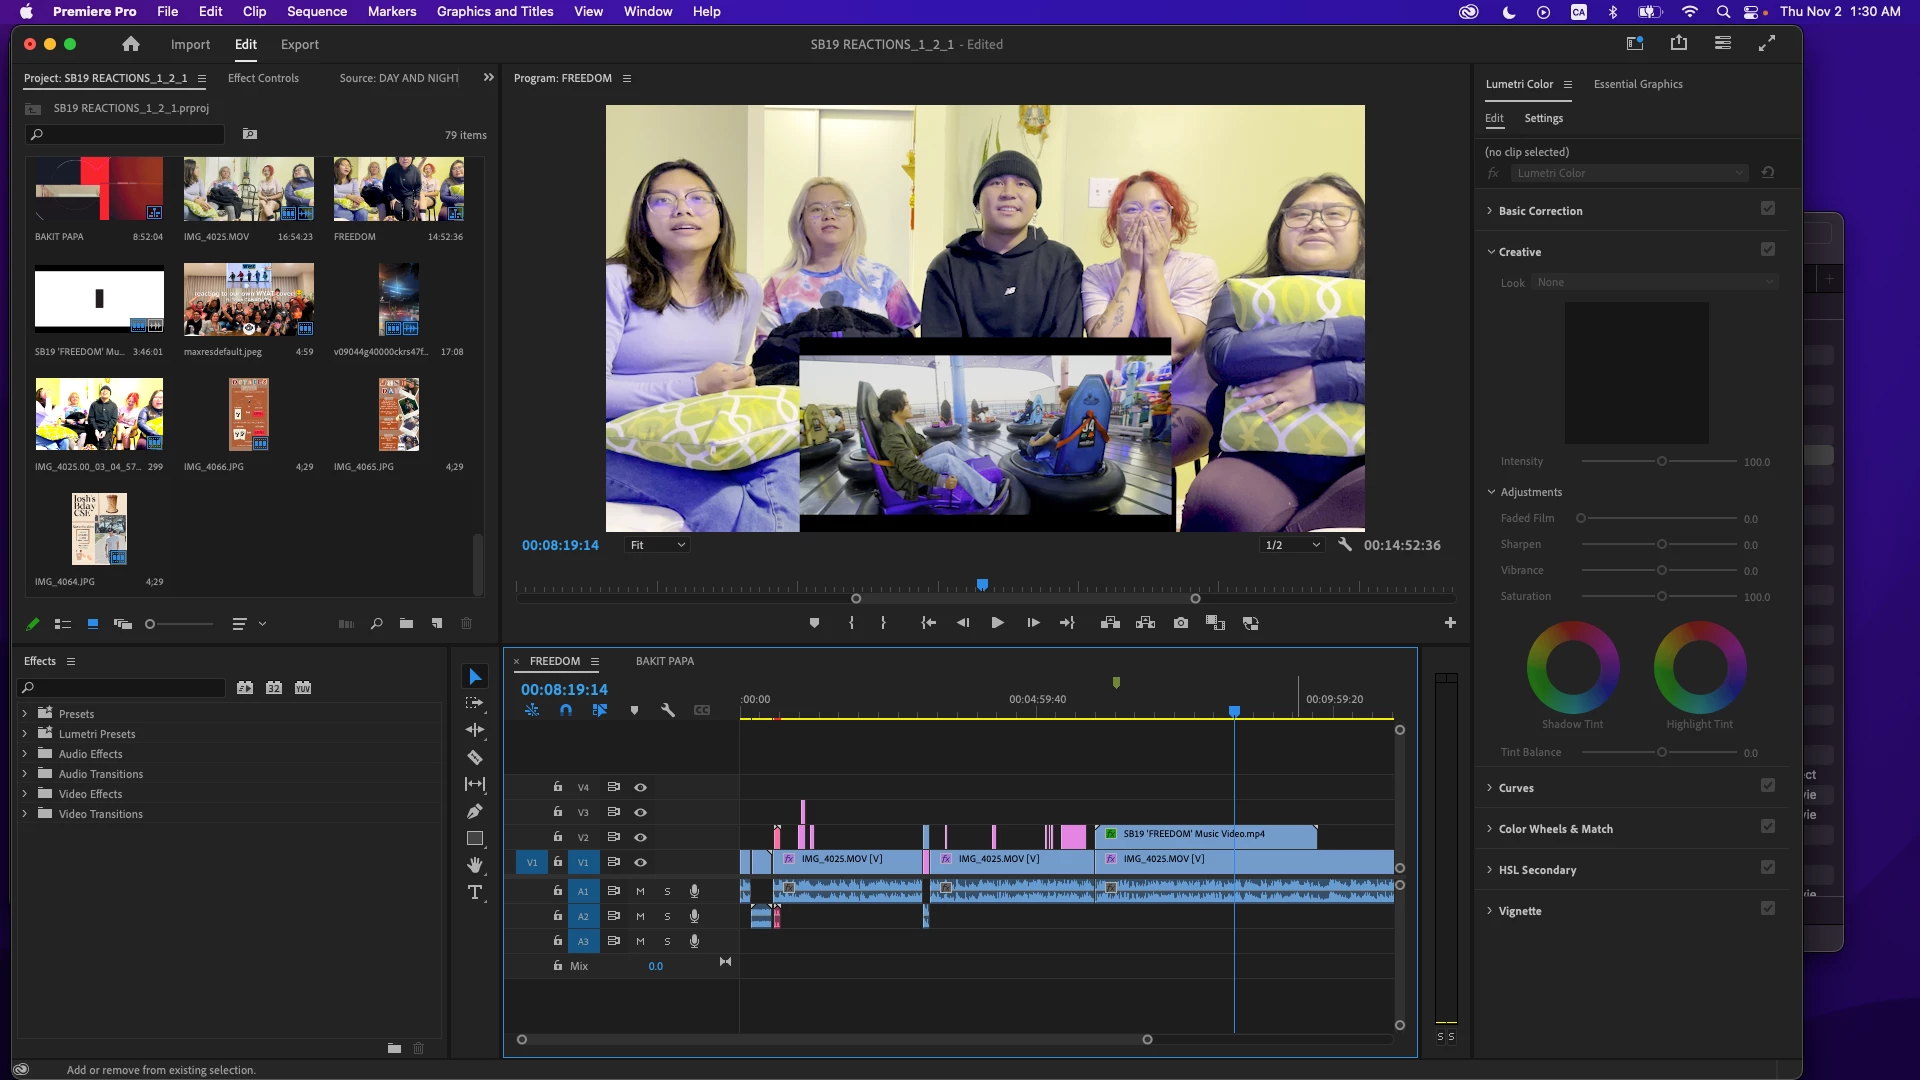
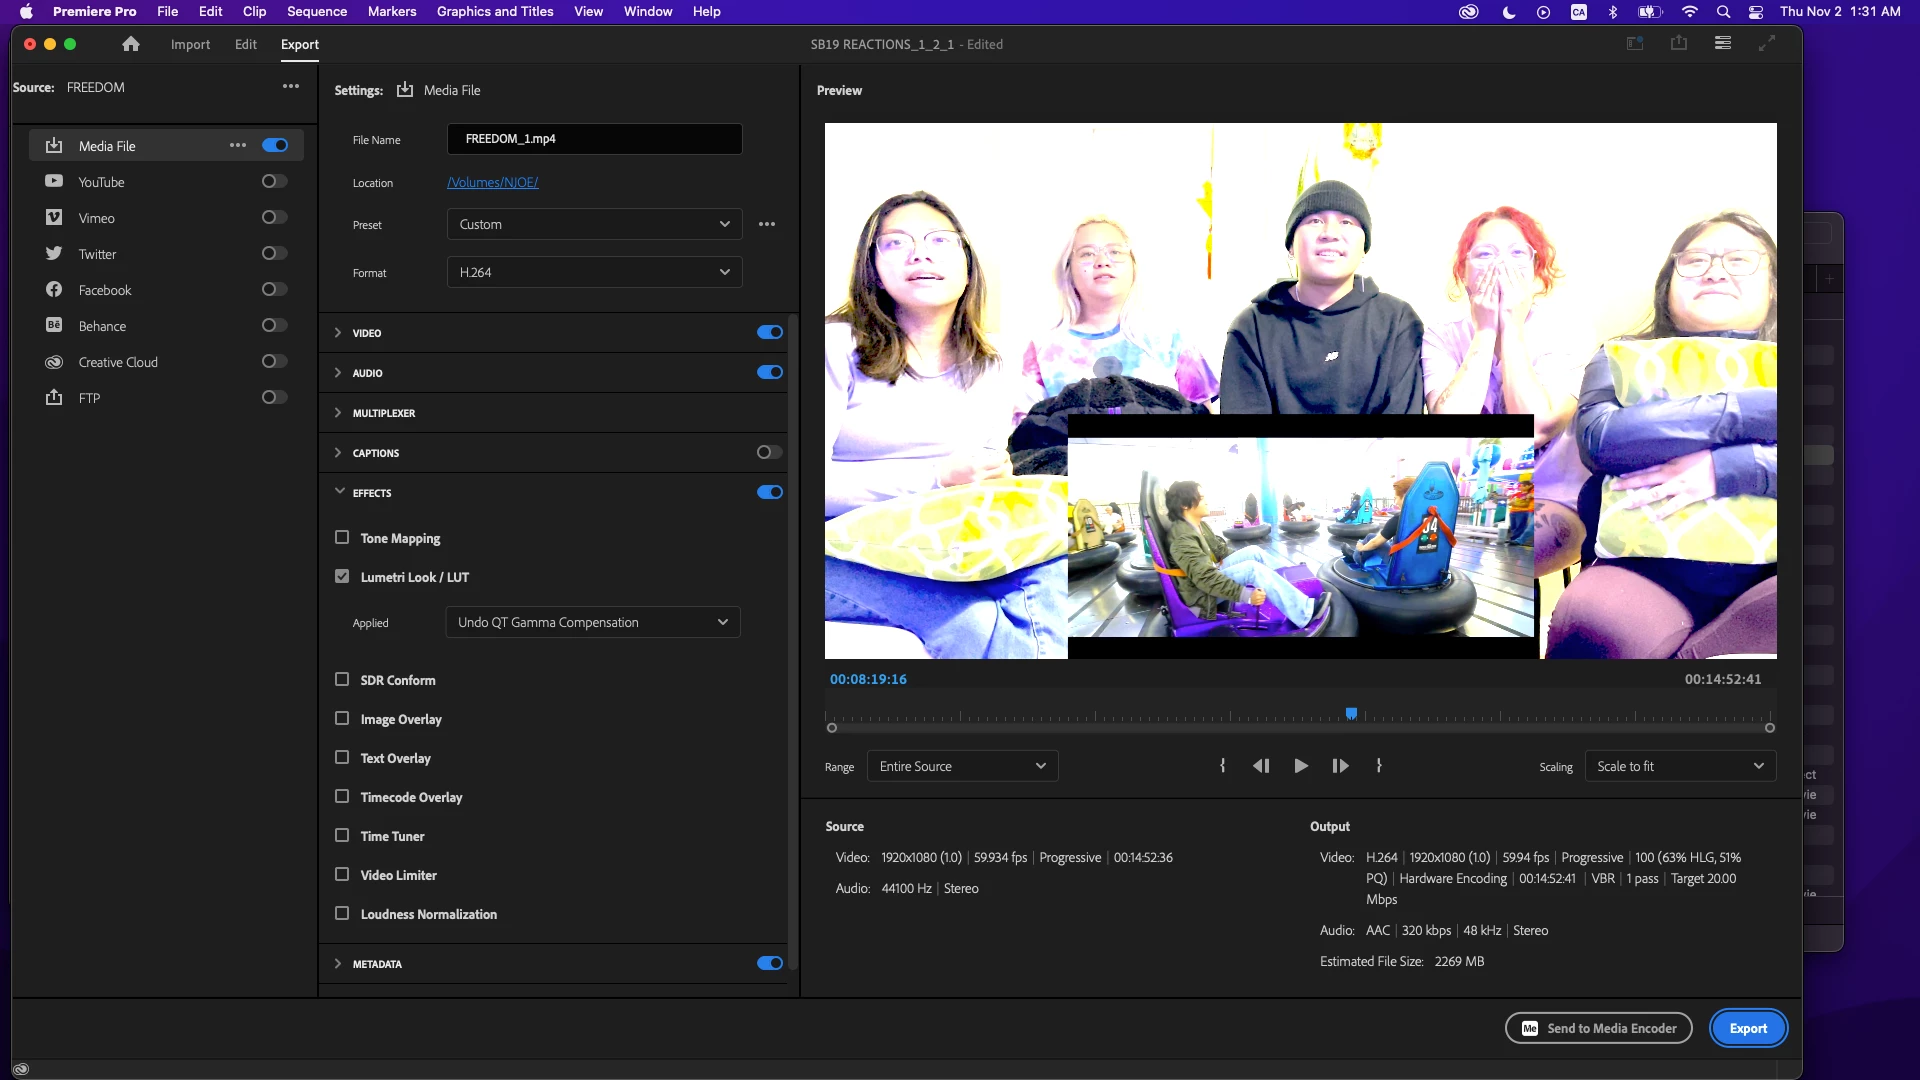
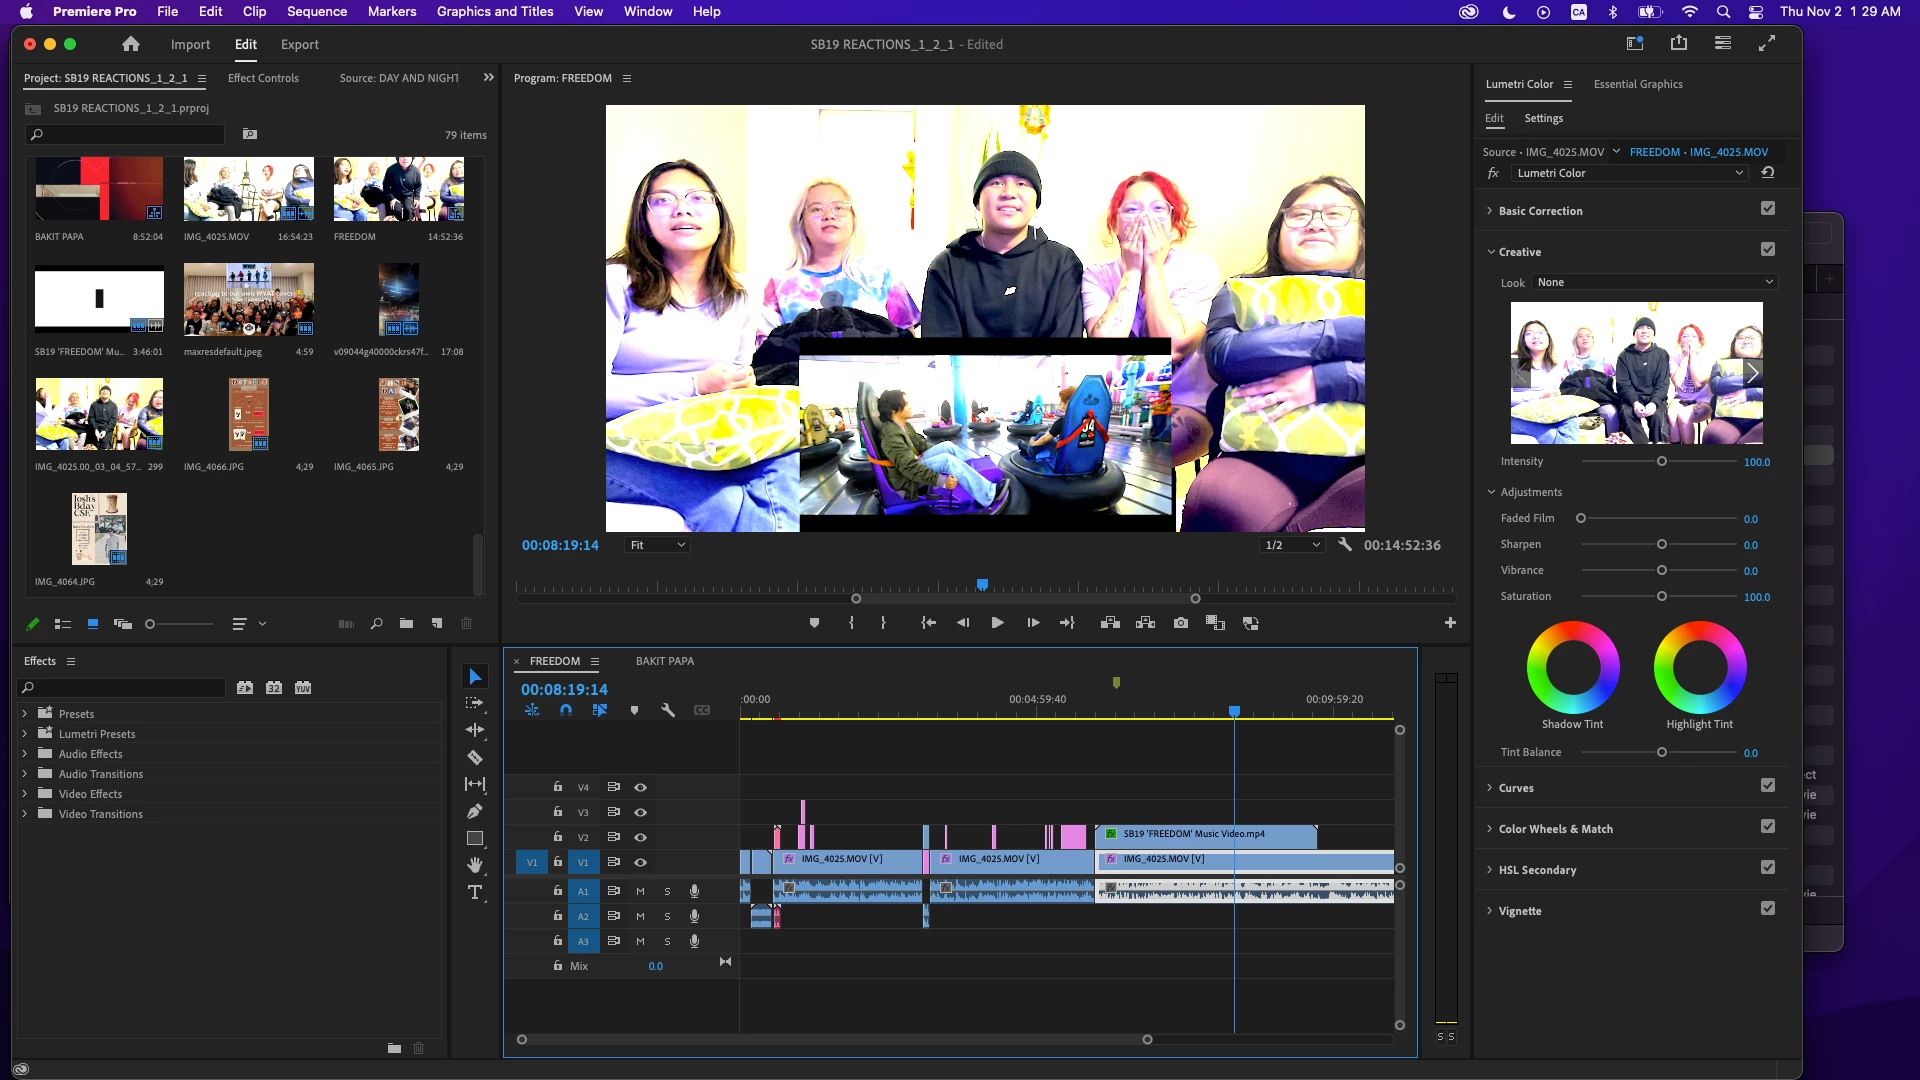
Lumetri Settings tab settings
First, some of your media may be like iPhone or something, that shoots HDR in the HLG format. That's much easier now. Set the "auto detect log" switch on in the Project section of this tab.
In Sequence settings, which now applies to the current active sequence, set the working color spaces as you wish. Rec.709 for 'general' stuff, HLG if you want to export HDR, either one works.
And in the Sequence settings, set "auto-tonemapping" to on. This will remap the image ... safely, with an algorithm rather than a LUT thankfully ... to the color space and dynamic range of the sequence. For either Rec.709 or HLG workflows.
Now ... go to the section for display ... there's a setting for Display Gamma ... I don't recall exactly what it's called and I'm on my tablet ... which has three options:
- Broadcast gamma 2.4
- QuickTime gamma 1.96
- Web gamma 2.2
For Mac users, if you set the option to gamma 1.96, you will see a very similar view of the media inside Premiere and outside of it on a Mac with any app that allows the Mac utility ColorSync to control color management.
This would include QuickTime player and Chrome and Safari browsers. VLC will probably display too dark/contrasty/saturated on your Mac, because it will still use broadcast Rec.709 standard for a display gamma of 2.4.
Why the difference?
Apple for some reason set the ColorSync controlled Rec.709 display to the camera transform ... essentially gamma 1.96, rather than the standard broadcast standard for display of Rec.709 media with gamma 2.4. That's why outside of Premiere on your machine, Premiere's native (previous) behavior looks "light".
Understand, that will only look light on a Mac, my standard PC with a fully broadcast calibrated/profiled monitor will show the 'darker' image you've been seeing in Premiere ... of the same export that on your Mac looks too light.
But be aware: some Macs have the screen/display option for "HDTV Rec.709 gamma 2.4"!
That is the "correct" broadcast standard gamma that Premiere natively uses. That my system, nearly all PCs and Android devices, and any broadcast compliant system users. And if that is the option set on a Mac monitor, ColorSync will show the darker, contrastier view of the file. (Consistent with the rest of the non-Mac world, then.)
So ... set your Display gamma in the Lumetri Settings tab to QuickTime gamma 1.96, forget the LUT, and be happy. It will be light on my machine, but you're not watching on my machine anyway, right?

 I'm spent trying to figure out what's wronff & I'm struggling to finish my work so any and all help is very much appreciated!