Participant
July 13, 2026
Answered

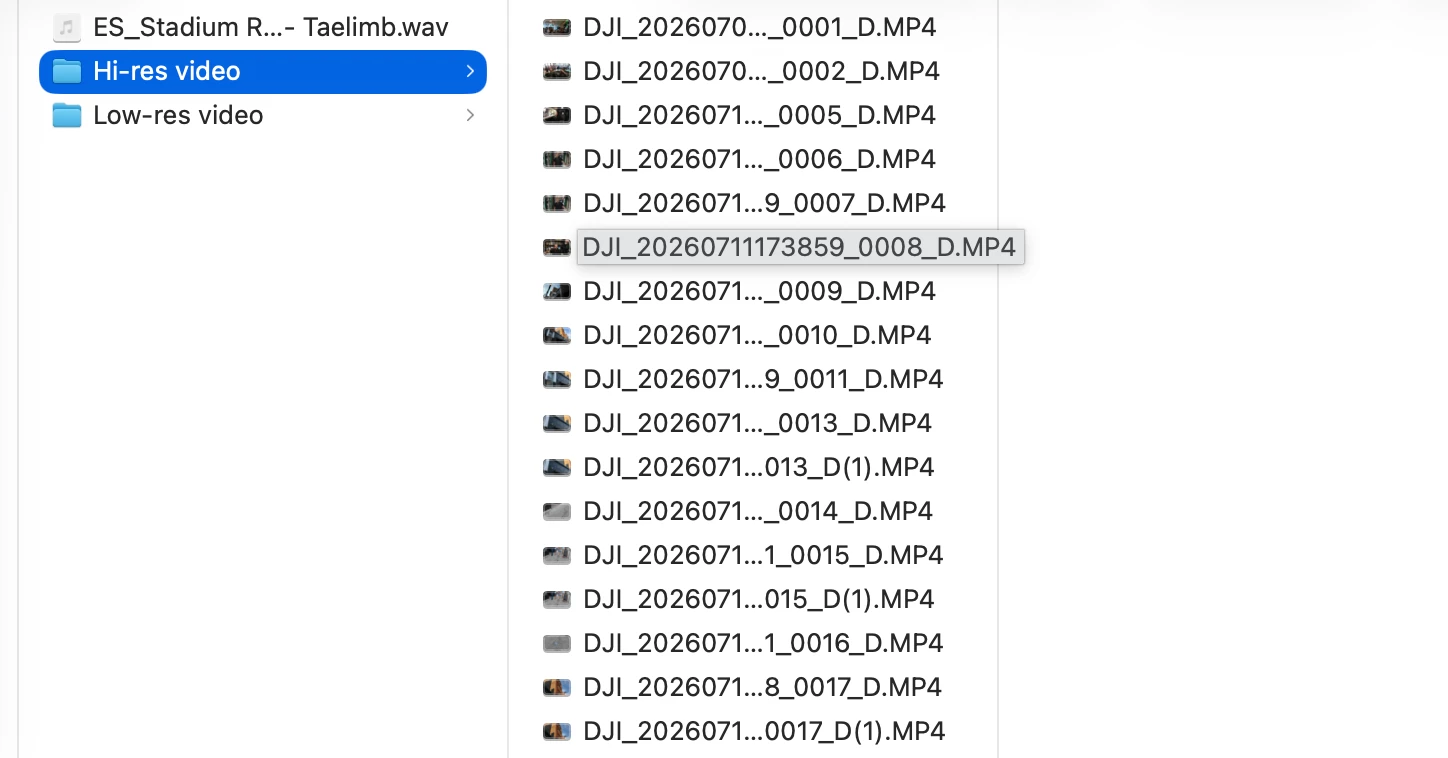
Renamed LRF files to mp4 to begin working on a project. Now have access to the higher res files. How to I replace the low res files with the higher res files all at once?

  • July 13, 2026
  • 1 reply
  • 19 views

Someone gave me a ton of LRF files to begin working on a project because it was going to take a while to upload the full quality. I renamed the LRF files to have an mp4 extension to begin working. I’ve now have access and have downloaded the original higher quality mp4 files, but I am struggling to link them in Premiere.

I’ve selected all the “Low-res” video files in the project and clicked “Make Offline...” but when I try linked said file to the Hi-res mp4 nothing seems to happen. What’s the best way to go about this?


    Correct answer PaulMurphy

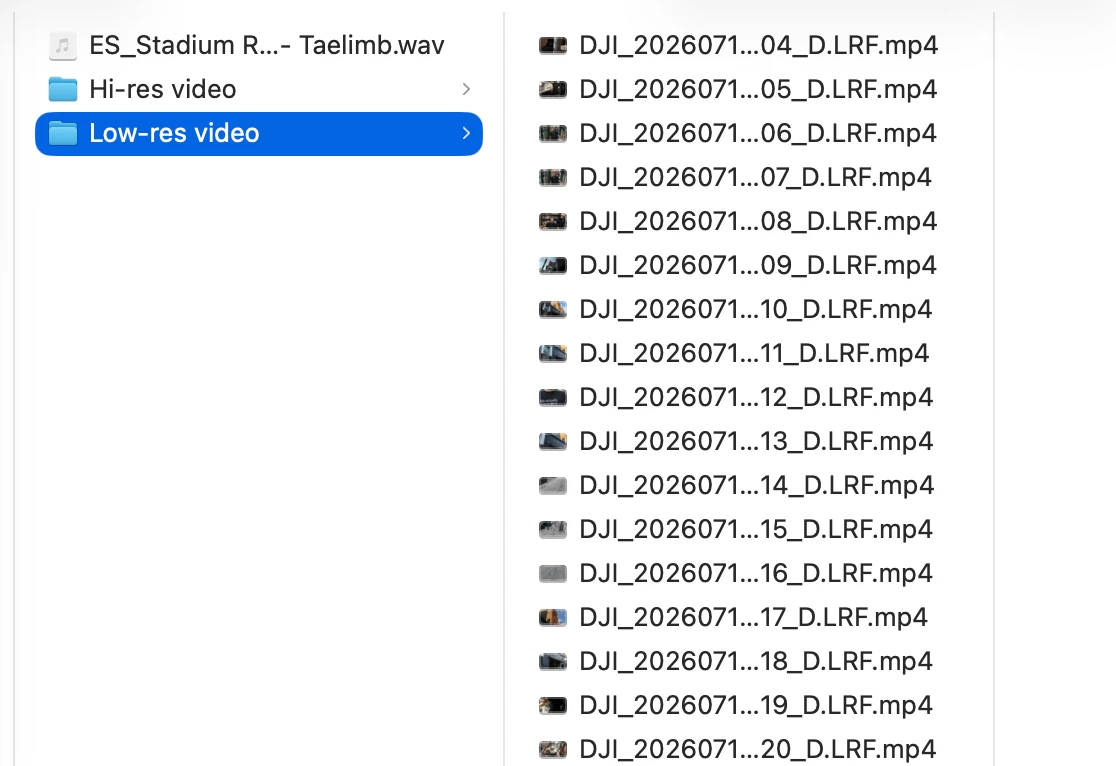
    If the LRF files each have unique timecode (that is, every file does not start at 00:00:00:00), open the Link Media dialog, and under Match File Properties, uncheck File Name and check Media Start.

    If the files do not have unique timecode, the quickest way to relink is to rename your Hi-res video files to match your Low-res video files:

    1. Use a tool such as Adobe Bridge to add ".LRF" to the end of each Hi-res file name.
    2. Move your Low-res video folder to another location. Premiere Pro will then prompt you to relink.
    3. In the Link Media dialog, make sure File Name is checked under Match File Properties, then point it to the Hi-res video folder.

    Note: Because the LRF files are smaller, you will probably find that the scale of each clip is wrong after relinking.

    For future projects, I recommend using Premiere Pro's dedicated proxy workflow.

    1. Have the person with the original footage import the Hi-res video into a Premiere Pro project and send you the project file.
    2. When you receive the LRF files, rename them to replace ".LRF" with "_Proxy". This is the naming convention Premiere Pro automatically uses for proxy files.
    3. When you receive the Hi-res videos, select all your clips in the Project panel, right-click, and choose Proxy > Reconnect Full Resolution Media.

    This makes the linking process seamless and ensures you are working at the resolution of the original media, even while editing with the LRF files.

    1 reply

    PaulMurphyCommunity ExpertCorrect answer
    Community Expert
    July 14, 2026

    If the LRF files each have unique timecode (that is, every file does not start at 00:00:00:00), open the Link Media dialog, and under Match File Properties, uncheck File Name and check Media Start.

    If the files do not have unique timecode, the quickest way to relink is to rename your Hi-res video files to match your Low-res video files:

    1. Use a tool such as Adobe Bridge to add ".LRF" to the end of each Hi-res file name.
    2. Move your Low-res video folder to another location. Premiere Pro will then prompt you to relink.
    3. In the Link Media dialog, make sure File Name is checked under Match File Properties, then point it to the Hi-res video folder.

    Note: Because the LRF files are smaller, you will probably find that the scale of each clip is wrong after relinking.

    For future projects, I recommend using Premiere Pro's dedicated proxy workflow.

    1. Have the person with the original footage import the Hi-res video into a Premiere Pro project and send you the project file.
    2. When you receive the LRF files, rename them to replace ".LRF" with "_Proxy". This is the naming convention Premiere Pro automatically uses for proxy files.
    3. When you receive the Hi-res videos, select all your clips in the Project panel, right-click, and choose Proxy > Reconnect Full Resolution Media.

    This makes the linking process seamless and ensures you are working at the resolution of the original media, even while editing with the LRF files.