Participant
November 23, 2021
Question

slog 3 footage overexposing on V22

  • November 23, 2021
  • 3 replies
  • 2439 views

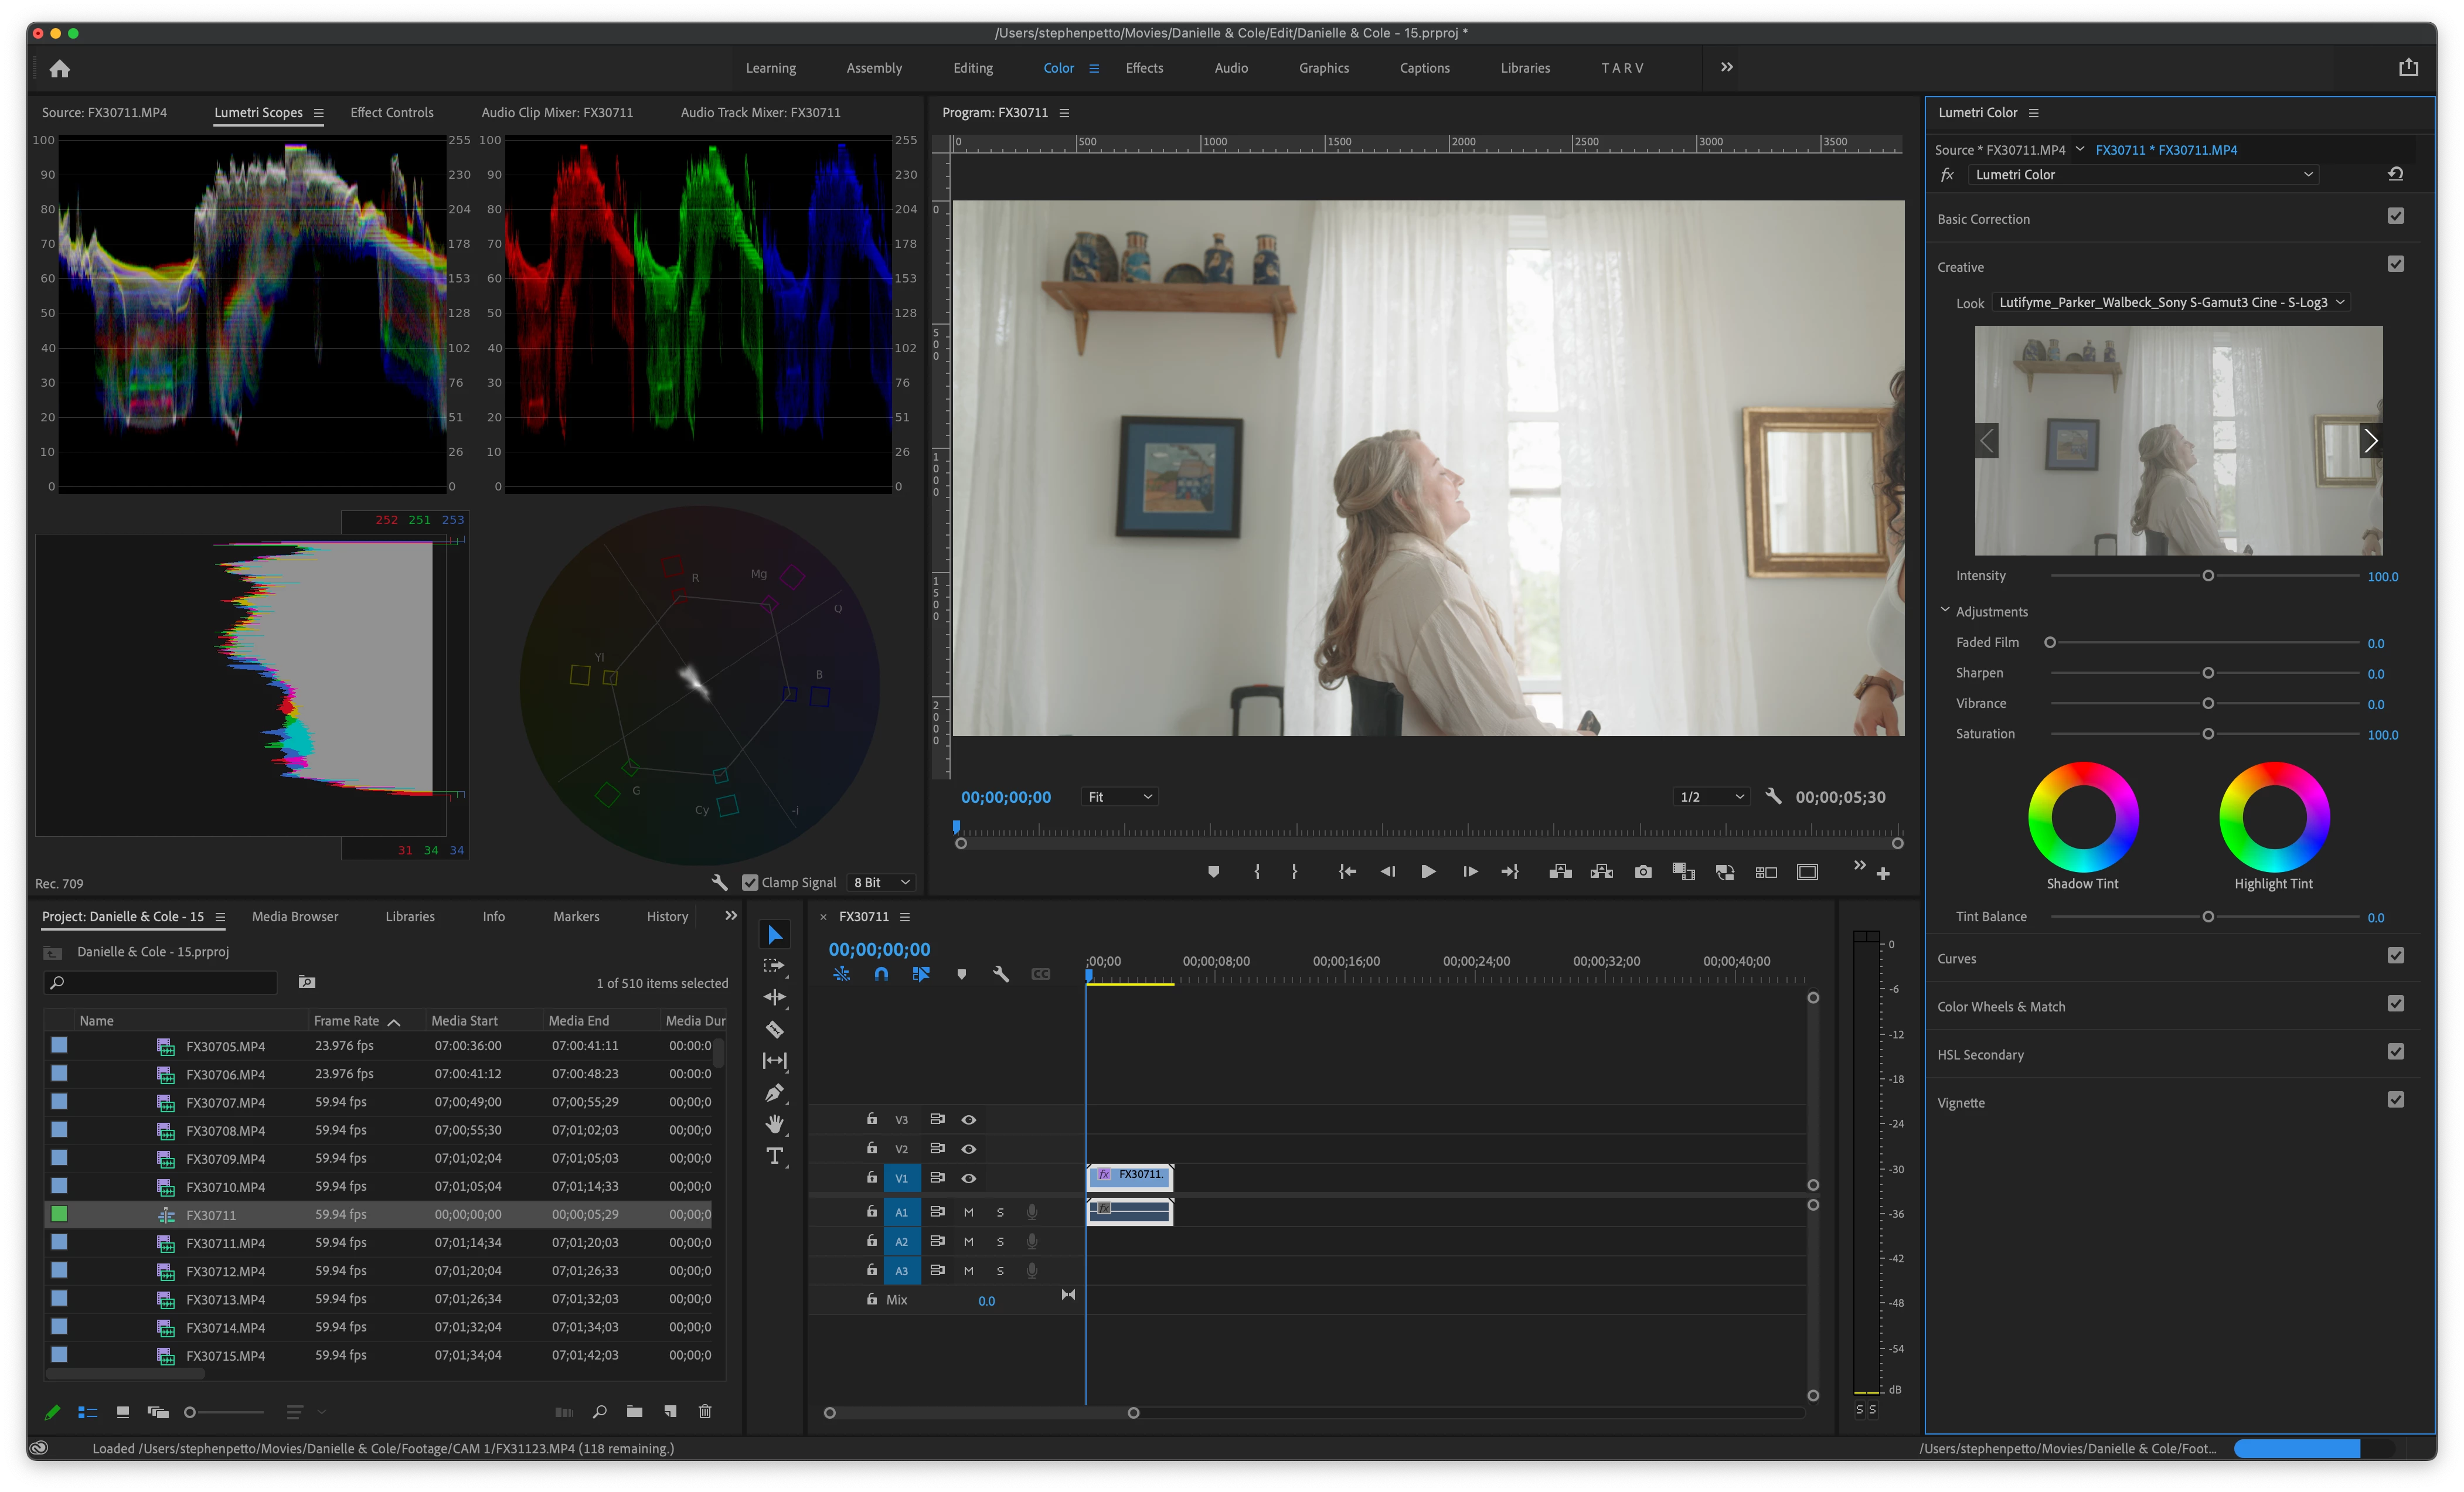
Editing footage shot on A7s iii in slog 3 gamut 3 cine. Premeire Pro V15 displays the footage just fine however V22 is well over exposed. I have the footage set to override in rec 709 as well as the sequence. Anyone els run into this issue? Im so confused. 


In the screenshots i applied LUTs to exaggerate the issue. 


V.22


V.15

This topic has been closed for replies.

3 replies

Participating Frequently
November 23, 2021

I'm just migrating to my first Mac laptop and I have the same issue... I've been trying to figure this out for days now with no luck. All I can say is that it seems like my H.264 4:2:2 files are the ones that get overexposed when imported to Premiere 2022 and HEVC 4:2:0 are actually fine (both shot with slog3c), would be nice if you can confirm the codec that you used for this footage and if the general behaviour is similar to that on my Mac. Given how many people use A7sIII and Macs I'm so surprised there's no answer to this. Please let me know if you find out the answer somewhere.

Jeff Bugbee
Community Expert
Community Expert
November 23, 2021
Participating Frequently
November 24, 2021
Jeff Bugbee
Community Expert
Community Expert
November 23, 2021

One screenshot shows Lumetri at 8 bit, the other 10 bit. Does matching those make a difference?

Participant
November 23, 2021

did'nt notcied V.15 was set to 8bit but no it dosen't make a diffrence. to be clear this issue is present before adding a LUT. I just added the same LUT to each clip to help show off the issue.

R Neil Haugen
Legend
November 23, 2021

Do you get any detail back by say bringing the Exposure slider down a bit in the Basic tab?


Neil

Everyone's mileage always varies ...
Participant
November 23, 2021

Well sure. A half stop seems to bring it back to the correct exposure and all the detail seems to be present. Have any idea why this would be happening?

R Neil Haugen
Legend
November 23, 2021

Because the exposure of the clip is different from the clips the LUT was built around. It's one of the main problems colorists will teach about LUT usage. LUTs are the dumbest math out there, and any clip/shot not exposed "properly" for that LUT as the LUT was built to expect, will have a tendency for clipped whites, crushed blacks, or both.


For example, I have a HUGE issue with the application of LUTs in the Basic tab of Lumetri. No colorist on the planet would build that input LUT slot as the first part of the processing chain. Because normally the user will need to 'trim' the clip into the LUT.


If you apply a tech/transform LUT in the Creative tab LUT slot, then using the Basic tab controls (which are processed prior to the Creative tab), adjust the basic tonal values so the LUT "sees" what it needs to see, the results from that LUT will be what is needed/expected.


So I always apply technical/corrective LUTs in the Creative tab slot, so I can use the Basic tab to 'trim' the clip into the LUT.


Now that they have more media types getting 'default transforms', it means the user in some ways has less control. I'm not overly ... to put it mildly ... pleased with a default behavior the user cannot override.


But at least in this case, bringing Exposure down in the Basic tab seems to help with clipped 'default' values for many users. But I'm still arguing with their engineers about this.


Neil

Everyone's mileage always varies ...