Known Participant
April 9, 2026
Question

Using different LUTs on multiple sources in same sequence

  • April 9, 2026
  • 2 replies
  • 13 views

I am trying to create a sequence with the same source clip in two regions of the screen in a sequence.  I want to show one with no LUT applied and another with the LUT applied.  I’m trying to create a video that compares LUTs for the same input. 


Whenever I select either “None” or one of the LUTs, it applies it to both source clips.  I can apply different color settings under the “Edit” tab of the Lumetri Color tab and that works.  But when I select a LUT, it applies it to all the source clips.


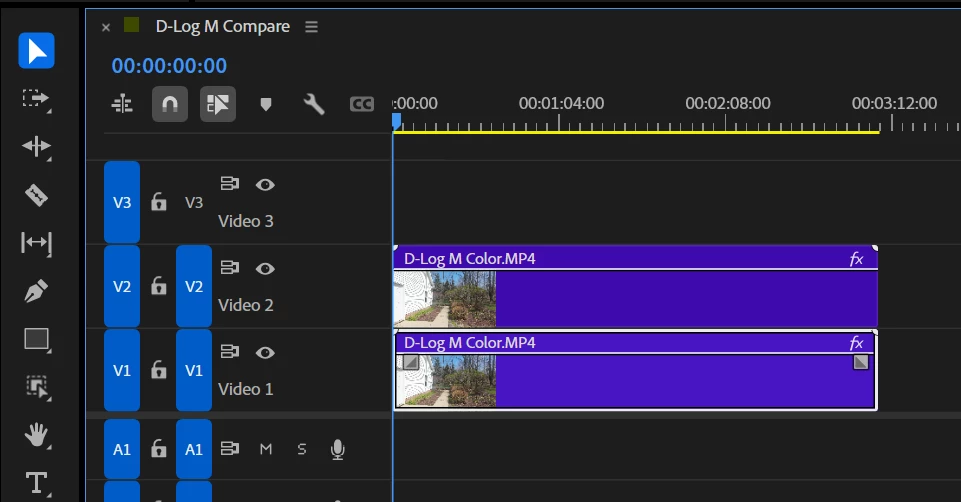
Maybe this is what I’m messing up: I am not sure how the controls to the left of each clip in the Sequence panel works.  Here is my current selections:  What do the “V1” and “V2” buttons do?  Toggling them on and off doesn’t change the sequence as far as I can see…


    2 replies

    Shebbe
    Community Expert
    Community Expert
    April 10, 2026

    The Lumetri Color tab is very clunky when working with multiple tracks and relies on track arming (the blue V1 etc) to auto select clips the Lumetri Effect needs to be applied on. An easier and deterministic approach is to just select the clip itself in the timeline and add Lumetri effect manually from the effects browser. Load the LUT you want there, then copy and past the effect manually onto the other clip and load the other LUT on that instance, all via the Effect Control Panel where you also adjust Motion, Opacity etc, rather than the Lumetri Color tab.

    R Neil Haugen
    Legend
    April 9, 2026

    Ok … track order matters. Whatever is on V2 will completely ‘cover’ anything on V1, unless you hit that eyeball (which does the whole track!) or create cuts in the V2, and either disable them or reduce opacity to 0.


    So say you want the LUT to be shown at times … put it on the clip on V1. Using a Lumetri instance on that clip in the Timeline, not as a Source effect on the clip in the bin or via the color management controls.


    Now where you want that to show … set the playhead/CTI to the start of that section on the clip on V2, tap Ctrl/Cmd-K to make a cut there, go to the end of where you want that to show, Ctrl-K again.


    Now either right-click that section and select “disable” or use Opacity in the Effects Control Panel setting the opacity of that selected section of the clip to 0. Either way works.

    Everyone's mileage always varies ...