CMonza
Participant
January 17, 2024
Question

How do I fix this mesh?

  • January 17, 2024
  • 2 replies
  • 1204 views

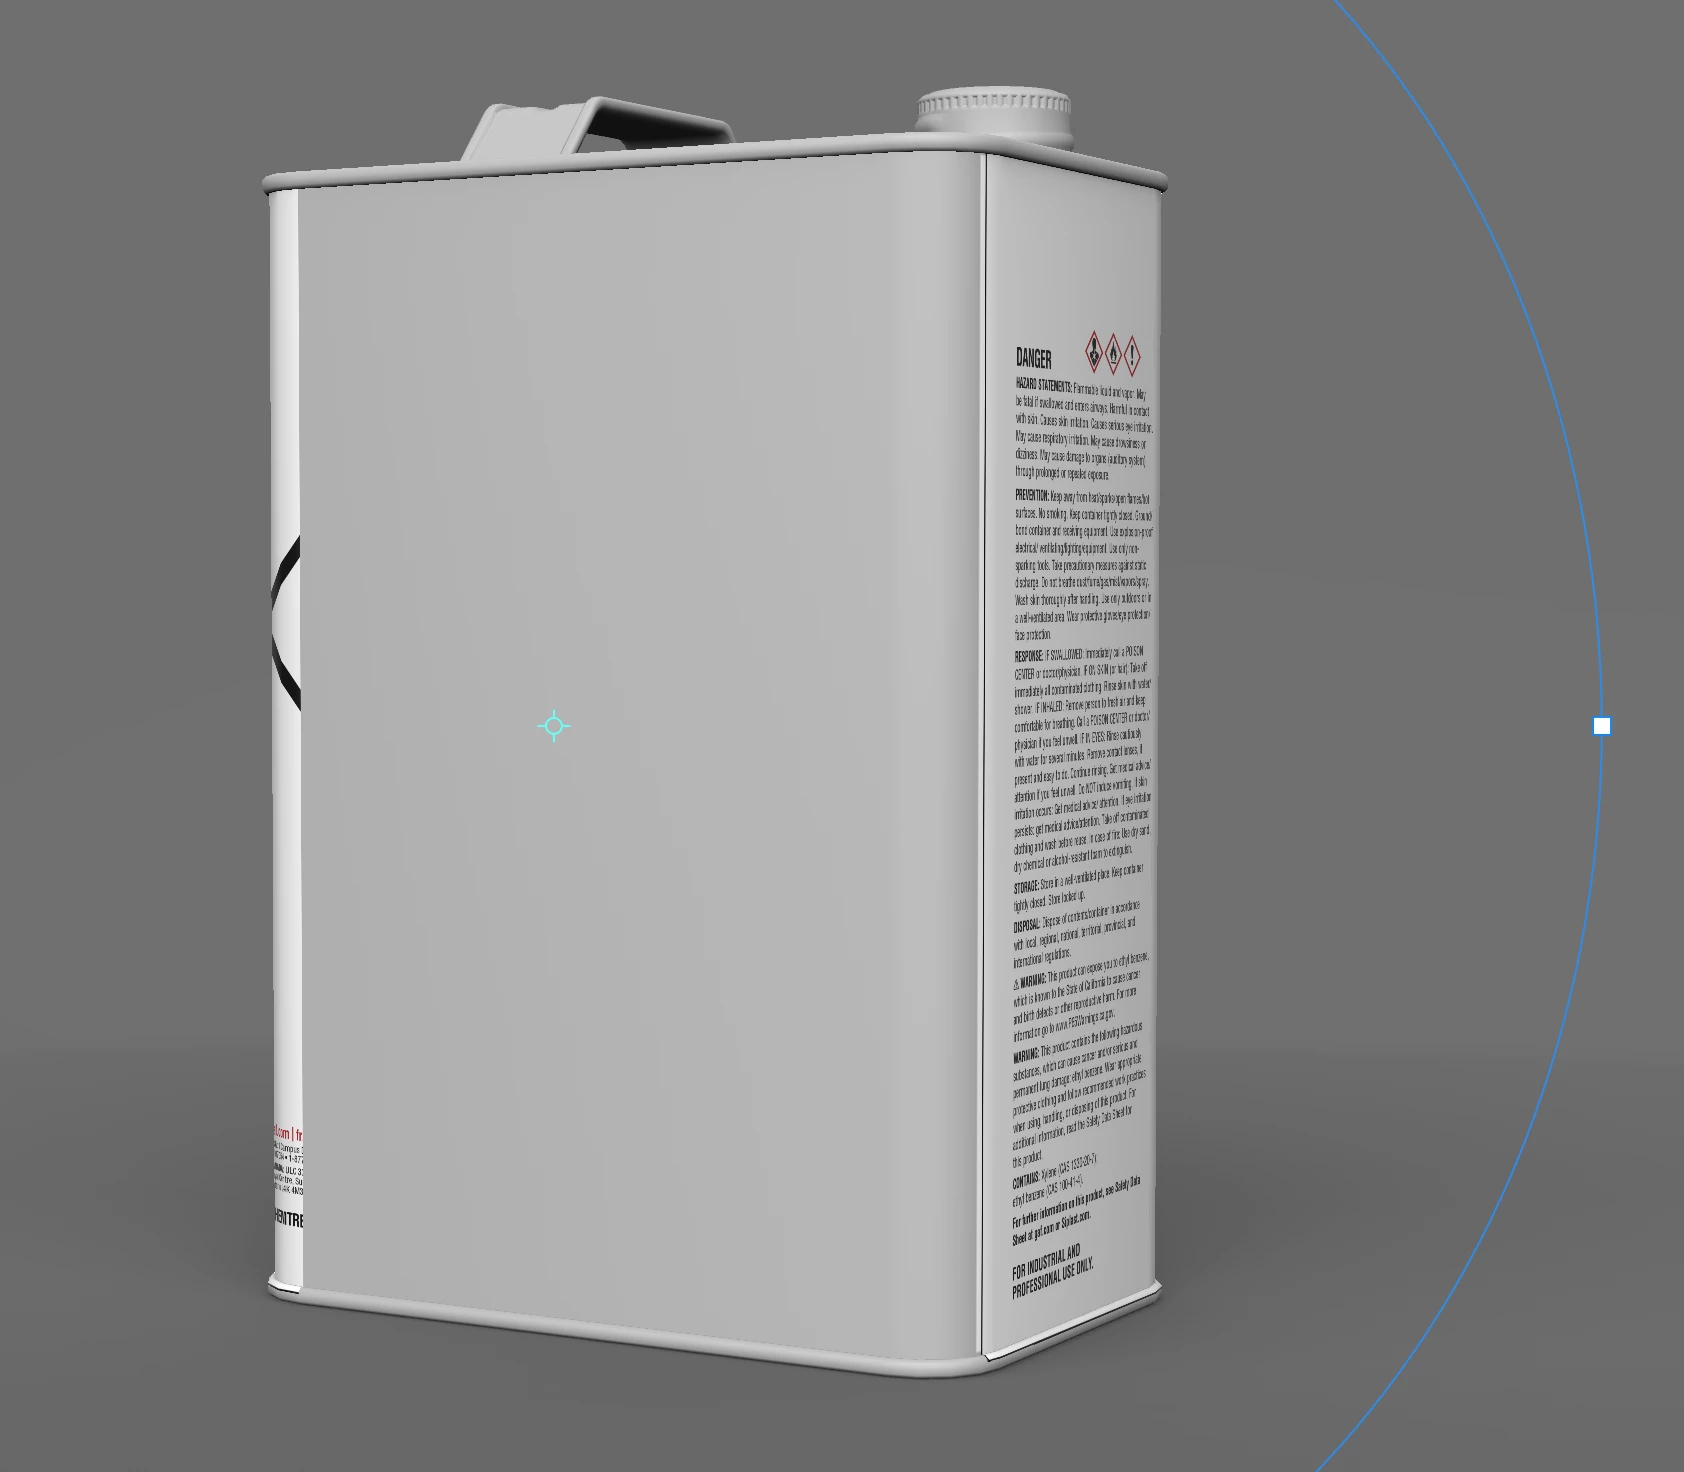
I'm trying to add a simple decal/graphic into a 3D model in Stager but it looks like there's something wrong with the mesh mapping because the graphic doesn't show on the back of the model. The front looks ok (please see below for visual reference)

but when I spin the 3D model the graphic doesn't appear all around the model...it looks like the mesh is not wrapping around...can anyone help fix this? I added the .fbx model that was downloaded from 3D Assets. Thanks in advance!


This topic has been closed for replies.

2 replies

Ares Hovhannesyan
Community Expert
Community Expert
January 18, 2024

How is your model structured? May be their are different meshes and images go behind back mesh (plate)?Please try to Generate UVs in Stager? Also is it possible to get Object for testing? Thanks

CMonza
CMonzaAuthor
Participant
January 18, 2024

I tried sharing the model — it's a 3D assets downloaded directly from Adobe Assets but it looks like it got removed. How do you generate UVs in Stager? Sorry I'm just learning... all this is a new language to me 😉 thx!

Ares Hovhannesyan
Community Expert
Community Expert
January 19, 2024

Just go to Object->Generate UVs. Usually app ask about that when you are importing any object.
I test theobject and find out that the problem is how is organize your mesh. You can use Magic Wand Tool for selecting separate side of your object and place on that side.

Another way is to Fill Decal and give "1" value to "x" or "Y" if you want to wrap up the whole object.

Cyril Dellenbach
Community Manager
Community Manager
January 18, 2024

Hi @CMonza,


Thanks for the message.


Just to be clear, a Decal (so drag and dropping an image on the model), is not supposed to wrap around the 3D mesh. It will behave as a "Sticker".


If you have an image made for the UVs of the object, you can place it in the Base Color slot of the model's material panel.


PS: I usually appreciate when sharing 3D models, but please don't share models from the 3D assets library.

Cyril Dellenbach (Micro) | QA Support Artist | Adobe
CMonza
CMonzaAuthor
Participant
January 18, 2024

I appreciate the reply...I might not have explained correclty...the goal is to apply a Decal exactly as a "sticker" (to wrap a label around the 3D model) but the issue is that the artwork is getting cutoff as shown below and it does not appear on the back of the model. 

It's not supposed to be an UV (graphics are not to print directly into the material...but just look like a simple label around the model)...but something is making the label get cut out. I apologize for sharing the 3D asset, I wasn't sure the best way to get guidance for our enterprise subscription...as there's something cleary wrong.


I was able to make a work around but had to divide the label into 4 parts (4 graphics applied to each side of the model) but the seams are so glitchy and it doesn't look seamless

Cyril Dellenbach
Community Manager
Community Manager
January 19, 2024

I removed the 3D model from the initial post in order to make sure we're not breaking any legal term. @Ares Hovhannesyan, if you're still curious, here's a link to the 3D model.


If I understand the workflow properly, dividing the Decal image in 4 different parts, and place them on each side of the object was in fact the way to go. A decal is always projected in a single direction, which means you cannot apply it simultaneously to one side and its opposite.


Regards,

Cyril Dellenbach (Micro) | QA Support Artist | Adobe