Answered
Proper Way to Use Images in RoboHelp 2017
Hi everyone,
I researched the RoboHelp forum on this issue and found that the recommended way to add photos to RoboHelp is to insert them. I didn't know that, so I've been using Snagit to capture my images and then pasting them into RoboHelp. I know RoboHelp has an image capture feature, but out of habit, I stuck with Snagit.
I have some questions:
- In many cases, I have image 106.gif and image 106.png, and these are two completely different images. Can someone tell me why these have the same number and also why one is .gif and one is .png?
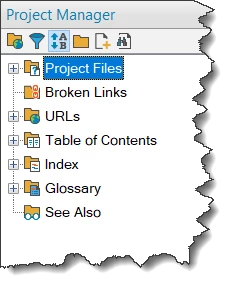
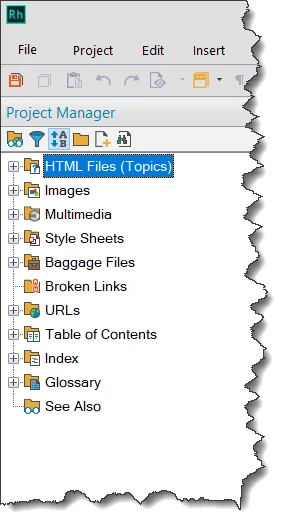
- Many of my images appear in the Images folder in Project Manager, but many are outside of the Images folder in Project Manager. RoboHelp will not allow me to move the outlier images to the Images folder. Why?
- Is it possible to rename these images within Project Manager without messing something up? Or would you recommend I leave things as they are?
- Lastly, since it appears the recommended way to add images is to insert them, do you also recommend I use RoboHelp's image capture feature, or does it not matter? To insert an image, does the image need to be added to the RoboHelp project somehow before inserting? Or can you just insert from a folder setup elsewhere?
Many thanks,
Maura