Here's process start to finish:
Being sure you're working on a copy of the original signature image...
1) Bring in your signature image.

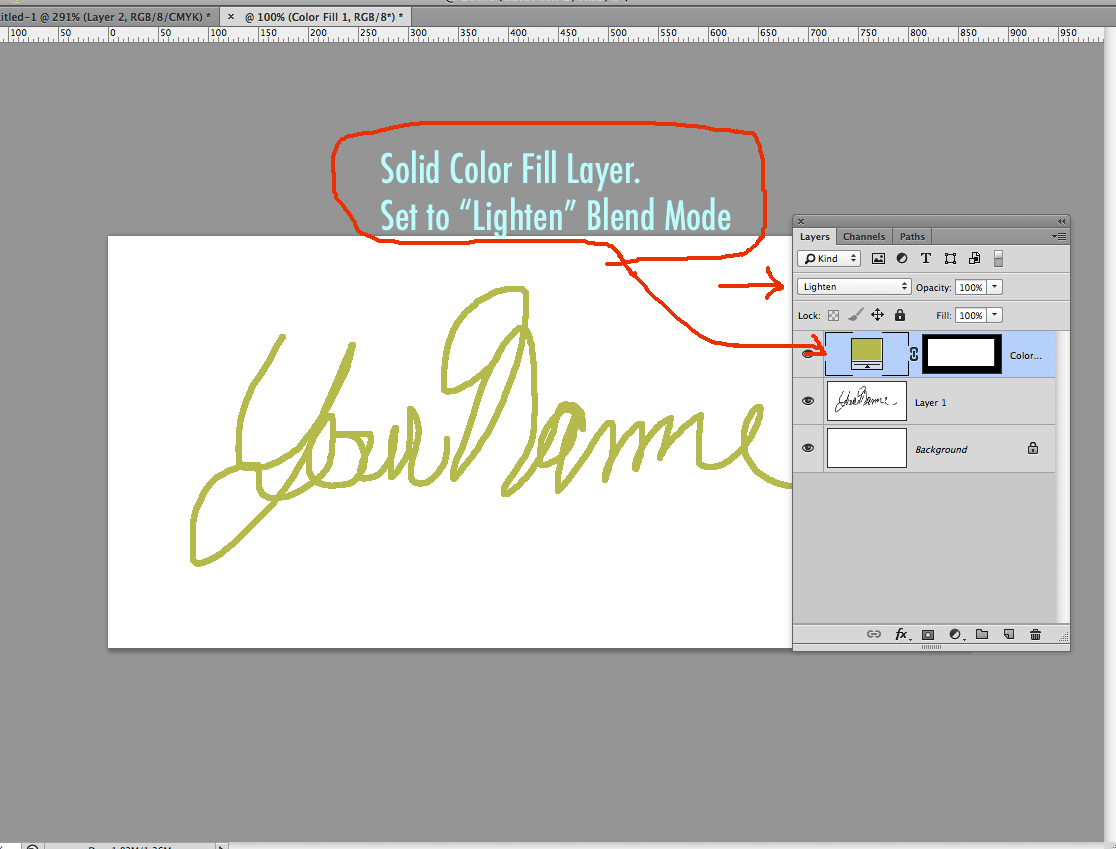
2) Create a new layer and fill it with the color you want to replace the black with.
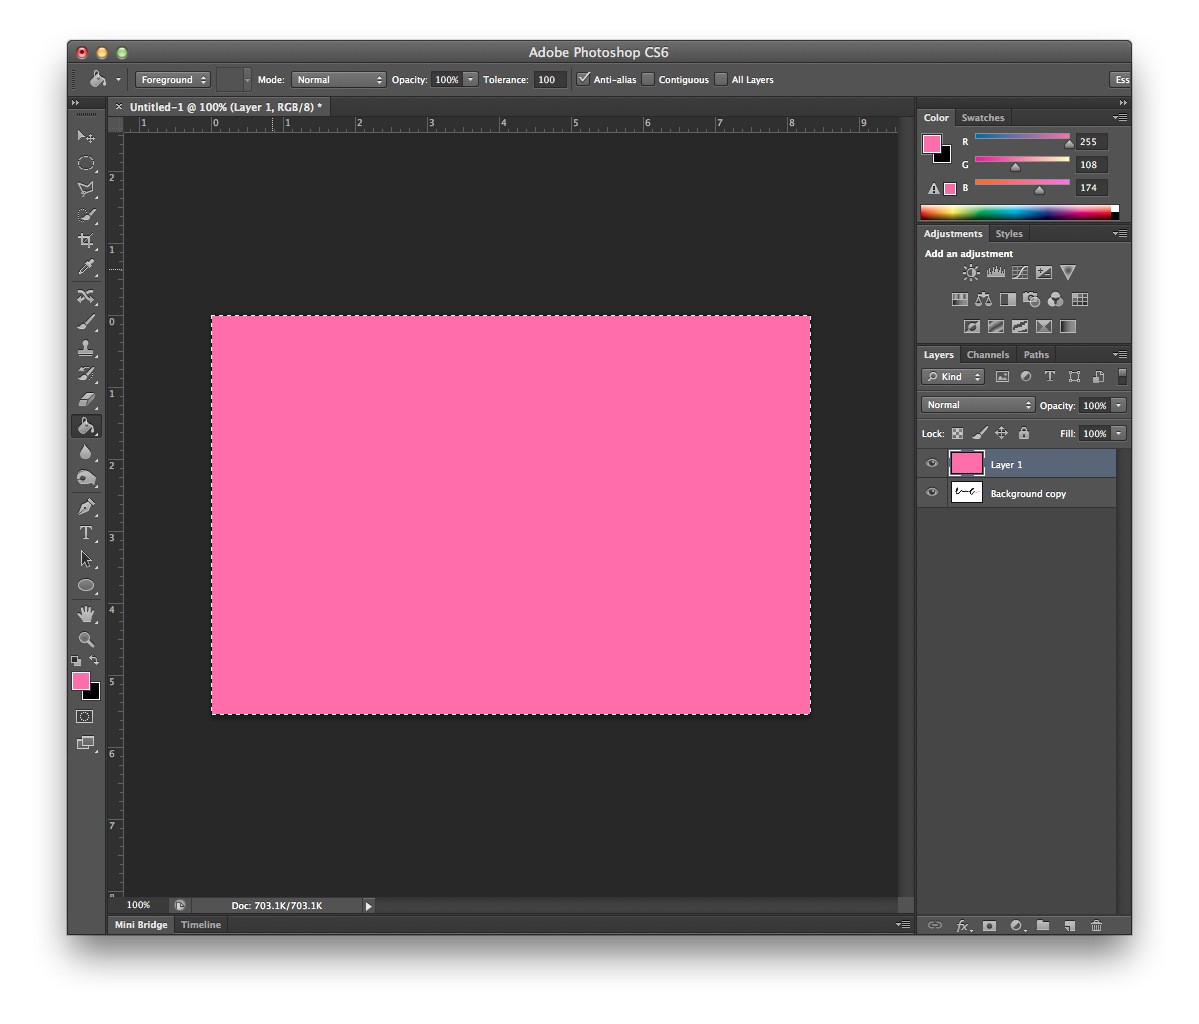
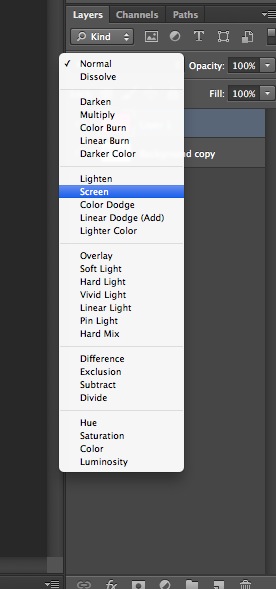
3) Set the layer mode to Screen.
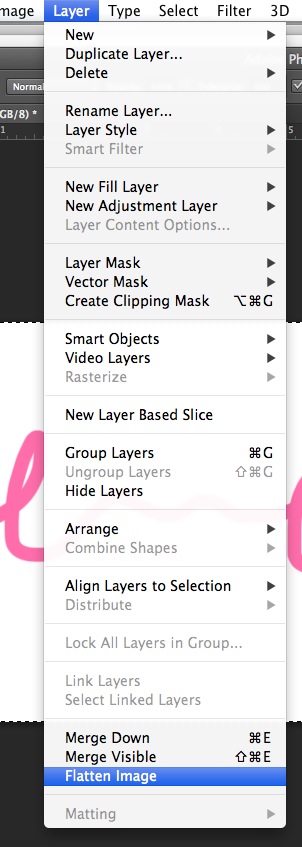
4) Flatten the image by going to Layer > Flatten Image.
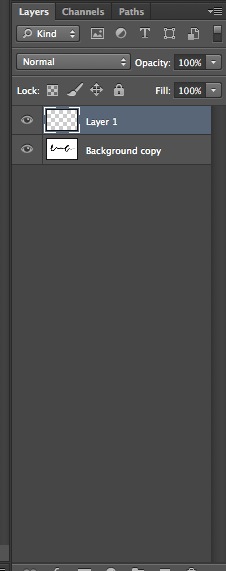
5) Duplicate the layer by control-clicking on the layer in the layers panel. Make the original layer invisible by clicking on the eyeball icon beside it.
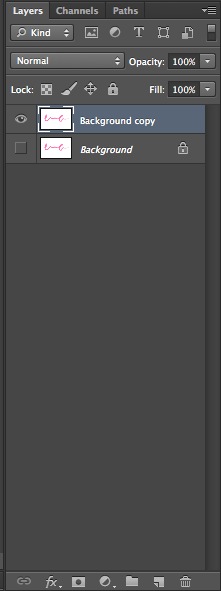
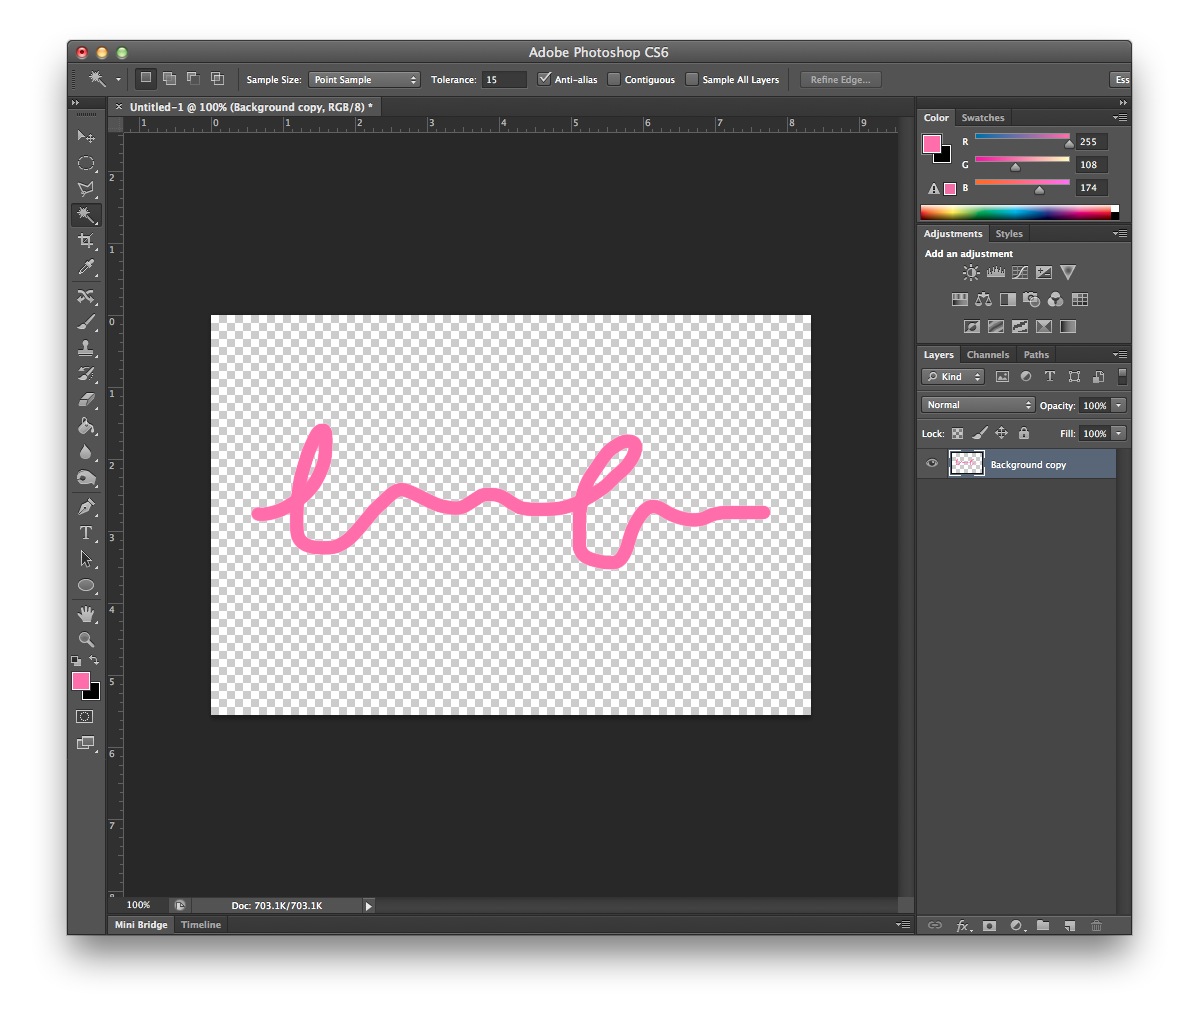
6) Use the magic wand to select the white area of your image, and delete it. Make sure that contiguous is unchecked up at the top of your screen so that you select the areas of white contained within loop in the signature.


7) Delete the layer you have hidden by dragging it to the trashcan in the layers panel.
Now you can simply drag the remaining layer into your other document, or save this is as a .png to be placed into a new document. I hope this helps!


 8
Replies
8
Replies


 AdChoices