
Invisible Lut on my imported clip | Clips aren't flat compared to VLC/Davinci | Bug?
Hello every one!
TL;DR My Video should look like flat but for some reasons it's automatically colorgrades it.
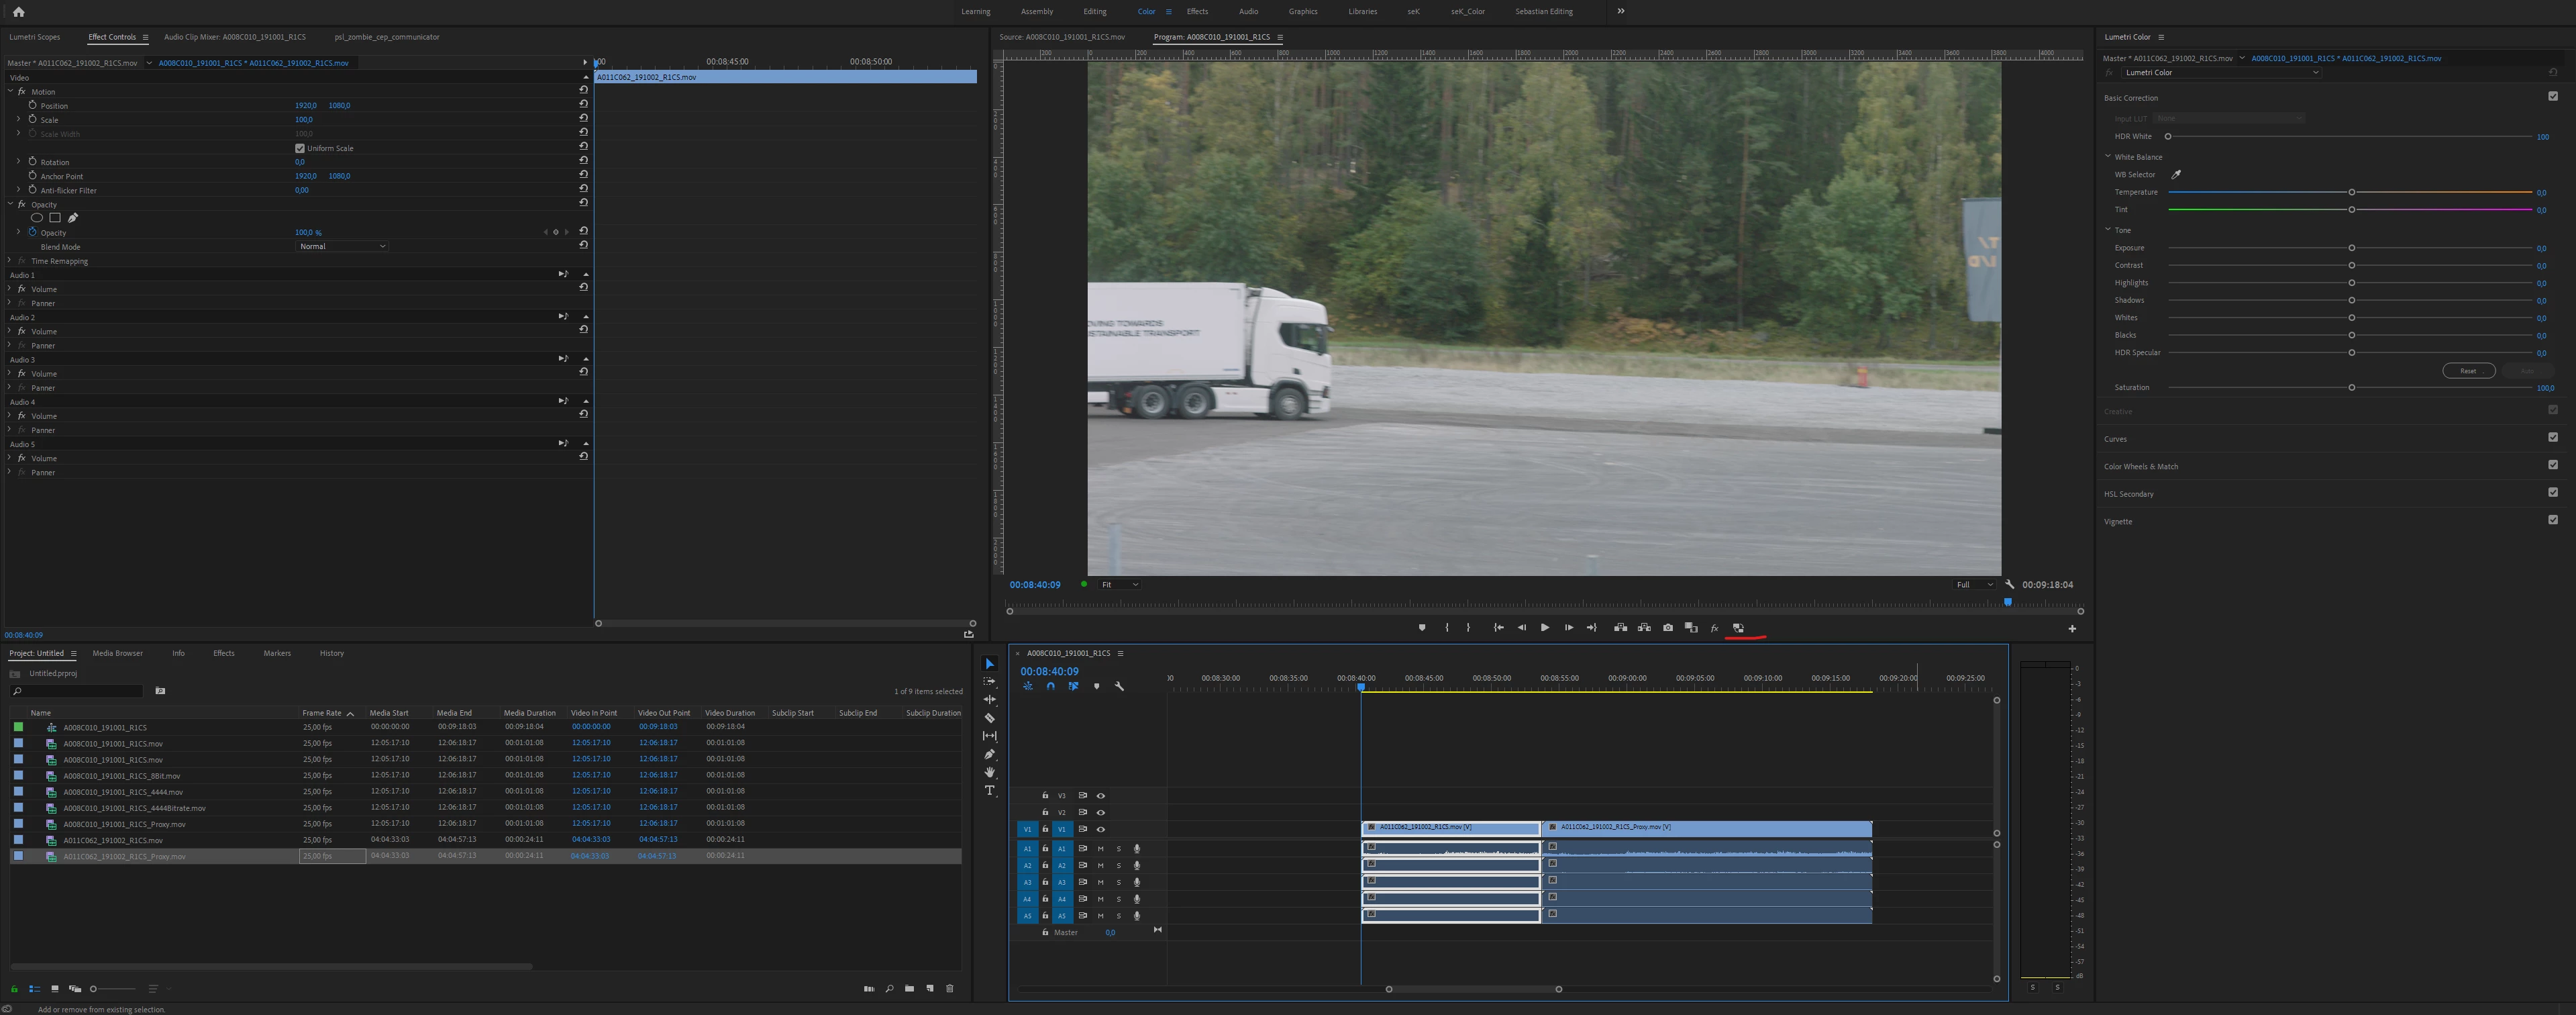
OG Vid without any changes in Premiere: It's not flat, but it should look flat
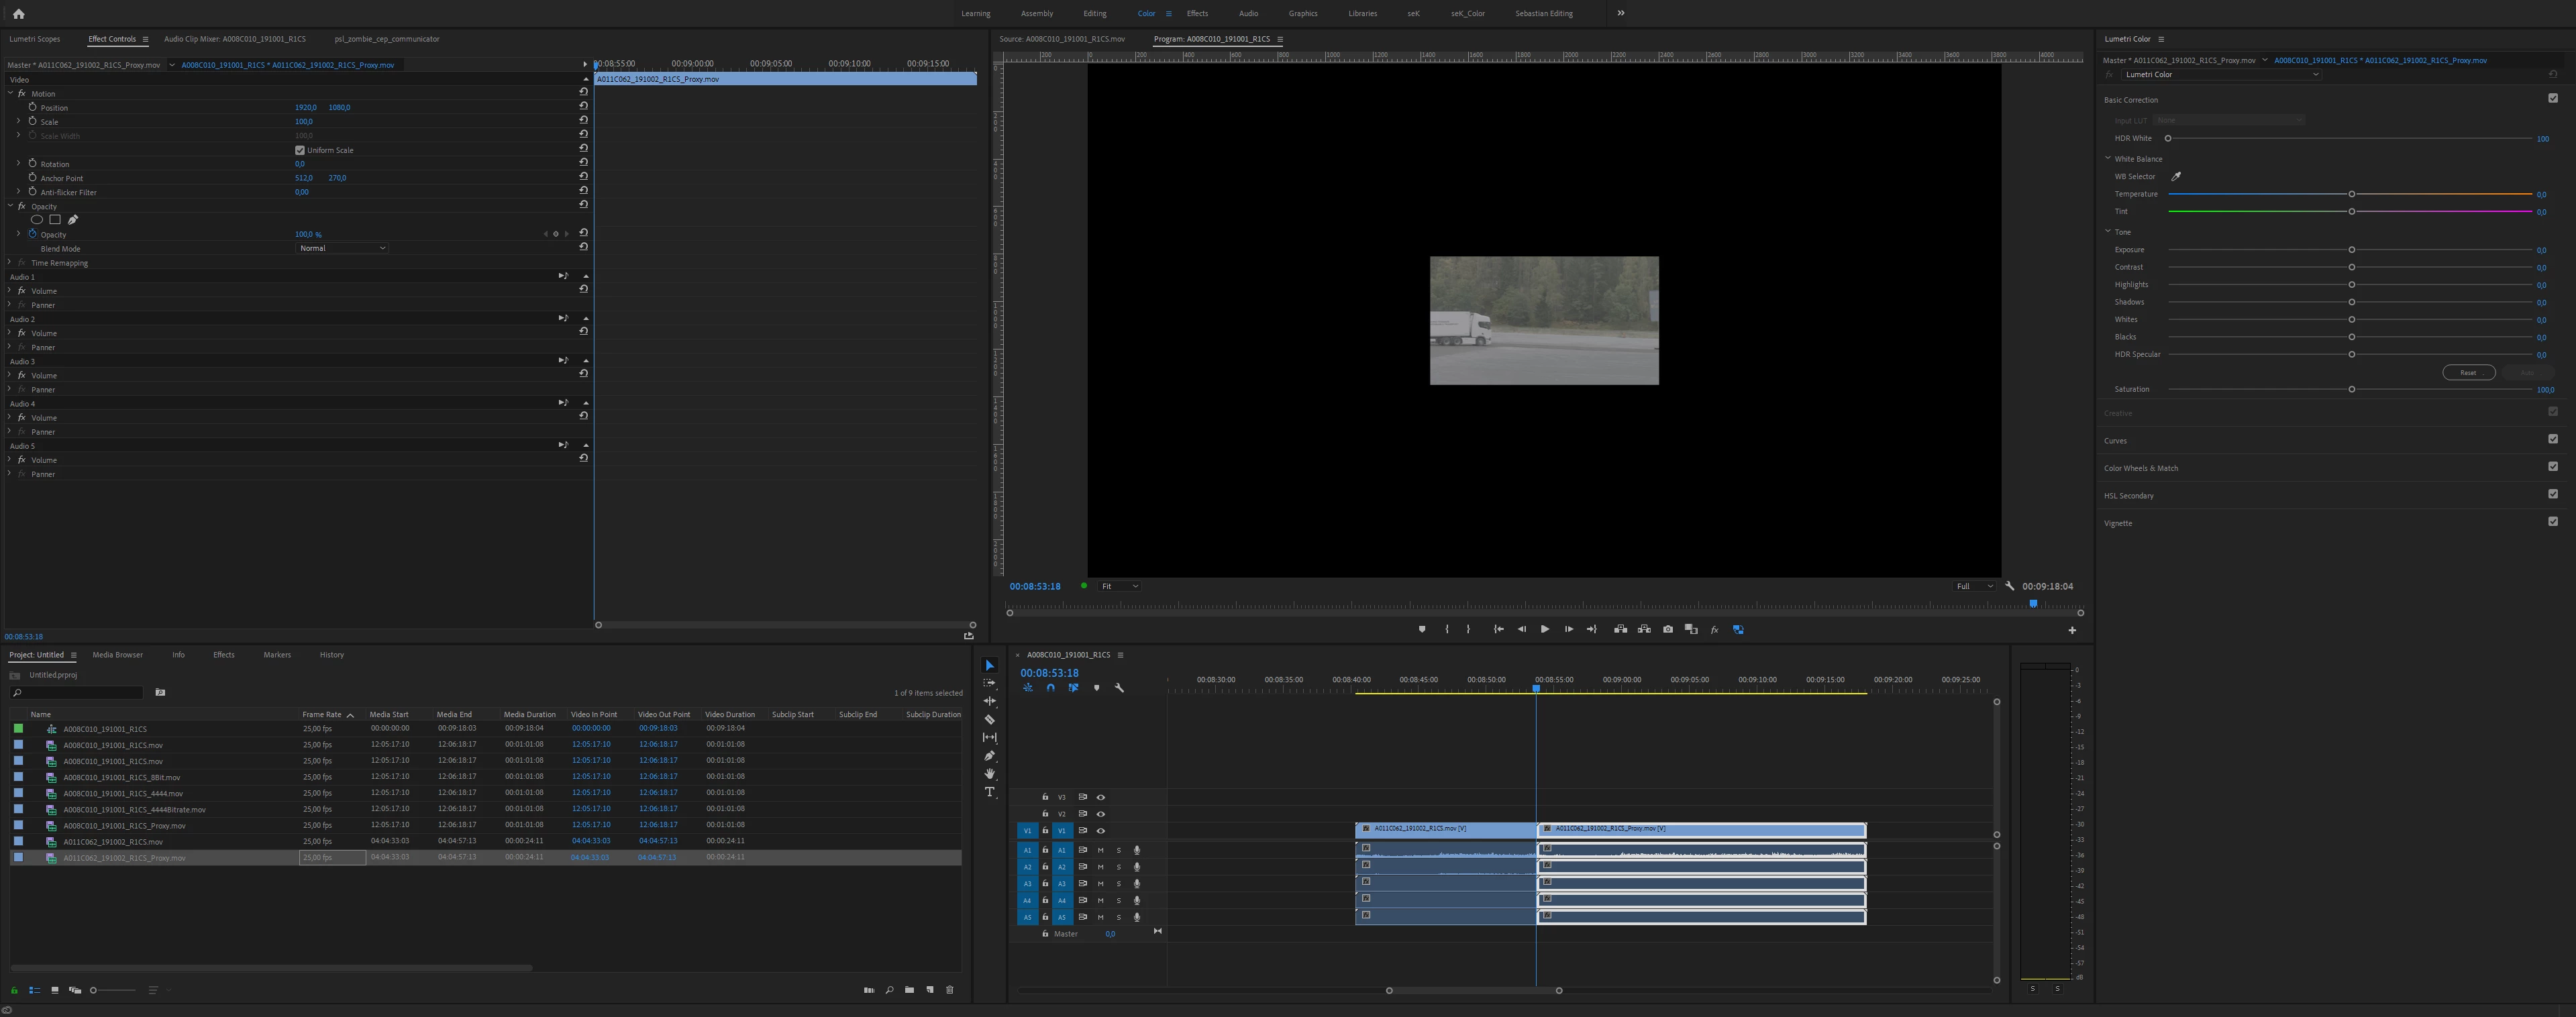
Proxies On: (Proxie has the same wrong Color)
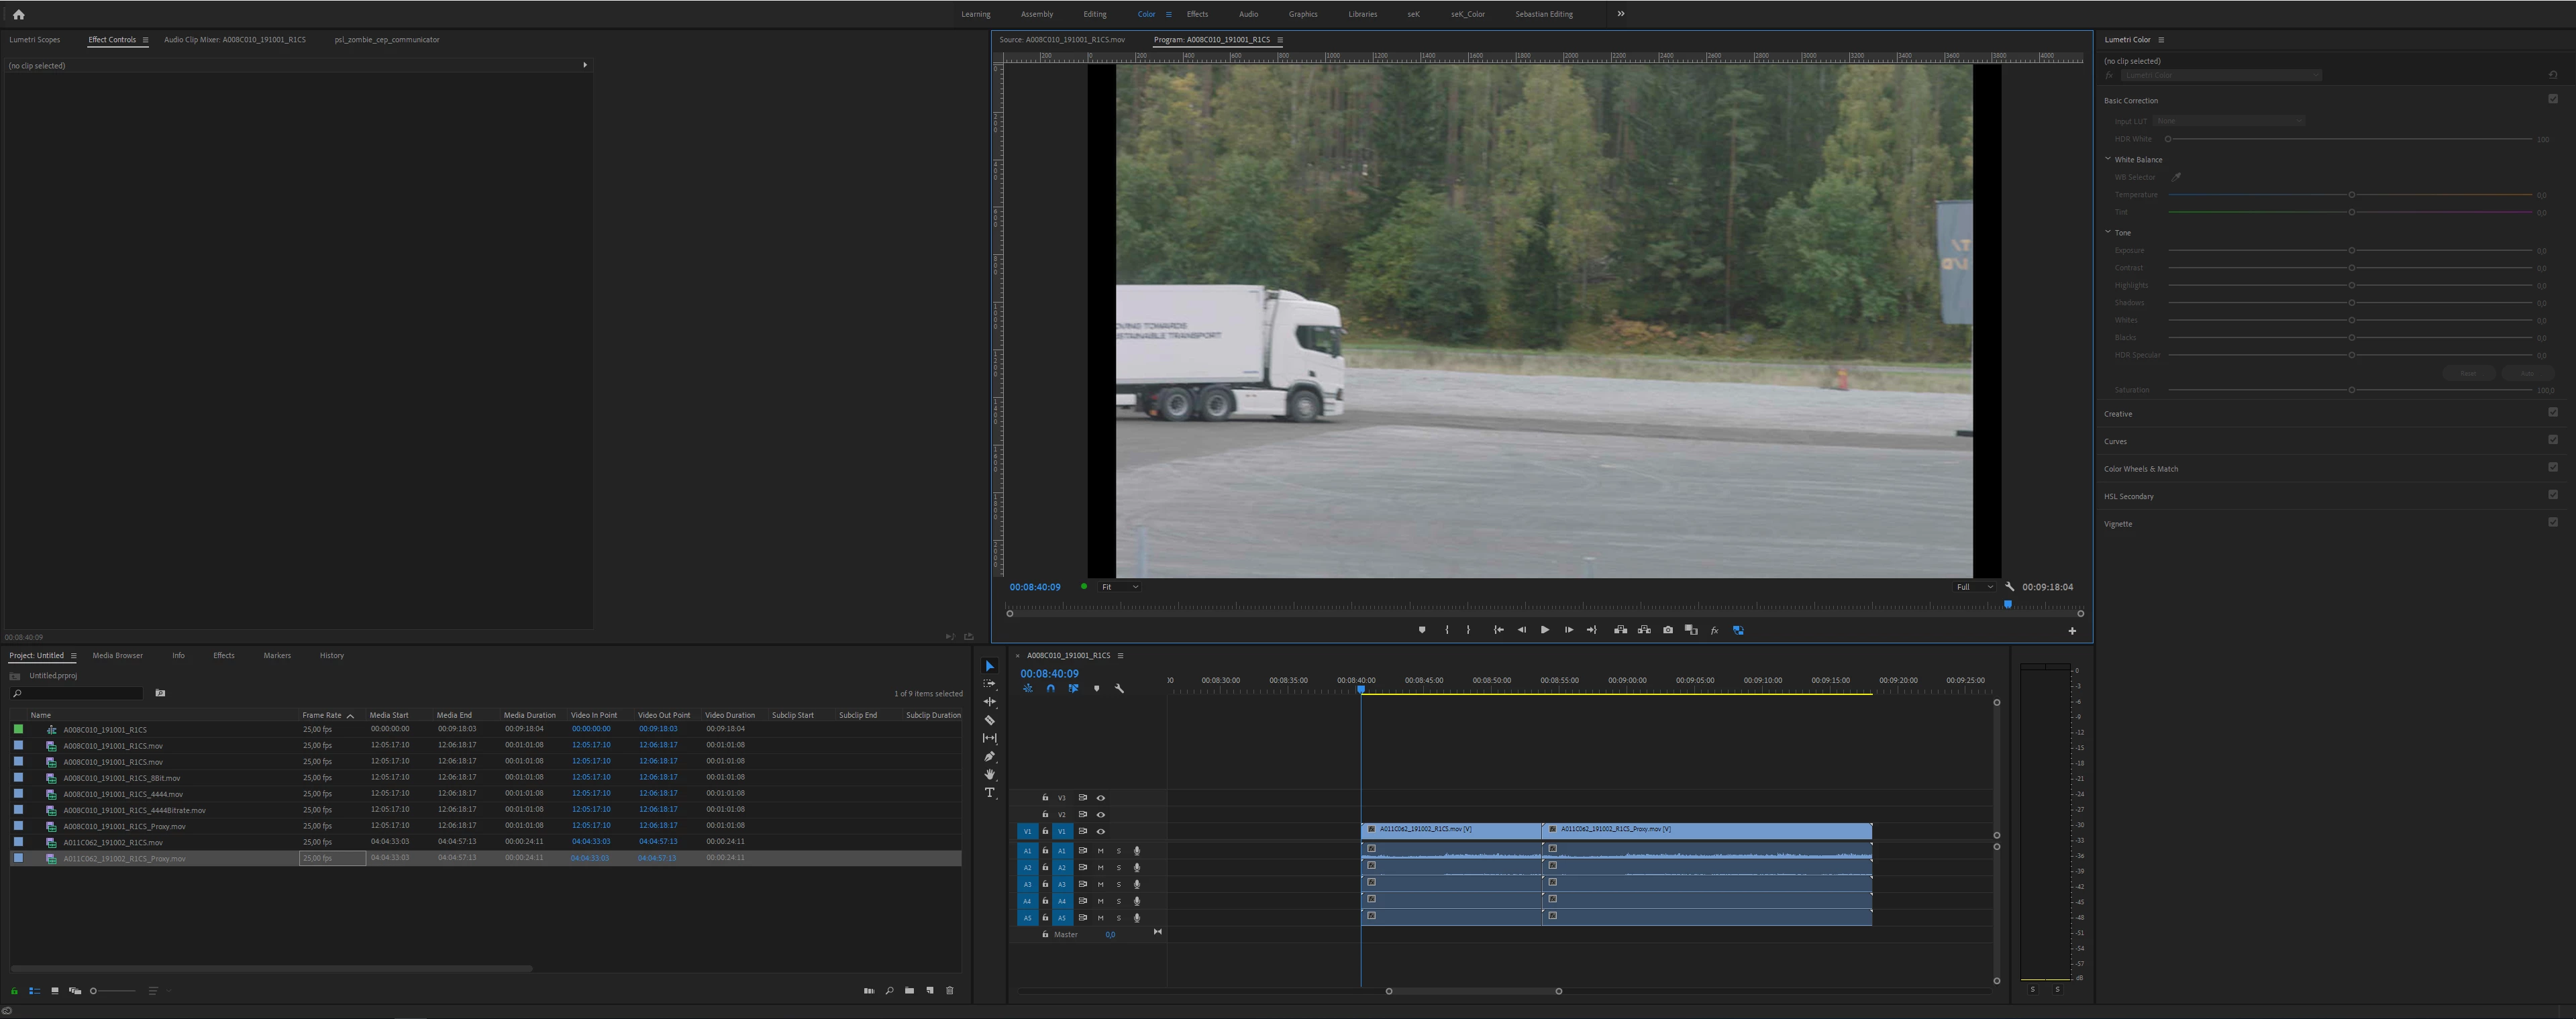
Same Proxies Imported separately: (Right Flat Footage)
OG Vid in Davinci (same result in Every Media Player) Its Flat! This is how it should look like in Premiere
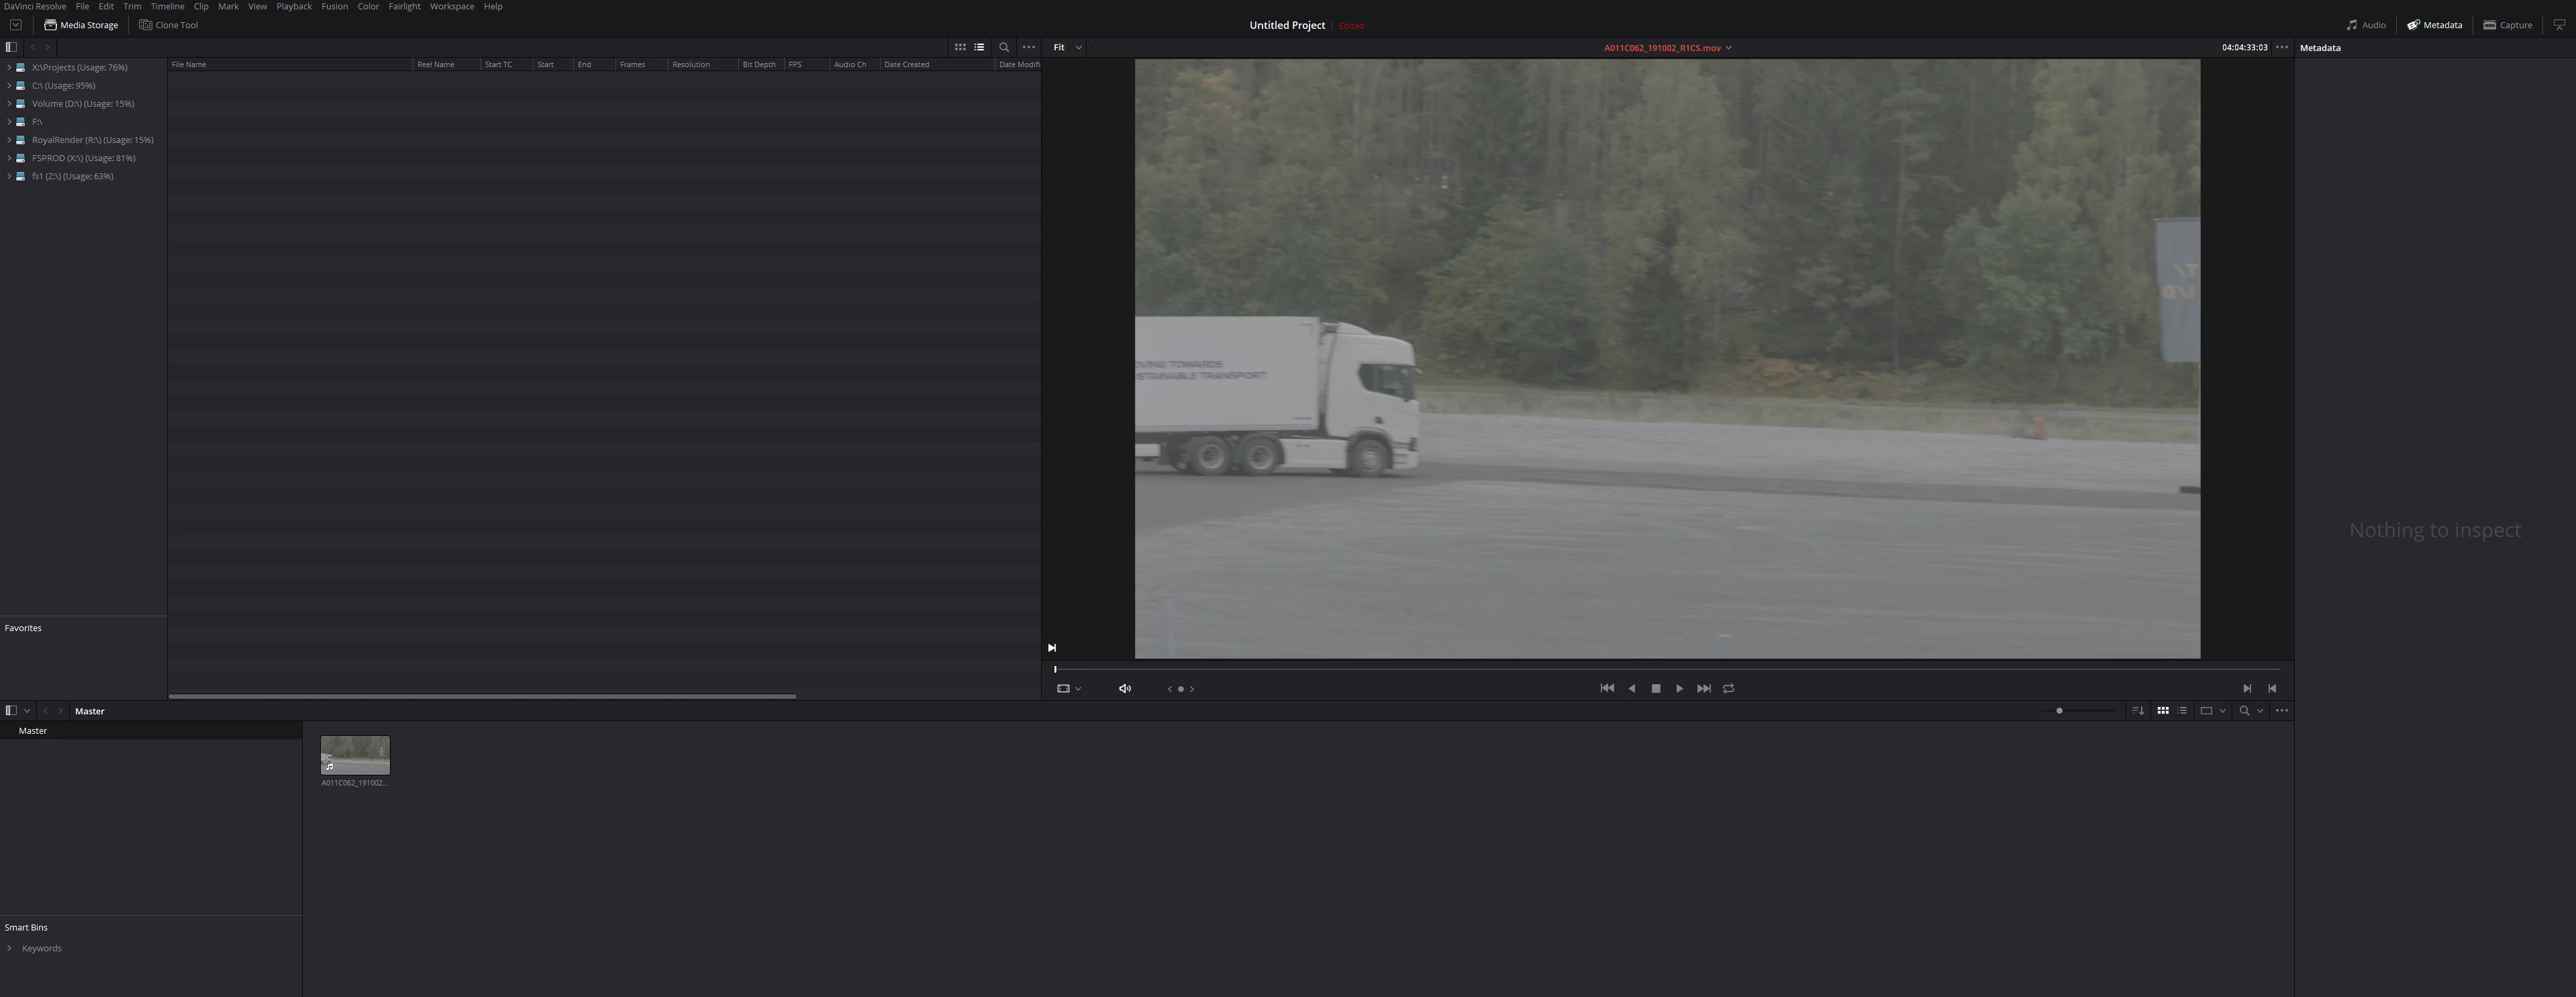
If I import my original footage into Premiere there is a huge color-shift. Watching it in any kind of programm (VLC Player Quicktime, Davinci) it looks normal and flat.
When I export the OG file with the Media Encoder to MOV 4444, import it into premiere, the new exported file shows right flat colors.
I did a test with the build-in Proxies. I createt some Proxies in Premiere to toggle them with the proxie toggle button. Here the Proxies shows the same wrong colorspace BUT when I imported the proxie file like some normal clip, it again shows the flat normal colors.
It seems like premiere uses some kind of invisible Lut on to the OG Mov and I realy don't know why.
Here are the Specs of the Video:
Type: QuickTime Movie
File Size: 2,82 GB
Image Size: 3840 x 2160
Frame Rate: 25,00
Source Audio Format: 48000 Hz - 24 bit - Mono
Project Audio Format: 48000 Hz - 32 bit floating point - Mono
Total Duration: 00:00:24:11
Pixel Aspect Ratio: 1,0
Alpha: None
QuickTime Details:
Movie contains 1 video track(s), 1 audio track(s), 0 closed caption track(s), and 1 timecode track(s).
Video:
There are 611 frames with a duration of 1/25th.
Video track 1:
Duration is 0:00:24:11
Average frame rate is 25,00 fps
Video track 1 contains 1 type(s) of video data:
Video data block #1:
Frame Size = 3840 x 2160
Compressor = Apple ProRes 4444
Quality = Normal (3,00)
Audio:
Audio track 1 contains 1 type(s) of audio data:
Audio data block #1:
Format = 24 bit - 5 channels
Rate = 48000 Hz
Compressor = in24
Timecode:
Timecode track 1 contains 1 type(s) of data:
Timecode data block #1:
Start Time = 04:04:33:03
Reel name = A011R1CS
Proxy Media
File Path: X:\
Type: QuickTime Movie
File Size: 52,36 MB
Image Size: 1024 x 540
Frame Rate: 25,00
Source Audio Format: 48000 Hz - 24 bit - Mono
Project Audio Format: 48000 Hz - 32 bit floating point - Mono
Total Duration: 00:00:24:11
Pixel Aspect Ratio: 1,0
Alpha: None
QuickTime Details:
Movie contains 1 video track(s), 1 audio track(s), 0 closed caption track(s), and 1 timecode track(s).
Video:
There are 611 frames with a duration of 1/25th.
Video track 1:
Duration is 0:00:24:11
Average frame rate is 25,00 fps
Video track 1 contains 1 type(s) of video data:
Video data block #1:
Frame Size = 1024 x 540
Compressor = Apple ProRes 422 Proxy
Quality = Most (5,00)
Audio:
Audio track 1 contains 1 type(s) of audio data:
Audio data block #1:
Format = 24 bit - 5 channels
Rate = 48000 Hz
Compressor = uncompressed
Timecode:
Timecode track 1 contains 1 type(s) of data:
Timecode data block #1:
Start Time = 04:04:33:03
Reel name = A011R1CS