 Adobe Community

Copy link to clipboard
Copied
 Hi.
Hi.
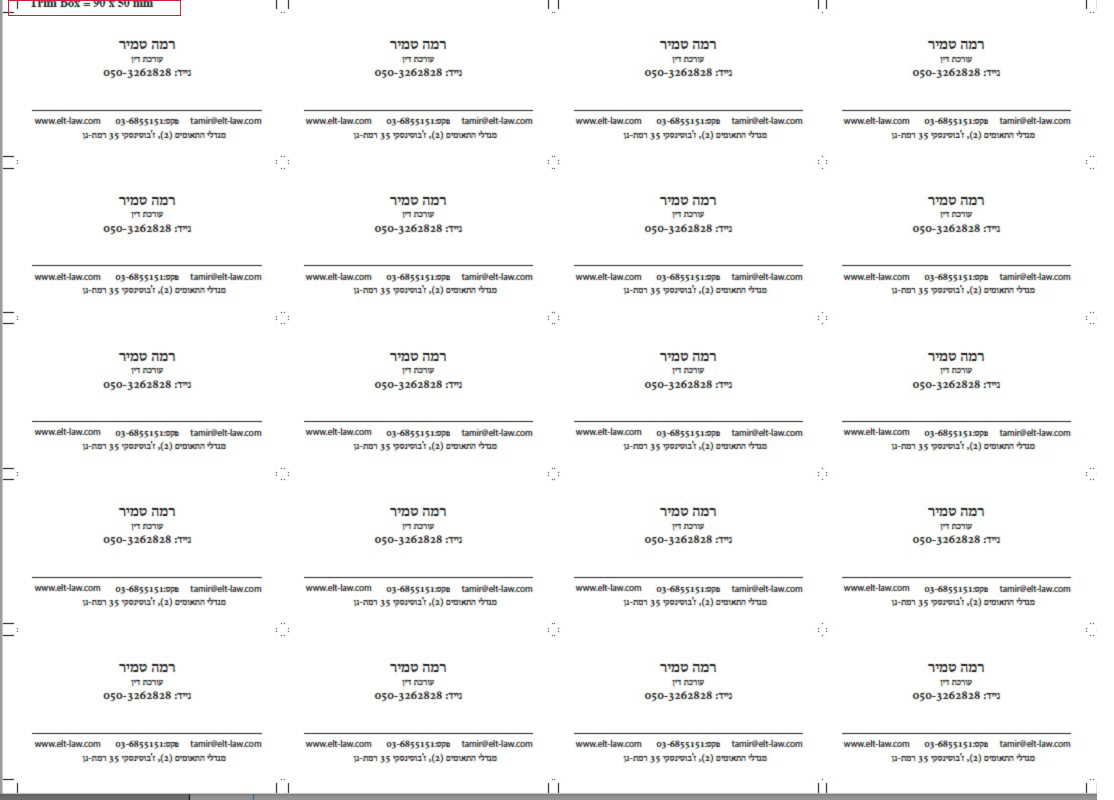
I have a 50 * 90 mm business card
And I want to duplicate it so that it goes into the page (through the "quite imposing" plug-in).
After the duplication I created a new sheet with 20 tickets,
I want the top corner of the sheet to say "trim size"
So that the employee who cuts the cards knows what final size he needs to cut it.
How can I do it?
Please note that I have licenses for pitstop and for quite imposing
But none of their support knew how to give me an automatic solution. (In pitstop you can paste the trim size on the document But after imputation the number is deleted.)
It's clear to me that I can always type manually but I'm looking for an automated script.
It is important to emphasize that each time the size of the card varies from work to work.
Attached file with the target.
Thanks!


 1 Correct answer

OK, it has taken me a while as I am new to scripting, however I now have a fallback plan. I originally wanted to add the trim info into document properties metadata using PitStop Pro, however there appears to be a maintenance issue which Enfocus are now aware of…
Step 1: So the fallback plan is to add the trim box info as metadata using an Acrobat Pro javascript. Before imposition, run the following script on the 1up file. The script could be run in any number of ways, I tested with an Acrobat Ac
... 61
Replies
61
61
Replies
61
Copy link to clipboard
Copied
Hey Stephen.
A final question for this round.
I have a letter size A4, which is the size of the trim size, but the size of the media size
And crop size are a3.
I want to build action where at the click of a button all sizes of the box
Will change to A4.
(I know i can change all the page box through the inspector but I'm looking for a faster way
Do it).
It is also desirable that all graphics around the A4 size be deleted - and not just disappear.
Also, I can set different sizes in Insert one size (for example: the same case - only the letter size is A5)
Thanks a lot !!!
Copy link to clipboard
Copied
I have a letter size A4, which is the size of the trim size, but the size of the media size
And crop size are a3.
I want to build action where at the click of a button all sizes of the box
Will change to A4.
Do you have a sample file?
I don’t understand why/how the CropBox is larger than the MediaBox and TrimBox?
It is better to define the new size based off an existing PageBox, so pick either the TrimBox or MediaBox as the source size.
(I know i can change all the page box through the inspector but I'm looking for a faster way
Do it).
Did you know that you can create a new action list, press the record button, do whatever you require in the Enfocus Inspector panel and then go back to the action list and press the stop button – and that everything that you did between the start/stop recording will be captured as steps in the action list?
Action Lists can be built manually by inserting and configuring each step. Action Lists can also be built by recording. Or an Action List may be built by combining both inserted and recorded steps.
It is also desirable that all graphics around the A4 size be deleted - and not just disappear.
There may be objects that extend past the TrimBox, so they would likely need to be retained and it is only art that is completely outside of the TrimBox that should be removed.
Also, I can set different sizes in Insert one size (for example: the same case - only the letter size is A5)
Thanks a lot !!!
Sounds possible, that would require a variable, however I would need to look into that. It may depend on what version of PitStop Pro you are using.
Copy link to clipboard
Copied
Hey Stephen.
I succeeded alone !!
Thanks to the principles you taught me !!!ֿ
Copy link to clipboard
Copied
How to reduce page
Without reducing the bleed area.
for example:
If I have a page a3
And I reduce to a4
And there is 1.5 mm bleed
So the bleed area is also small
To 1 mm
The question of how to keep the 1.5 mm
Copy link to clipboard
Copied
The % is different from the MediaBox resize to the BleedBox resize, so they will not be the same when rescaling the page.
If you need an exact value after resizing, I would add a couple of steps:
- Set BleedBox to TrimBox
- Resize BleedBox (PageBox) to 1.5 on all four edges
Copy link to clipboard
Copied
Hey Stephen.
Once you taught me to delete objects in a particular area in pdf
Throughout the document.
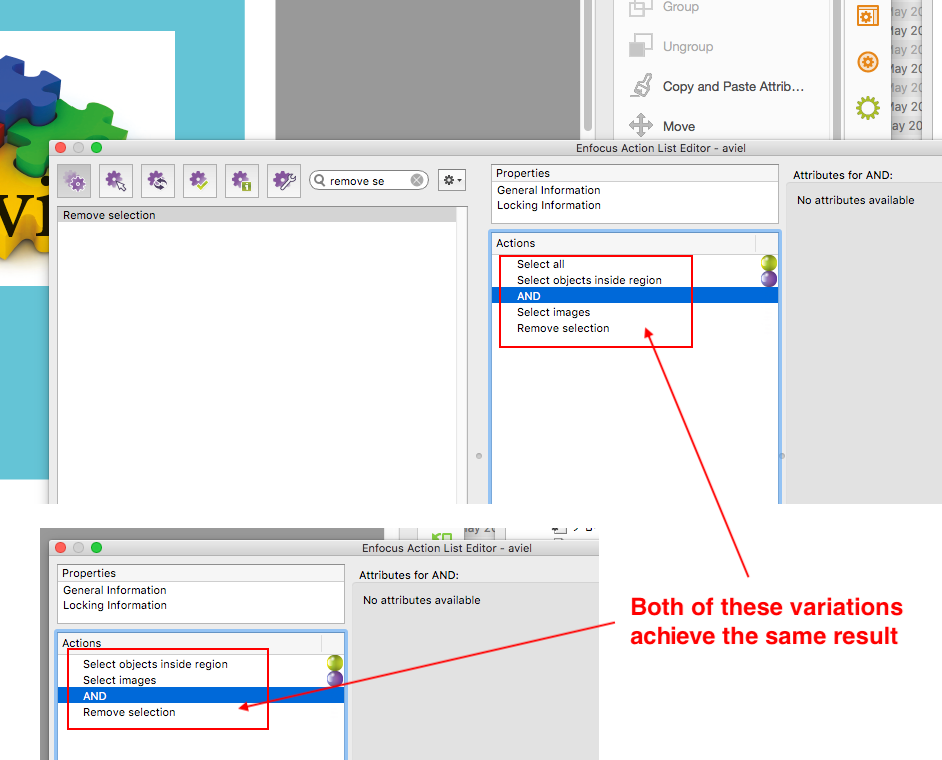
(select inside region + remove selection)
However, sometimes I get different files with objects built on top of each other and I want to delete a certain object throughout the document.
(Sometimes it's exactly the same object, sometimes not.)
For example: delete the puzzle in the attached a.pdf file. Or the images in the center of the document in the attached b.pdf file.
The question of how such a thing can be done. Because in the previous method you taught me it would also delete the word "aviel".
I would appreciate your help.
The examples I attached are still relatively simple.
Sometimes it is very complex with a lot of objects on each other.
Dropbox - a.pdf - Simplify your life
Dropbox - b.pdf - Simplify your life
Thanks!
Copy link to clipboard
Copied
Take a look at the 3rd option from reply #45 from earlier in the topic thread:
Re: paste "Trimsize" after impostion
If selecting by region, you can use the AND logical operator step to link two conditions together, an object must be within a specific region and also must be text, for example. This way if there was an image within the region, it would not be removed as the operator requires two conditions to be met for the following step to be applied.
I'll take a look at your files later in the day.
EDIT: here you go, just like in post #45 by using the AND operator some conditional logic can be used for the selection...
Copy link to clipboard
Copied
Hey.
I'm still waiting to review the files I sent ...
Thanks!
Copy link to clipboard
Copied
I downloaded, reviewed and tested over a week ago, I updated my original post with the results including screenshots from your files in post #54:
Copy link to clipboard
Copied
Hey Stephen. Just now I had time to check what you had learned me.
Based on the principles you taught me, I managed to understand other parts. So thanks.
Now I have a basic question that I was sure could be done at the moment,
Still, I could not do it.
I try to import a logo into a specific booklet, which will be placed at the bottom of each page.
(The logo file in a separate pdf).
So I tried to do this in the tools window under the command: "place pdf file"
The point is that this command applies only to a particular page and not to the entire document.
I tried to record the import operation - to apply to any document - but it did not work.
I would appreciate your help.
Copy link to clipboard
Copied
It is important to note that sometimes the logo should be placed at a particular location according to coordinates that are neither middle nor side.
Copy link to clipboard
Copied
I would suggest that you create a new topic each time there is a new question, rather than adding it to the end of a different topic.

 AdChoices