

Everything You Wanted To Know About Saving Images From Firefly Text to Image

Once you create your perfect Firefly image, you will probably want to keep it forever! There are multiple ways to save your Firefly image created with Text to Image. They are all covered in this document.
Note: It used to be the case that generations were not saved unless you took specific action. Since the new Firelfy release in February 2025, generations are saved in the Generation History page, which is explained below.
The different ways of saving an image from Firefly Text to Image can save the generated image itself or the prompt, styles, and reference images used to generate the image, allowing you to generate it again or iterate on it.
These are a comparison of the attributes of each saving method:
|
|
Favourite |
Download |
Copy Image |
|
|
Generation History(6) |
|
Saves copy of image |
Yes |
Yes |
Yes |
|
|
Yes |
|
Saves prompt, Styles, References |
Yes |
No |
No |
|
|
Yes |
|
Saved to local computer only |
No(8) |
Yes(1) |
Not saved(2) |
|
|
No |
|
Available to other computers via cloud |
Yes(8) |
No(1) |
Not saved |
|
|
Yes |
|
Sharable with others |
No |
Yes (3) |
Yes(4) |
|
|
No |
- Unless you save to file server or cloud storage, such as Dropbox or OneDrive.
- It is saved in the clipboard. You have to take additional action pasting it elsewhere to save it permanently.
- Sharable if you email or share the file through other means.
- Sharable by pasting into email, social media, or some other sharing platform
- Sharable if you share files in your Creative Cloud library with others
- This is not a saving method, but since generations since February 12 are included in the Generation History, it is worth adding to the comparison.
- Save to library and Copy link to image appears to no longer be available as of April 24, 2025
- Favourites used to be saved locally in the browser cache. As of April 24, 2025 they are now stored in the Creative Cloud. Favourites that were favourited before April 25, 2025 are still stored locally in the browser cache.
Firefly Text to Image also has the capability of sending a generated image directly to Adobe Express, Adobe Photoshop, and to Firefly Generative Fill.
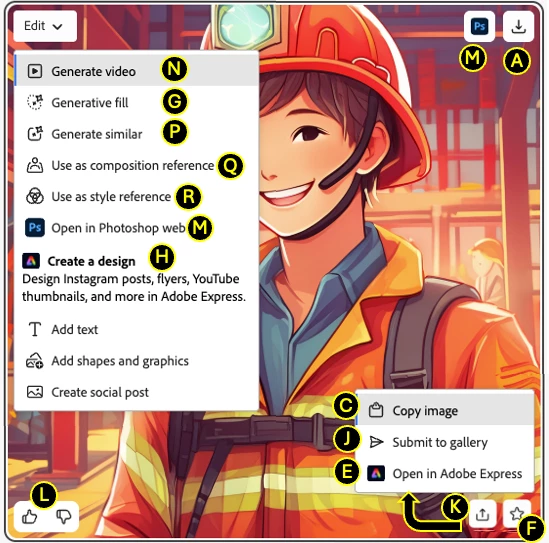
As each of these features is discussed, please refer to this example image showing all of the controls on a generated image:
Favourite
The Favourite function allows you to save a generated image to your creative cloud account (before April 24, 2025, favourites were stored locally on your computer) as well as saving the prompt, styles, and reference images used to generate it. Your favourites are accessible on the “Favourites” panel on the "Files" menu on the Firefly home page.
You can favourite a generated image by clicking on the outline star (☆→★) icon in the lower right of a generated image turning it into a solid star, as shown at "F" in the example image above.
The favourite function has many unique attributes and limitations. For that reason, it has been detailed in depth on this post: Everything you wanted to know about Favourites in Adobe Firefly.
Download
Download allows you to save a generated image locally on your computer. You can download an image by selecting the download button in the upper right corner of an image as shown in “A” on the example image above.
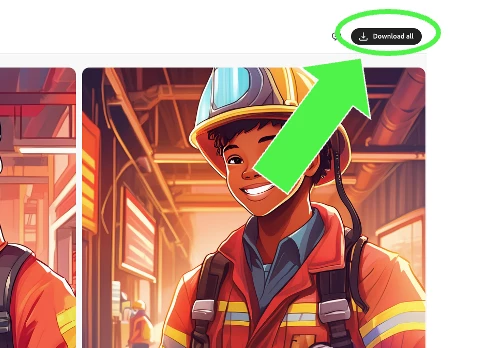
If you want to download all four generated images at once, you can click on the Download All button in the upper right corner of your browser window.
Files saved locally are not available on other computers unless saved on a file server or cloud storage like Dropbox or OneDrive. If you need to access images from multiple computers, consider saving to your Creative Cloud library.
Downloading an image will download only the image and not the prompt, styles, and reference images used to generate the image. You cannot regenerate the image from a downloaded image.
You need to have sufficient local disk space to download the image.
Copy Image
Copy Image copies the current image into the computer’s clipboard, allowing you to paste it into another document or application. You can select copy image by clicking on the “Share” icon on the lower right of the image and selecting Copy Image on the share menu as shown in “C” on the example image above.
Save to Library
Note: Because generated images are now saved to the Creative Cloud Automatically, this function no longer is available as a separate function as of April 24, 2025.
You can save your images to your Creative Cloud library. You can use this option if you plan to use the image in other Adobe applications or if you need to access the image from multiple computers and devices. You save it to the Creative Cloud library by selecting Save to Library from the Share menu on the lower right corner of the image as shown in “D” on the example image above.
Once you click on Save to Library, you will get a dialogue box asking what folder you want to save the image in.
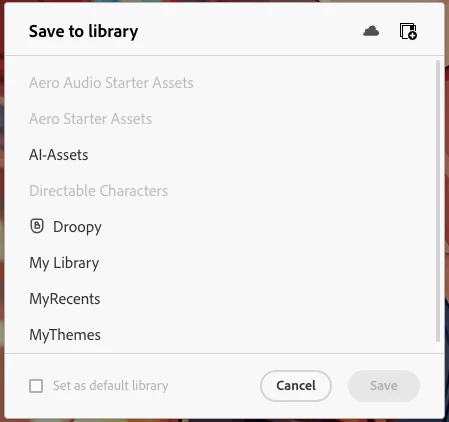
If you plan to save this and all images in the same folder, you can click on Set as default library. If you do that, further saves will be stored in that folder without prompting. If you want to change the folder later, click on save, and you will see this green box at the bottom of the browser window if it successfully saved:

Click on Change and it will prompt you for the folder you want to save in.
Copy link to image
NOTE: Copy link to image appears to no longer be available as of April 24, 2025.
Copy link to image allows you to generate a link to your generation, preserving the prompt, styles, and reference images. This link is copied into the clipboard, allowing you to paste the link somewhere to store or share. The link is sharable—you can send it to other people and when they use it, it will take them to the generation page for that image.
To access Copy link to image, select the share button on the lower right of the image and select Copy link to image from the share menu as shown in “B” on the example image above.
Note that using the URL to go to the generation page and generating again might not generate exactly the same image. One reason why it might not be the same is if the model used to generate images is no longer available (such as model 1 favourited images), you cannot generate the same image. There have also been cases reported where generations resulted in different (even slightly so) images being generated from the same references/prompt/styles.
Also note that the link generated is different than the link you see in your browser bar. If you share that link, that link will not go to the generation page for your image.
Adobe Express
You can send images created with Text to Image directly to Adobe Express. This is convenient if you want to add text, make the image transparent, or use it for a larger project.
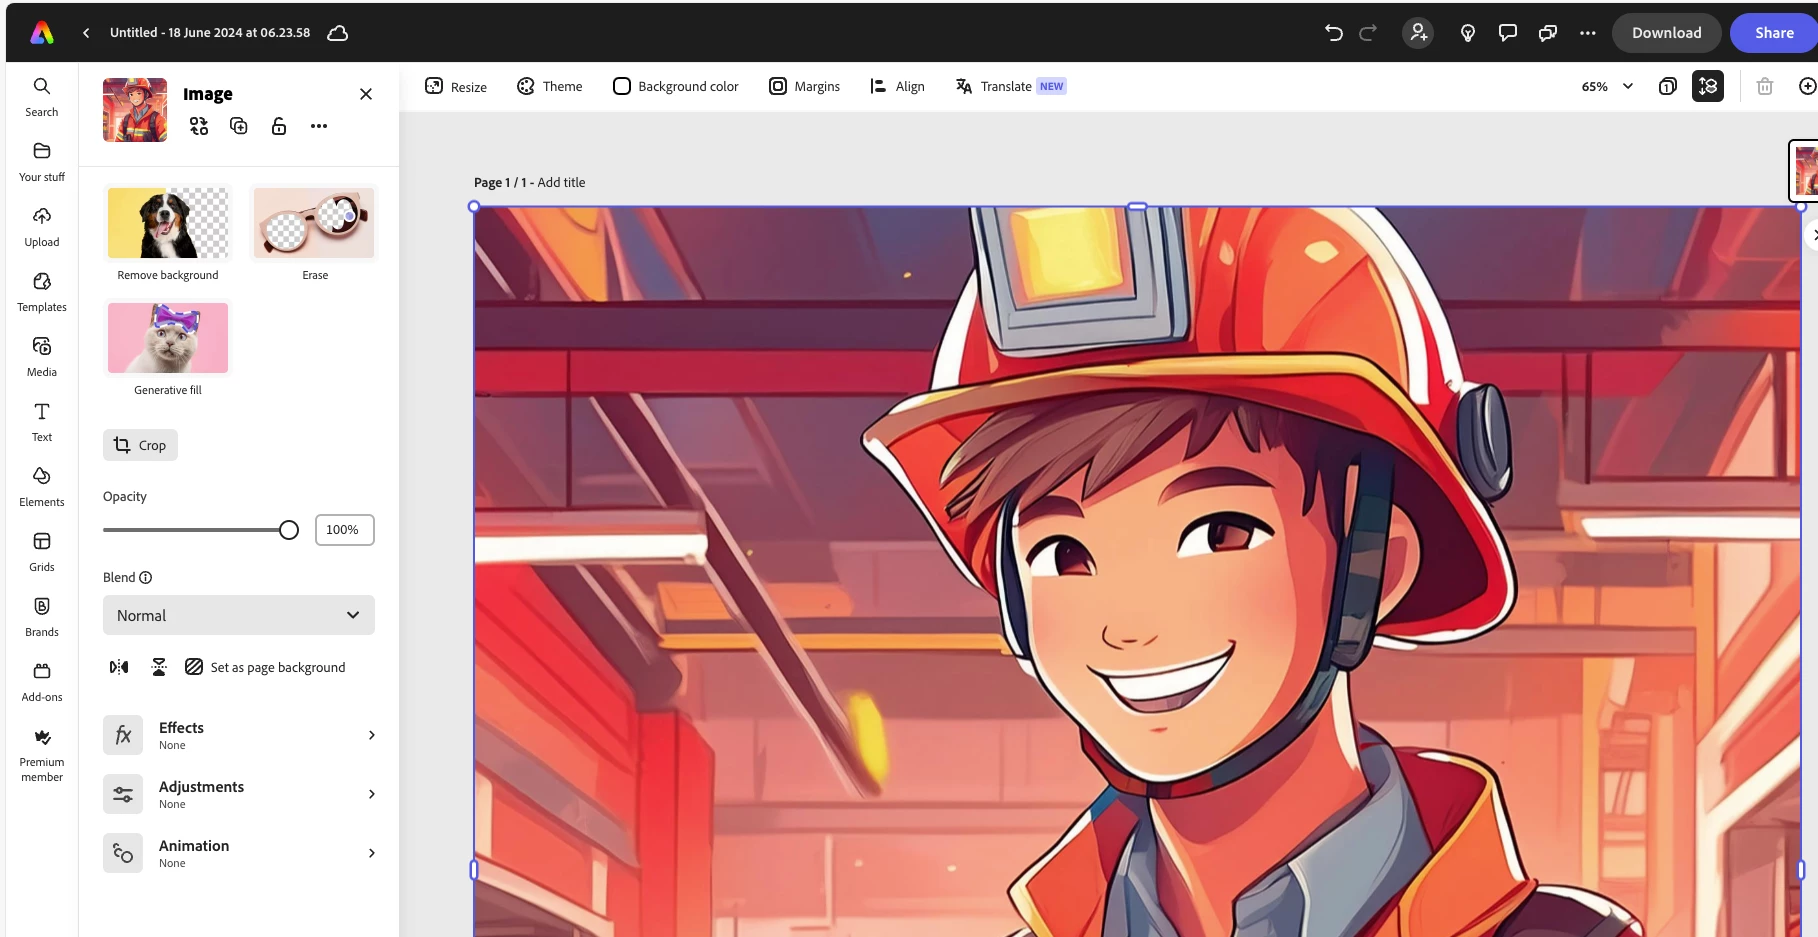
There are two ways to do this. The first is by selecting, Open in Adobe Express from the sharing menu in the lower right corner as shown in “E” on the example image above.
This will open the image in Adobe Express in a new browser tab:
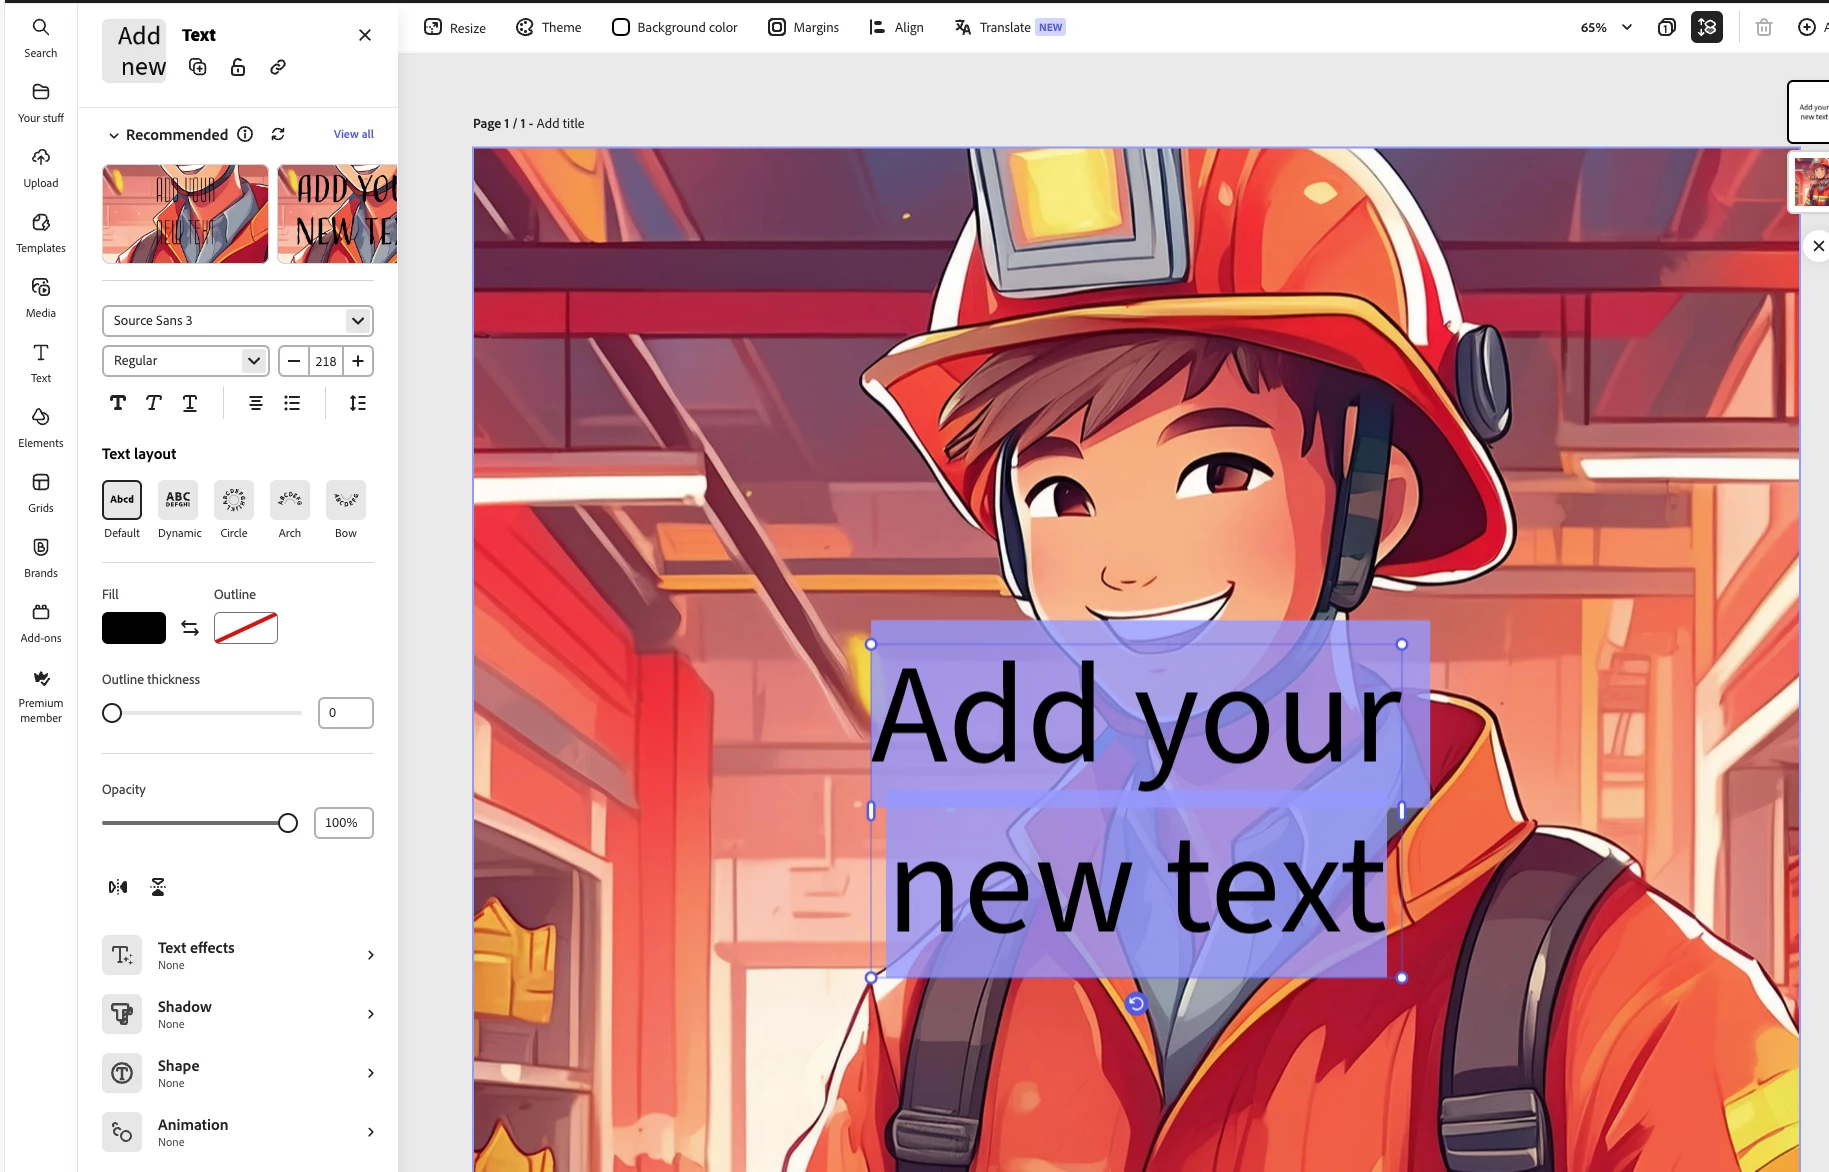
The Edit menu in the upper left corner of the image also allows you to send the image to Adobe Express directly to several different functions. The functions listed have changed over time. At the time of this writing they allowed you to add text to the image, add shapes or graphics, or use the image to create a social media post as shown in “H” on the example image above.
These make it convenient to perform these actions quickly by positioning you within that function in Adobe Express. For example, if you select Add Text, it will take the image to Adobe Express, add a text block on the image and show the text control panel on the left. Since we have all experienced how AI image generation does not always get text down correctly, this can help you add the right text using the font, size, and colour you want.
Firefly Generative Fill
You can also send an image to Firefly Generative Fill if you want to make a change to a generated image. You can access that on the Edit menu in the upper left of the image as shown in “G” on the example image above.
Sending a generated image from Text to Image to Generative Fill does not save the image. If you want to keep the generation, you should save the image using one of the above methods before sending it to Generative Fill as you might not be able to return to it with the browser back button.
History Panel
Firefly maintains a copy of the images you generated during your current session. You can move between different images generated during that session.
Generation History
Starting in February 2025 with the new Firefly interface, all generations in text to image and video generations are stored in the Generation History page. You can reach that page by selecting "Files" on the top menu bar on the Firefly home page and then "Generation history" on the left.
For more information on generation history, see: View generation history.
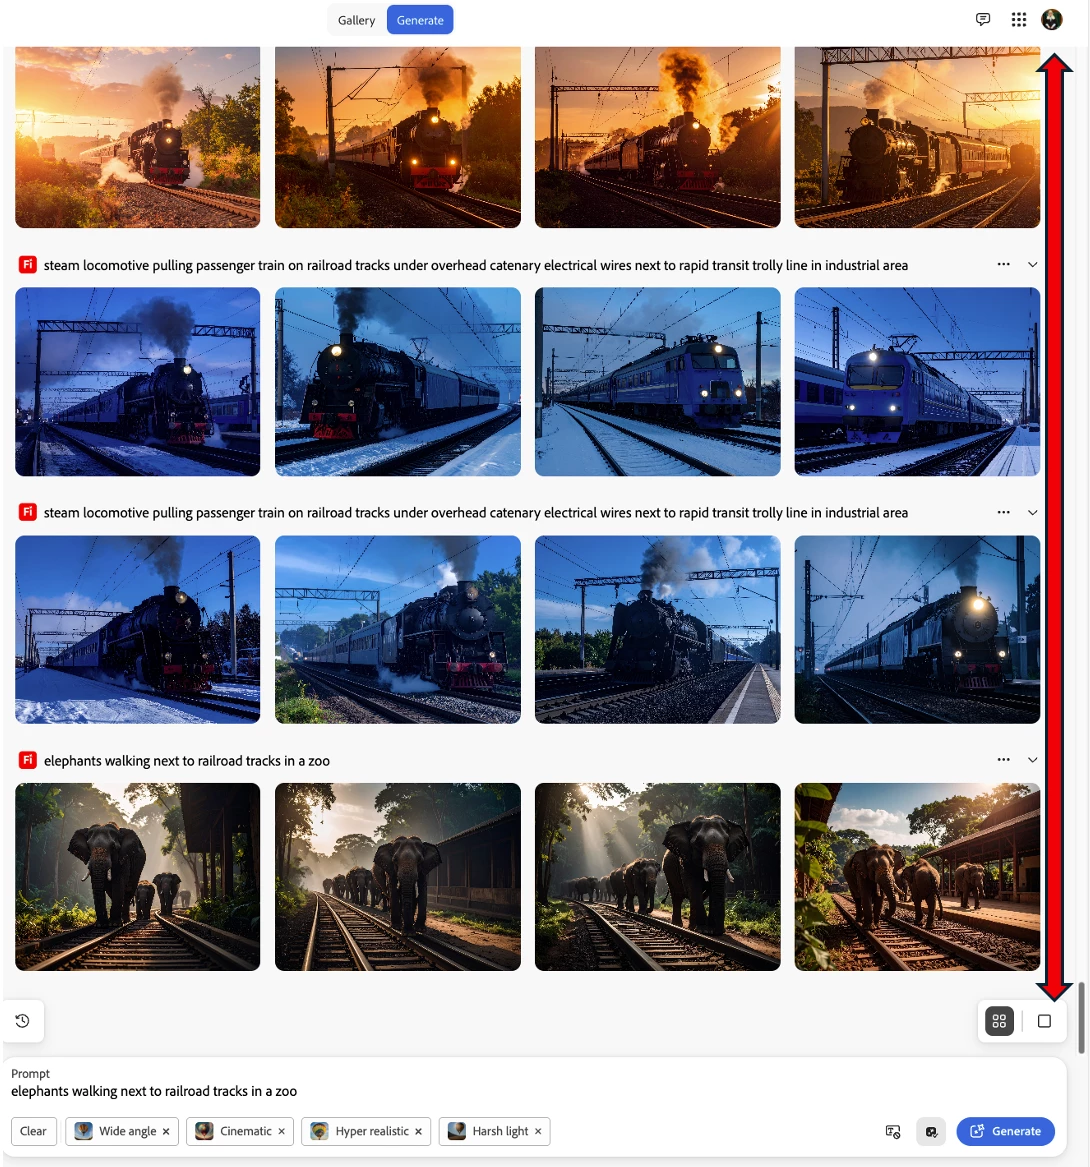
Firefly Gallery
The gallery is a place on the Firefly home page that highlights the creations of Firefly users. You can submit an image for consideration to be published in the gallery with the "submit to gallery" option shown in “J” on the example image above. We have seen cases where people have submitted images to the gallery with an intent to have them saved there for access from other computers. While this seems to be a more convenient storage method than using favourites because it is cross-browser/cross-device, this is not a published functionality of the gallery and images have disappeared from the gallery. There is no guarantee images submitted to the gallery will be retained.
Frequently Asked Questions
Q: Do these saving methods all work on mobile devices as well as computers?
A: Yes.
[Update history:
2024-12-18 - added history panel
2024-11-19 - added Gallery section
2025-02-17 - updated related to February Firefly changes
2025-04-24 - first set of updates related to April 24, 2025 release
2025-05-18 - Additional updates based on April 24, 2025 release]
