Participant
December 20, 2017
Answered

Adjustment Layer Won't Track Mask

  • December 20, 2017
  • 2 replies
  • 1263 views

Hello. I am trying to do something seemingly simple that I'm having trouble with.

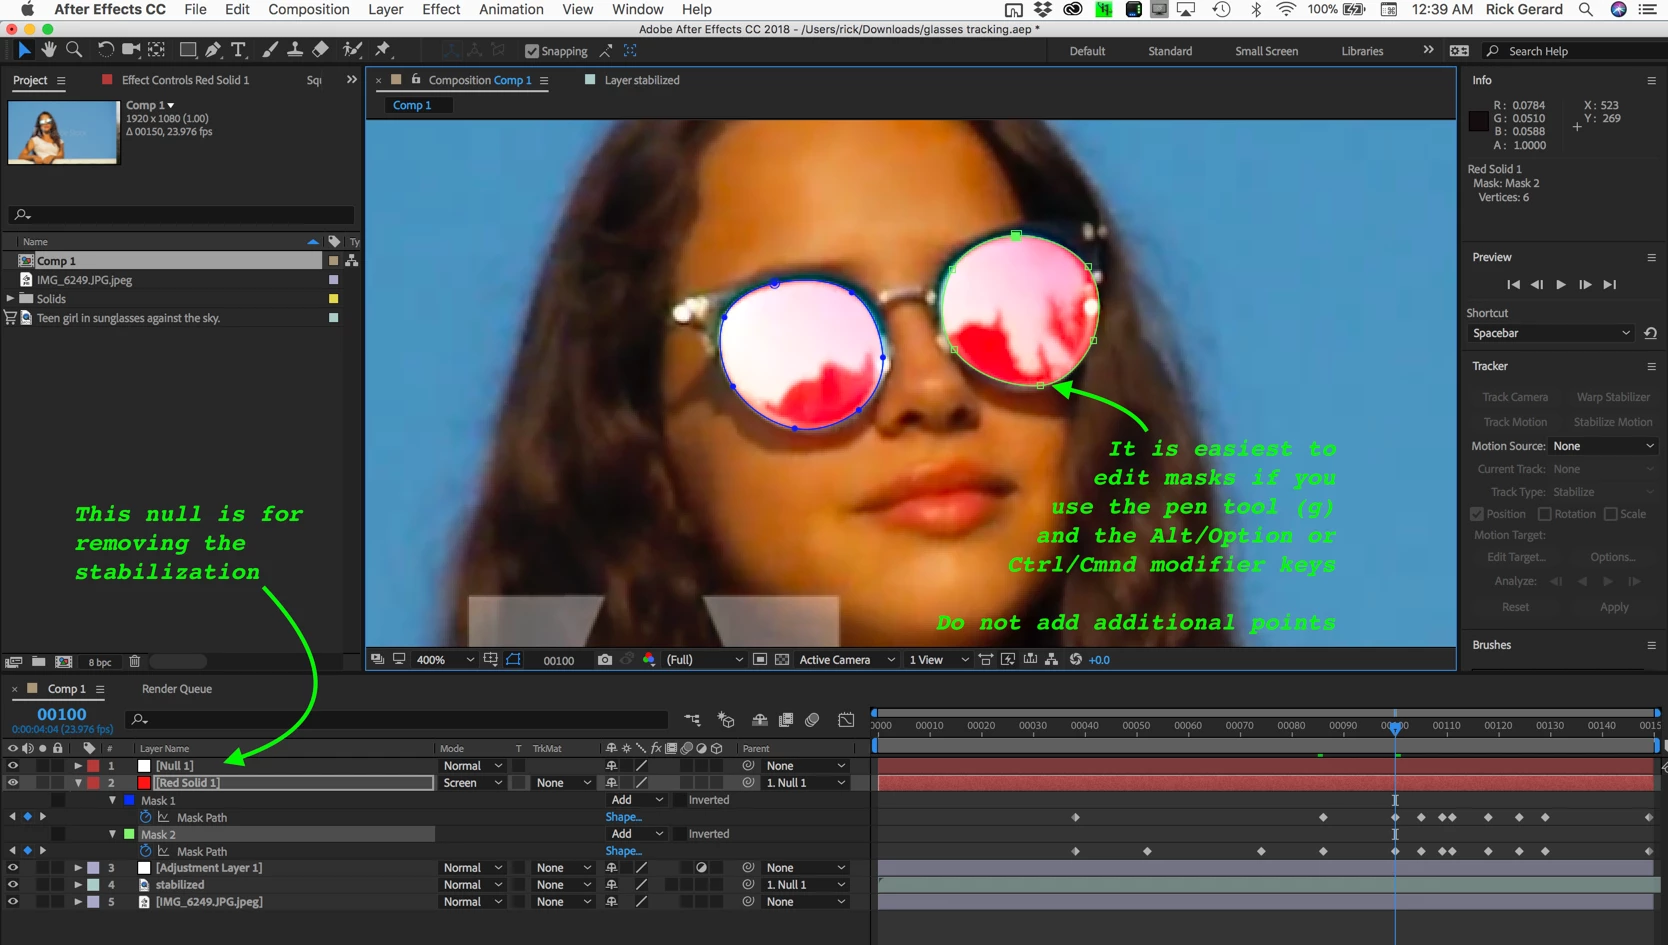
In my scene, I am aiming to blur a character's sunglasses lenses as he talks to hide the fact that you can see some of the crew in the reflection. I'm relatively new to After Effects, but the method I've been trying to go about is creating an adjustment layer and blurring it, but when I try to create keyframes to change the mask's shape from frame to frame, it just simply doesn't. It won't retain the shape from the frame before, so every time I re-shape it for the next frame, it just changes the whole thing to that new shape. I hope I'm explaining the problem well enough. This seems like a no brainer, but I must be missing something.

Any help would be appreciated. As I said, I'm relatively new to After Effects.

Thanks.

This topic has been closed for replies.
Correct answer Rick Gerard

Depending on the shot you may want to do mask tracking. Animating a mask is a little tricky because the vertices travel in a straight line from one position to another. Reflections in the glasses may make mask tracking a poor choice.

My approach would be to Motion Stabilize, probably with scale and rotation focusing on the sunglasses. Then I would drop a colored solid over the top of the "stabilized" footage, set the blend mode to screen and draw a couple of masks. Because you have stopped the movement in the sunglasses you should be able to animate these masks with just a few keyframes. Here's what that setup looks like.

I just grabbed some stock footage from Adobe Stock. 179737204

I renamed the stabilized layer "stabilized" and applied this animation preset to the null. Dropbox - destabilize Rotation Scale.ffx

It attaches the anchor point of the stabilized layer to the position property of the null and adds expressions for scale and rotation. After applying the preset to the null and returning the CTI to the first frame the layers are parented to the null and your animated mask now perfectly tracks the movement in the layer.

You can then use this as a track matte for an adjustment layer or some replacement footage (my choice) to fix the reflections in the sunglasses.

Here is the project file if you would like to see how I did it. Just download the stock footage from Adobe Stock

.Dropbox - glasses tracking.aep

2 replies

Rick GerardCommunity ExpertCorrect answer
Community Expert
December 20, 2017

Depending on the shot you may want to do mask tracking. Animating a mask is a little tricky because the vertices travel in a straight line from one position to another. Reflections in the glasses may make mask tracking a poor choice.

My approach would be to Motion Stabilize, probably with scale and rotation focusing on the sunglasses. Then I would drop a colored solid over the top of the "stabilized" footage, set the blend mode to screen and draw a couple of masks. Because you have stopped the movement in the sunglasses you should be able to animate these masks with just a few keyframes. Here's what that setup looks like.

I just grabbed some stock footage from Adobe Stock. 179737204

I renamed the stabilized layer "stabilized" and applied this animation preset to the null. Dropbox - destabilize Rotation Scale.ffx

It attaches the anchor point of the stabilized layer to the position property of the null and adds expressions for scale and rotation. After applying the preset to the null and returning the CTI to the first frame the layers are parented to the null and your animated mask now perfectly tracks the movement in the layer.

You can then use this as a track matte for an adjustment layer or some replacement footage (my choice) to fix the reflections in the sunglasses.

Here is the project file if you would like to see how I did it. Just download the stock footage from Adobe Stock

.Dropbox - glasses tracking.aep

Mylenium
Legend
December 20, 2017

Are you actually keyframing the path shape property? Simply doesn't sound like it. just keyframing the layer's position is of course mostly useless with adjustment layers. Seems you do not understand how the different properties work and interact. Might i suggest watching some tutorials and reading the help?!

Mylenium