Inspiring
September 1, 2017
Answered

Horz Object Rotation

  • September 1, 2017
  • 3 replies
  • 1305 views

Hello, can anyone point me to any tip showing how to make something going around something, for example

in the photo below, the gray ball should go around me, disappearing behind me, to then come back to the front..

Thanks.....

    This topic has been closed for replies.
    Correct answer David Arbor

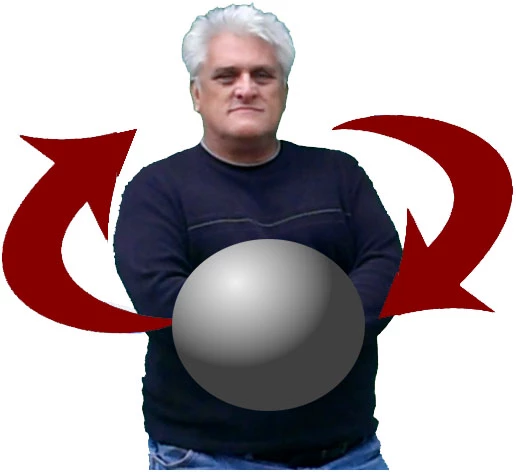
    You need to set up your scene in 3D space. It looks like you've already cut the BG out of your image, so that's a good start. Switch your views in the Comp panel to 2 View and set one to your front camera and the other to the Top View. Make both of your objects 3D by clicking the 3D Layer Switch in the Timeline. If you don't see switches, but instead only see blend modes, then hit F4 or the button at the bottom of the timeline that says "Toggle Switches/Modes."

    1. Move your image to the center of your frame from the TOP view, this way you can actually tell where you're positioning it.
    2. Create a Null object by right-clicking in the empty area of your layer stack and clicking New>Null Object and make that Null a 3D layer as well
    3. Move the Null to the same place that your image is in, via the TOP view. So that should be the center of the screen.
    4. Parent the Null to your image so it moves wherever your image moves
    5. Move the sphere (via the TOP view) to the center of the frame horizontally, and then drag it forward, so in the main camera view it's in front of your image.
    6. Parent the sphere to the Null.
      1. This now makes the rotational axis of the sphere at the center of the frame/aligned with your image.
    7. Rotate the Null's ROTATION parameter, NOT the Orientation parameter.
    8. Your Sphere will now orbit your image.

    This won't take care of the fact that your sphere is likely a flat object and won't change shading or look natural as it rotates around you, but that's a separate issue.

    This will also allow you to position a number of objects in a ring around yourself (again, via the TOP view), THEN you can parent them to the Null and continue to animate just the Null's Rotation parameter, effectively creating a solar system of objects with you at the center.

    3 replies

    G-PersonAuthor
    Inspiring
    September 2, 2017

    Thanks to all. I try some of the tips but the CC Sphere did not come out like I wanted.
    On the other hand the instructions from davidarbor  got me going.

    I managed to get two lawyers rotating around the center one.

    However I did have to "Unlink" the main layer ( the center one )

    CC Sphere just did that a Sphere and could not get the text arounf the object.

    So all I need is to experiment, since a layer is a layer is a layer, no matter what.

    Thanks to all.

    Roei Tzoref
    Legend
    September 1, 2017

    you can also fake and orbit the ball in 2D, if that suits you.

    set the motion you want for the ball as usual, don't mind the obscuring parts. after you are satisfied, just trim and duplicate the ball(Ctrl+Shift+D on Windows) where the ball needs to be before/after the man layer and place the duplicate before/after.

    Participant
    September 1, 2017

    When the object is about to go behind the person, duplicate the person layer and put the duplicate in front of the object layer.

    G-PersonAuthor
    Inspiring
    September 1, 2017

    That's Ok if you got only one simple thing going around you but if you got many things or
    even text going around you then how?

    Community Expert
    September 1, 2017

    As far as text goes. If you wan't orbiting text  you can use the CC Sphere Effect.

    Type in your text and treat your text. Click the 3d switch on your text (cube. in the timeline)

    Apply the CC Sphere Effect to your text.

    In Effect Controls you can adjust the radius of the text to get the size of the orbit you want.

    In Effect Controls twirl open rotation Y and keyframe the rotation. It will now be orbiting in front of your image.

    Then duplicate your orbiting text (cmd/D or Ctrl/D) and place the duplicate under your image.

    On the top layer of text in Effect Controls change the render settings to outside.

    On the lower layer of text in Effect Controls change the render settings to inside.