Copy link to clipboard
Copied
Hi!
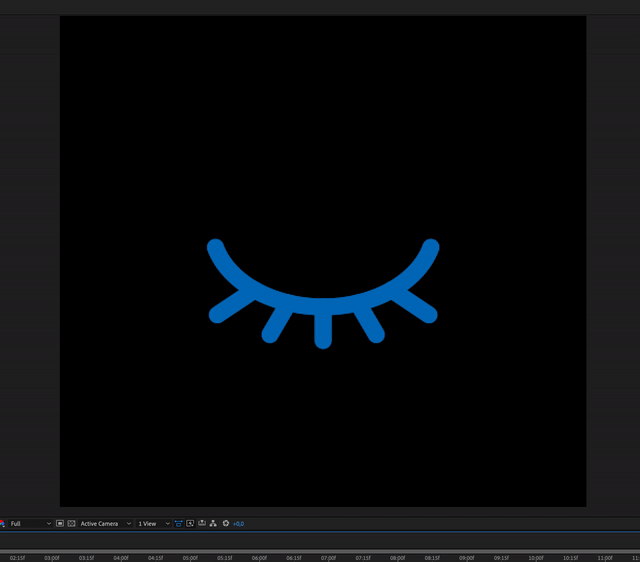
I've been working on this animation, but I can't seem to find a solution for my problem. In the gif below you see the transformation I'm looking for, but while maintaining stroke width. This is an imported path from illustrator, modified to shape layers.
In numerous tutorials, I see that to achieve this, you need to create a null layer, parent this shape layer to that null layer, and add an expression to the stroke width property of the shape layer. It does seem to work for proportional scaling, but not for unproportional. Can anyone help me find the answer?
Thanks!
- Joppe
Copy link to clipboard
Copied
If you show us the expression, we can help.
*Martin
Copy link to clipboard
Copied
I used this expression found in a YouTube tutorial. The null layer that controls the scaling is called SCALE CONTROL
sf = thisComp.layer("SCALE CONTROL").transform.scale[0]/100; ov = value; nv = ov / sf
Copy link to clipboard
Copied
Not sure what you're getting at. Apparently this is a 3D layer and there will always be some angle where the view axis coincides with the layer's orientation, resulting in a completely flat apparrance and the strokes being flat around that mark. You need to completely change your procedures and animate the actual shape paths in 2D if retaining a consistent stroke width is required. Some things can't be done quick & dirty with 3D layers.
Mylenium
Copy link to clipboard
Copied
Hi Mylenium,
This is actually a vector shape layer, not a 3D layer. The stroke being a flat line in the middle wouldn't be a problem, I could just make a stroke that fits there and show it the one keyframe the other object is missing it.
- Joppe
Copy link to clipboard
Copied
You have given us a cropped screenshot of the problem and that does not show us how the blinking eye was created. Mylemium thought it was a 3D layer. That is the same impression that I get. It could also be a 2 layer graphic with the anchor point right at the bottom of the top half that is scaled from 100, 100 to 100, -100. From your reply to Millennium, that sounds accurate.
If you want to maintain the stroke width you need to add a stroke below a group, then transform the group. When the AI file was converted to shape layers groups were formed but it is very likely that the shape of the upper and lower eyelid is not a stroked path but a filled shape. For this to work, you need empty paths in a group that are scaled from 100, 100 to 100, -100 with the anchor point at the bottom of the upper lid, and a stroke applied after the group has been created. A screenshot will show you the setup a lot better than a description of the workflow.
You will have to select the shape layer created from the AI file, press the U key twice to show how it was made, then start moving things around until you can get empty paths in a group with a round cap stroke applied to the group and an animated Group>Transform>Scale property to make it work.
Copy link to clipboard
Copied
Hi Rick,
Thank you so much for your detailed reply. I've done exactly as you described and it works perfectly. Have a nice day!
- Joppe
Copy link to clipboard
Copied
Wow Rick! you have saved many projects lives around the internet. This helped me a lot! thank you so much.