Participating Frequently
January 16, 2019
Question

Make multiple alpha circles in my overall animation

  • January 16, 2019
  • 1 reply
  • 808 views

Hi All,

I don't know if what I am trying to do it is possible or not but it would save me a lot of time of masking the whole animation after exporting.

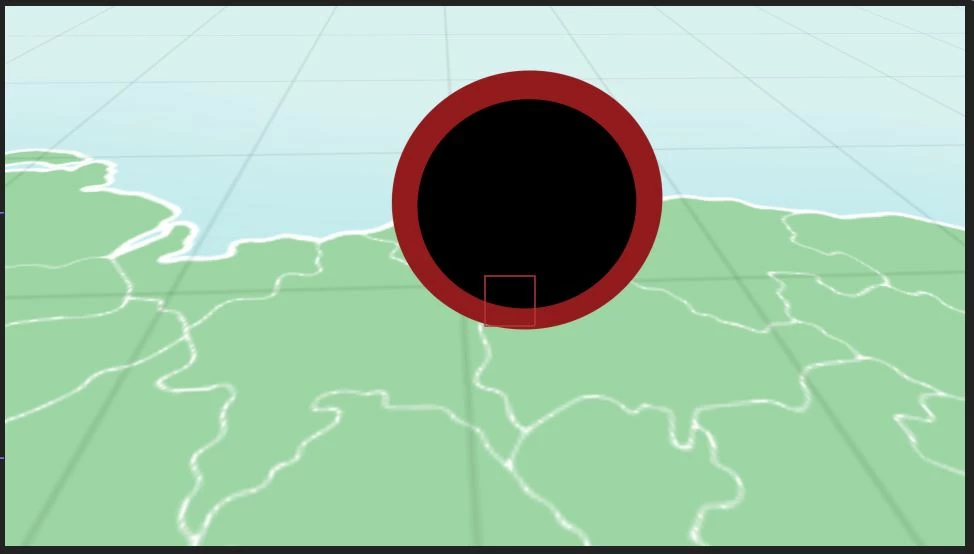
I am working on a map animation in which individual black circles (as part of a location pin) get bigger until they cover the whole frame so all we see is black, I want the editor to be able to put clips from the location inside this black circles. Is there a way to export this black circles as alpha layers/mask creating a "hole" in all the layers underneath this circles?

I attach some screenshots in case it is not clear.
Summarizing, I want to send to the editor a rendered clip of the whole animation with this black hole as transparent.

Hope someone can help me.

Thanks

This topic has been closed for replies.

1 reply

Community Expert
January 16, 2019
  1. Make sure that the black dot is the top layer
  2. Duplicate the top layer
  3. Pre-compose everything below the top layer
  4. Make sure the black dot does not have a stroke
  5. Set the black dot as an Alpha Inverted Track Matte for the pre-comp
  6. Check transparency by enabling the transparency grid
  7. Render your com using the Render Cue and the Lossless With Alpha preset in the output module (do not customize the output settings unless you are an expert in video formats and compression)

or:

  1. Duplicate the black dot layer and make sure there is no stroke
  2. Turn off the visibility of the duplicate black dot and name it matte
  3. Add an adjustment layer to the top of the layer stack
  4. Add Set Matte to the adjustment layer
  5. Set the source to the black dot layer named Matte
  6. Click the invert matte box
  7. Render using the Render Cue and the lossless with Alpha preset

I could give you about a half dozen other ways to do this but these seem like the most straight forward.

This will give you a transition your editor can use. If you need more than that, like motion tracking, then let us know. If your editor is on the same version of Premiere Pro that you are on the Essential Graphics panel may be your best option.

MatMatosAuthor
Participating Frequently
January 17, 2019

Thanks for your response Rick.

I have tried both with another example and it works, but it doesn't work in this animation in which I have applied 3D movements through a  camera and a null object layer both placed in the top.

I am sure I am doing something wrong with position of the layers. As If I put the black dot in the very top layer above the camera and null object It would not take the 3D movements from them, I have tried the next two options but none of them worked:

1. I placed the duplicated black dot layer above all the layers but underneath the camera and null.

2. I duplicated both the black dot and the camera/null object and placed in the top layer (above the pre-compose layer which includes the other elements and the camera/null)

Is there a solution for this?

Many thanks!

Pedro

Community Expert
January 17, 2019

If you are working with 3D layers try using the second method using the adjustment layer and set matte.

Another option would be to keep the duplicate dot layer, the camera, and lights in the main comp, pre-compose all the other layers, collapse transformations and use the first method with the track matte.

If neither of those work I would need to see screenshots of your project and a flow chart if you are pre-composing. When you take the screenshots make sure you show us the modified properties of all layers involved by pressing the U key twice so we can see what is going on.

This is what the pre-composed project would look like:

That will show you everything I did. The trick is Collapse Transformations. I also tied the position and rotation of the track matte to the original dot layer by simply dragging the Pickwhip from the main comp to the same properties in the Map Pre-comp. This makes fine tuning the animation much easier. I got that workspace layout by simply dragging the timeline panels apart and adding a New Viewer in the Comp Panel. Locking both viewers to their respective comps keeps things easy to work with.

This is what it looks like a little farther down the timeline. The pre-comp does not show the camera move but the main comp sees and uses the 3D position of the layers in the pre-comp.

This is all basic stuff covered pretty well in the user guide.