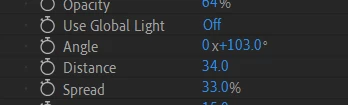
The first digit in a rotation value is the number of rotations. Type 720º for rotation and hit return and the display will read 2x+0.00º. Type 1.5 in the rotation value and the rotation property will read 1x+180º.
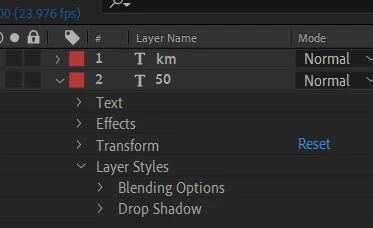
To copy a layer style select Layer Styles in the timeline and Copy (Ctrl/Cmnd + c) then select a new layer and paste (Ctrl/Cmnd + v). Almost any property in the timeline that can be selected can be copied then pasted to another layer. You just have to pay attention to what you are selecting.
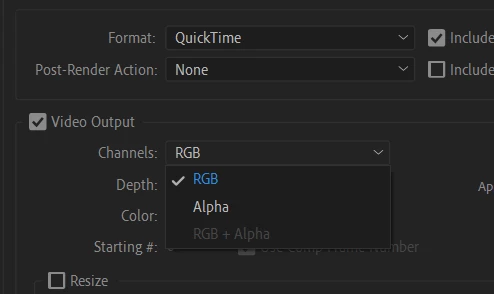
RGB + Alpha is only supported in a few codecs. ProRez 444 is supported. GoPro Cineform is Supported. ProRez 422 does not support alpha channels. Before you start customizing render settings you need to spend some serious time studying video formats and standards. It is increidibly easy to get in trouble with renders if you just start poking around in the settings. Many video formats are extremely picky when it comes to frame sizes. No compressed video should ever be rendered with an odd number of rows and columns. 1953 X 1101 will always cause cause color and artifacting problems with compressed formats because all compressed formats require a block of at least 4 pixels to run the compression algorithms.
Video rendered with an alpha channel shold almost always be set to Straight Alpha, not Premiultiplied with Alpha because all video editing and compositing apps work with straight alpha by default. Any video with an alpha channel opened in any media player will always display a black background because media players do not support alpha channels. You have to open a video with an alpha channel in an editing or compositing app like After Effects to see and use the transparendy. One more note. Changing the Background Color of a composition does not change the color of the background in most video codecs. Set the background color to white, leave some transparency in your video, render to almost any codec and your background will be black. If you want a colored background in your video you have to add some colored pixels to the background. You can do that by adding a solid or a shape layer to the bottom lf the timeline. The only reason to change the background color of your composition is to change the edge tint of the transparent part of the video when you render video set to Premultiplied and RGB + Alpha. If you are adding that video to a composite that has a blue background you can shift the edge tint of the edges toward blue by setting the Comp background color to blue. It will be hard to tell the difference, but it may improve the composite a bit, but only if you go into the footage interpolation settings and make sure that pre-multiplied is selected.
I hope this clears things up a bit. Sounds like you are new to AE. If you are, spend 20 minutes in the Learn Workspace learning about the UI and then spend a few hours looking at the getting started tutorials in the User Guide. Don't rely on YouTube tutorials to teach you about AE because most of them are prepared by well meaning enthusiasts promoting a recipe that they discovered that they think is cool. Most of the workflows are inefficient and most of the explanations leave a lot out. Some just don't work. Make sure you vet your trainers. If you do get in trouble with a tutorial, be sure and post a link to the tutorial so we can figure out how to help you figure it out.