Copy link to clipboard
Copied
This is the result that I'm trying to achieve via Time Displacement.
Use a grayscale to show precise time frames of a compostion. Each square represents a specific time frames of a composition.
Frist, I created a 9 steps grayscale PNG (900x100 px).
Second, I created a 9-seconds compostion (100x100 px). Every second has an image. In this case, images are a range of number from -4 to 4.
Third, I imported both grayscale PNG and 9-second compostion into a new composition and added Time Displacement.
Technically, each shade of gray should shows a specific time frames from the 9-second compostion. But it's not doing that and I don't understand why. Any advice would be appreciated, thanks. All project files are attatched (2021 CC). Adobe forums won't accept AEP files for some reasons. Here is a dropbox link https://www.dropbox.com/s/p419myvss91himj/time%20displacement%20test.zip?dl=0
To fix the kerning problem just pick a monospaced font. Courier works well and is commonly used for code. Jim Terney (Digital Anarchy) created a plugin called Text Anarchy a long time ago. It forms the basis for the Text section of Red Giant Universe, so if you have that your work will be done in a couple of minutes.
Character offset can be used to randomly scroll through characters but the expression limiting the characters from 1 to 9 and then A - Z is not as simple as it may seem. The chara
...Copy link to clipboard
Copied
Simple quantization issues, most likely, combined with potential Gamma issues in the greyscale map itself. There's no simple way to fix this. Creating parameter maps takes a lot of practice, no matter for what effect. Start by applying a Levels effect on an adjustment layer inside the greyscale bar and tweak the input and output ranges as well as the mid-points. You may also need to apply additional effects like e.g. Mosaic. It may seem redundant, but it's down to the internal math of how AE treats colors. Additional quantization may help.
Mylenium
Copy link to clipboard
Copied
Your biggest problem is that your gradient isn't linear. It took me less than 15 seconds to diagnose the problem by simply opening up the Info Panel and rolling over the middle square. I always have my info panel set to display decimal values so I can accurately see the color values. Here are the info panel results from the middle panel.
The values should be .5 for R, G, and B.
Adding Gradient Ramp with starting color values of 0º Hue, 0% Saturation, and 0% Brightness and an ending value of 0º Hue, 0% Saturation and 100% brightness, then adding Posterize with 9 steps gives you a linear gradient on your gradient layer. Change the time offset to 4 seconds and position the CTI at the center of the timeline gives you one-second intervals for each square in your gradient. I'm not sure how you created the gradient but it was not correct. Here's the project file, and here's the screenshot:
Copy link to clipboard
Copied
Thank you very much for the fixed project file, it and one of your posts really helps me understand how time displacement works. The 9-steps grayscale was created in AI with blend function.
Now I have a better understanding of how time dispalcement works, which leads to think maybe time displacement is not the right effect to acheive the end result that I'm looking for.
I want to create a 40x40 matrix table, each cell is filled with a character (between A to 9 in random order, 32 characters in my case) at the center. Then animate the cells to make them look like a bunch characters are changing randomly. Smiliar to this example, but with more characters than just 1 and 0.
https://www.youtube.com/watch?v=d-zKJCKsoWw
Text layer's animate Character Offset can achieve the above example easily with just 1 and 0. But with more than 2 characters, kerning will shift character's position off cell's center. So I thought Time Displacement would be a good solution for this effect. But my approach produces too many of the same character in the cells.
Is it possible to use a specific shade of gray to hide and show a specific image? For example,
If RGB value is 255,255,255 then show IMG_1 (layer 1)
If RGB vaue is 133,133,133 then show IMG_2 (layer 2)
so on and so.
Then create a pre-comp from a bunch of these images (layers) and use animated grayscale value to show and hide specific layers?
Copy link to clipboard
Copied
To fix the kerning problem just pick a monospaced font. Courier works well and is commonly used for code. Jim Terney (Digital Anarchy) created a plugin called Text Anarchy a long time ago. It forms the basis for the Text section of Red Giant Universe, so if you have that your work will be done in a couple of minutes.
Character offset can be used to randomly scroll through characters but the expression limiting the characters from 1 to 9 and then A - Z is not as simple as it may seem. The character value 64 is "A" and 91 is "Z" so you could randomize that range, but you would need character values between 49 and 57 to generate 1 through 9. You can preserve case and digits with Character Offset but you can't use Character Offset to switch between a letter and a number.
Another option to randomly cycle through those characters would be to use an expression. I Expressions from AE Scripts.com will automate this for you. I don't have time to write an expression for source text that will randomize the text for you, but it's pretty straightforward if you have a good handle on code. If you are getting paid for this job I expressions would probably solve your text problem and save you money.
Another option would be to create a small square comp and place a text layer inside that comp. Set the frame rate to something low like 8 frames per second, then animate a string of characters from left to right so they change from one letter to another on each frame. Pre-compose and then use a random expression and toFixed to generate a random position for the long text layer which moves it into the center of the frame. If the frame rate was 10 and you have 26 letters and 9 digits then the comp would be 35 frames long. The time remapping expression would be
frm = random(0, 3.4);
frm.toFixed(1)
Time remapping uses time in seconds so 35 frames would be between 0 and 3.4 seconds.
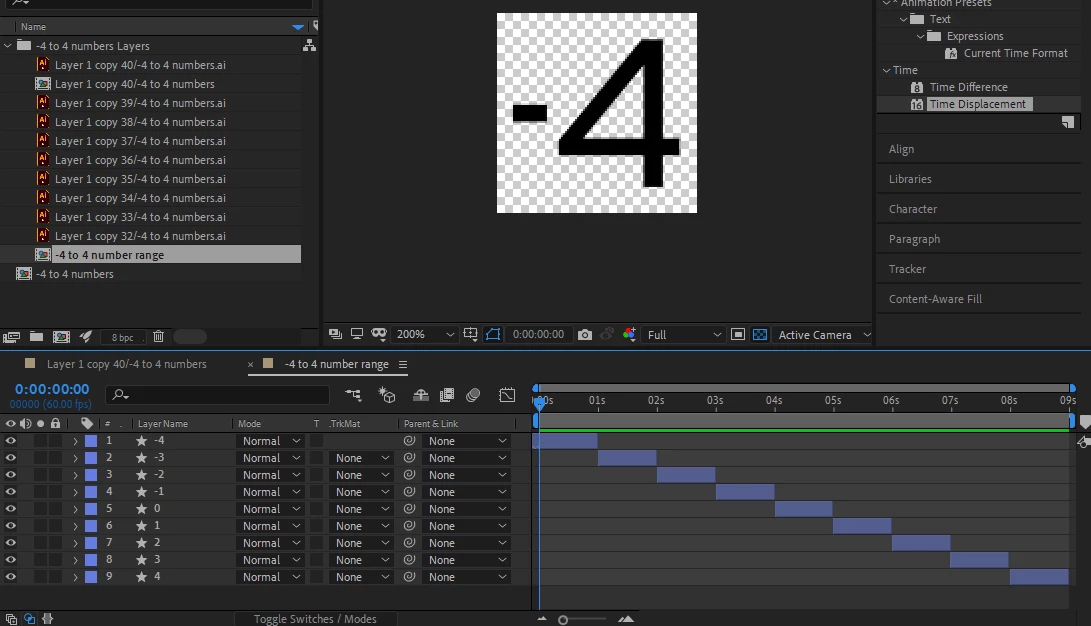
You could then use that comp in a comp that was big enough for your 40 X 40 frame and use the alignment tools to line up the rows and columns of random characters. As long as you select Preserve Frame Rate When Nested or in Render Cue, you could nest your 40 X 40 frame comp in another comp with a standard frame rate and maintain the same random speed of the character change.
As far as revealing or highlighting certain squares I would look at a combination of Card Dance and Fractal Noise. I use Card Dance when I need to randomly flip or change a grid of layers and it works in 3D if you need that kind of thing.
You could even just apply Mosaic after adding Fractal Noise to a layer to create a grid of different opacity squares.
Here's the project file for that comp. If I was better at expressions I would have just animated the source text using an expression. I think that would be easier than using character offset.
You have not mentioned whether or not you need the letters to decode into something or if you want different rates of change for each letter. That is all doable using expressions.
Copy link to clipboard
Copied
You rock! Thank you very much for a wealth of information. I'm relatively new to AE, but I've learned a lot from the community experts like you.
Your project file will be dissected thoroughly. I'll try out your solutions, monospaced font is most promosing for my case. Thanks again for the help, I really appreciate it.