Edgebot95: Your level of expertise may be greater than what's assumed for this green-screen tutorial but I thought I'd mention it since it addresses badly keyed video: Quickly fix faulty green-screen footage
This (newer) one may also help you: Advanced Spill Suppression Techniques in After Effects
Most folks don't know the most efficient way to use Keylight. Sometimes its best use is to create a track matte and worry about color and edges later.
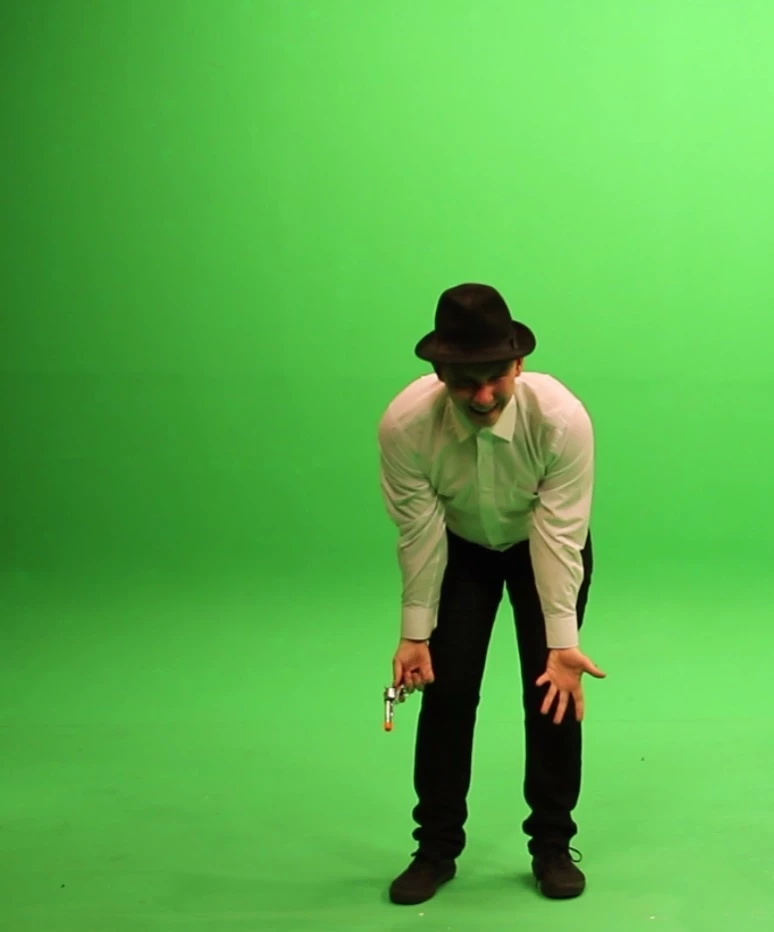
I spent about 15 minutes with your sample image and came up with this. About 30 seconds checking the white balance in the shot convinced me that the only real option was to use Keylight to create a track matte for the original footage and then color correct the original.
I always start with a garbage mask because the less uneven greenscreen you have to worry about the easier it is to generate a matte. Then you sample the green close to the actor that is a little brighter than average. Then you immediately check matte status and adjust the screen gain to get most of the background to turn black. Then some white clip, in this case quite a lot, to get rid of most of the gray. You can open up the color picker and slide the selection around a bit to help clean up the matte if you are having problems.
The next step is to switch to view Final Result and adjust the softness and mask expansion. It is usually easier to see what is going on if you switch the Replace Method to Hard Color.
The next step is to drop the original footage below the matte layer, choose Alpha Matte in track matte options and apply some color correction. I usually like to put the background layer at the bottom so the color correction makes sense. I found some Adobe Stock footage that would work for testing.
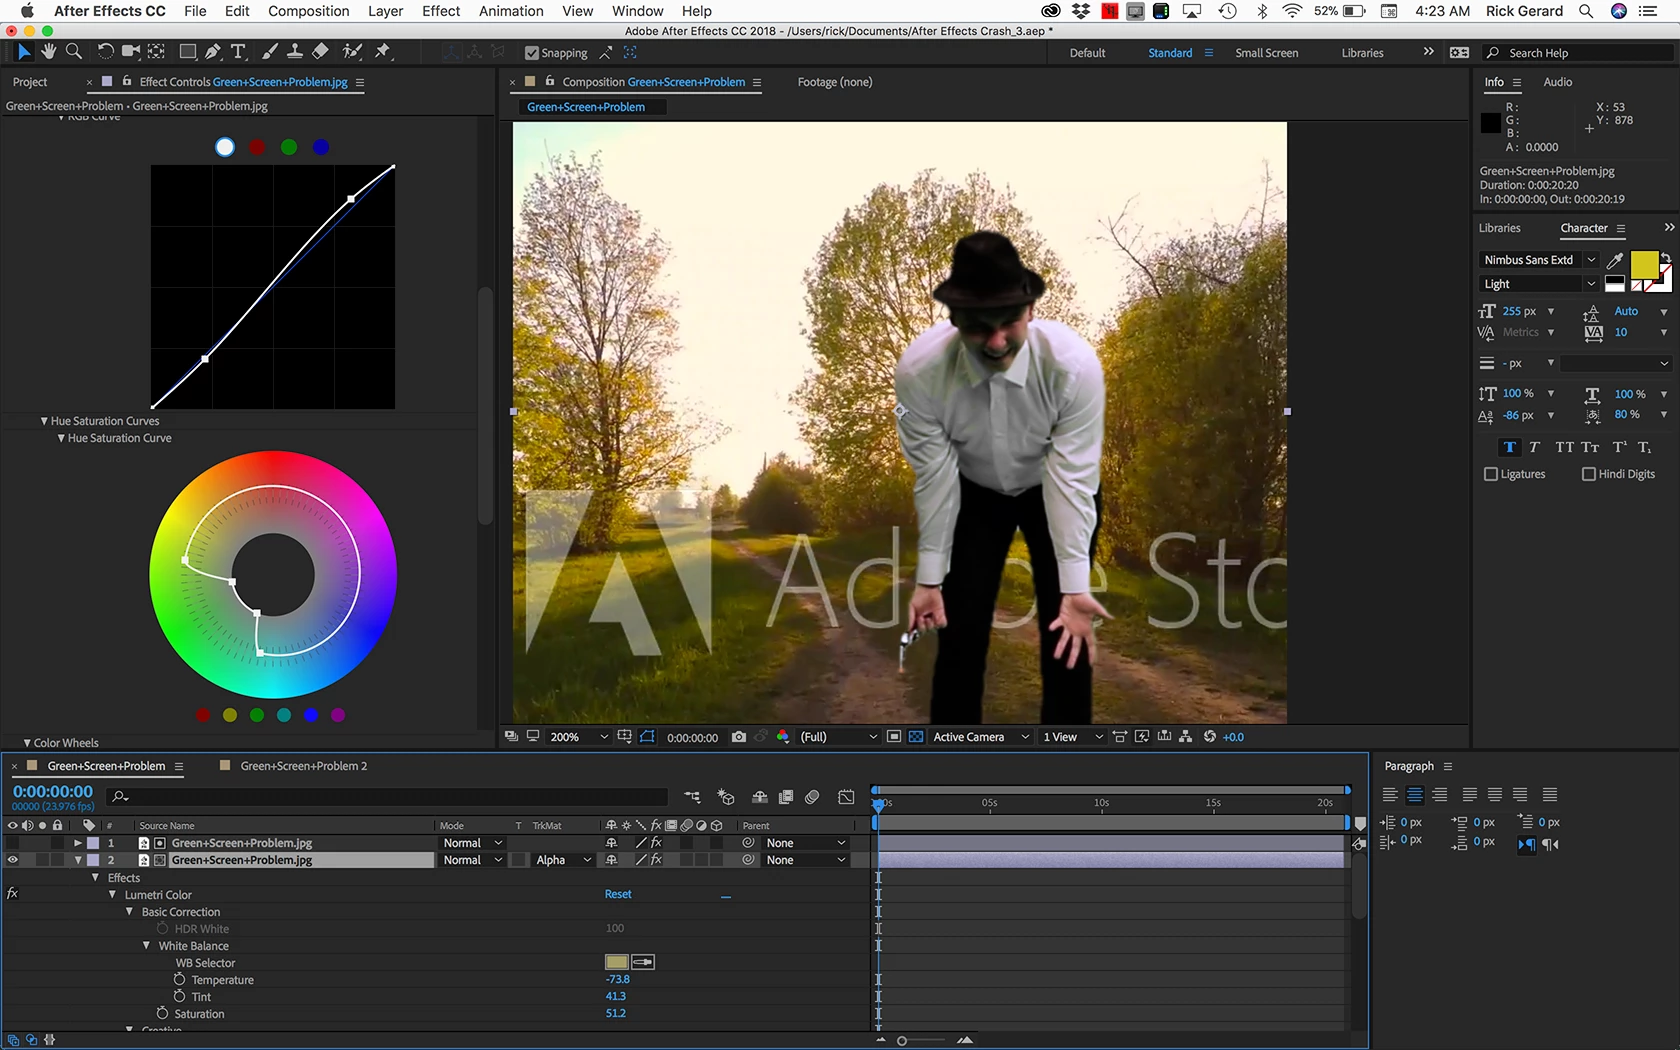
Lumetri is the easiest color correction tool in AE's arsenal that can fix color balance almost perfectly with a single click and allow you to pick a specific color and desaturate it. I used the guy's shoulder for color balance sample, then opened up Lumetri Curves and set 4 points in the green hue and moved the center two toward the middle to pull out all of the green cast. A couple more tricks to clean up the track matte and match the color of the background and your sample was almost done in about 5 minutes. The project looks like this:

That shows you everything I modified in Keylight. This is what the Lumetri Curves panel looks like:
If you want to play with the project here it is. Dropbox - Keyilight as Track Matte.aep Just throw in your own footage for the background. These kinds of keying problems can be pretty quickly eliminated on the set if you have access to a calibrated or can even bring along a laptop and snap a couple of photos with a smartphone and open them up in AE. A couple of flags and a little more care with the lighting and most of the fooling around could have been avoided.
note: Your browser may add a .txt extension to the file name. Just delete it and use your sample photo and some stock footage for the background. I hope this helps.