• Global community
    • Language:
      • Deutsch
      • English
      • Español
      • Français
      • Português
  • 日本語コミュニティ
    Dedicated community for Japanese speakers
  • 한국 커뮤니티
    Dedicated community for Korean speakers
Exit
0

Refine Hard Matte vs. Refine Soft Matte for luma keying.

Advocate ,
Oct 06, 2020 Oct 06, 2020

Copy link to clipboard

Copied

Hello...


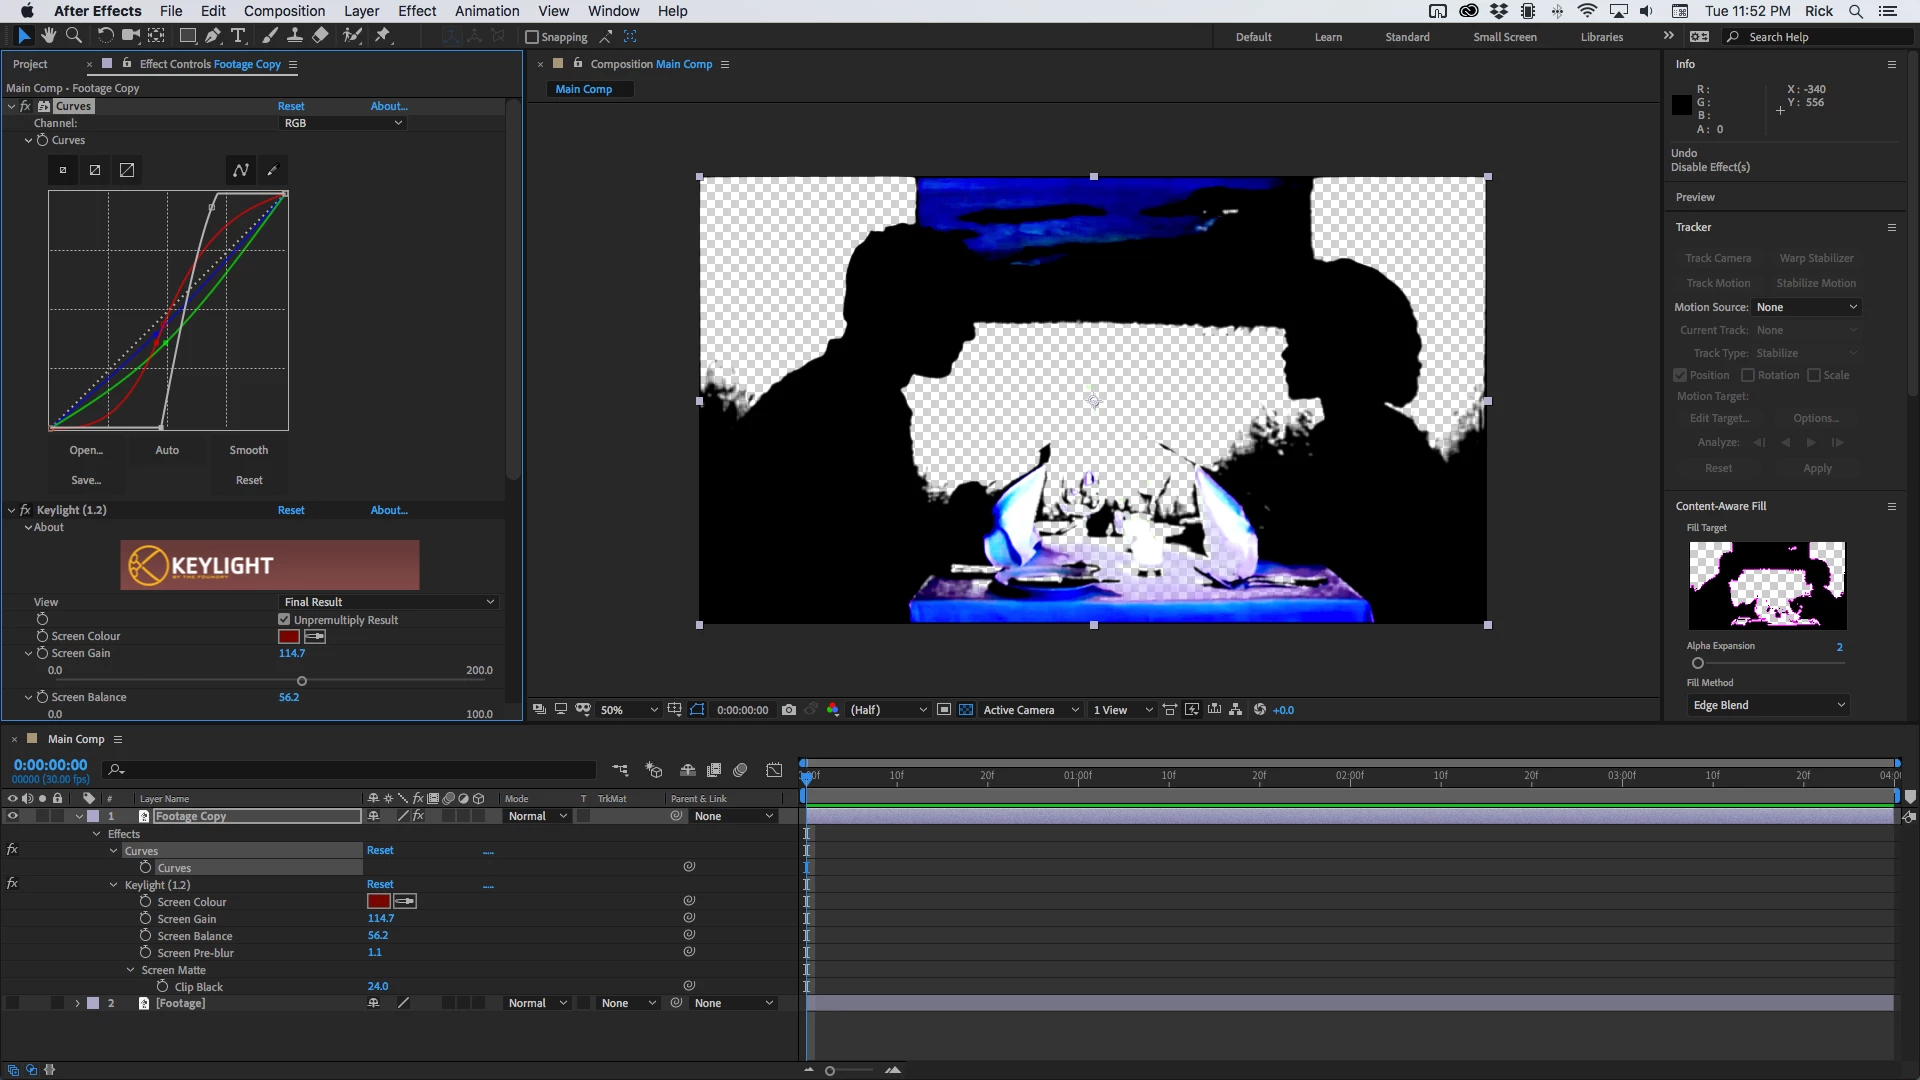
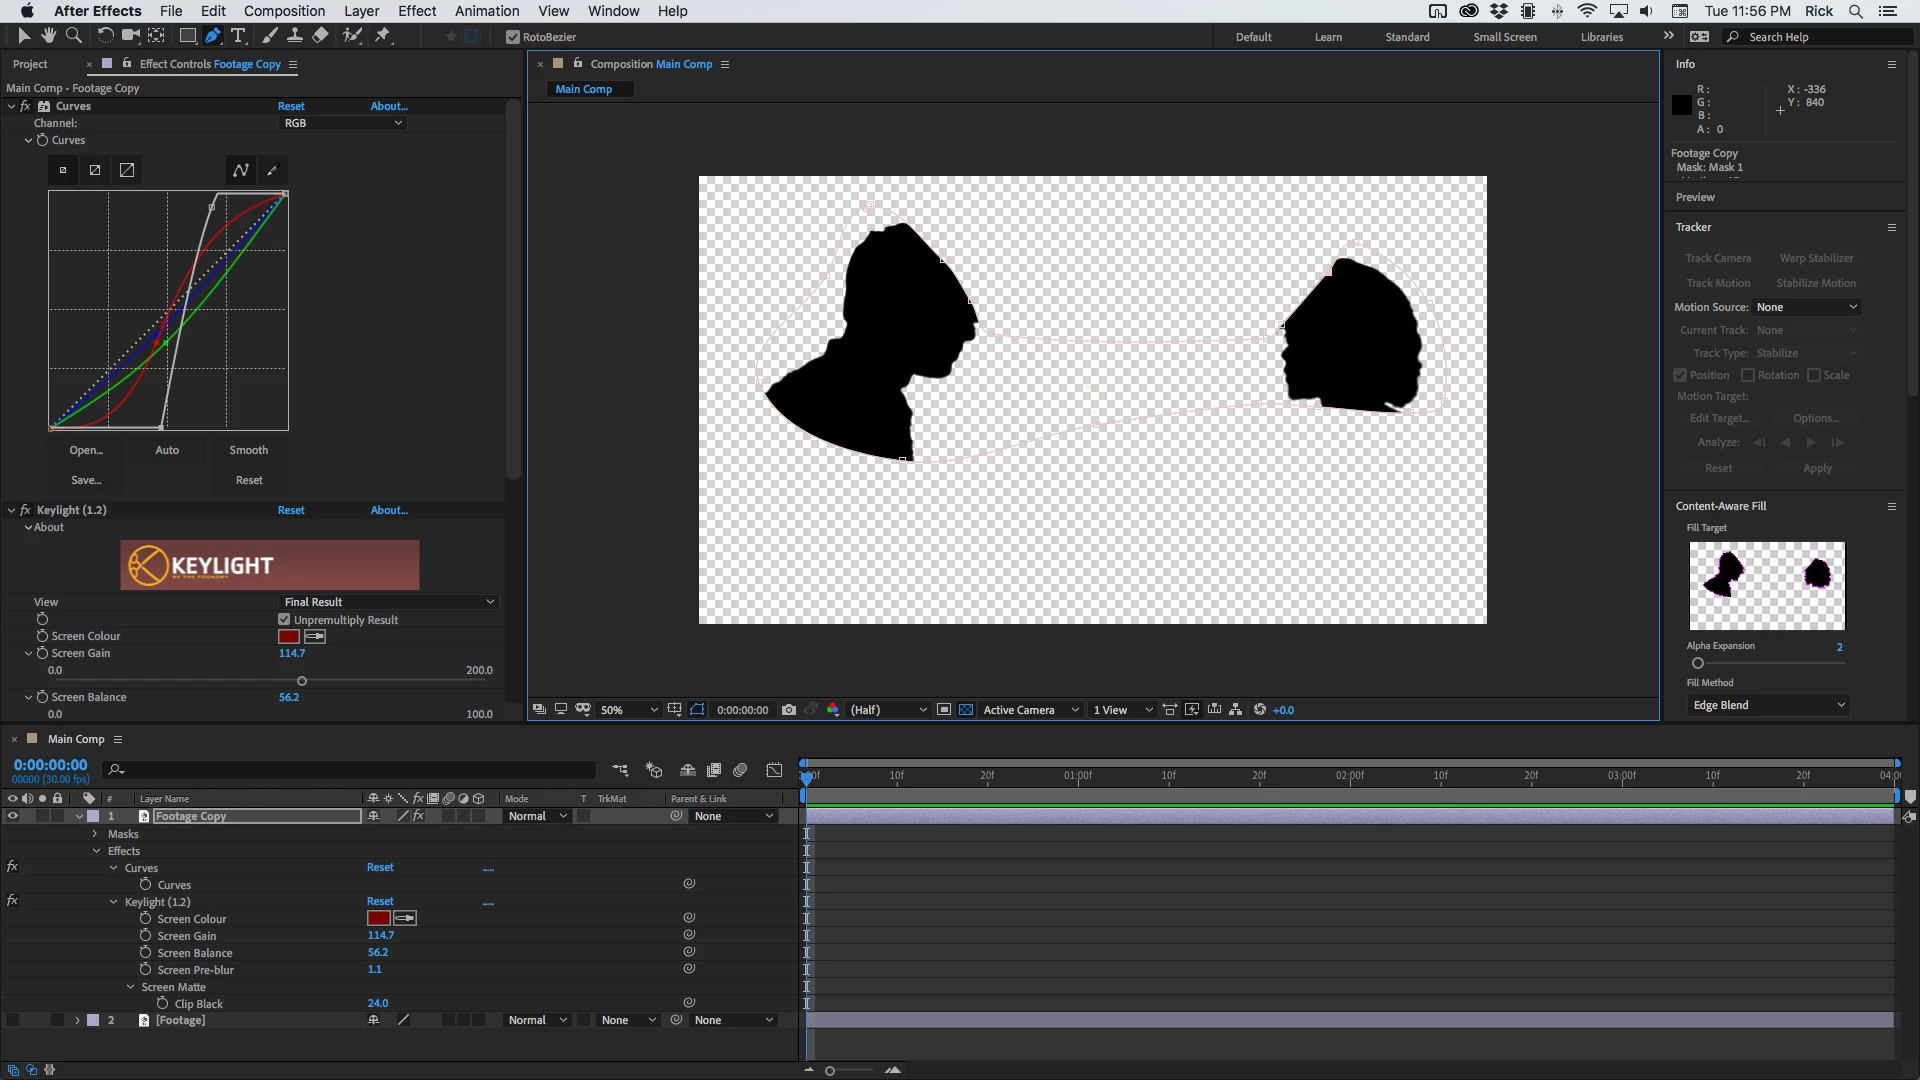
I'm attempting to do some luma keying, with the Luma Key plugin,  removing the background of a face, (rotobrush isn't doing the trick and using the pen tool is just psychotic),


I can black out most of the background,  (light background, darker face)  some jaggy lines are left on the face afterwards....


What is the best way to smooth things out?

Refine Hard Matte OR Refine Soft Matte ?

Or something different?


I'm going in circles.


Thanks for your advice 🙂

Letty


Bonus question:  is it better to somehow (?) turn the image to a solid black and white, then use luma key, OR just use luma key to remove the brighter pixel background and smooth it out?

TOPICS
FAQ , How to

Views

3.9K

Translate

Translate

Report

Report
Community guidelines
Be kind and respectful, give credit to the original source of content, and search for duplicates before posting. Learn more
community guidelines

correct answers 1 Correct answer

Community Expert , Oct 07, 2020 Oct 07, 2020

If you are trying to replace the orange background you are going to have a lot of trouble with the shot. The glasses are going to be almost impossible. The menus are going to be problematic. If you also want to remove the painting you're going to need to stack up an additional copy of the footage just for the footage.

Screenshot_2020-10-06 23.07.33_UZPLe4.png

If I were bidding on the shot you posted I would only take the job if the footage was from a professional camera, perfectly exposed, and 10 bit or better, and then I would want th

...

Votes

Translate

Translate
Community Expert ,
Oct 06, 2020 Oct 06, 2020

Copy link to clipboard

Copied

Show us the shot and we can probably give you a solution. It's usually not as simple as just adding luma key and trying to clean things up. If the shot comes form a mobile device or a consumer camera it's harder to get clean edges because of the color compression. This kind of key usually requires a duplicate copy of the footage that has been color corrected enough to turn it into a good black and white layer that can be used as a track matte for the footage.


Show is the shot and we can help. Without that,  any other workflow suggestions will be just a guess.

Votes

Translate

Translate

Report

Report
Community guidelines
Be kind and respectful, give credit to the original source of content, and search for duplicates before posting. Learn more
community guidelines
Advocate ,
Oct 06, 2020 Oct 06, 2020

Copy link to clipboard

Copied

Hi Rick, here is the shot.  (I have about 4 of these to do)


The actor on the left, his forehead and nose crosses over 2 types of backgrounds that are similar with the pixel brightness of his nose, so I couldn't use Luma Key, the luma key border kept going into his nose, so I had to do it manually mask his face with the pen tool. Plus he has some green splashes on his forehead from the painting.  I used a green splash removal plugin, it helped.   I used pen tool all over and rotobrushed his hair.  I was able to Luma Key on his mouth area when he talks because that area staying in the orange background.  Came out decent, but not great.


My main concern now is the woman on the right, her face is entirely in the orange background, so I tried using Luma Key on her face, rotobrush on her hair, and then either pen tool or more luma key on  her body, not sure which way to go.


I think Luma Key is the way to go for her face and mouth, but it's not detailed as I'd like.  I would luma key, then used the Refind Hard Matte to pull in the mask and feather it.  


The footage is not high res, so it can hide a lot of ripples, and the final scene, the background is very dark and I will darken the actors more to blend and hide masking ripples.  (maybe I'll put a little glow on them from the candle)


I'll rotoscope the table and menus seperatly.


I tinted the clip a little dark so easier to use luma key.


https://www.youtube.com/watch?v=xc0r_1KqRYI&feature=youtu.be 


Super thanks for helping me on this and for your advice.

Letty  🙂


the 4x3 scene sits inside a 16x9 frame.


Votes

Translate

Translate

Report

Report
Community guidelines
Be kind and respectful, give credit to the original source of content, and search for duplicates before posting. Learn more
community guidelines
Advocate ,
Oct 07, 2020 Oct 07, 2020

Copy link to clipboard

Copied

oh no!  about 30 mins ago I read your reply with all those great photos and then I replied... and not everything is gone??  

I remember this website was updating and wasn't available on and off... so maybe the posts will come back??  

I hope you still have those photos for me, I wanted to copy your black matte Keylight settings.    

Votes

Translate

Translate

Report

Report
Community guidelines
Be kind and respectful, give credit to the original source of content, and search for duplicates before posting. Learn more
community guidelines
Advocate ,
Oct 07, 2020 Oct 07, 2020

Copy link to clipboard

Copied

typo:   "...and NOW everything is gone??

Votes

Translate

Translate

Report

Report
Community guidelines
Be kind and respectful, give credit to the original source of content, and search for duplicates before posting. Learn more
community guidelines
Advocate ,
Oct 07, 2020 Oct 07, 2020

Copy link to clipboard

Copied

ok, cool, the posts are back!   whew! 

Votes

Translate

Translate

Report

Report
Community guidelines
Be kind and respectful, give credit to the original source of content, and search for duplicates before posting. Learn more
community guidelines
Community Expert ,
Oct 07, 2020 Oct 07, 2020

Copy link to clipboard

Copied

If you are trying to replace the orange background you are going to have a lot of trouble with the shot. The glasses are going to be almost impossible. The menus are going to be problematic. If you also want to remove the painting you're going to need to stack up an additional copy of the footage just for the footage.

Screenshot_2020-10-06 23.07.33_UZPLe4.png

If I were bidding on the shot you posted I would only take the job if the footage was from a professional camera, perfectly exposed, and 10 bit or better, and then I would want the better part of a day to pull a key from that shot. It's not going to be easy.


Throwing Curves and Keylight on a copy of the footage with these settings does a pretty good job of creating a matte for the actors' noses and the middle part of their face.

Screenshot_2020-10-06 23.52.02_ciEXNy.png

The next step would be to draw a mask around the layer leaving only the good parts.

Screenshot_2020-10-06 23.56.12_8wVdud.png

Then you duplicate the layer again and start working on a different part of the image until you have enough pieces to separate your actors from the background. I'm guessing that would be about 8 or 10 layers with the footage you provided. By far the most difficult part is going to be the glasses on the table. When you get all of the mattes made and all the rough roto done, you combine them into a pre-comp and use that as a track matte for the original footage. Creating an acceptable matte for this shot would be impossible if you just used one layer.

Votes

Translate

Translate

Report

Report
Community guidelines
Be kind and respectful, give credit to the original source of content, and search for duplicates before posting. Learn more
community guidelines
Advocate ,
Oct 07, 2020 Oct 07, 2020

Copy link to clipboard

Copied

Hi Rick!  Thanks for the speedy reply 🙂  I'm gonna work on this all night.


OK, so no"luma key"  I should  use  Key light.  (luma key says "obsolete" that is a red flag I should pay attention to.)

I use the curves to make the matte over their faces.  I can do that.  And then click the checker box to remove the backround.  (I think I've seen that once, I'll look that up)


But, after I get the matte, they way you have  it in the last photo you posted.... how do I turn that into a track matte or what is the next step?    I haven't done this kind of work yet. 

Can you reccomend a video lesson?

Actually the parts of their faces that you did are the parts I needed help on.  The bodies were easy to use the pen tool because they don't move much.

The menu was easy, caz it was very still.. I just made a layer just for the menu, and for her menu, I'll use the menu on the left, make it a little smaller copy it and horizontal flip it and stick it in her hand.   Only caz the new background is so dark, I can get away with it.


OH, and the wine glasses, turned out to be easiest of all.  Because the new background is dark, I just photoshopped a couple wine glasses, put a little blur on them to match the footage and placed them in their own layer over the glasses in the clip.  The glasses never move so it was easy.  I just added the glass and part of the stem and left the wine glass base on the table.  Blends in nice.


Those faces are tough.   So I need to create a "track mask" and place it over the main clip or ??

I'm lost there. I see how you made the matte (total black image cut out of the clip)  but after that, I'm clueless. 

Thanks so much, I feel I'm getting closer to this one.

If you have a lesson video recommendation, I'm ready!  or if it's easy, a quick 1, 2, 3 instructions would be great.

Thank you Rick.

Letty 🙂

Votes

Translate

Translate

Report

Report
Community guidelines
Be kind and respectful, give credit to the original source of content, and search for duplicates before posting. Learn more
community guidelines
Advocate ,
Oct 07, 2020 Oct 07, 2020

Copy link to clipboard

Copied

I copied your 'curves' and got pretty close to what you did.

I've got the black matte, and I made a mask that follows her face front only.


Now, I'm stuck.  I can't figure out  how to get this track mask to work?  


Here I am:

22.png


Votes

Translate

Translate

Report

Report
Community guidelines
Be kind and respectful, give credit to the original source of content, and search for duplicates before posting. Learn more
community guidelines
Advocate ,
Oct 07, 2020 Oct 07, 2020

Copy link to clipboard

Copied

I mean, track matte, not track mask.   I think the black part is the matte, and I have to track it somehow.

Votes

Translate

Translate

Report

Report
Community guidelines
Be kind and respectful, give credit to the original source of content, and search for duplicates before posting. Learn more
community guidelines
Advocate ,
Oct 07, 2020 Oct 07, 2020

Copy link to clipboard

Copied

I struck gold!!

I found a setting 'alpha matte' in the drop down and got this:

The face is really clean, except the nose has spots.

I'm assuming I have to play with the curves settings to remove it?

Your black matte looks really solid, mine has some bugs in it.


Looks much better than just using Luma Key.

Thanks for getting me in the right direction!

wow, even the hair look better than using rotobrush.

thank you, Thank You, THANK YOU!

Letty 🙂


55.png

Votes

Translate

Translate

Report

Report
Community guidelines
Be kind and respectful, give credit to the original source of content, and search for duplicates before posting. Learn more
community guidelines
Advocate ,
Oct 07, 2020 Oct 07, 2020

Copy link to clipboard

Copied

LATEST

If anybody is reading all of this....  I found 2 great videos that help explain it all, even for newbies like me.


As for me..... Curves, mattes, Keylight, oh yes.

I'm throwing away my rotobrush and pen tool!!!!!!!    well, maybe not throwing away, but certainly putting it on the shelf. 


Do this one first:


Then:


Votes

Translate

Translate

Report

Report
Community guidelines
Be kind and respectful, give credit to the original source of content, and search for duplicates before posting. Learn more
community guidelines