I learnt something by looking at your file! I hadn't used IK Shapes before. It seems that if you apply the bones to a bitmap, it creates a bitmap fill, and that fill is only able to fill-in in its original orientation.
Next thing I tried was to convert the bitmap to a shape (Modify/Bitmap/Trace Bitmap). Unfortunately that gave a shape that was too complex for the Bone tool.
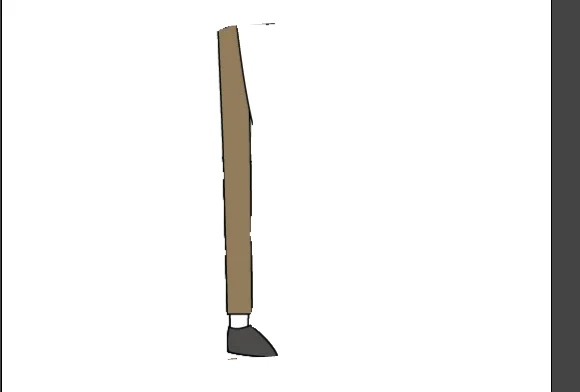
I then just redrew the leg, and tried the Bone tool on the shape I had drawn. That then worked, but I couldn't figure out how to have it include the outline of the leg, only the inner part of the leg moved.
I figured that out too. You need to draw the inner part of the leg, and the sock, and shoe, then use the Ink Bottle Tool to give them a stroke. After that you can use the bone tool to set up the IK, and the strokes will move along with the filled areas.
After all that learning I went back to the bitmap version, and found a system that could work:
1. Select the bitmap
2. Modify/Break Apart
3. Choose the Magic Wand, it's in the same tool palette icon as the Lasso.
4. Click on a white area, to the right of the leg, and delete that.
5. Same for left of the leg.
6. Choose the Ink Bottle Tool, and click near the edge of the leg, to give it a black stroke.
7. Triple-click on the stroke, to hopefully select all of it.
8. Cut that, and in a new layer, Paste in Place.
9. Hide the bitmap layer, then use the Pencil to repair any gaps in the leg outline, and to add the sock and shoe lines. Make sure that a triple-click does manage to select all of the stroke. If it doesn't, repair the parts that didn't get selected.
10. Show the bitmap layer again, but lock the layer.
11. Press i to get the eyedropper, click on the leg to pick up the brown color, then paint bucket fill that part of the leg, in the new layer you made in step 8.
12. Same again for the sock and shoe.
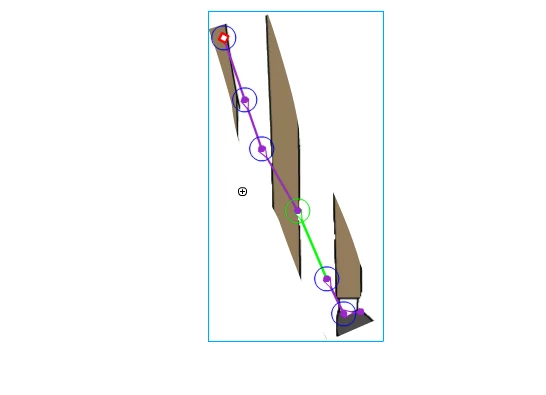
At that point you could delete the original bitmap layer, and add bones to the shapes that you just recreated.
I did do all of those steps already, and here's an FLA with a leg, ready for bones:
http://colin.scienceninja.com/leftleg.fla.zip