 Adobe Community

Copy link to clipboard
Copied
I've been using Soundbooth for years and just upgrades to Adobe CC. I cannot find where the heck to add a keyframe in Audition and it's driving me utterly bonkers.
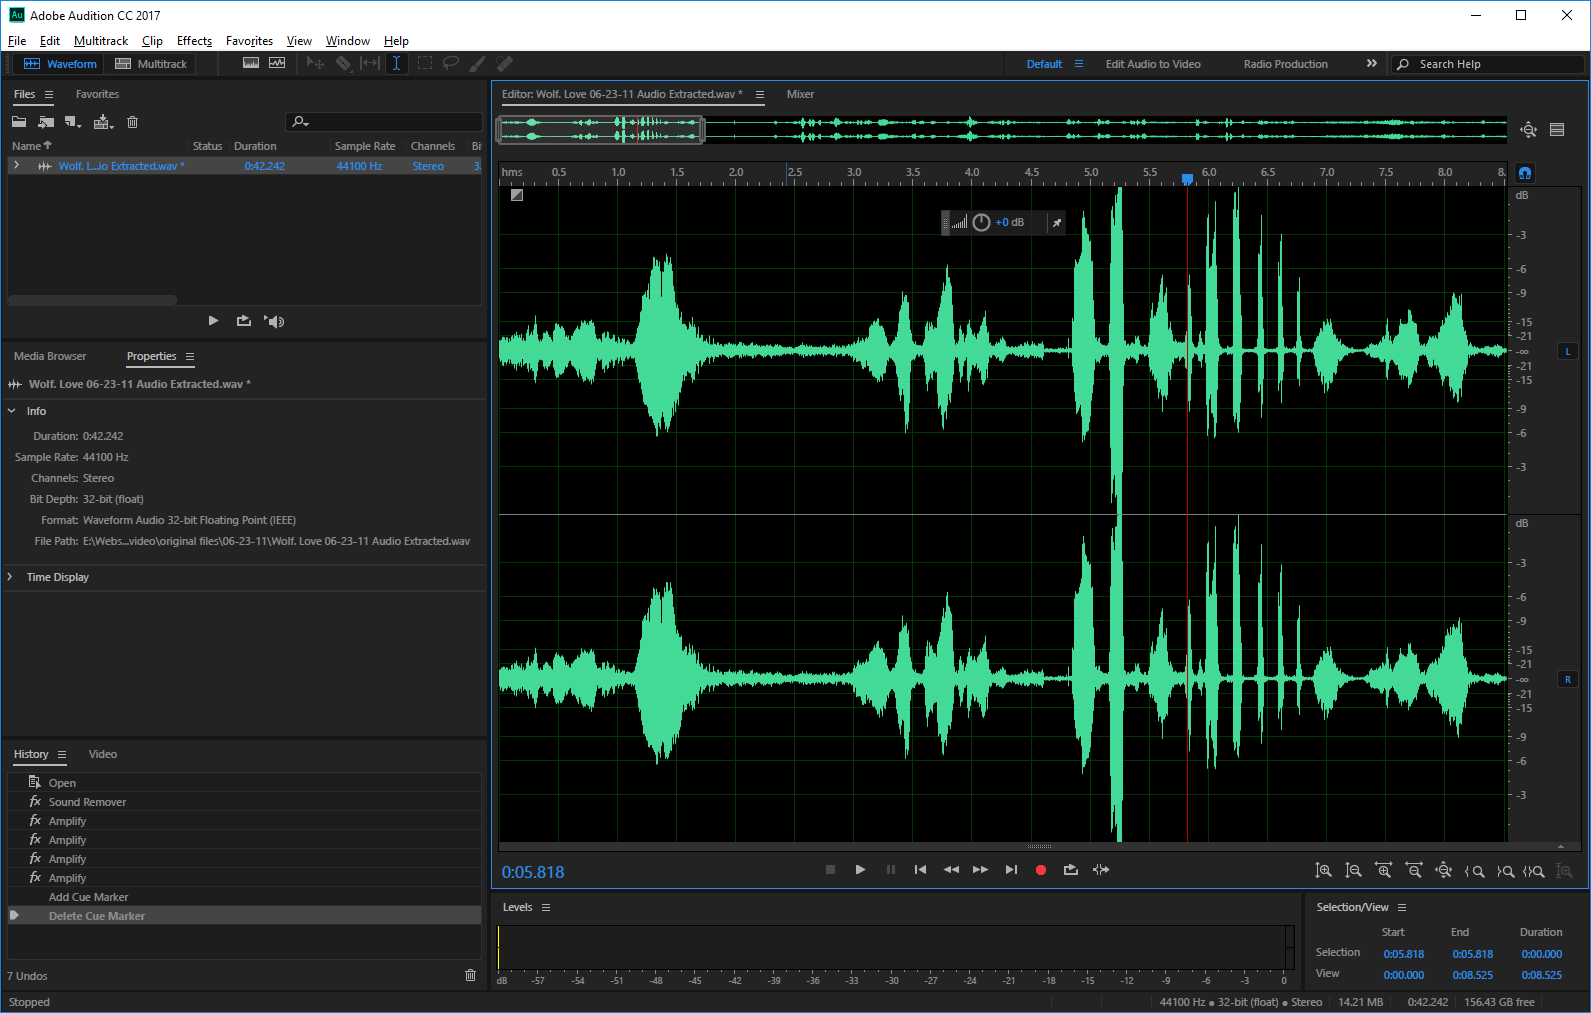
As you can see, I don't have the yellow line, so I can't add a keyframe. Everything I find online is for multitrack files, or the person doing the tutorial already has the yellow line. How do I bring that up?
TIA.


 1 Correct answer
For what you're trying to do Multitrack is clearly the way to go and, indeed, what Premiere Pro will send if you use the "Edit/Edit in Audition" command to move your project to Audition.
For simple level changes, I'd just use "Volume Envelopes" in Audition. It's usually on be default and shows up as a horizontal yellow line on each track/clip. If you don't see this, go to view and put a tick by "Show Clip Volume Envelopes".
Once you have that yellow line, you add keyframes by simply putting your
... 8
Replies
8
8
Replies
8

Copy link to clipboard
Copied
Track automation using keyframes is only available in the Multitrack view. Since it is non destructive the keyframes can easily be modified to change their position and level. Also many of Audition's effects can have keyframes to control various of their parameters in the Multitrack view.
The only effects that can use keyframes in Waveform view are the Fade Envelope or Gain Envelope from the Amplitude and Compression effects menu. The yellow lines only become visible and adjustable whilst the effect is open. Once you have applied the effect it's changes are permanently burnt into the audio file when you Save it.
Copy link to clipboard
Copied
Thank you, ryclark.
I am trying to replace the audio from a video track in premiere. I want to lower the volume in the middle of the track as the two people talking are at drastically different volumes. This was very easy before with soundbooth, but I can't figure out how to do it in audition. I don't know where Fade Envelope is. I keep finding stuff that only shows me out to fade out/in at the end/beginning of a track. I always adjusted volume in the middle before with key frames.
If I have to do this in multitrack, okay...but will that replace the audio in premiere?
If anyone has a good tutorial video for the basics, that would be great. I am not finding anything to address this particular issue and I need to get this project edited.
Thank you!
Copy link to clipboard
Copied
For what you're trying to do Multitrack is clearly the way to go and, indeed, what Premiere Pro will send if you use the "Edit/Edit in Audition" command to move your project to Audition.
For simple level changes, I'd just use "Volume Envelopes" in Audition. It's usually on be default and shows up as a horizontal yellow line on each track/clip. If you don't see this, go to view and put a tick by "Show Clip Volume Envelopes".
Once you have that yellow line, you add keyframes by simply putting your cursor on the line roughly where you want a level change and right clicking. Once you have some keyframes on the clip/track, you can drag them around the same as you would in Premiere. You can also delete a key frame you don't need, you can delete it by right click/hold on the incorrect key frame and dragging it past the track edge in either direction.
FYI, working in Waveform, the only way to get the altered track(s) back to Premiere is to Save or Save As the effect after you apply it then manually moving/copying it to Premiere. In Multitrack you'll fine a File/Export/Export to Premiere Pro command. Or, if audio is the last thing you do, you can also Export the whole project to AME directly.
Use of the Volume Envelopes is likely covered in the various Audition Basics tutorials since they're used just as much in Audio only working. Anyway, next coffee break I'll have a look 'round and see if I can recommend any specific videos for you.\
Bob
Copy link to clipboard
Copied
Wow, that sounds like WAY more work than Soundbooth. That's unfortunate. I was hoping Audition would be basically the same, but it appears to be extremely different...I can't believe I have to manually import the file now. That is a pain in the rear. Sometimes I think they are on crack at Adobe. What an annoying extra step in the workflow.
Thank you for telling me that it seems everything is done via multitrack. At least I know what I have to learn now. I was skipping tutorials about the multitrack as I did not think that applied to my situation (considering I am working with a single track...)
Thank you for the information, Bob.
Copy link to clipboard
Copied
Well, give multitrack a chance--once you're in there you'll find quite a few advantages over Waveform. I use Multitrack for 95% of my work, even for single tracks. Once you're into it, I think you'll like it, if only for the nondestructive real time working and the direct file exchange with Premiere.
FYI, for a workflow involving changing sections of audio, I'd probably use 2 or more channels anyway--I put the original recording in one track and the replacement bits in other track(s). The I use the volume envelopes to fade out of one track and into the other. Working this way gives me more control over edit points and transitions I find.
Anyway, good luck with what you're doing!
Bob

Copy link to clipboard
Copied
This is not working for me. I am working on an Apple M1 Max Studio, Version 14.1, and Audition Build 24.2.0.83,
details below. I get the yellow line, but cannot inset keyframes. I used to do this easily, especially to control music and effect levels.
I have tried all combinations suggested, and still no keyframes.
Thanks in advance for any solutions.
Rob

Model Name: Mac Studio
Model Identifier: Mac13,1
Model Number: Z14J000H3LL/A
Chip: Apple M1 Max
Total Number of Cores: 10 (8 performance and 2 efficiency)
Memory: 64 GB
System Firmware Version: 10151.101.3
OS Loader Version: 10151.101.3
Hardware UUID: B02FF072-714D-52AD-BC50-BF0ACFA6D449
Provisioning UDID: 00006001-000448EC1181801E
Activation Lock Status: Enabled
Cursor Magnification: On
Display: Black on White
Flash Screen: On
Mouse Keys: Off
Slow Keys: Off
Sticky Keys: Off
VoiceOver: Off
Model Identifier: Mac13,1
Firmware Version: iBoot-10151.101.3
Boot UUID: 71384439-B737-4A77-A24C-4C88584308AA
Boot Policy:
Secure Boot: Reduced Security
System Integrity Protection: Enabled
Signed System Volume: Enabled
Kernel CTRR: Enabled
Boot Arguments Filtering: Enabled
Allow All Kernel Extensions: Yes
User Approved Privileged MDM Operations: No
DEP Approved Privileged MDM Operations: No
Zoom Mode: Full Screen
Contrast: 0
Keyboard Zoom: Off
Scroll Zoom: Off

Copy link to clipboard
Copied
Multitrack menu - do you have a check next to 'Enable Clip Keyframe Editing?

Copy link to clipboard
Copied
Thank you Bob!!!!
 AdChoices