


Copy link to clipboard
Copied
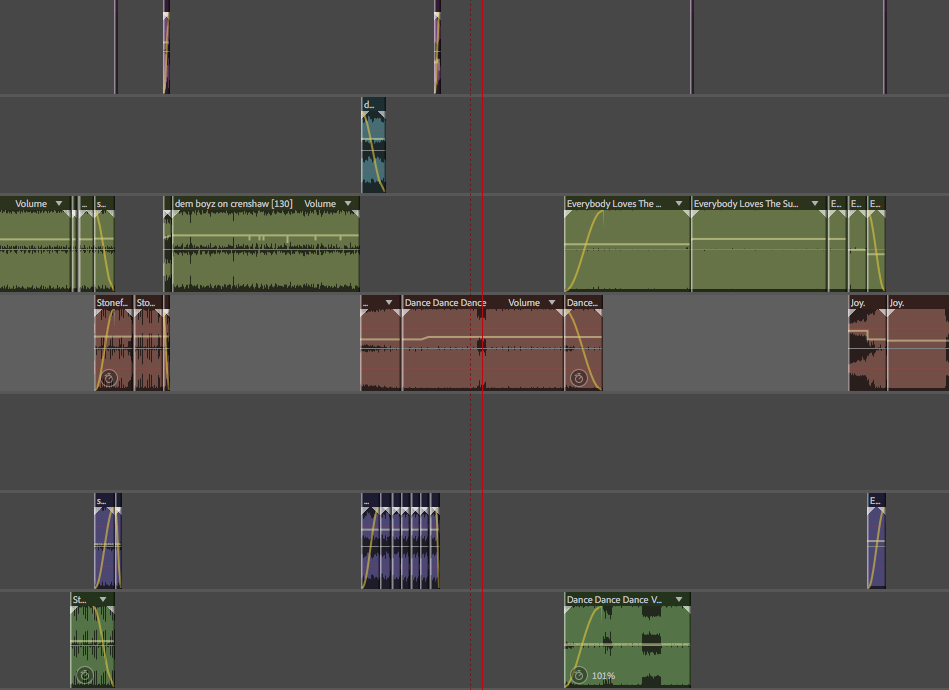
Hi guys, I'm using Audition to mix a 3 hours playlist for my friend's coffeeshop. I'm using the Multitrack editor, and whenever the levels goes above "red" (db>0, sorry I don't know how it's called – if someone can tell me the right terminology I'd appreciate), I want Audition to automatically stop so I can go fix it. Here are some screen caps, I hope I explain my issue clearly.
In summary, I want Audition to auto-stop when the levels go red.


 1 Correct answer
I don't believe there's any way to auto stop when levels get into clipping. However, a few thoughts that might help.
First, if you're working in 32 bit Floating Point, you can lower the levels later (using things like Dynamics Processing and/or Normalise) and you won't get any clipping.
Second, since the overall level increases proportionately each time you add another clip, lower ALL levels before you start, then use Normalise/Dynamics Processing to raise the final mix to your desired level.
Fin
... 7
Replies
7
7
Replies
7
Copy link to clipboard
Copied
I don't believe there's any way to auto stop when levels get into clipping. However, a few thoughts that might help.
First, if you're working in 32 bit Floating Point, you can lower the levels later (using things like Dynamics Processing and/or Normalise) and you won't get any clipping.
Second, since the overall level increases proportionately each time you add another clip, lower ALL levels before you start, then use Normalise/Dynamics Processing to raise the final mix to your desired level.
Finally, if the clipping (red) comes from your source material, not within Audition, there's nothing Audition can do to fix it, Especially with MP3 recordings, this is all too common, trying to push the level as high as possible. Usually, despite the red, the clipping isn't too bad but the main suggesting is to lower the level at the recording stage.
Copy link to clipboard
Copied
Thank you very much Bob for you time. That's unfortunate there's no auto-stop available for clipping. I just have a few claps and snares here and there that push the levels into clipping, and I'd rather adjust manually instance-by-instance. The playlist I'm working on use a wide range of music genres, from jazz to classical to hiphop of differing eras. It's been hard to raise the perceptive loudness of say, the quieter part of a classical track, so that it's not so contrastingly low in volume comparing to the more steady hiphop samples.

Copy link to clipboard
Copied
wuts23143389 wrote
Thank you very much Bob for you time. That's unfortunate there's no auto-stop available for clipping. I just have a few claps and snares here and there that push the levels into clipping, and I'd rather adjust manually instance-by-instance. The playlist I'm working on use a wide range of music genres, from jazz to classical to hiphop of differing eras. It's been hard to raise the perceptive loudness of say, the quieter part of a classical track, so that it's not so contrastingly low in volume comparing to the more steady hiphop samples.
The problem here, as Bob has alluded to, is that 32-bit Floating Point mixing doesn't actually 'clip' as such. What is actually clipping is your sound device, which can only handle integer feeds, and not Audition. Audition's dynamic range is massive; about 1500dB, and whatever happens within that range can be corrected by simply rescaling the audio at that point, so the concept simply doesn't arise.
What it comes down to for you is that you need to get all the relative levels correct in whatever it is you're creating, and then finally normalize it so that the loudest part of it doesn't clip after it's mixed down. If you have problems with peaks and a low mean level in some pieces, then you have to apply something like the multi-channel compressor to them to even out the levels without it being particularly noticeable, and then insert them into your mix. You don't even have to get the levels correct before mixing - you can do the normalizing in Waveform view, all the time the signals remain as 32-bit FP.

Copy link to clipboard
Copied
A quick way to find what may have peaked over the clipping level after you have done the mix down is to use the Amplitude Statistics window in the Waveform view. You can use that to scan the file and find all the possibly clipped samples. If you look down the list for the Possibly Clipped Samples row it will tell you how many clipped sample there are. If you then click on the little shield icon alongside it will take you to the first clipped sample. Subsequent clicks will move through the audio file to each clipped sample to allow you to mark them or deal with them.
Alternatively you could use DeClipper from the Diagnostics window to automatically mend them. Although as Bob and Steve suggest it is probably better to use one of their methods to control the level of the final audio file.
Copy link to clipboard
Copied
Thank you SteveG. I mostly use Adobe for ID/AI/PSD, so I'm afraid I might not follow some of your audio terminologies. If you don't mind me asking, can you tell me step-by-step on how to achieve what Bob and you are talking about? (thank you ryclark as well)
Am I correct to assume I'm already working on 32-bit floating point (see attached image)?
The project I'm working on is to mix 3 hours of music for a coffeeshop.
Each individual track is of different style, and comes at unmatched volume.
My goal is to find a solution to match the volumes of all tracks evenly, so when it's played at the coffee shop, each track to each track the volume's difference is not jarring.
Your advice to either use Normalize or Dynamic Processing – that's for each individual music clip correct? I wouldn't do me any good to mix the multitrack session down then apply normalize/d.process afterward, correct?
Please tell me if I'm wrong: from what I've read online, I should use normalize on tracks where in the waveform's peak level is well below 0db (i.e. overall gain):
However, the online resource said:
- Peak normalization to 0 dBFS is a very bad idea for any parts to be used in a multi-track recording. It may not clip by itself, but as soon as you add any extra processing or play tracks simultaneously your DAW or Plug-ins may overload. This subject comes under ‘gain staging’, a big subject to cover in the future.
So what is the best practice in my case? Or does the 32 bit floating point basically bypass this issue altogether?
On Dynamic Processing: I should use Dynamic Processing on clips that I want to lessen the dynamic range (meaning the loudest part will get less loud, while softer part gets louder, correct?) Is this then recommended to use on music genres with wide sonic range such as classical music, where some parts will be very quiet, thus get drowned out by ambience noise of the coffee shop?
To quote Bob:
First, if you're working in 32 bit Floating Point, you can lower the levels later (using things like Dynamics Processing and/or Normalise) and you won't get any clipping.
"Later" here means when? After mix down? If that is so, it's ok for the multitrack to clip then adjust later?
Please pardon my lack of audio knowledge!
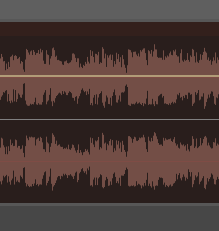
Btw, I am currently manually adjusting the levels like this:
Copy link to clipboard
Copied
Your only real issue here is that you want everything to sound at about the same level, despite it being of significantly different audio types, and the only real way to achieve that is to find the most 'compressed' original, and match everything else to that. There are lots of different ways to do this, but generally the multi-band compressor will achieve acceptable results with music sources, when you need it. The only way to judge the final results though is to listen to them, although with a restaurant, I'd keep it pretty compressed, otherwise there are liable to be complaints anyway. Personally I'd be getting the clips sounding sensible before putting them in the mix, but there's no need to do that - you can manipulate them within it just as well. Yes you are far more likely to need to do this with classical stuff, which generally has a higher dynamic range. Ultimately you won't know how successful this has been until you've sat down for a three-hour meal and not really noticed it!
The final level you let it peak at isn't that critical, and you have to be aware that you can normalize both up and down with impunity all the time you have a 32-bit file; all it does is move everything up or down so that the peak level in the entire file is the one you've set. Generally though you'd only normalize the mixdown, rather than individual clips; that's how I'd do it anyway.
Copy link to clipboard
Copied
It's been hard to raise the perceptive loudness of say, the quieter part of a classical track, so that it's not so contrastingly low in volume comparing to the more steady hiphop samples.
Going back a few steps. The above is quite relevant. You may be able to flatten out some of the differences between the apparent loudness of the different tracks by pre processing them in Audition using Match Loudness. This is to be found under the Effects menu but it launches a new panel where you drop all your files and do them as a batch process before joining them all together in the Multitrack view.
I am not sure which would be the best Match Loudness settings to use in this case but Steve may be able to advise better than I can. 
Find more inspiration, events, and resources on the new Adobe Community
Explore Now
 AdChoices