Copy link to clipboard
Copied
Hey there!
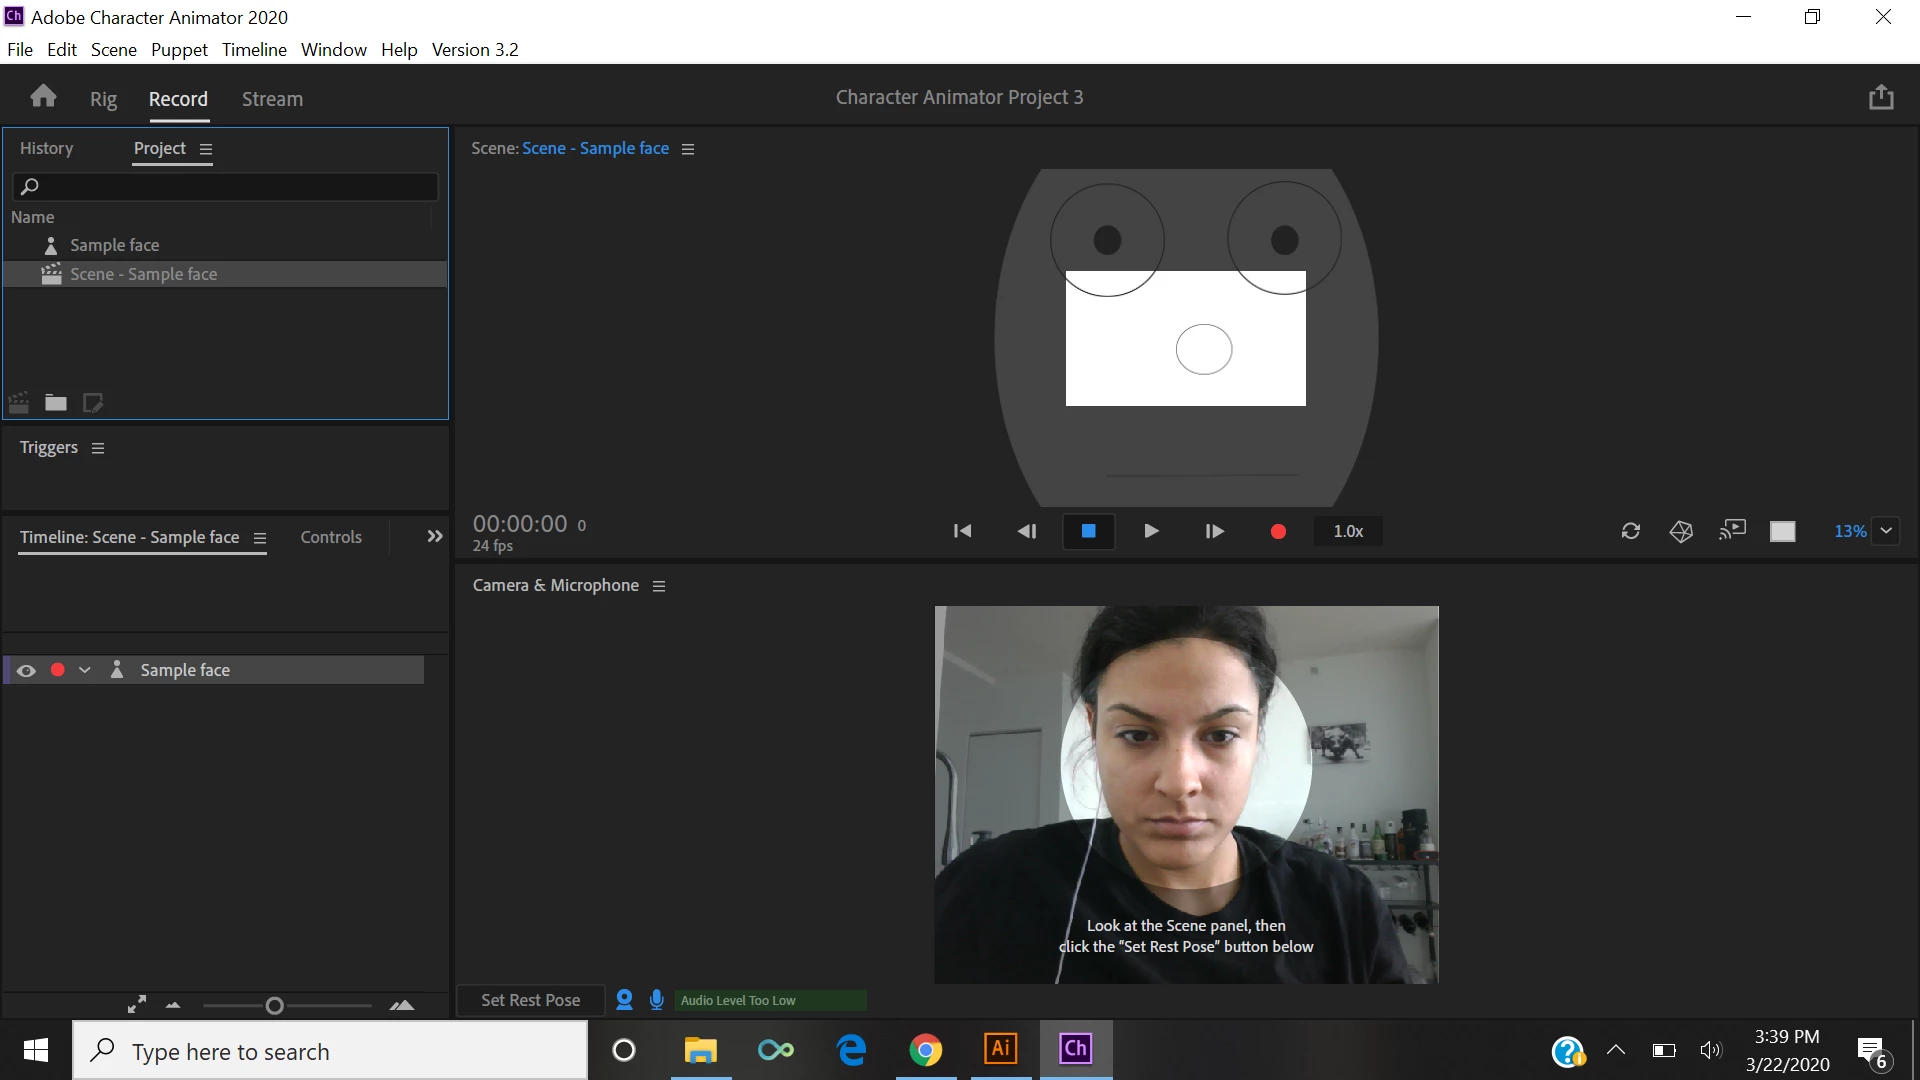
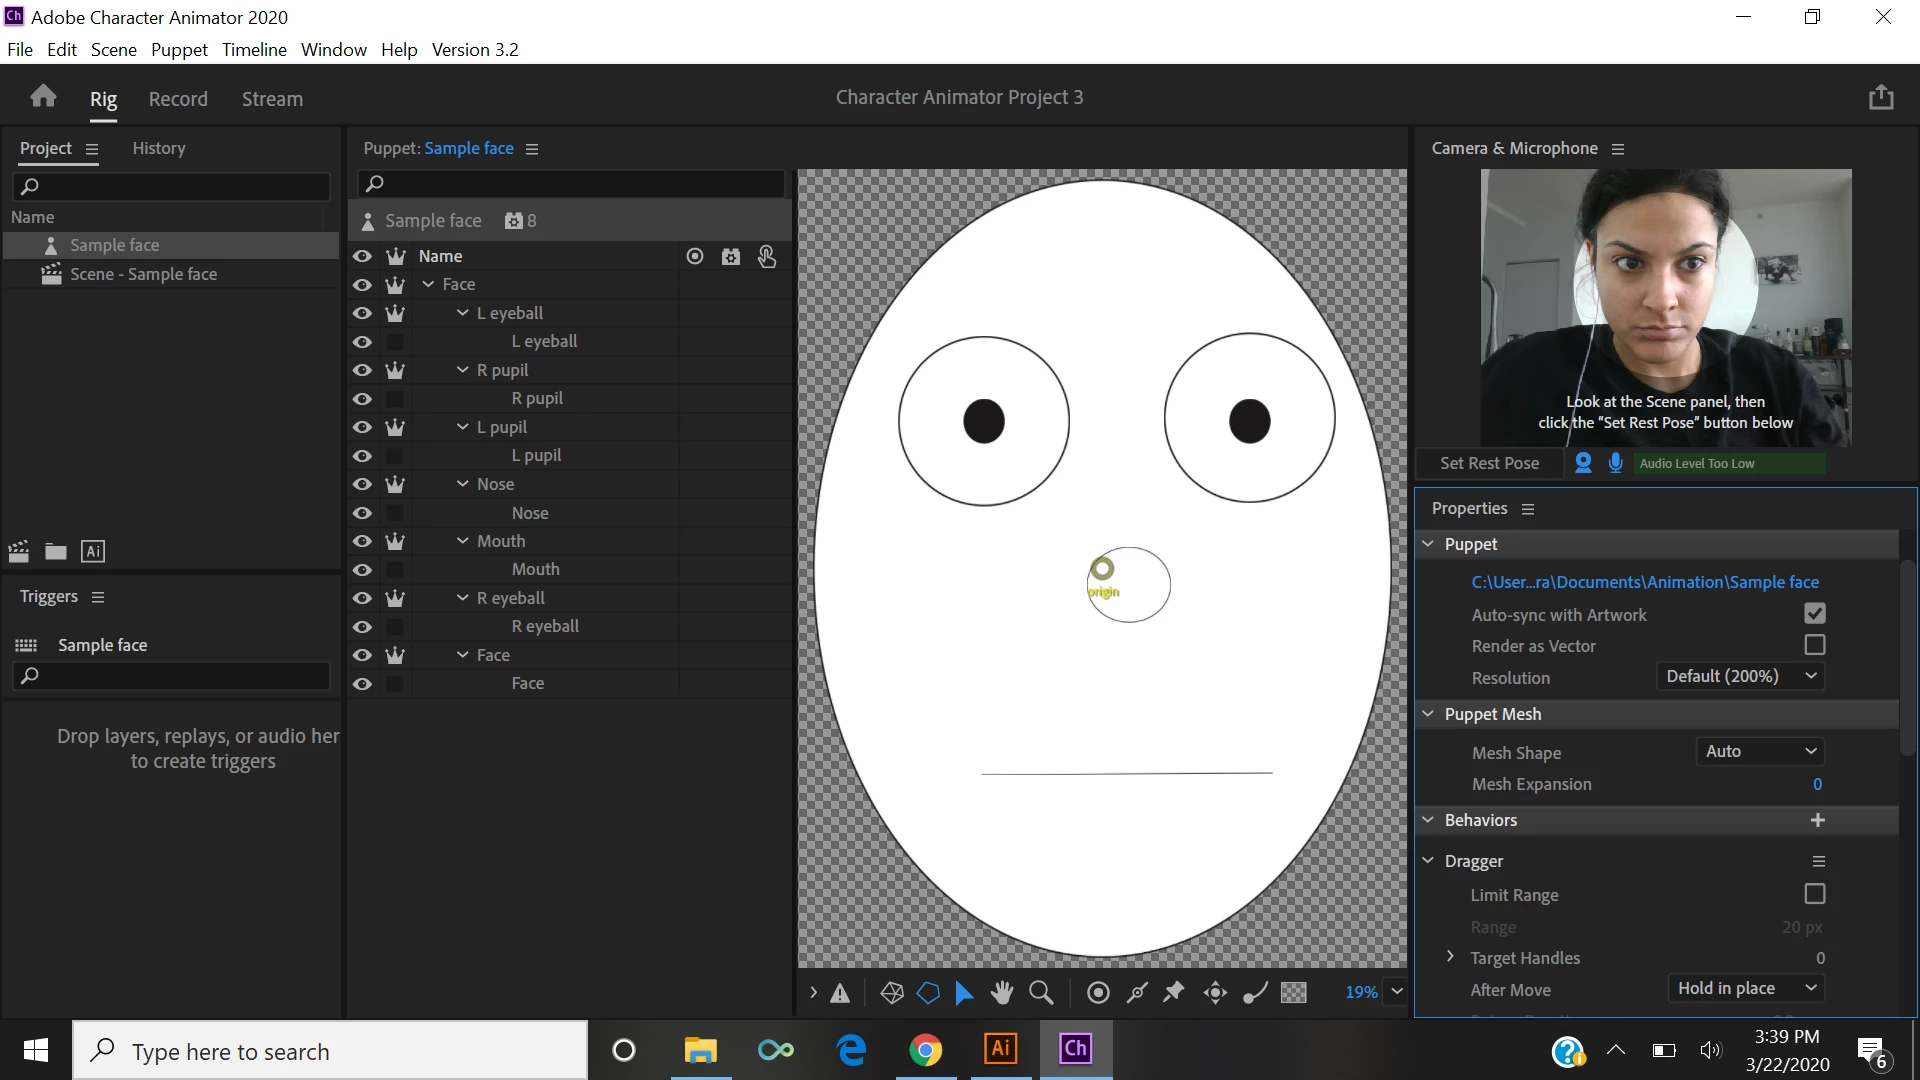
Im new to Character Animator and I created a simple face to practice with the chamera tracker. I dont know how to set the face to follow my face moves on the camera and there is a weird rectangle on the puppet everytime I click on scene. Ive been looking for tutorials but none of them explain how to do this or I dont know if the face is supposed to start moving as soon as I import it. The camera and microphone seem to be working fine. Attached there are pictures of the view of the scene and the puppet. Any help will be appreciated, Thank you
Copy link to clipboard
Copied
Also when I set rest pose it maps out my face and everything so the camera seems to be working fine, I just dont know how to make the puppet face follow my moves. Thank you again
Copy link to clipboard
Copied
Oh, another thing sorry, you don't seem to have a "Head" layer. You need a layer with a "Head" tag on it. There are a set of tag names built in, and if you create a layer with the same name as a known tag then the layer is tagged automatically which saves you a lot of time. "Behaviors" such as the Face Behavior which controls the face from the webcam will probably be looking for a Head tag (and not finding one) so it has nothing to control. So I would suggest "+ExcitingFace" (your puppet name) as the root layer, then "Head" and "Body" under that, then "Face" artwork goes under "Head".
Copy link to clipboard
Copied
The rectangle is because the puppet is bigger than the scene view. The rectangle is what will be in the video when you export it. So you need to use the Transform behavior Scale property to reduce the size (e.g. try 30%). I don't know why the puppet always defaults so big - but it is common to need to scale it down.
Normally heads are attached to bodies and then the body might have the feet pinned to the ground. Because you don't have all that the head is kinda floating in space. If you pin the head it won't move (because its pinned). What I suggest you do is create a "+MyPuppet" root layer and put "Head" and "Body" under that. Put another oval for the body. Then pin the body so it does not move. The Head then has something to move relative to.
Note: the head will not move in the rigging mode, only the scene.
Another thing you will need to start understanding is when to make something independent and when not too. Too much (or too little) independence will cause problems. Think of it this way - if you drew the artwork on a sheet of rubber, when would you want to start a new piece of rubber so things can slide around vs when do you want to just distort the current sheet of rubber. For example, eyelids moving up and down frequently you want independent so that face around them does not work - the eyelides move by themselves. So eyelids are common, as is the mouth. But I notice you have a Face layer inside the Face layer (at the bottom) which is independent again. You probably don't want that. You only want independence when something should move without affecting things around it (like the mouth or pupils). Dangling hair is another one. The nose I don't make independent. The big oval for the face should not be independent. Don't use independence unless you need to.
Get ready! An upgraded Adobe Community experience is coming in January.
Learn more