Exit
  • Global community
    • Language:
      • Deutsch
      • English
      • Español
      • Français
      • Português
  • 日本語コミュニティ
  • 한국 커뮤니티
0

Create a marker alike width profile

Community Beginner ,
Jul 13, 2017 Jul 13, 2017

Hello everyone,

I'd like to create a width profile (NOTE: not a brush) resembling a marker stroke.
Is there any way I can transform a brush into a width profile? I have found many cool marker brushes, but the result of applying it into stroke is really bad.

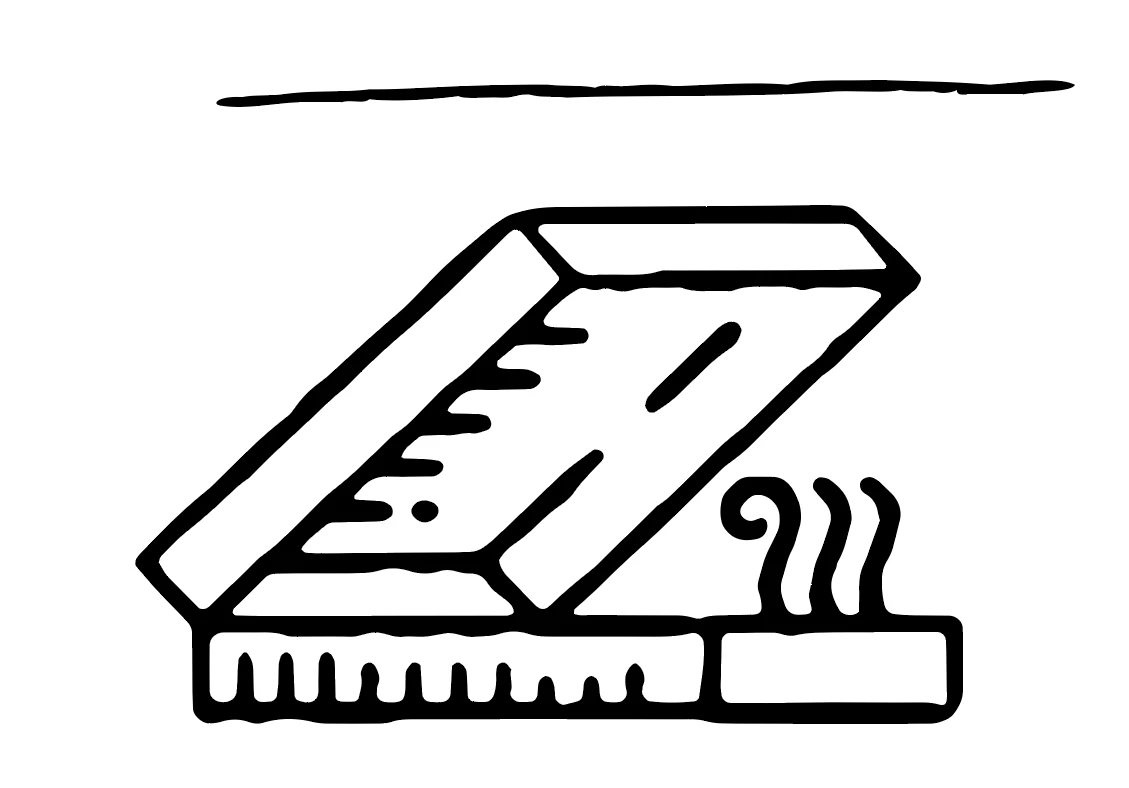
Attached, the look I am trying to achieve. The line is the brush I found that I think has the right "vibe", while under it a reference illustration. I am using Illustrator CC 2017... Thanks!

Screen Shot 2017-07-13 at 12.01.27 PM.png

1.8K
Translate
Report
Community guidelines
Be kind and respectful, give credit to the original source of content, and search for duplicates before posting. Learn more
community guidelines

correct answers 1 Correct answer

Community Beginner , Jul 13, 2017 Jul 13, 2017

I have been able to achieve a good result by using the following process. Putting it here in case someone needs to do it.

Step 1: Create simple line drawing

Step 2: after adjusting the line to appear less precise, outine it with 1pt stroke.

Step 3: apply custom width profile 1, 2 or 3

Step 5: manually draw ink connections

Thank you all for your time. If you have any idea on how to make the crossing line connections (the little "U" shapes near the edge of the lines) instead of manually drawing them,

...
Translate
Adobe
Adobe Employee ,
Jul 13, 2017 Jul 13, 2017

Hi Francesco,

The marker stroke you are trying to achieve, Brush would be the best option for that. Once you apply/create the brush, you can use the width tool for creating custom stroke. Here's a link you may refer to: https://iamsteve.me/blog/entry/creating-custom-stroke-width-profiles-in-illustrator

https://iamsteve.me/blog/entry/creating-custom-stroke-width-profiles-in-illustrator

Feel free to update this thread in case of any additional query.

Regards,

Twarita

Translate
Report
Community guidelines
Be kind and respectful, give credit to the original source of content, and search for duplicates before posting. Learn more
community guidelines
Community Beginner ,
Jul 13, 2017 Jul 13, 2017

I find that brushes don't work well because of the way illustrator handles them (replicating the head and tail).

I did manage to get closer to that result with width profiles, by expanding my stroke and applying another basic one on top of that, assigning a custom width profile.

Screen Shot 2017-07-13 at 12.34.41 PM.png

Translate
Report
Community guidelines
Be kind and respectful, give credit to the original source of content, and search for duplicates before posting. Learn more
community guidelines
Community Expert ,
Jul 13, 2017 Jul 13, 2017

You may also create some graphic styles based on the Roughen effect, using diffident settings and smooth points.

Translate
Report
Community guidelines
Be kind and respectful, give credit to the original source of content, and search for duplicates before posting. Learn more
community guidelines
Community Beginner ,
Jul 13, 2017 Jul 13, 2017

Can you articulate better?

Translate
Report
Community guidelines
Be kind and respectful, give credit to the original source of content, and search for duplicates before posting. Learn more
community guidelines
Community Expert ,
Jul 13, 2017 Jul 13, 2017

The Roughen effect is located in the Effect > Distort & Transform menu. You can apply it to plain strokes and you can experiment with its settings. It bedights seperate paths with individual random roughness. There are ways to fine-tune that roughness.

Translate
Report
Community guidelines
Be kind and respectful, give credit to the original source of content, and search for duplicates before posting. Learn more
community guidelines
Community Expert ,
Jul 13, 2017 Jul 13, 2017

In your case (if it still is a single stroke and not already outlined):

1. Apply the Effect > Path > Outline stroke

2. Apply the effect > Distort and Transform > Roughen

Those two effects need to be applied after the stroke (that is below it in the appearance panel) and they need to be in that order: Roughen below Outline stroke

Translate
Report
Community guidelines
Be kind and respectful, give credit to the original source of content, and search for duplicates before posting. Learn more
community guidelines
Community Beginner ,
Jul 13, 2017 Jul 13, 2017
LATEST

I have been able to achieve a good result by using the following process. Putting it here in case someone needs to do it.

Step 1: Create simple line drawing

Step 2: after adjusting the line to appear less precise, outine it with 1pt stroke.

Step 3: apply custom width profile 1, 2 or 3

Step 5: manually draw ink connections

Thank you all for your time. If you have any idea on how to make the crossing line connections (the little "U" shapes near the edge of the lines) instead of manually drawing them, let me know, thanks!

Screen Shot 2017-07-13 at 4.19.29 PM.png

Translate
Report
Community guidelines
Be kind and respectful, give credit to the original source of content, and search for duplicates before posting. Learn more
community guidelines