To add to what Micheal says
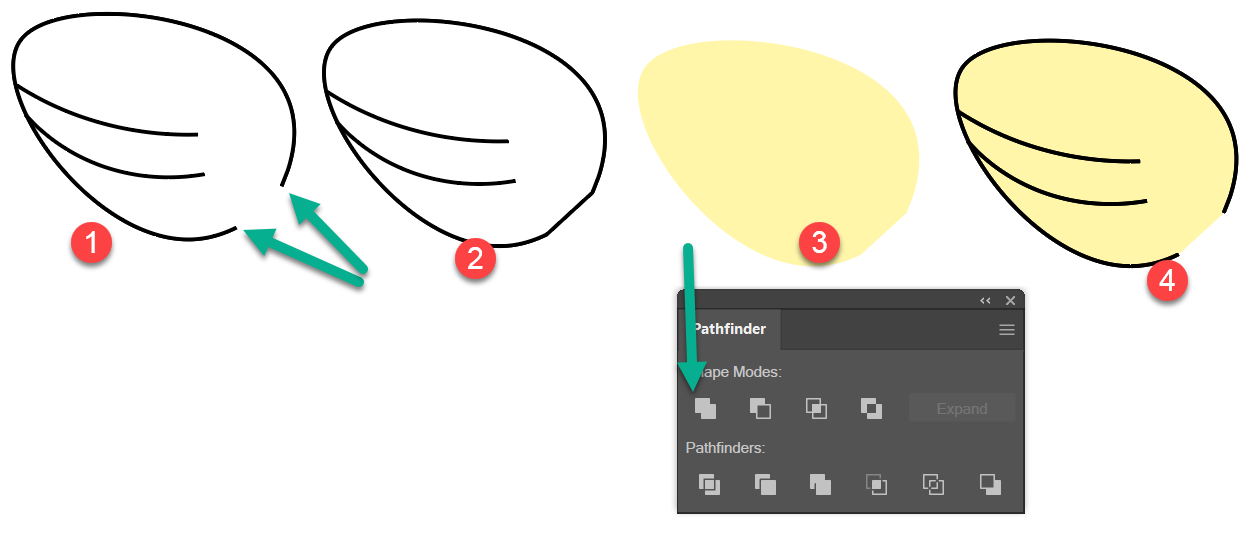
For the front main wing
It would be easier to make it a closed shape, but to get the gap in the outline:
Select all the parts
Edit > Copy
Deselect all
1
To Close the gap
With the Direct selectiom Tool ( the white arrow )
Select one of the gaps anchor points
Shift click to select the other.
2
Oblect > Path > Join
3Select sll the wing parts
open pathfinder Window > Pathfinger
Pathfinder > Unite
Give a Fill, but no stroke
4
Edit >Paste in front
to paste back in the copy made earlier above
Give a Stroke no fill
Select all the wings parts and Object > Group
In the layers panel rename group to Front Wing.
make a copy rename Back wing etc
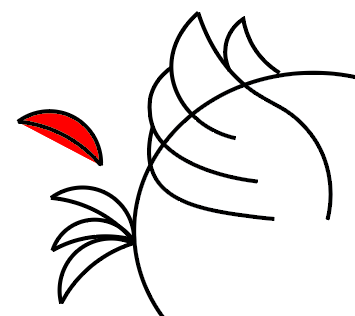
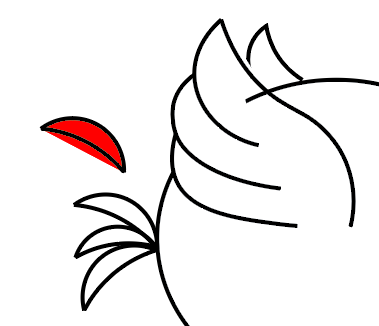
For the red feather ,
With what you have done already, select all the parts, and click with the ShapeBuilder Tool to make a single object.
Then use the selection tool to and colour.
From scratch, with the Curvature Pen tool Tool,
Click to start, click again (for middle of curve ) double click at end of curve - to make a sharp corner,
Finally move the mouse cursor back to where you started, and when the tiny icon next to the cursor turns to a hollow circle . double click to close.
Deselect. Select with the selection tool to gice fill etc
The curvature Pen tool is tricky to use
If you want to place an new anchor point on an existing line , you can place it near, then not letting go of the mouse, drag it into position.


 2
Replies
2
Replies


 AdChoices