

Document bleed and cuts lines

Copy link to clipboard
Copied
Hello!
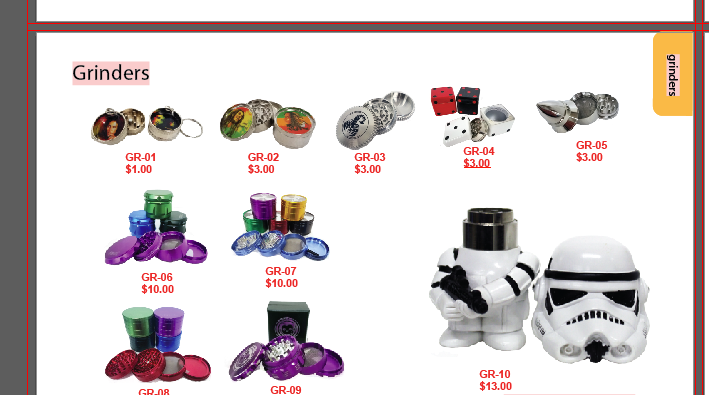
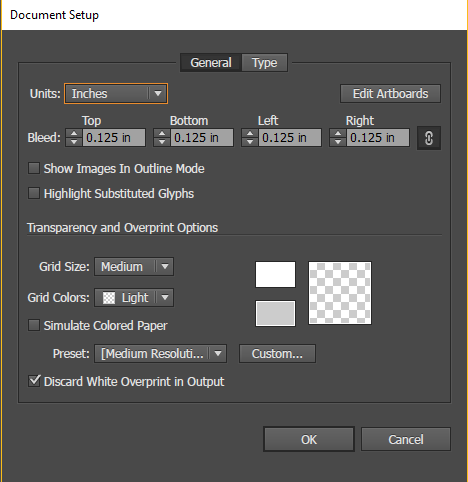
I have a huge template of catalog, I'm wondering if anyone can help me to get ride of bleeds issues, Printer company have send me a requirements regarding bleeds info (attached please see below) I am new in this area specially in bleeds and margin et
PRINTER'S REQUIREMENTS


Explore related tutorials & articles
 7
Replies
7
7
Replies
7

Copy link to clipboard
Copied
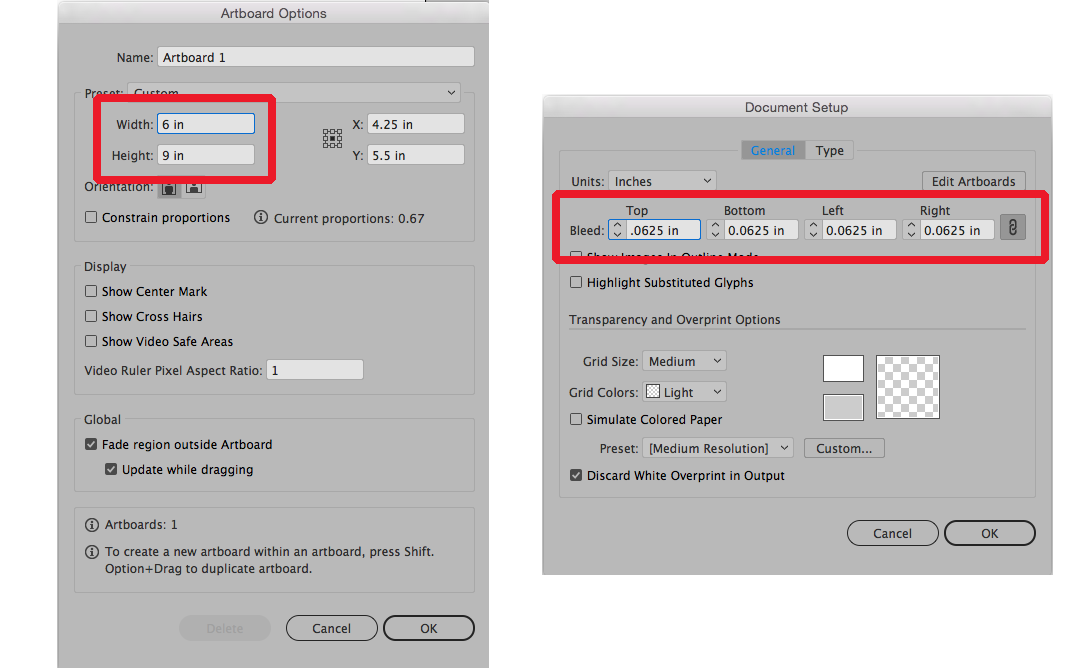
Unless your printer is insisting on the job being done in Illustrator a multi-page document such as this should be set up in InDesign since that is what the program is designed for. That being said judging on the printer specs your art boards should be set to 6 in x 9 in and your bleeds should all be set for .0625 in since the specs show a total of 6.125 in x 9.125 in. See screenshot below:
Again, though, I strongly urge you to find out if this job can be set up in InDesign. An Illustrator file with possibly 100 art boards is a very scary prospect to me.
Copy link to clipboard
Copied
Thanks Bill Silbert, Actually I know that Illustrator having only 100 art board capacity I'm also very frustrated some time for some big projects, but in this case i have only 8 pages but huge amount of pixels ie 2.6 gb file.
Copy link to clipboard
Copied
Basically I am confused on this note for printer company send me that is right bottom cornet says :
Address Area 2.5" and total area 4" x2.5"
what is this? and how to apply this in illustrator file?
Copy link to clipboard
Copied
Your original post said that you were doing a catalog. However, the printer specs appear to be for either an envelope front or a postcard. That is because you have a space in the upper right for an indicia which would be the seal for the postage-paid code and a space in the lower right for the address. If you are actually doing a catalog then this set of printer specs is inappropriate.
I must ask again as to why you are doing this in Illustrator? Even with a large amount of Photoshop images setting up the page layout in InDesign and importing the images into the InDesign document is far more efficient than multiple art boards. There is good reason that Adobe makes separate programs for different functions.

Copy link to clipboard
Copied
You want to keep that area blank fi you are mailing these print, as the US Postal service has regulations to help the electronic scanners scan the deliver to: address. If these are leave behind flyers, you can go over that area.

Copy link to clipboard
Copied
Hi mirza
I would like to know if the steps suggested by Mike and Bill worked for you, or the issue still persists.
Kindly update the discussion if you need further assistance with it.
Thanks,
Srishti
Copy link to clipboard
Copied
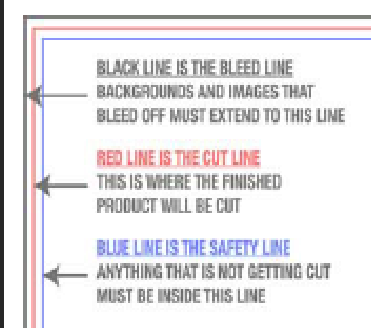
They explain this well, but maybe reading my longer explanation will help you understand.
Red - Is where the blade will fall and cut.
Blue - You want to keep all type inside this area. Basically the blade is not 100% perfect and there si a small oamoutn of variability, so keep import items within the blue so they do tho get cut off
Black - Bleed. Your bleed is extra material hat is cut off, Because the blade si not 1900% perfect that may move around so you add extra ink. If your postcard art has a white background, then you do tho need bleed. If for example you background is 100% yellow, then you want for the yellow to go up to the bleed.
In summary your postcard final size after cutting will be the red line.
I think I know who this printer is, and they really just want you to upload a .pdf. So if you are already done building this in Illustrator no reason to rebuild in InDesign. InDesign would better for very long documents, and if you need to take advantage of master page elements.

Find more inspiration, events, and resources on the new Adobe Community
Explore Now
 AdChoices