

- Home
- Illustrator
- Discussions
- Re: Extra Lines Being Created With Pathfinder Divi...
- Re: Extra Lines Being Created With Pathfinder Divi...
Extra Lines Being Created With Pathfinder Divide Tool

Copy link to clipboard
Copied
Hello Everyone.
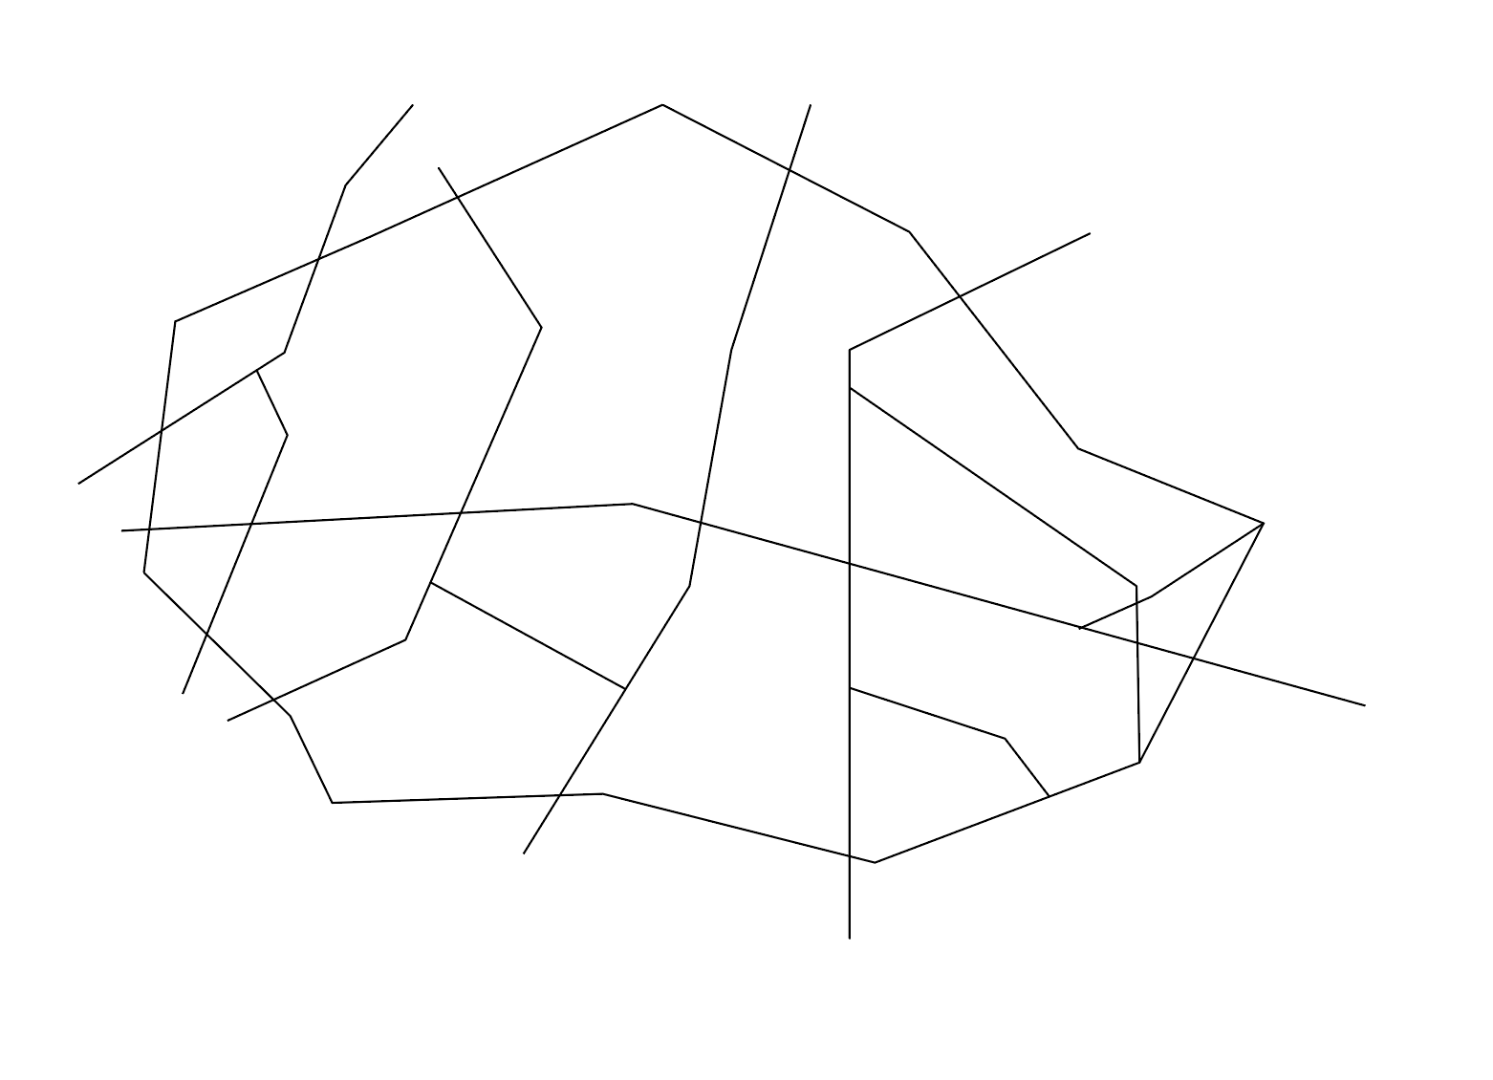
I'm trying to use the pathfinder divide tool in order to intersect the lines I've created so I can fill them in with a gradient. Here is a photo of the lines before they have had the divide tool used on them: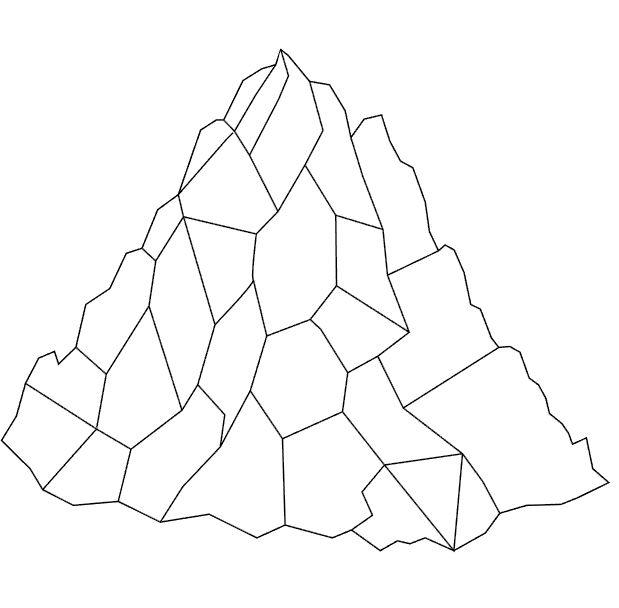
I used the pen tool to create this.
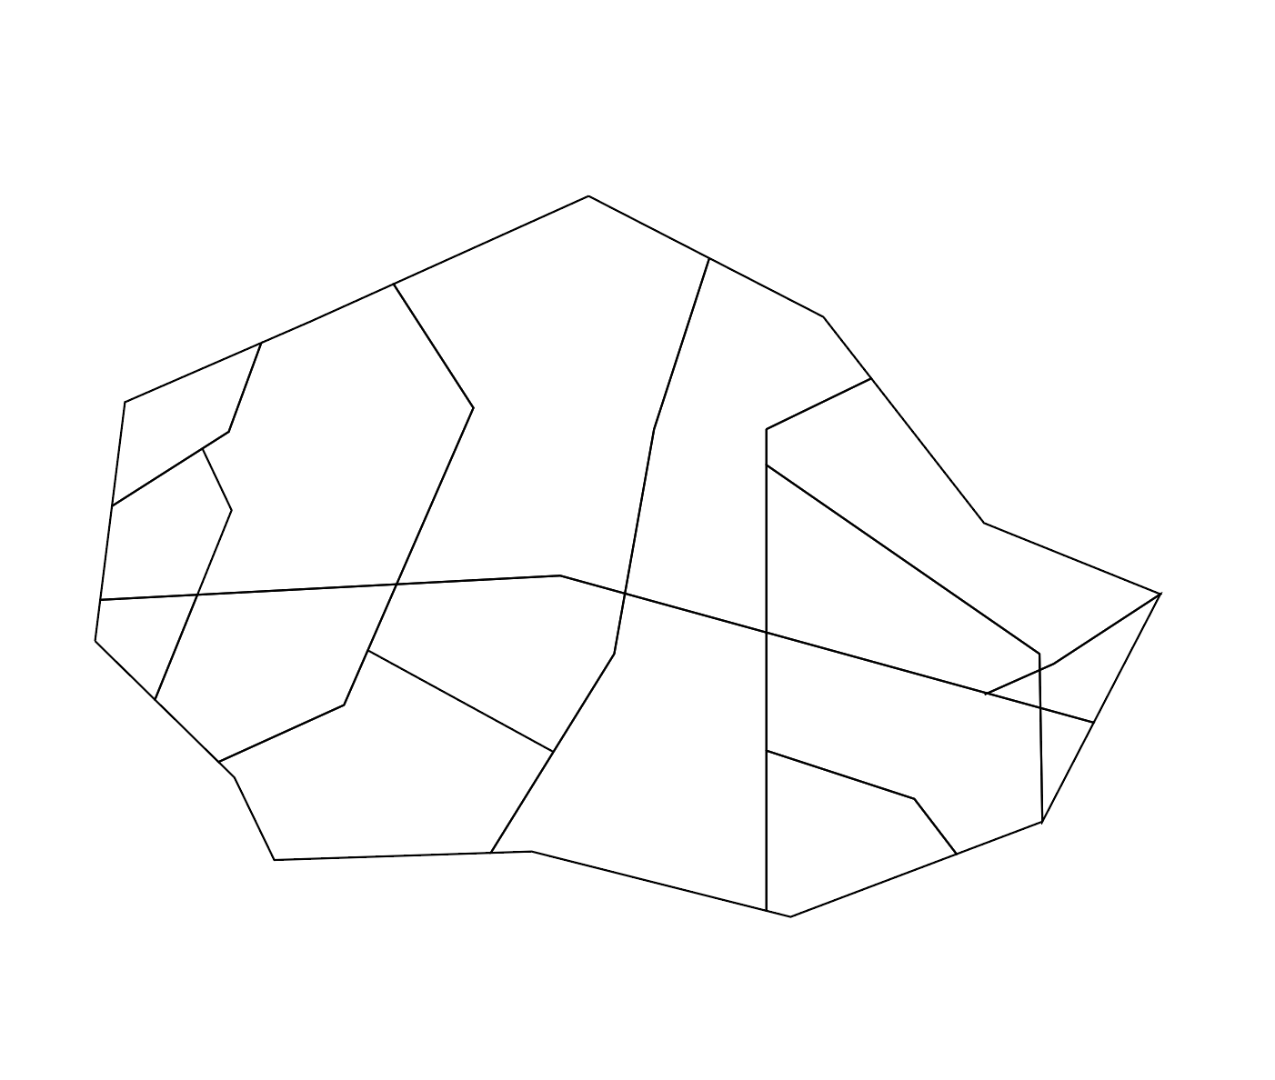
After selecting all of the lines and using the divide tool lots of extra lines are added. This is not what I want. Here is a photo of this:
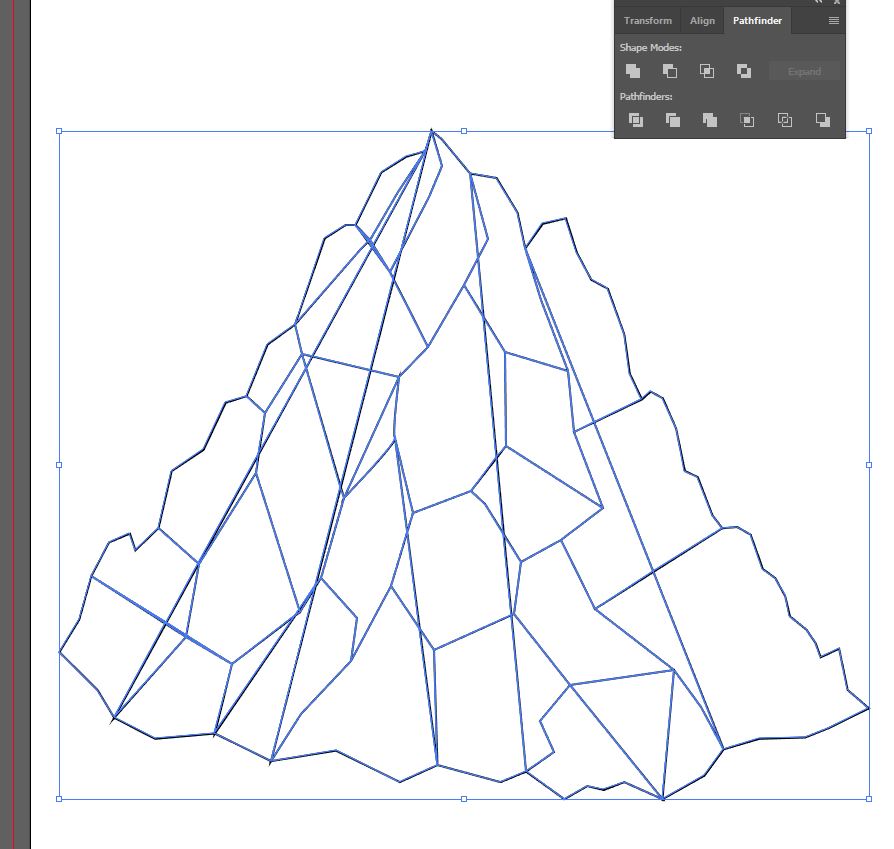
Any help on how I could resolve this would be greatly appreciated.
Many thanks for looking.


Explore related tutorials & articles
 22
Replies
22
22
Replies
22

Copy link to clipboard
Copied
I think it's because of the lines that don't intersect.
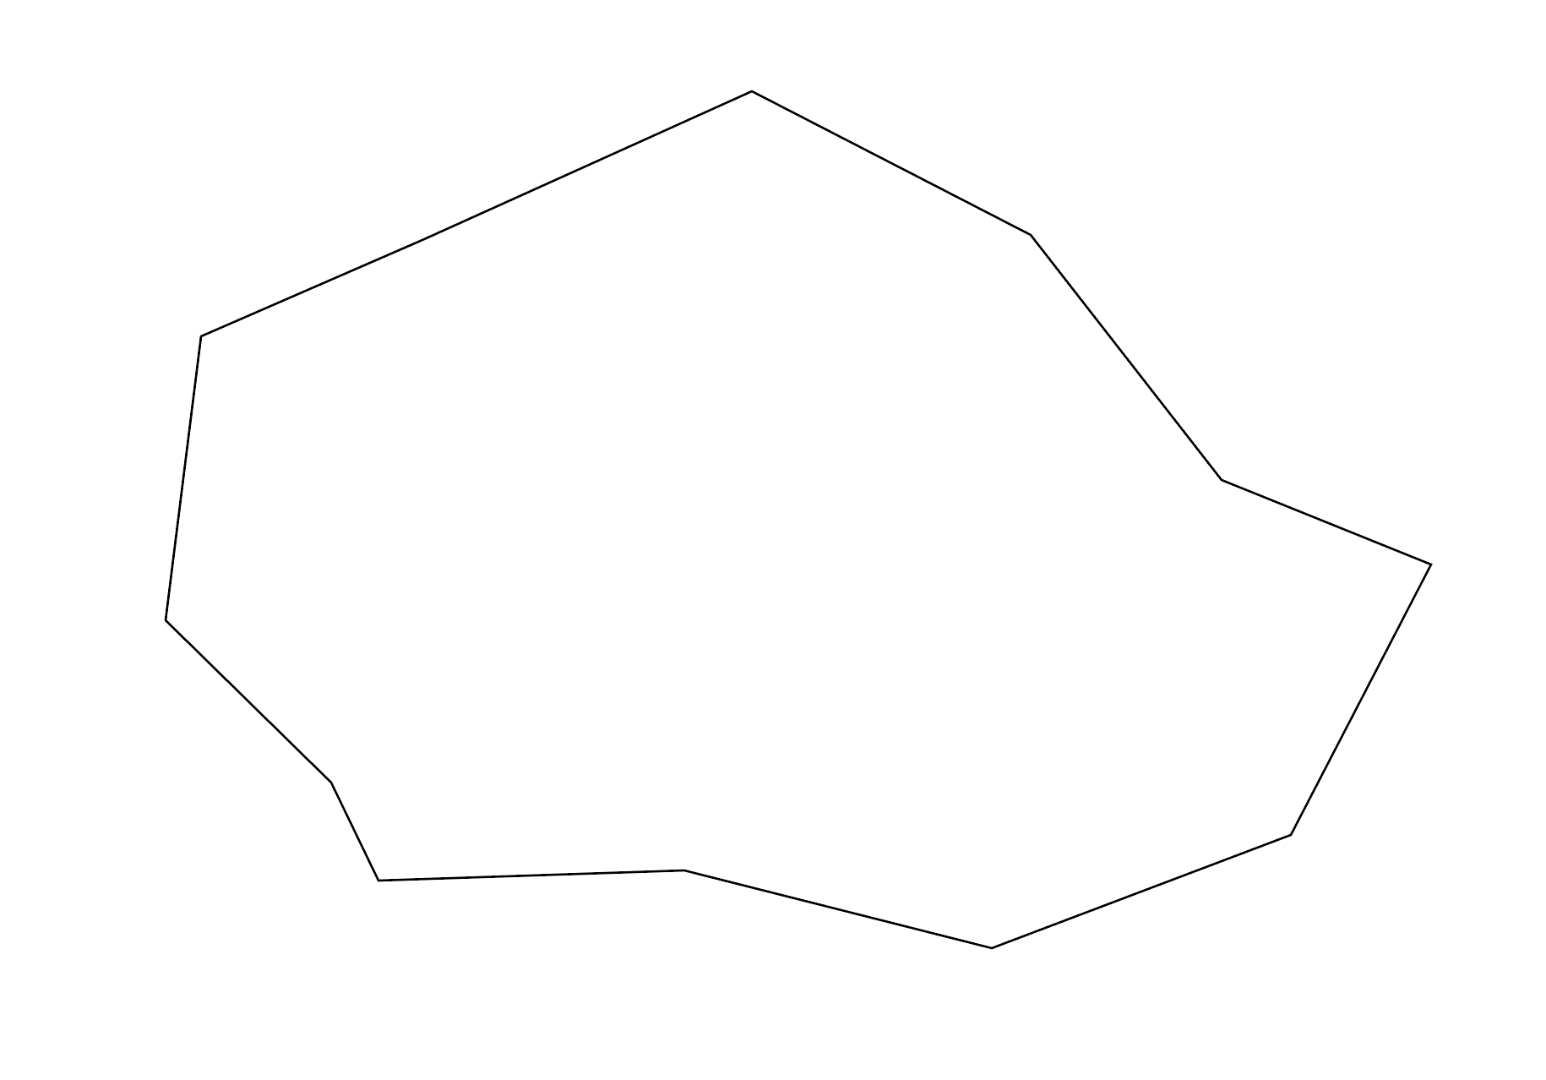
What I should do is this:
Draw the outline first, and then draw the lines inside (make sure they go outside the outline --> the lines outside will be cutoff.
I hope this works for you! 
Copy link to clipboard
Copied
Hello Rob De Winter, thanks very much for your reply!
I've tried your suggestion and it seems to be giving me a different issue of lines disappearing.
Here's a screenshot for your inspection: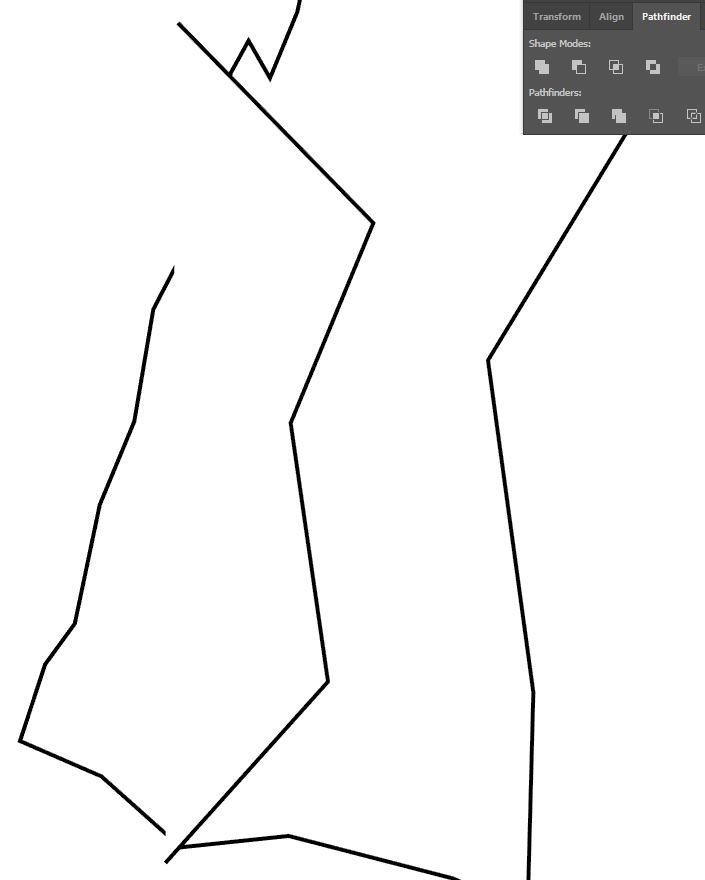

Copy link to clipboard
Copied
Can you share that sample .ai file? You may post a download link, so one can take a look at it.
Copy link to clipboard
Copied
http://www.mediafire.com/file/x0k1qob3l7sp5q3/Mountain_start.ai
Hi here's the link to the file in the OP. Thanks a lot for your reply!
Copy link to clipboard
Copied
Looks like your sample file contains the result after you have applied the Pathfinder operation. That is not quite useful. It would be better to provide a sample file that contains the original construction (before applying Pathfinder).
Apart from that, I would probably use the Shape Builder or Live Paint, too. But you didn't mention the Illustrator version you are using and perhaps there is a reason why you won't use those tools.
Copy link to clipboard
Copied
Hi thanks again for your replies.
I'm using Illustrator CC.
My shape builder doesn't seem to work it just has a circle with a line through it under the cursor like a stop sign, cant find anything about this on the internet.
Thanks alot.

Copy link to clipboard
Copied
thomasr6237698 schrieb
My shape builder doesn't seem to work it just has a circle with a line through it under the cursor like a stop sign, cant find anything about this on the internet.
You need to select the artwork in order to use the shapebuilder tool.
Please read the documentation.
How to create shapes using the Shape Builder tool in Illustrator

Copy link to clipboard
Copied
I'm having a similar problem with extra lines when using Divide. It seems to be file-specific, and although I've run into this before, it seems random and doesn't always create extra lines. For example, I can create a new design in a new document and then Divide with no problem, no extra lines. However, when I copy and paste the design from the document that creates the extra lines, the same thing happens in the new document: extra lines. I'm an experienced user and made sure there was no fill when drawing the design, so it's a mystery at this point. I'm hoping to salvage the design if possible without re-drawing, so any help appreciated. I can provide a file link if requested.

Copy link to clipboard
Copied
Using one of these overcomplicated "tutorials" that teach this last century method with these weird "hooks"?

Looks like Illustrator first tries toclose these lines and then Divide.
You should totally take a look at the live paint feature. It will fill the shapes with color, keep everything editable until you choose to expand it. All in one nice, editable, flexible workflow.
https://helpx.adobe.com/illustrator/using/live-paint-groups.html
Copy link to clipboard
Copied
Thanks for your reply. That process will certainly work for an un-corrupted file as a means of rescuing drawing work already done. However, it is a longer process than my "last century" method and requires for me the unnecessary step of adding fill color. Additionally, some of those "weird hook" lines are ones I need to keep for a CNC purpose, which disappear from the Live Paint process. As I said, the issue is the random occurrence of those extra lines after using Divide with some, not all, files. At this point I consider it a bug until I can understand what's causing the problem. In the event I absolutely need to rescue a drawing, Live Paint is a good option. But can anyone guess what causes my Divide issue in the first place? (By the way, I attempted to upload that file but an error message showed up preventing it. I can upload it to my website, however and provide a link.)
Copy link to clipboard
Copied
"However, it is a longer process than my "last century" method and requires for me the unnecessary step of adding fill color"
I don't get that statement.
No extra step needed for adding fill color. At all.
Are you really sure you are using it correctly?
As for uploading files: put them on Dropbox or Creative Cloud and post a link in here.
Copy link to clipboard
Copied
I followed the directions for the Live Paint link you provided:
- Select one or more paths, compound paths, or both.
- Do one of the following:
Choose Object > Live Paint > Make.
Select the Live Paint Bucket tool
and click the selected object.
After doing so, unless I fill the object with color using the Live Paint 'Bucket tool, I cannot select the object with the Direct Selection tool. Please advise. And, did you download the file from the link I provided so you can test it yourself?
Copy link to clipboard
Copied
I can't find a link to your file.
As for using the live pait tool: you can just select all and then fill the shapes right away.
To select shapes, use the live paint selection tool.
To fill all areas withthe same color, triple click with the live paint tool.
Where did you post it?
Copy link to clipboard
Copied
Found the file in your other thread.
I assume it's the fill rule that is applied to the paths.
If you select all the paths and set the fill rule to Non-Zero instead of Even-Odd, then "Divide" does not close the paths.
Copy link to clipboard
Copied
Delightfully enough, your suggestion worked just fine. Strangely, I did not consciously make any changes to this fill rule and I'm curious to know how it happened on those troublesome files when most of the time it worked fine. Is there some specific combination key command that I could have accidentally hit to change the Attributes? Thank you for your diligence in finding a cure.
Copy link to clipboard
Copied
Incidentally, I don't think I would have ever found this Non-Zero relationship with the Divide function in the Illustrator manual. Google searches to that end make no mention of it, so it's almost as if it was so obscure to be known only to the programmers. Good catch, Monika...
Copy link to clipboard
Copied
It might have happened when you had some path selected that had this applied and then your settings for the creation of new objects kicked in. But that's basically guesswork.
Copy link to clipboard
Copied
Hey! I think you did a good job! But, I see that you've still got a white fill. The fill is hiding the lines. Is that the problem maybe?
If this doesn't help, try this (just a very fast and ugly model  😞
😞
1) Draw the outline (make shure you close the path at the end)
2) Draw the inner lines. The lines can be a little bit outside the 'main' object. Inside I'd try to let them snap to each other.
3) Select all the lines with the Selection Tool, and hit Divide. This is the end result.
Copy link to clipboard
Copied
Use live paint for this. Or the shapebuilder tool.
Copy link to clipboard
Copied
Hello Monika.
I'm having trouble using the shape-builder tool on the file i linked above, I watched a tutorial and it seems great as it allows me to merge the shapes I've created. But when i select the tool it just has a circle with a line through it under the cursor kind of like a stop sign and wont let me select anything.
Many thanks for your reply!

Copy link to clipboard
Copied
That circle is the locked symbol
you can investigate to see what's locked in the layers panel. or just Object > Unlock all.
Then Select all and use the shape builder tool, to click on each shape , then each shape will have its own borders, you might need to un group afterwards

Copy link to clipboard
Copied
I'm using CS6 a version below yours and all I did was release the clipping mask and deleted the background then use the live paint tool. this is the result.


 AdChoices